Posts: 2,724
Threads: 160
Joined: Dec 2008
As a way to save a few $$$$ (work has not been good this year) I decided to try my hand at making my own ground foam. I have read a few things covering a bunch of different methods for making ground foam so I took an idea from here and there and came up with this method.
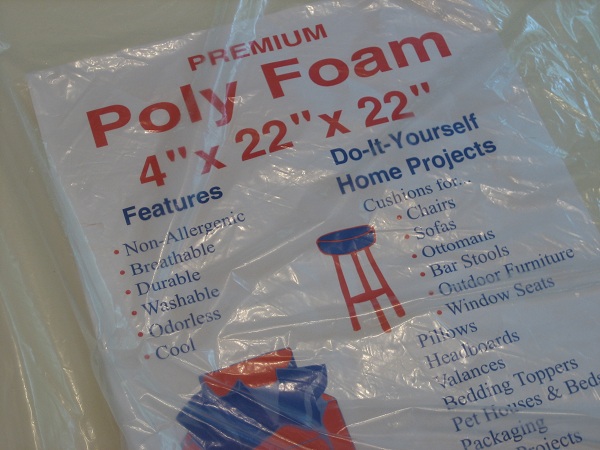
first off go out the nearest craft store and pick up a block of foam like this.
This was sold under the name
poly foam for about $13.
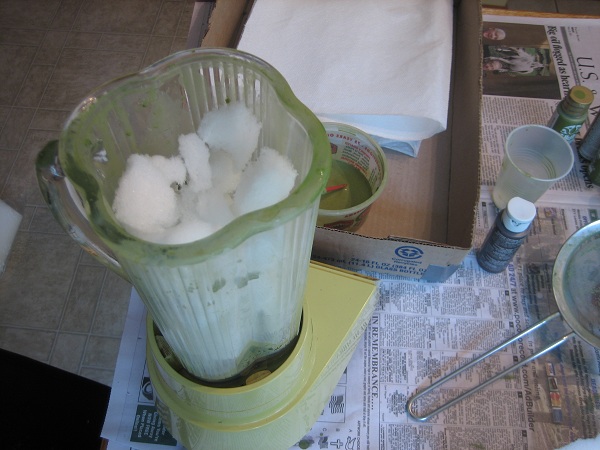
Tearing off golf ball size pieces Just toss them into blender that you don't intend on using for
ANYTHING else. In this case I found this one at a flee market for $3.

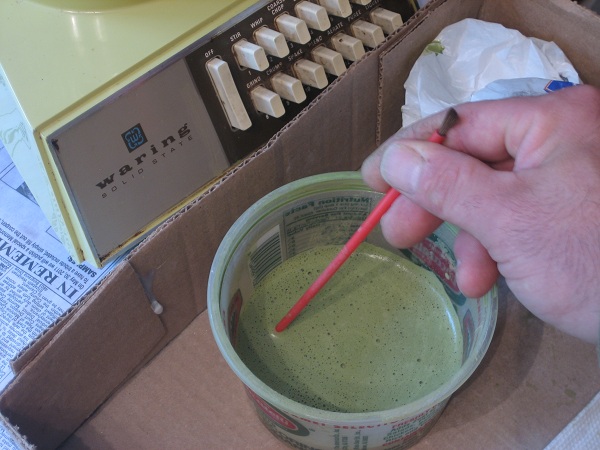
I latter found out that It goes quicker if you only fill the blender about 1/2 way with foam. That may vary from blender to blender. Next, I mixed up some Cheep-o- craft paint to a green that I liked I thinned it with a 50/50 mix of water.
My other car is a locomotive, ARHS restoration crew
Posts: 2,724
Threads: 160
Joined: Dec 2008
with everything mixed up, pour it in with the foam.
Blend it up till you get the foam cut up to the desired size and strain it out saving the paint mix for the next batch.
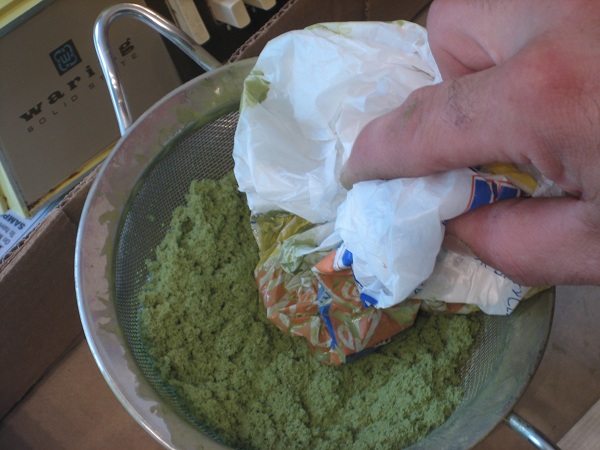
I used a plastic bag to gently blot out the excess paint, just be sure not to blot to hard or you'll leave the foam with out enough color.
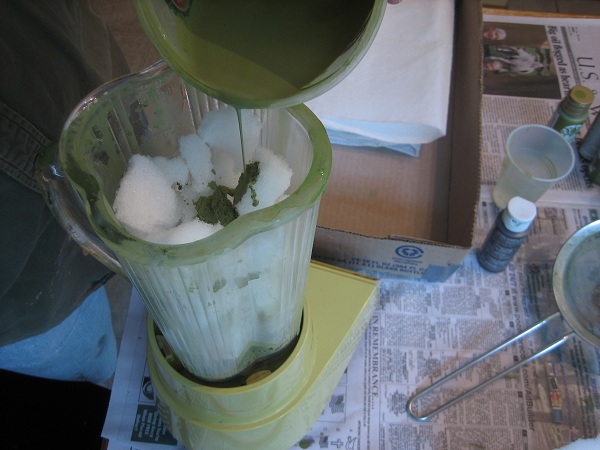
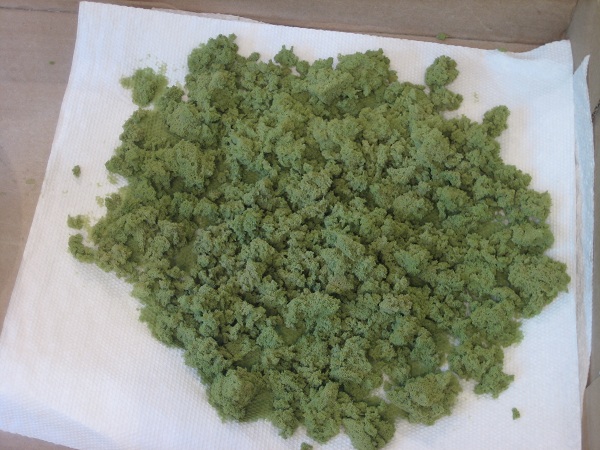
Dump out the wet foam to dry on some paper towels, if you can, put it out in the sun, "It'll dry faster." It may take a few days to dry depending on temp and humidity. When it's all dry I'll post a finished pic to show the final result.
My other car is a locomotive, ARHS restoration crew
Posts: 105
Threads: 27
Joined: May 2010
Great idea. Simple (and cheap!) too. Cut up into those small sizes makes it easy to add anywhere on the layout.
By the way, that looks like the blender I sold at a garage sale a few years ago. Hmmmm
Doing my best to stay on track and to live each day to it's fullest, trying not to upset people along the way. I have no enemies.....just friends who don't understand my point of view.
Steve
Let's go Devils!
Posts: 2,724
Threads: 160
Joined: Dec 2008
It took a few days but, the foam is all dry.

Another quick run through the blender to break up the clumps (the drying paint makes it all stick together) and this is what you get.

I figure that's about $30 worth of ground foam that I got with only a little effort and a small investment. Best of all I only used about a soft ball sized chunk of foam and a few drops of paint. Still have plenty left.

My other car is a locomotive, ARHS restoration crew
Posts: 2,959
Threads: 158
Joined: Dec 2008
very nice!
--
Kevin
Check out my Shapeways creations!
3-d printed items in HO/HOn3 and more!
<!-- m --><a class="postlink" href="https://www.shapeways.com/shops/kevin-s-model-train-detail-parts">https://www.shapeways.com/shops/kevin-s ... tail-parts</a><!-- m -->
Posts: 709
Threads: 35
Joined: Jun 2010
Hmmmm....
Now I need to go to Goodwill...

The area I am modeling has some colors of shrubs that are not readily commercially availble so this will be a huge help to better match my area.
Now I have another project...darn you

Posts: 2,724
Threads: 160
Joined: Dec 2008
I finally got to take a few pics of the finished product. I used the foam and some poly fiber from Micro Marc to make some puff ball trees. They were installed on a hillside in Easton PA. It now looks a lot less like Arizona. The first two shots are an overview of the aria that I covered.
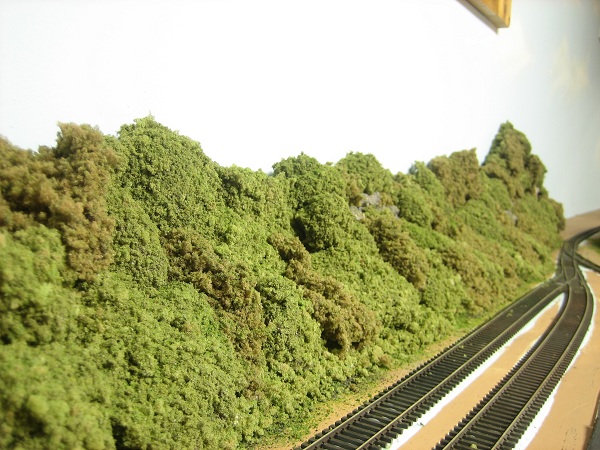
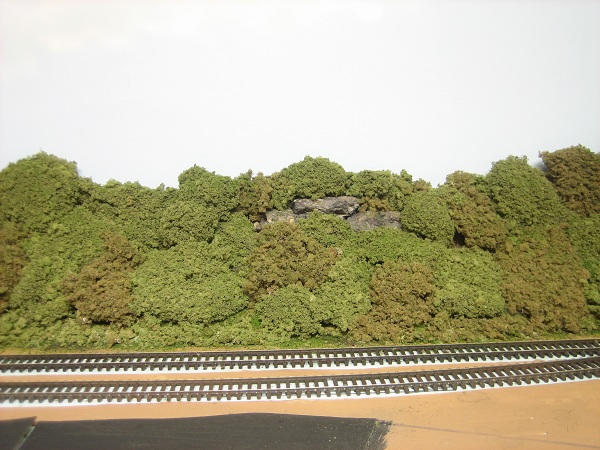
It all went pretty quickly, just a few thousand to go and I'll have enough for the rest of the layout.

The camera is giving me a little trouble for some reason today today. These shots came out a little overexposed and I can't seam to fix it.
My other car is a locomotive, ARHS restoration crew
Posts: 2,724
Threads: 160
Joined: Dec 2008
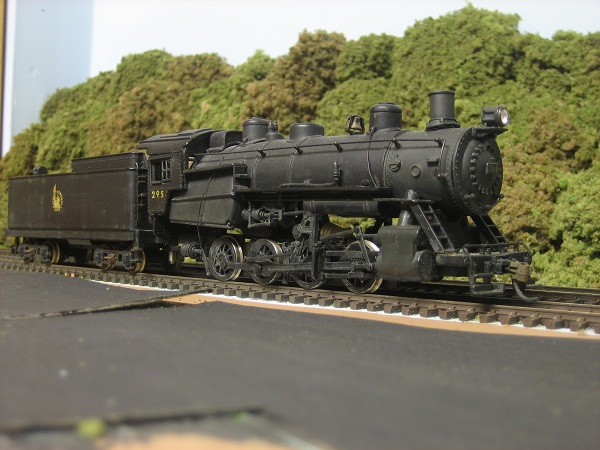
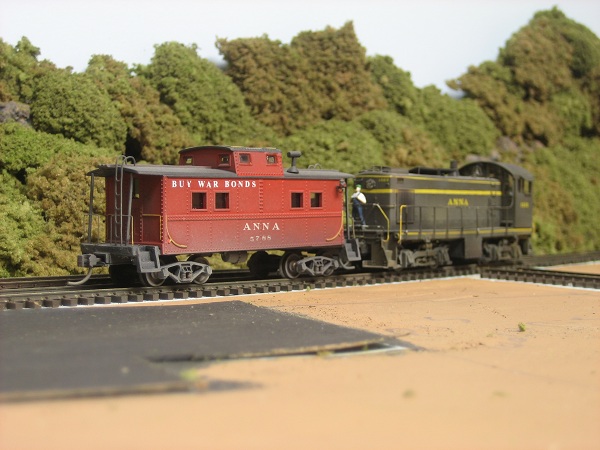
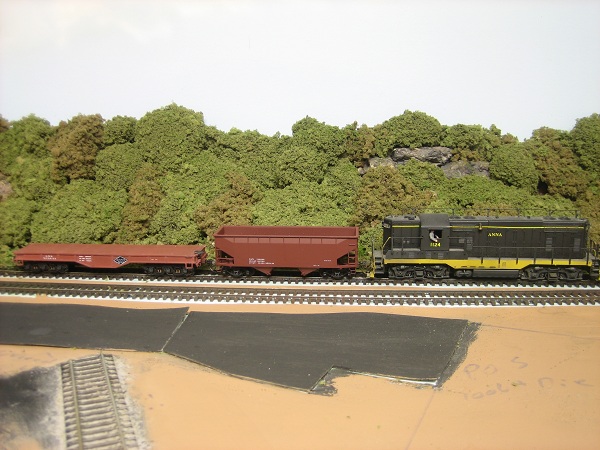
I also took a few test shots with some equipment in them to see how different rolling stock shows up against the foams color.
with the layout set in the mid to late 40's, when most freight cars were some shade of box car red, and my road diesels are basic black so this shot kills 2 birds with 1 stone.
Almost all the cabooses of that period are bright red so I put one behind an S-1. I was a little concerned with the green of the switcher, but is shows just fine.
And hey, you just got to have a steamer.

My other car is a locomotive, ARHS restoration crew
Posts: 13
Threads: 2
Joined: Jan 2011
Thank you so much for your post.I also have had a slow year work wise.This will help my lack of layout funding

[color=#Poor people do things in poor ways...004000][/color]
Posts: 4,161
Threads: 174
Joined: Dec 2008
That's terrific!! Thanks for the "how-to"!


Ralph
Posts: 3,683
Threads: 118
Joined: Jan 2009
A great way to save some money. The product, and the trees look really good.

Posts: 442
Threads: 73
Joined: Dec 2008
Good golly ms molly..... love the idea and as stated darn you

i feel a trip to wal mart comming on

Harry Check out my blog at <!-- m --><a class="postlink" href="http://newyorkontariowestern.blogspot.com/">http://newyorkontariowestern.blogspot.com/</a><!-- m -->
Posts: 9,727
Threads: 233
Joined: Dec 2008
Keep your eyes open in the discount stores for pillows made from small chunks of foam. I saw one at Ollie's for 2.95 that has enough foam in it to keep you busy for a while, it was a standard size bed pillow. Just make sure it is foam, not the fiber filled.
I didn't buy one because I have about 3 years worth of foam to grind already.
Don't be afraid of using the foam if it has turned brown, it still dyes into some great shades.
Charlie
Posts: 2,724
Threads: 160
Joined: Dec 2008
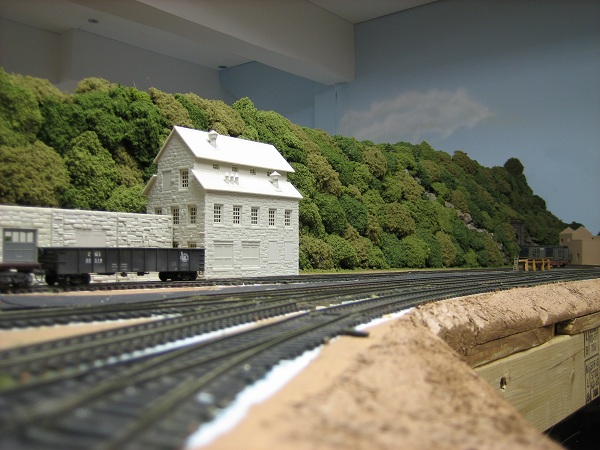
Thanks for the compliments,, Looks like this thread has found some new life. I'll post one more pic of the finished product. Although very time consuming this has yielded some good results.
My other car is a locomotive, ARHS restoration crew
Posts: 9,727
Threads: 233
Joined: Dec 2008
e-paw Wrote:Thanks for the compliments,, Looks like this thread has found some new life. I'll post one more pic of the finished product. Although very time consuming this has yielded some good results.[ATTACHMENT NOT FOUND]
E-paw, I have to respectfully disagree with you. Those results are not good. You highly under-rate them, They are Great!!!!!!!!!

Charlie
 This was sold under the name poly foam for about $13.
 Tearing off golf ball size pieces Just toss them into blender that you don't intend on using for ANYTHING else. In this case I found this one at a flee market for $3.
  I latter found out that It goes quicker if you only fill the blender about 1/2 way with foam. That may vary from blender to blender. Next, I mixed up some Cheep-o- craft paint to a green that I liked I thinned it with a 50/50 mix of water.

 I latter found out that It goes quicker if you only fill the blender about 1/2 way with foam. That may vary from blender to blender. Next, I mixed up some Cheep-o- craft paint to a green that I liked I thinned it with a 50/50 mix of water.


