12-08-2020, 04:43 PM
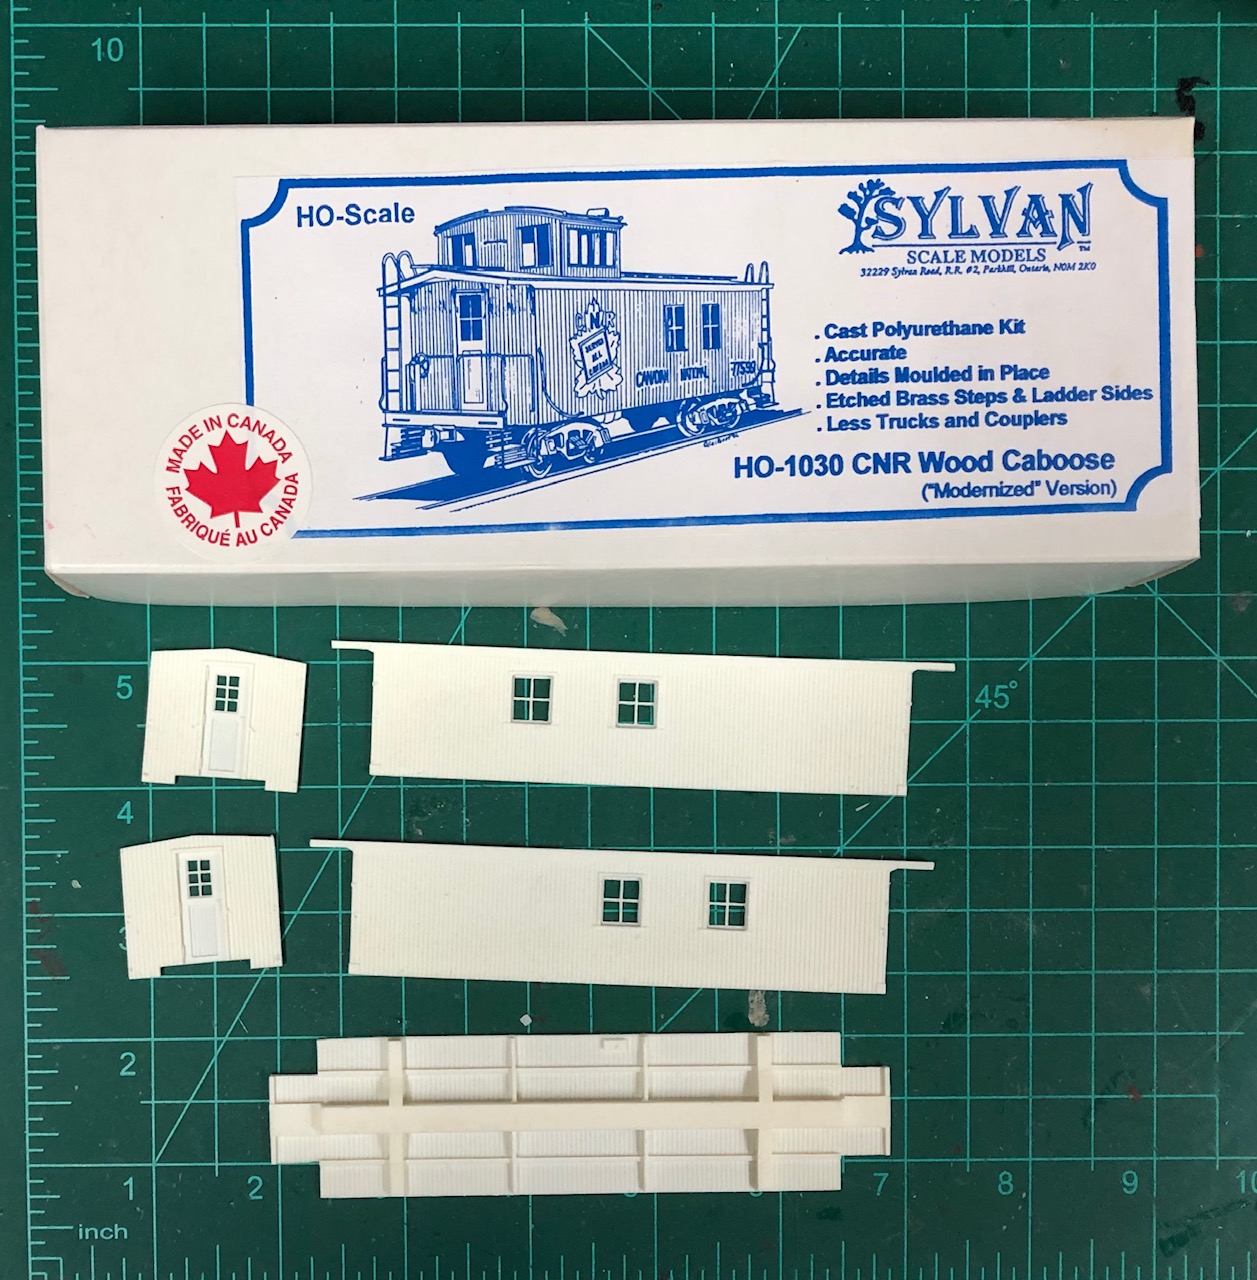
Starting a new project. A Sylvan Scale Models kit of a CNR Wood Caboose.

Guy from Southern Quebec.
|
CNR Wood Caboose
|
|
12-08-2020, 04:43 PM
Starting a new project. A Sylvan Scale Models kit of a CNR Wood Caboose.
Guy from Southern Quebec.
12-12-2020, 05:03 PM
After cleaning the parts, removing the flash and filing the parts so they fit well together, one of the most important step is to make sure that the body will be square.
Not a bad start.
Guy from Southern Quebec.
12-12-2020, 07:01 PM
Just make sure, when you get to the step for installing the roof, that it's facing in the proper direction, with the cupola over the area of the sides with no windows.
Wayne
12-13-2020, 06:52 AM
(12-12-2020, 07:01 PM)doctorwayne Wrote: Just make sure, when you get to the step for installing the roof, that it's facing in the proper direction, with the cupola over the area of the sides with no windows.
Guy from Southern Quebec.
12-13-2020, 11:24 AM
Hey, Guy, your save on that earlier one was done beautifully.
Wayne
12-13-2020, 12:54 PM
Those Sylvan models are really nicely done---looking forward to seeing your completed caboose Guy.
12-13-2020, 04:07 PM
For those who want to understand the previous posts, here is a summary of the story.
On my first attempt to build a similar kit, I unintentionally put the open end of the roof at the wrong end of the body. I had to fix the roof and move the smokestack base. And decided to build it as a CNR Transfer Caboose. Many thanks to Wayne who helped me in this first projet with a resin kit.
Guy from Southern Quebec.
01-19-2021, 12:53 PM
I have made some progress.
After building five of those Sylvan Scale CNR Wood Caboose kits following the instructions, I have decided to make some improvements on this one. First, I added the cupola corner braces that come as an option. (Green rectangle) I also added vertical grabirons on the ends (Blue circle) and roofwalk supports (Red circle). Those are small wires. On previous builds, I omitted them partly because they were not mentioned in the instructions but principally because I didn't feel comfortable with such small pieces. Finally, I added new roofwalk supports (Yellow circle). On the original kit, those supports are molded in the roof panels. As they are not uniformly molded, this can lead to a warped roofwalk. They are also too low so the gap between the roofwalk and the roof is nonexistent in some places. Those are small improvements that will yield, I hope, a nicer model. So far so good.
Guy from Southern Quebec.
01-19-2021, 01:25 PM
The added details do make a nice difference, Guy.
   Wayne
01-20-2021, 08:41 AM
Nice work Guy, the secret of art is in the details.
Thanks for sharing!
Serge
2,5 hours for this.
Who said "Practice makes perfect"? 
Guy from Southern Quebec.
01-22-2021, 11:33 PM
Nice work on the brake rigging and the work on the resin car. I know that the sylvan kits aren't the easiest to build but you've done very well on yours.
01-24-2021, 08:30 PM
Customizing kits is tedious, but the rewards are great!!!! Nice work!!
~~ Mikey KB3VBR (Admin)
~~ NARA Member # 75 ~~ Baldwin Eddystone Unofficial Website ~~ I wonder what that would look like in 1:20.3??? |
|
« Next Oldest | Next Newest »
|