Since I'm not sure of the limit on photos, I'll continue with here with round-two of these small structures.
I picked up these three at a nearby hobbyshop, (unfortunately, no longer in business). They were already built, but not very well: some parts were falling off or missing completely, and the blue one was in pieces...

I believe that the one on the left may have been from Pola, while the one in the middle is from Kibri, the blue one, unknown. The one on the left was missing much of the porch railings and posts, was rather dirty, and most of the taped-in-place paper window treatments were a mess. In addition to that, it was lined with black paper, as the original builder had added a couple of grain-of-wheat lights. I don't ever do night operations on the layout, so the lights and black paper, along with the messed-up paper drapes and window shades were tossed. After re-cementing the poorly done joints, I made new blinds and drapes from thin sheet styrene, painted in appropriate colours.
The middle house was in the best condition of the three, but again glued together with a cement not intended for plastic. It was easy to clean-up and put together properly.
The blue one was the worst of the three, as is pretty-well fell apart when I tried to put the roof on it...it didn't fit, as the builder had glued-on some small portions of the roof improperly, preventing the roof from seating properly. After pretty-well taking it completely apart, I rebuilt it, fabricating new parts where needed, and adding strip styrene to brace and strengthen the structure. It also got some homemade styrene blinds and curtains.
When my two youngest grandkids, (eight and five) first saw those three delapidated houses, they immediately assigned their favourite Spongebob characters to them, and were even more pleased when they saw the restored versions of those homes. Whenever they come to visit, first stop is usually the layout room.
This one is from Pola, although I had the same kit on my first HO layout in the '50s, when it was a Revell kit...

I hadn't painted my original version of this structure, but decided to add a little colour to this one. I plan to also re-paint the roof, as those "wooden" shingles wouldn't be that colour. This was originally a snap-together-kit, but I opted to cement some of it together this time. I'll likely add some weathering before it finds a suitable building lot on the layout, and some scenery should make it look better, too.
These two are from LifeLike, and I was on the verge of simply tossing them due to the clunkiness of the parts, especially the window frames. The porch railings and posts are a little too sturdy-looking, too, but I think they'll fit in better when they're mixed in with the others.
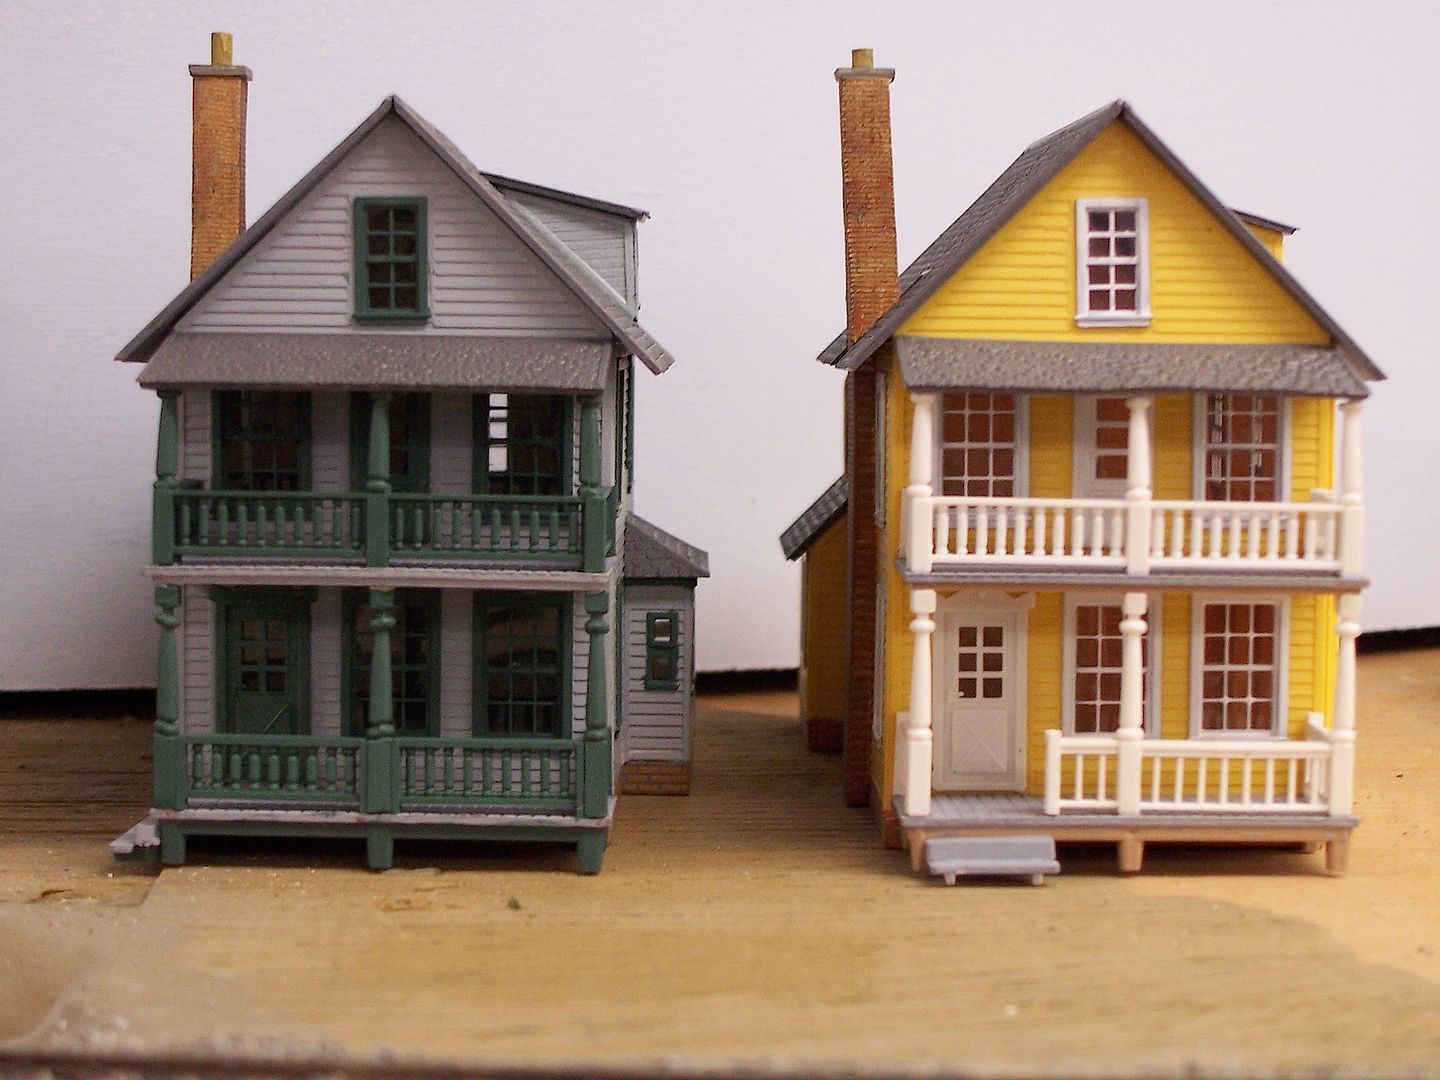
I put aside the kits' windows, then selected some better detailed replacements from my supply of Tichy windows. They were larger than the kit-supplied ones, which allowed me to enlarge the opening in the kits' walls - this eliminated the unusual plain & flat areas around each window opening (no 3-D board detail around the openings, as it looks like the kits' clunky windows were meant to cover those plain window surrounds).
It looks like I'll have to add blinds and curtains to them, too.
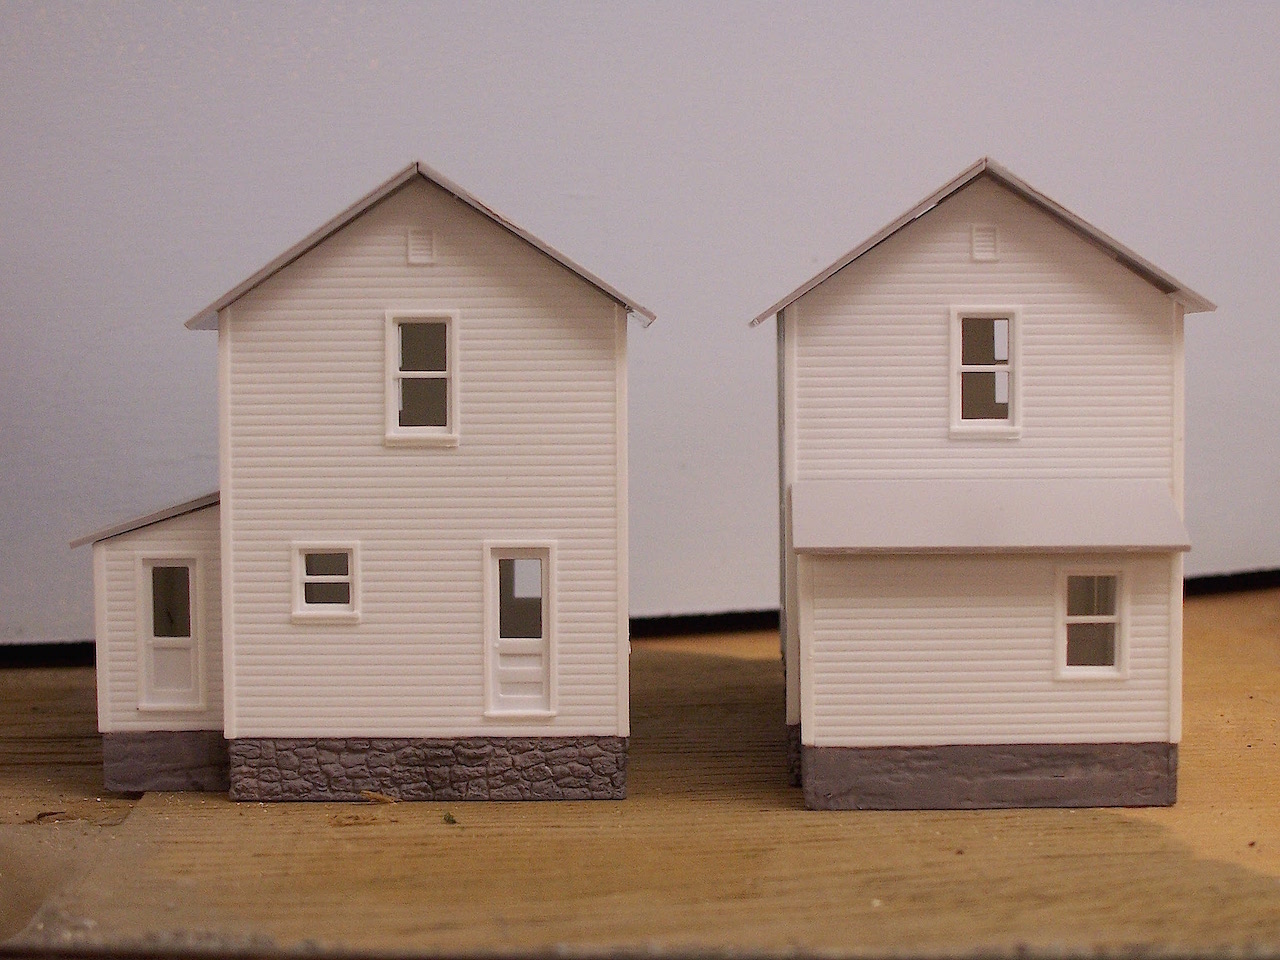
The two "company houses" shown below, only partially assembled, are from a three-pack by City Classics. They're meant to represent simple dwellings built by an industry as rental units for their employees. Mines and various types of mills and factories often built such structures, which later often became available for the tenants to purchase. Here's the fronts, one with a side addition...

...and the rear, with an addition...
Once the structures were sold, the owners could alter them as they saw fit, painting them in different colours, and sometimes making add-on additions or other improvements, like indoor plumbing.
I decided that perhaps a few improvements might make the structures better-fit my layout, as the houses won't likely be anywhere near a major industry. Here's the third one from the kit, with a few "upgrades"...
Front and left-side view...
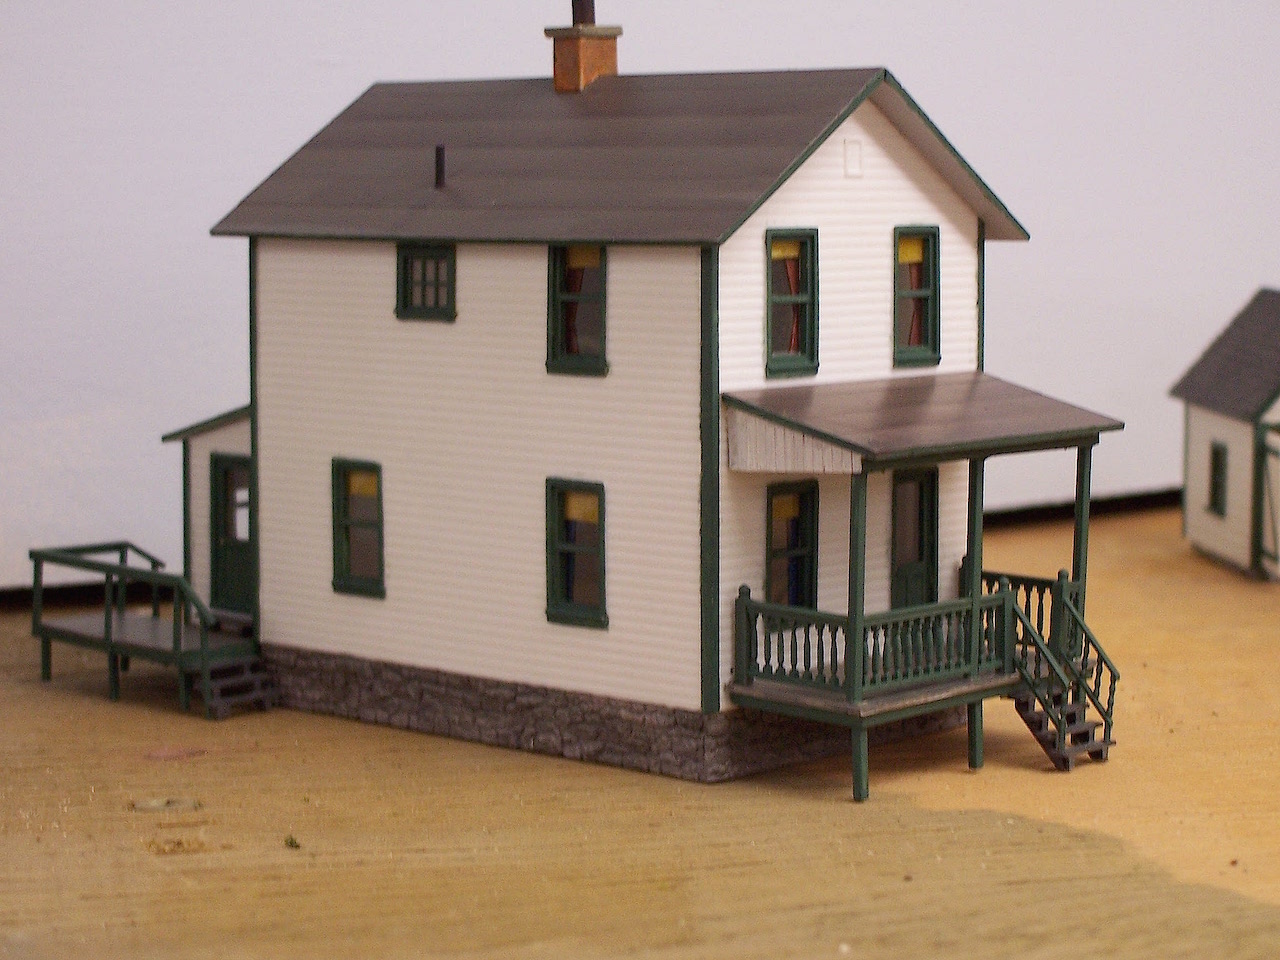
...left side and rear view...

...rear and right-side view...

...and the right side and front...

This last one was almost missed, as it was on the layout, even though it's not finished....
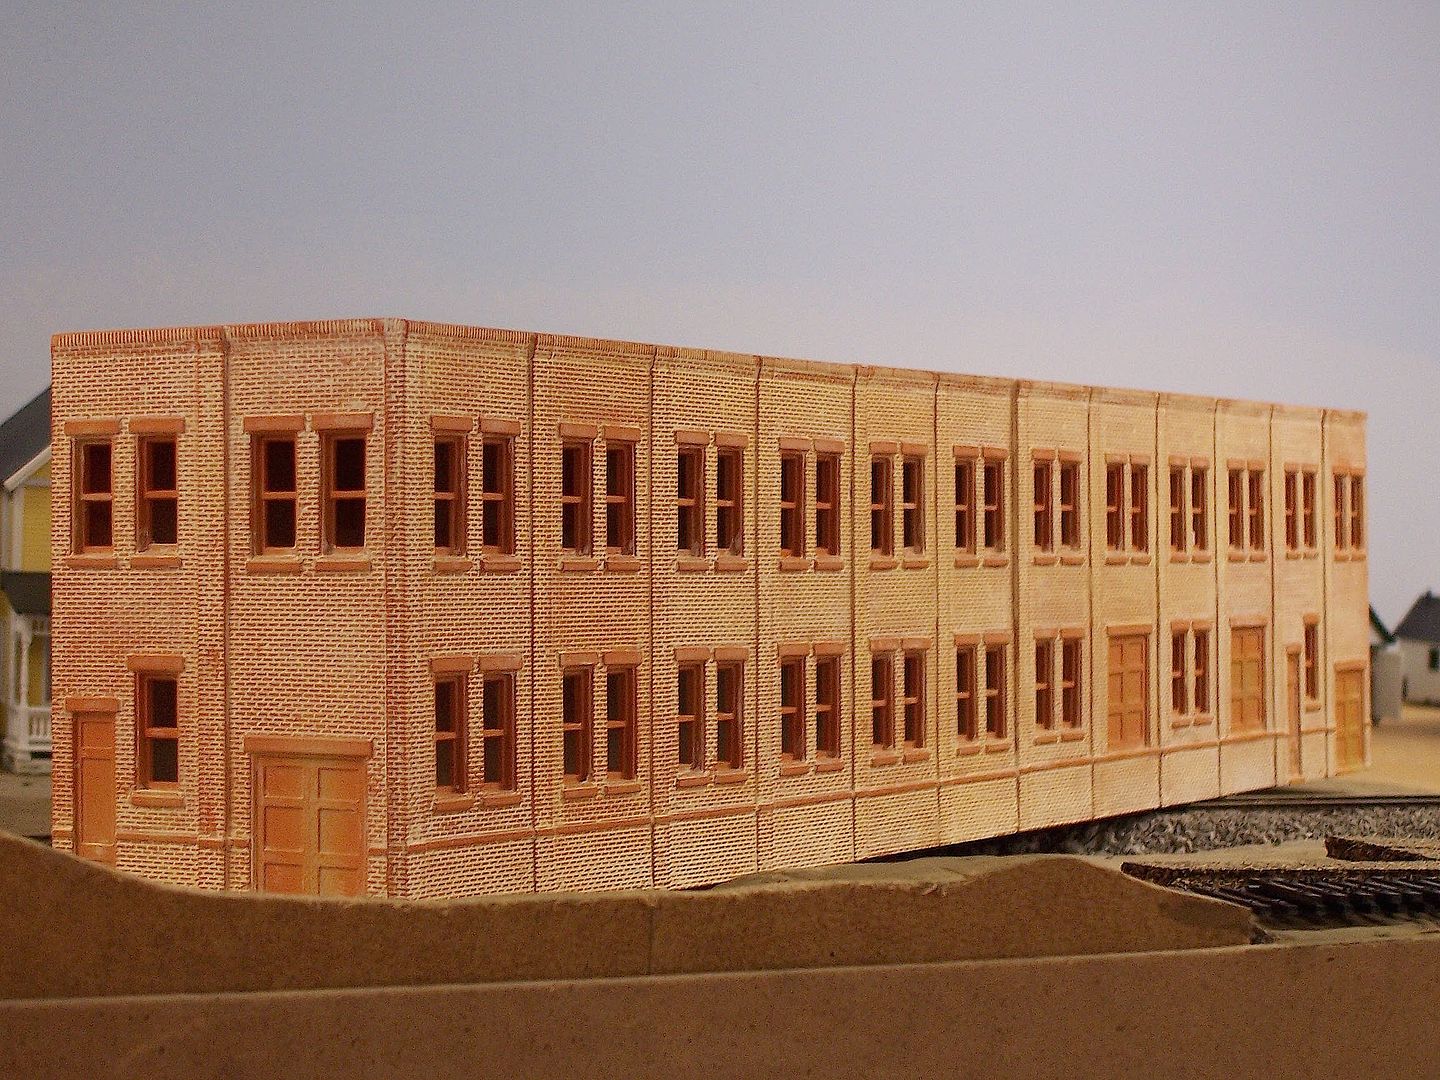
It will become Robertson Manufacturing, the Canadian company which patented socket-head screws. Henry Ford wanted license to produce them, but Robertson wouldn't concede, hence the reason for the use of the less-efficient Philips screws.
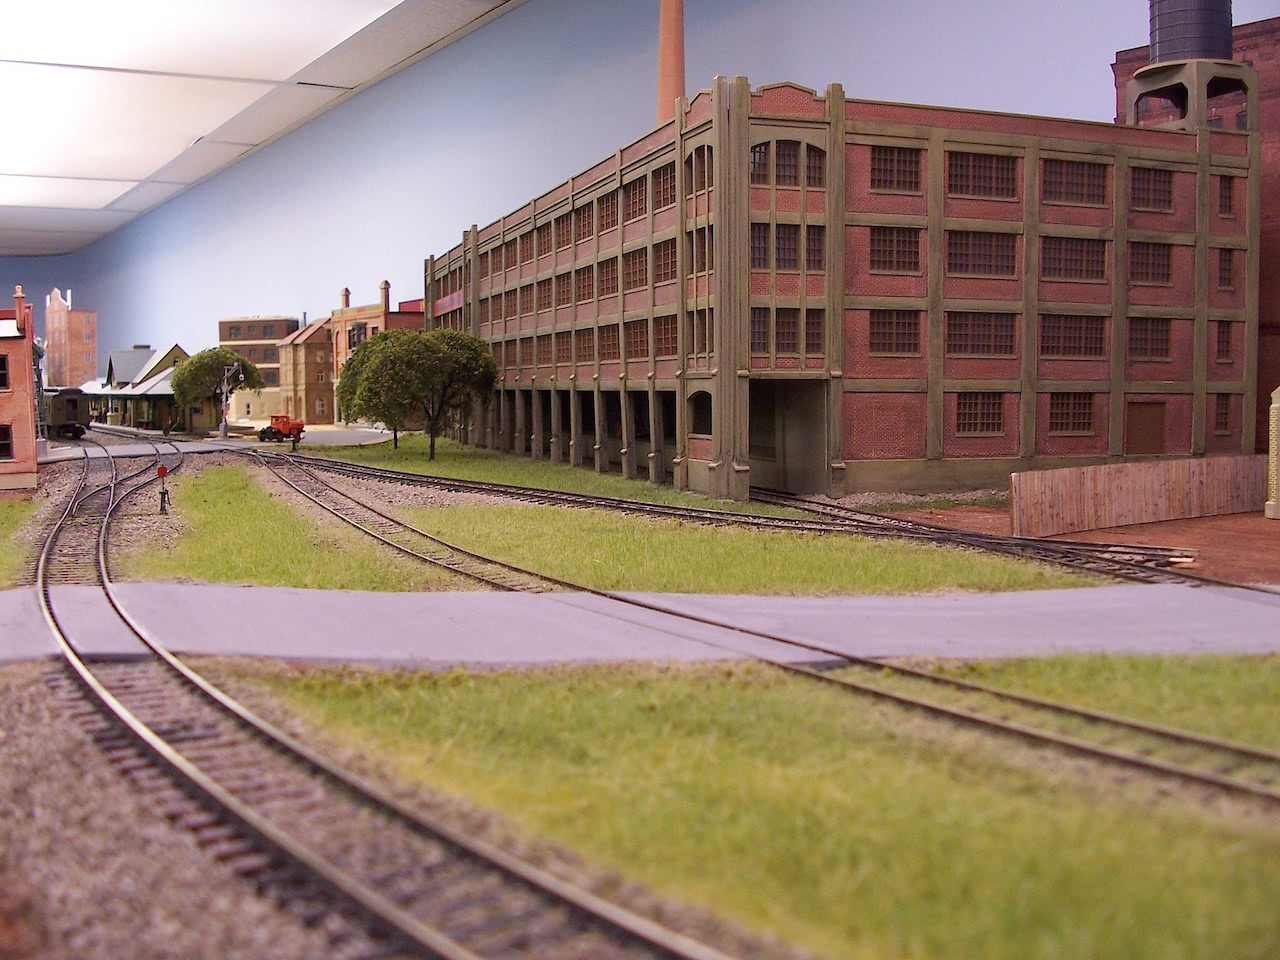
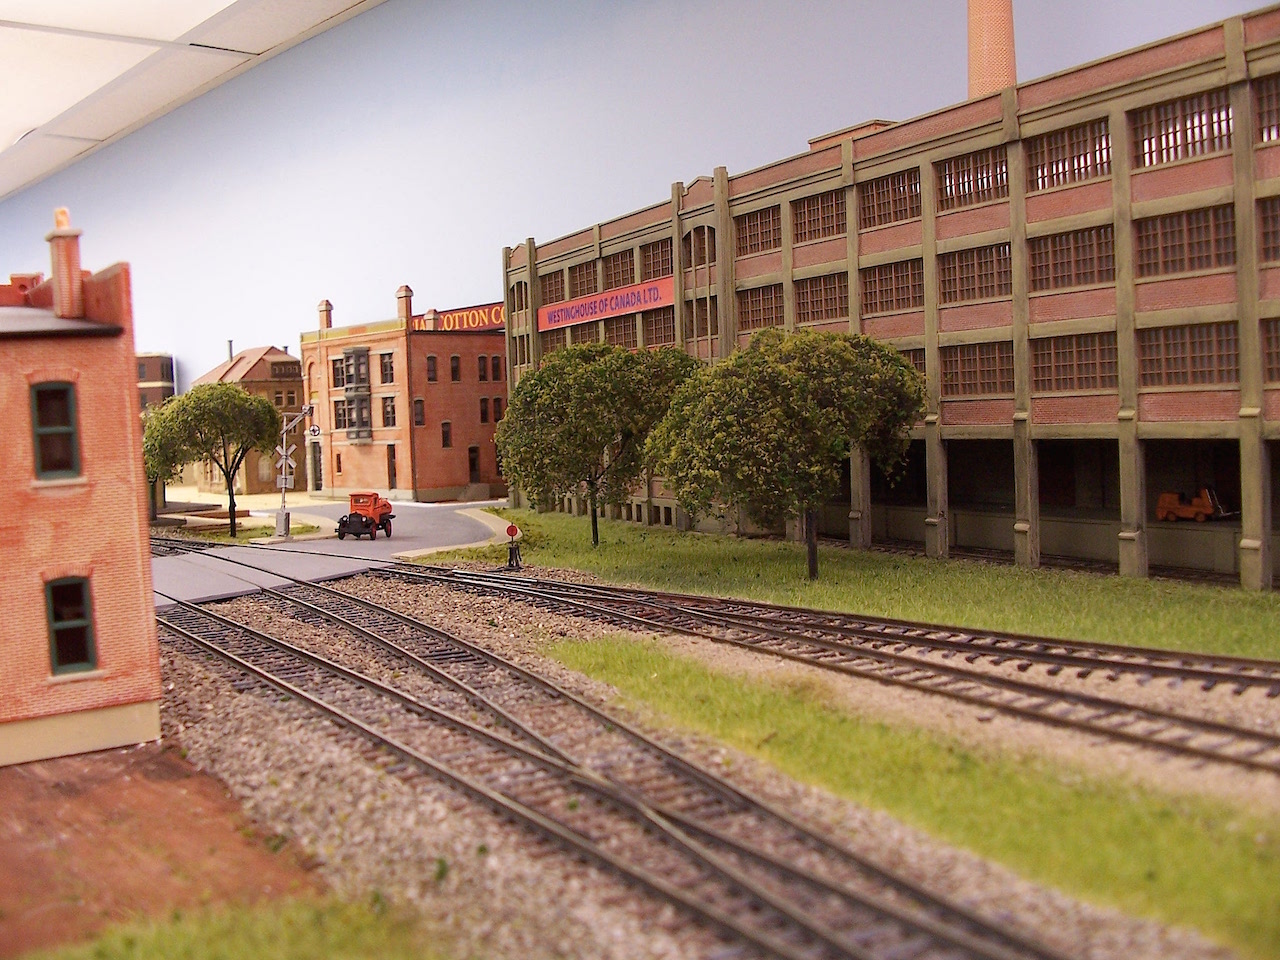
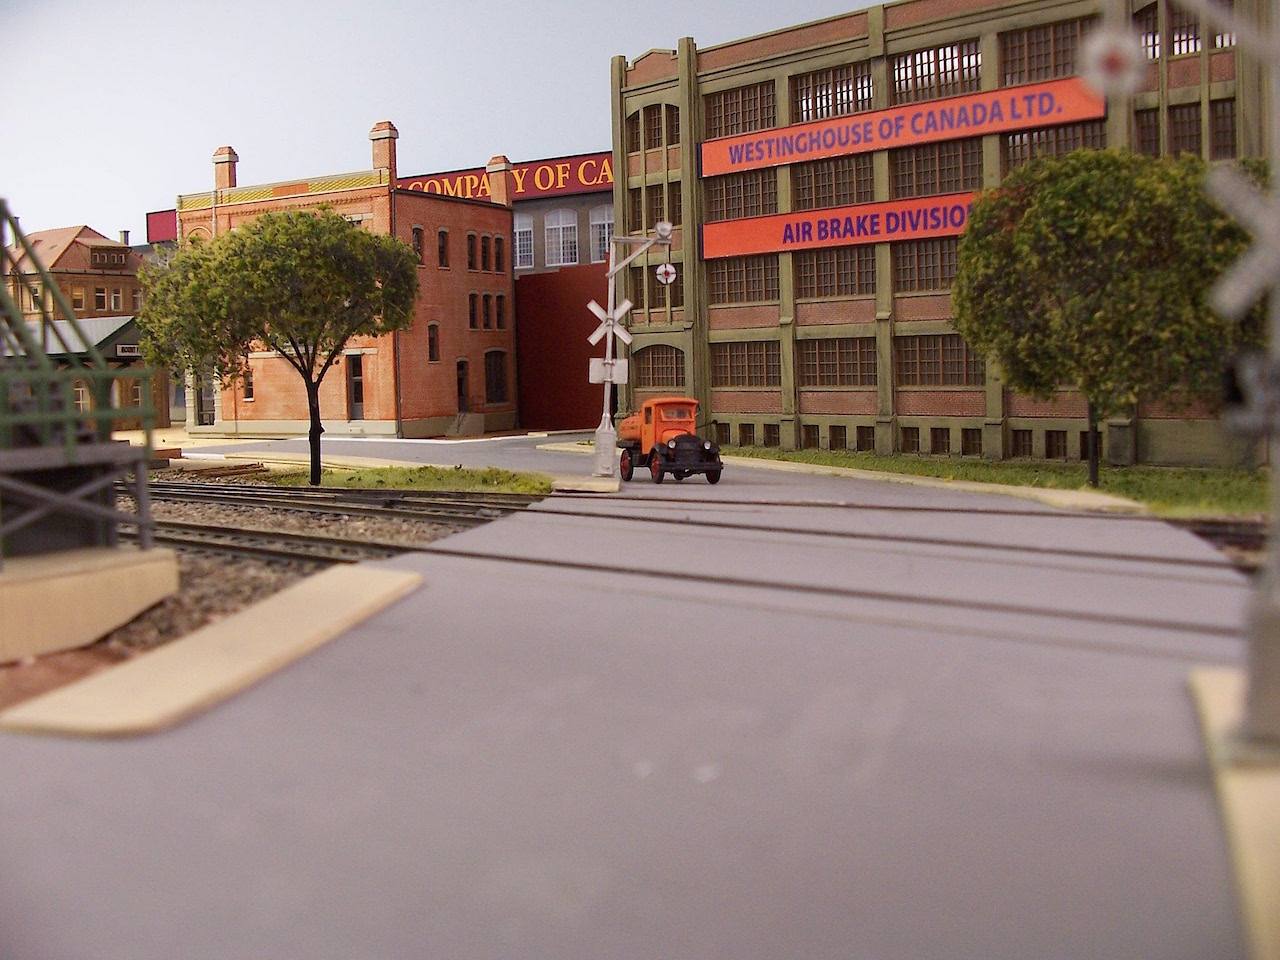
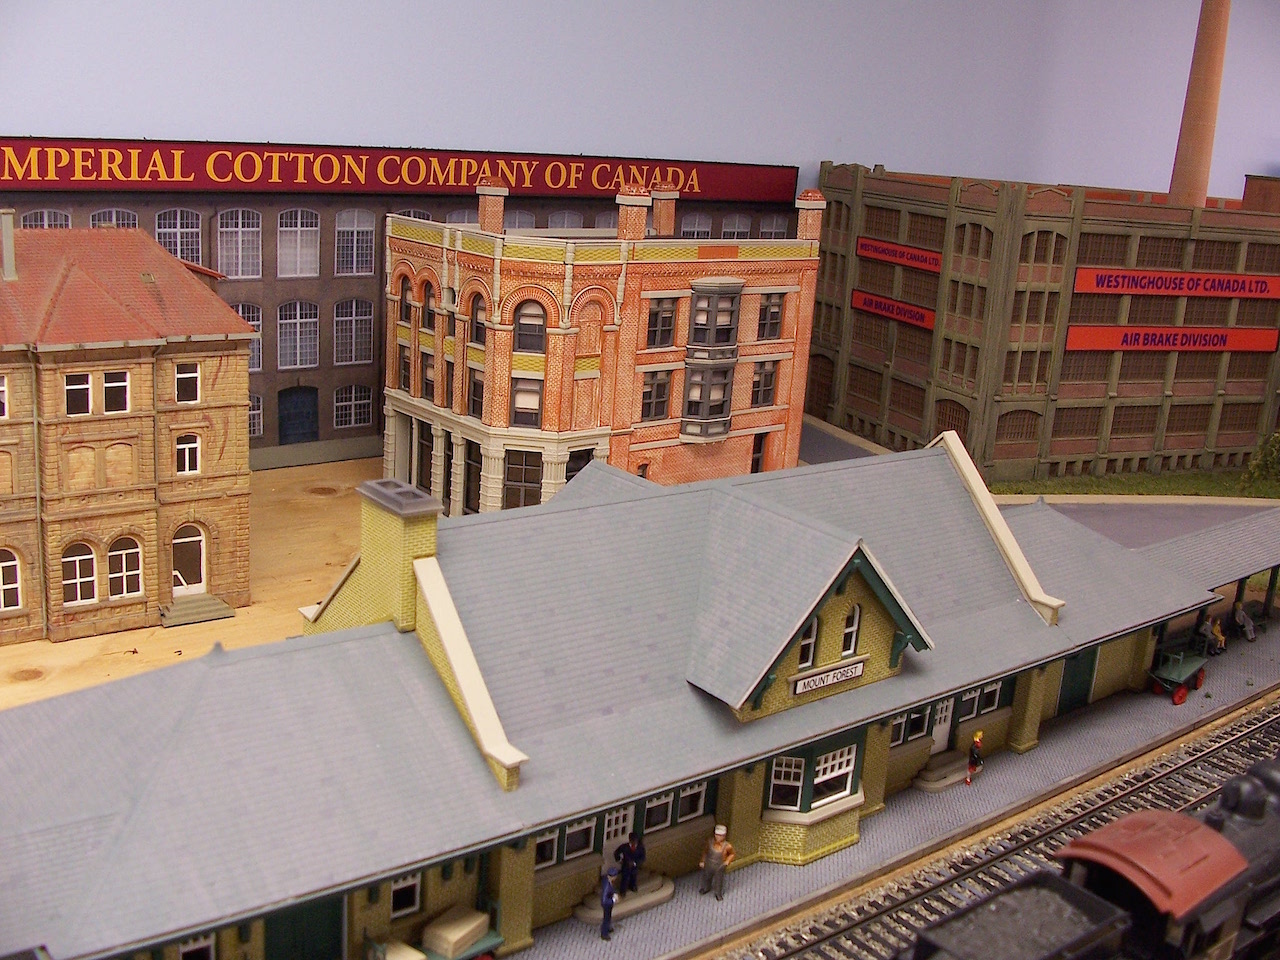
All of the DPM structures shown will need a lot of painting of window sills and headers, and especially of the "iron front" facades on most of those kits. They might take a while, as I need to get back to work on those baggage cars.
Wayne


![[Image: sig2.jpg]](http://i12.photobucket.com/albums/a246/lginc/vids/sig2.jpg)
![[Image: up_turb10k_r.gif]](http://i12.photobucket.com/albums/a246/lginc/vids/up_turb10k_r.gif)


 Worth going though these posts more than just once. Lutz is right, first nothing, than WOW, all sorts of good things. I have a couple of DPM kits, I shall use this as a tutorial if I ever decide to build them. Your work is impeccable, thanks for posting all this....