Posts: 606
Threads: 12
Joined: Jun 2022
Work is slowly progressing on Mud Run. I joined up some pieces of 1/4" ply and established the river profile and cut the edge of the presentation with my sabre saw, knowing that it's going to be (roughly) halfway across the river in most cases. In order to pour the realistic water, I'll need some way to dam up that edge.
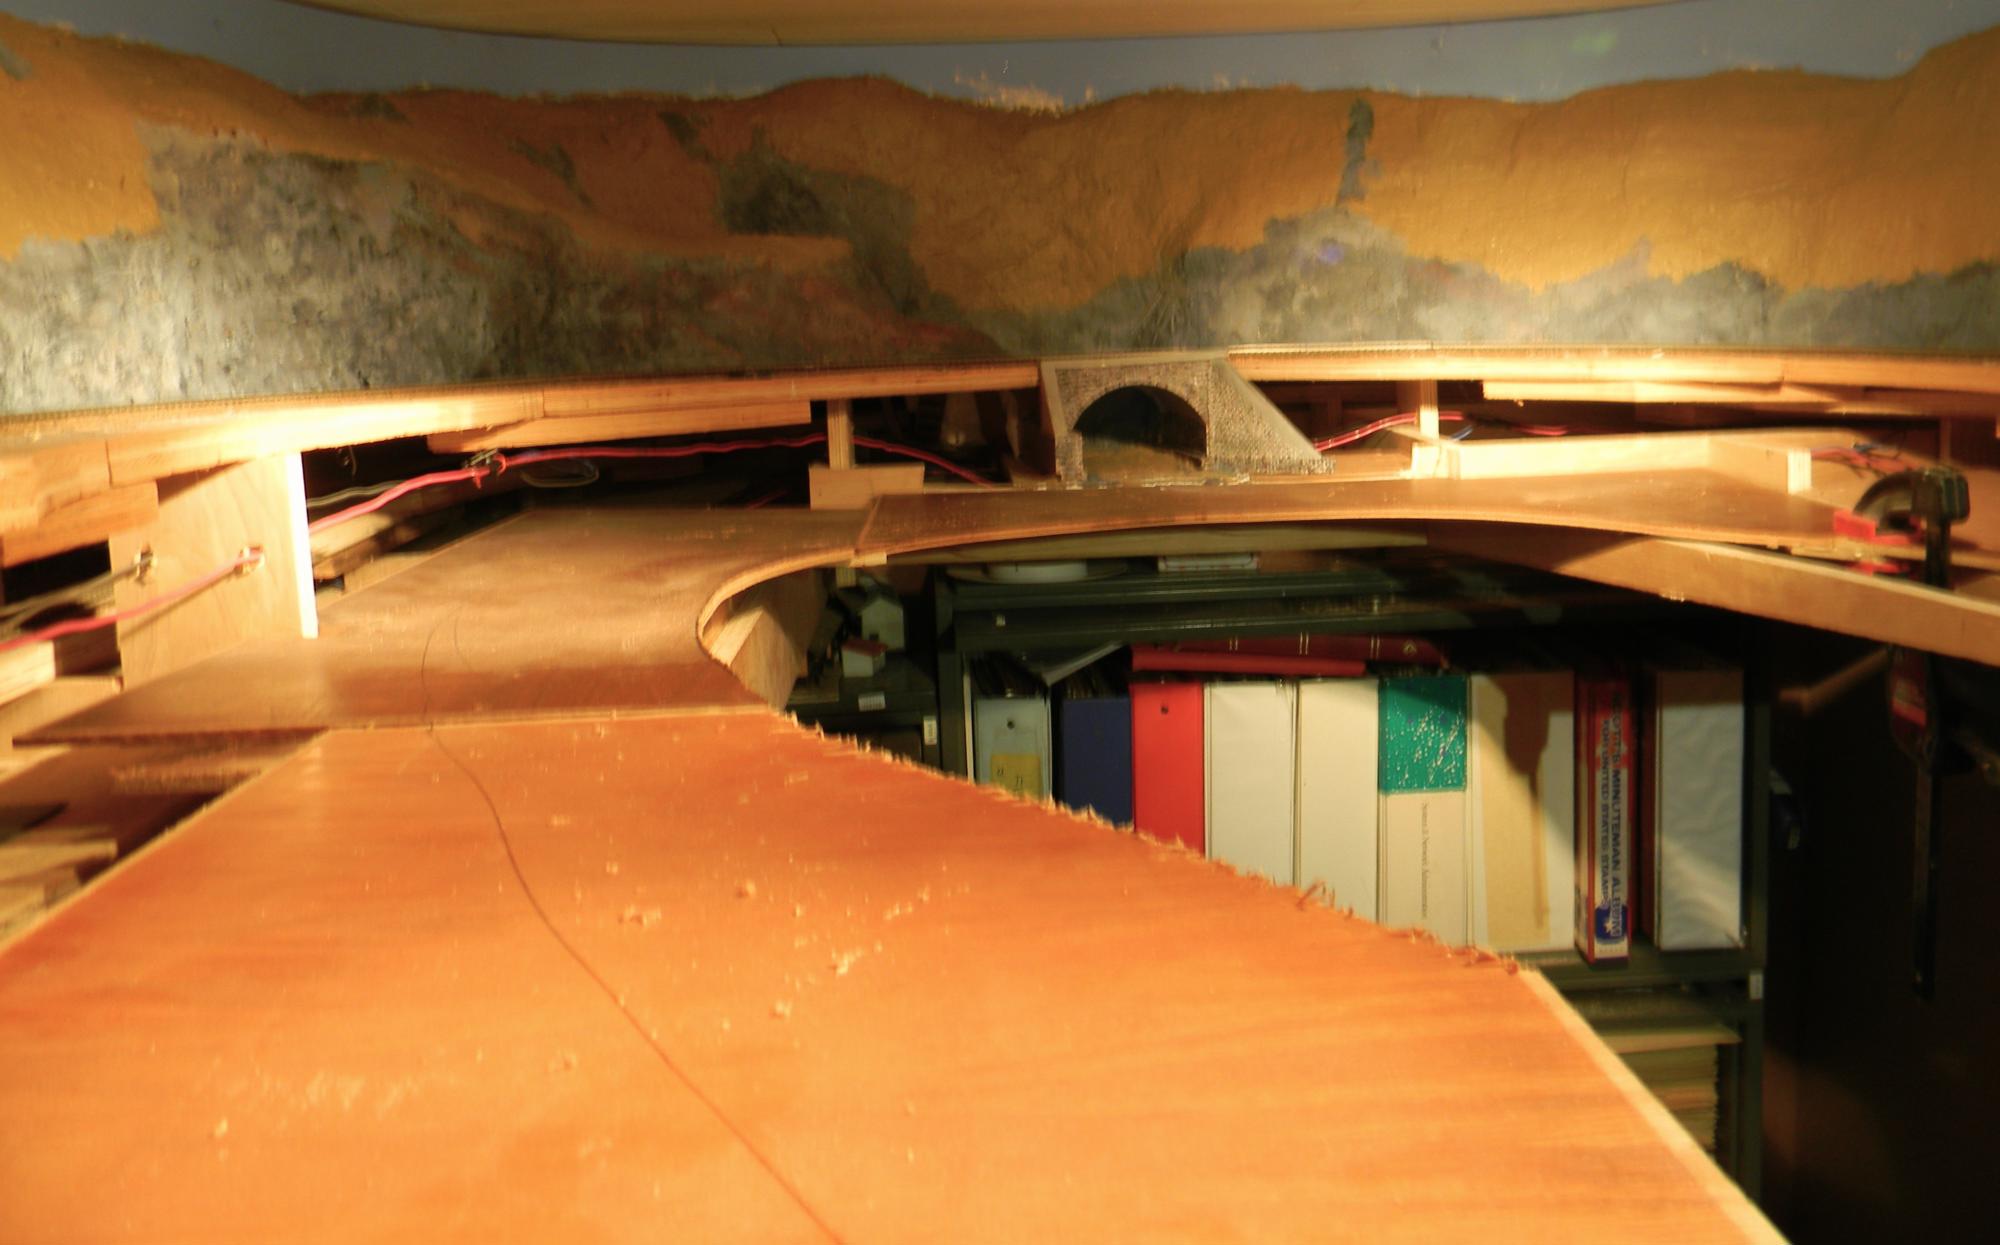
I cut out some 1-by pieces and glued them under the plywood at the edges. I'll then wrap the edge with several strips of 1/4" plywood that will be air-nailed into the 1-by pieces and will project just above the surface of the plywood. That banding will serve two purposes - the dam for the Realistic Water and a finished fascia for the layout there. Once I have the surface prepped it'll be time to install cardboard strips for the embankments up from the river to the track level.
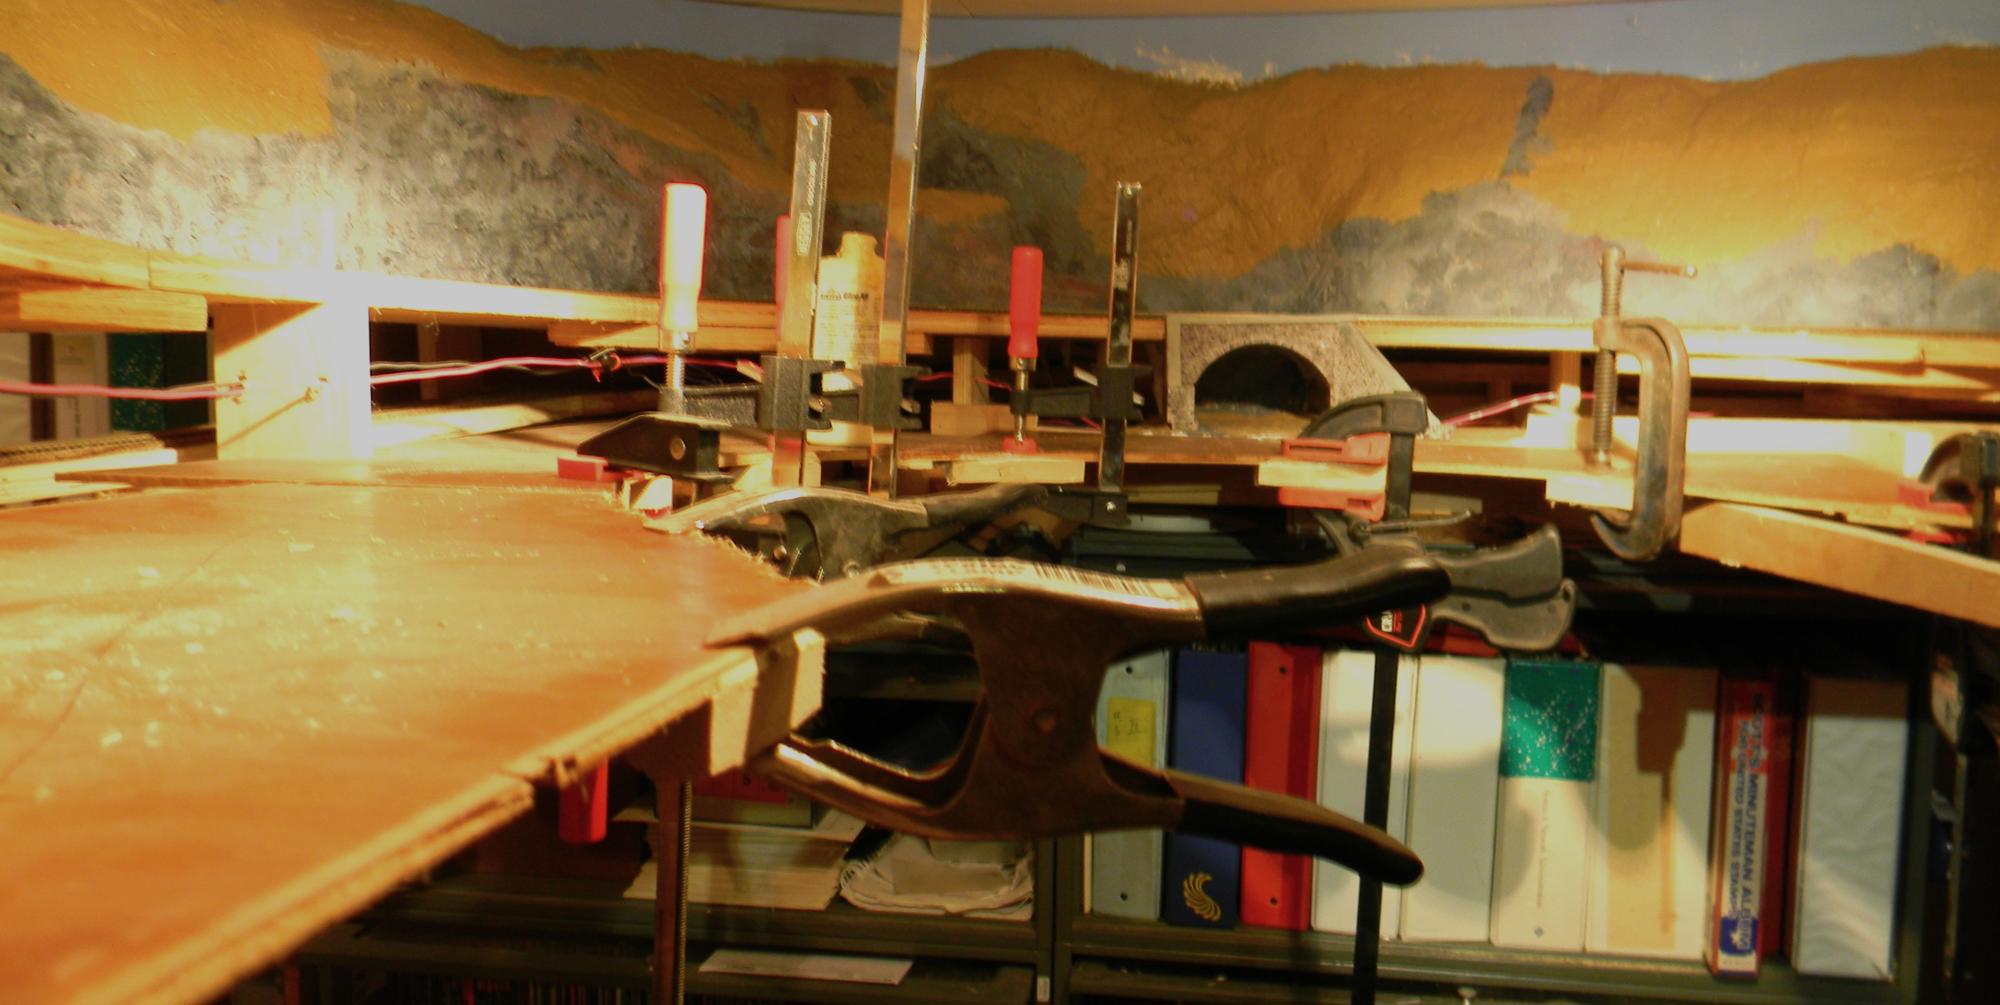
Posts: 606
Threads: 12
Joined: Jun 2022
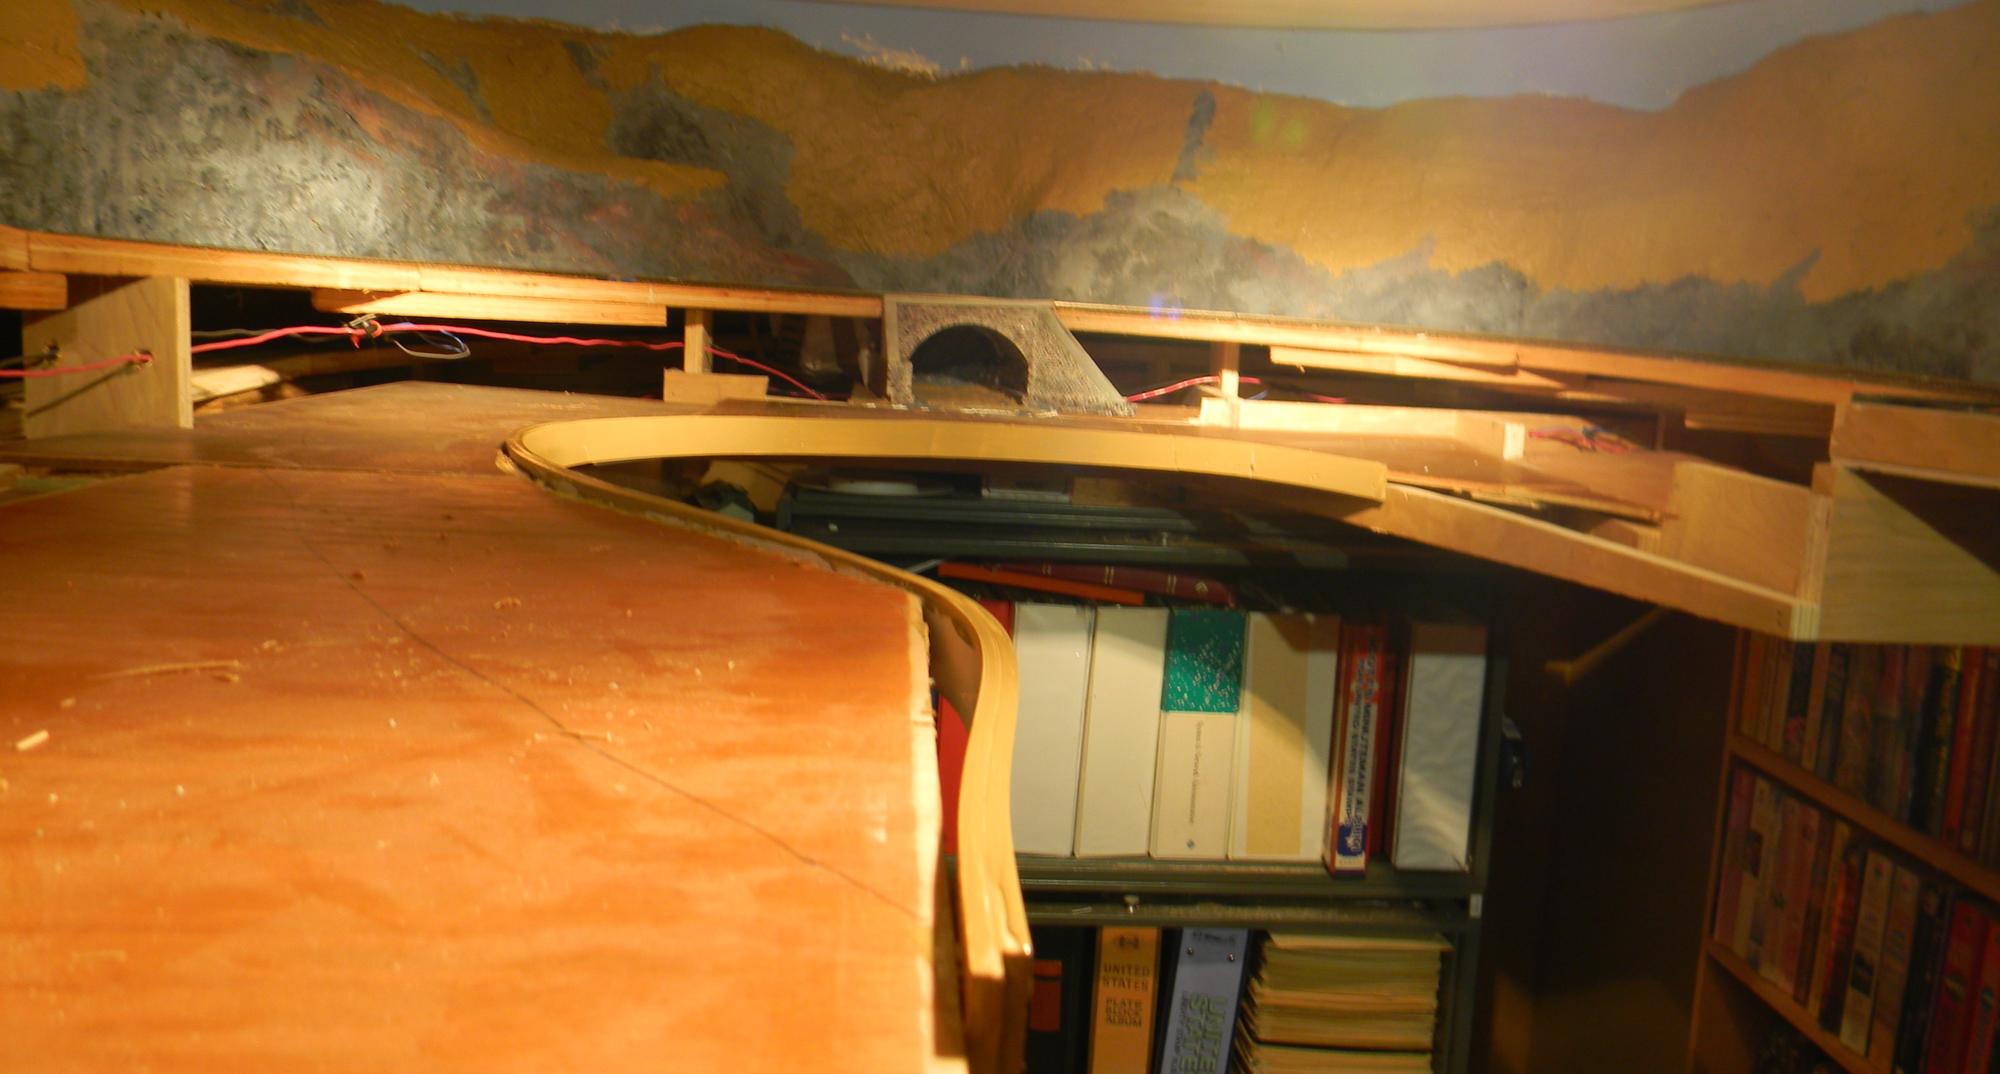
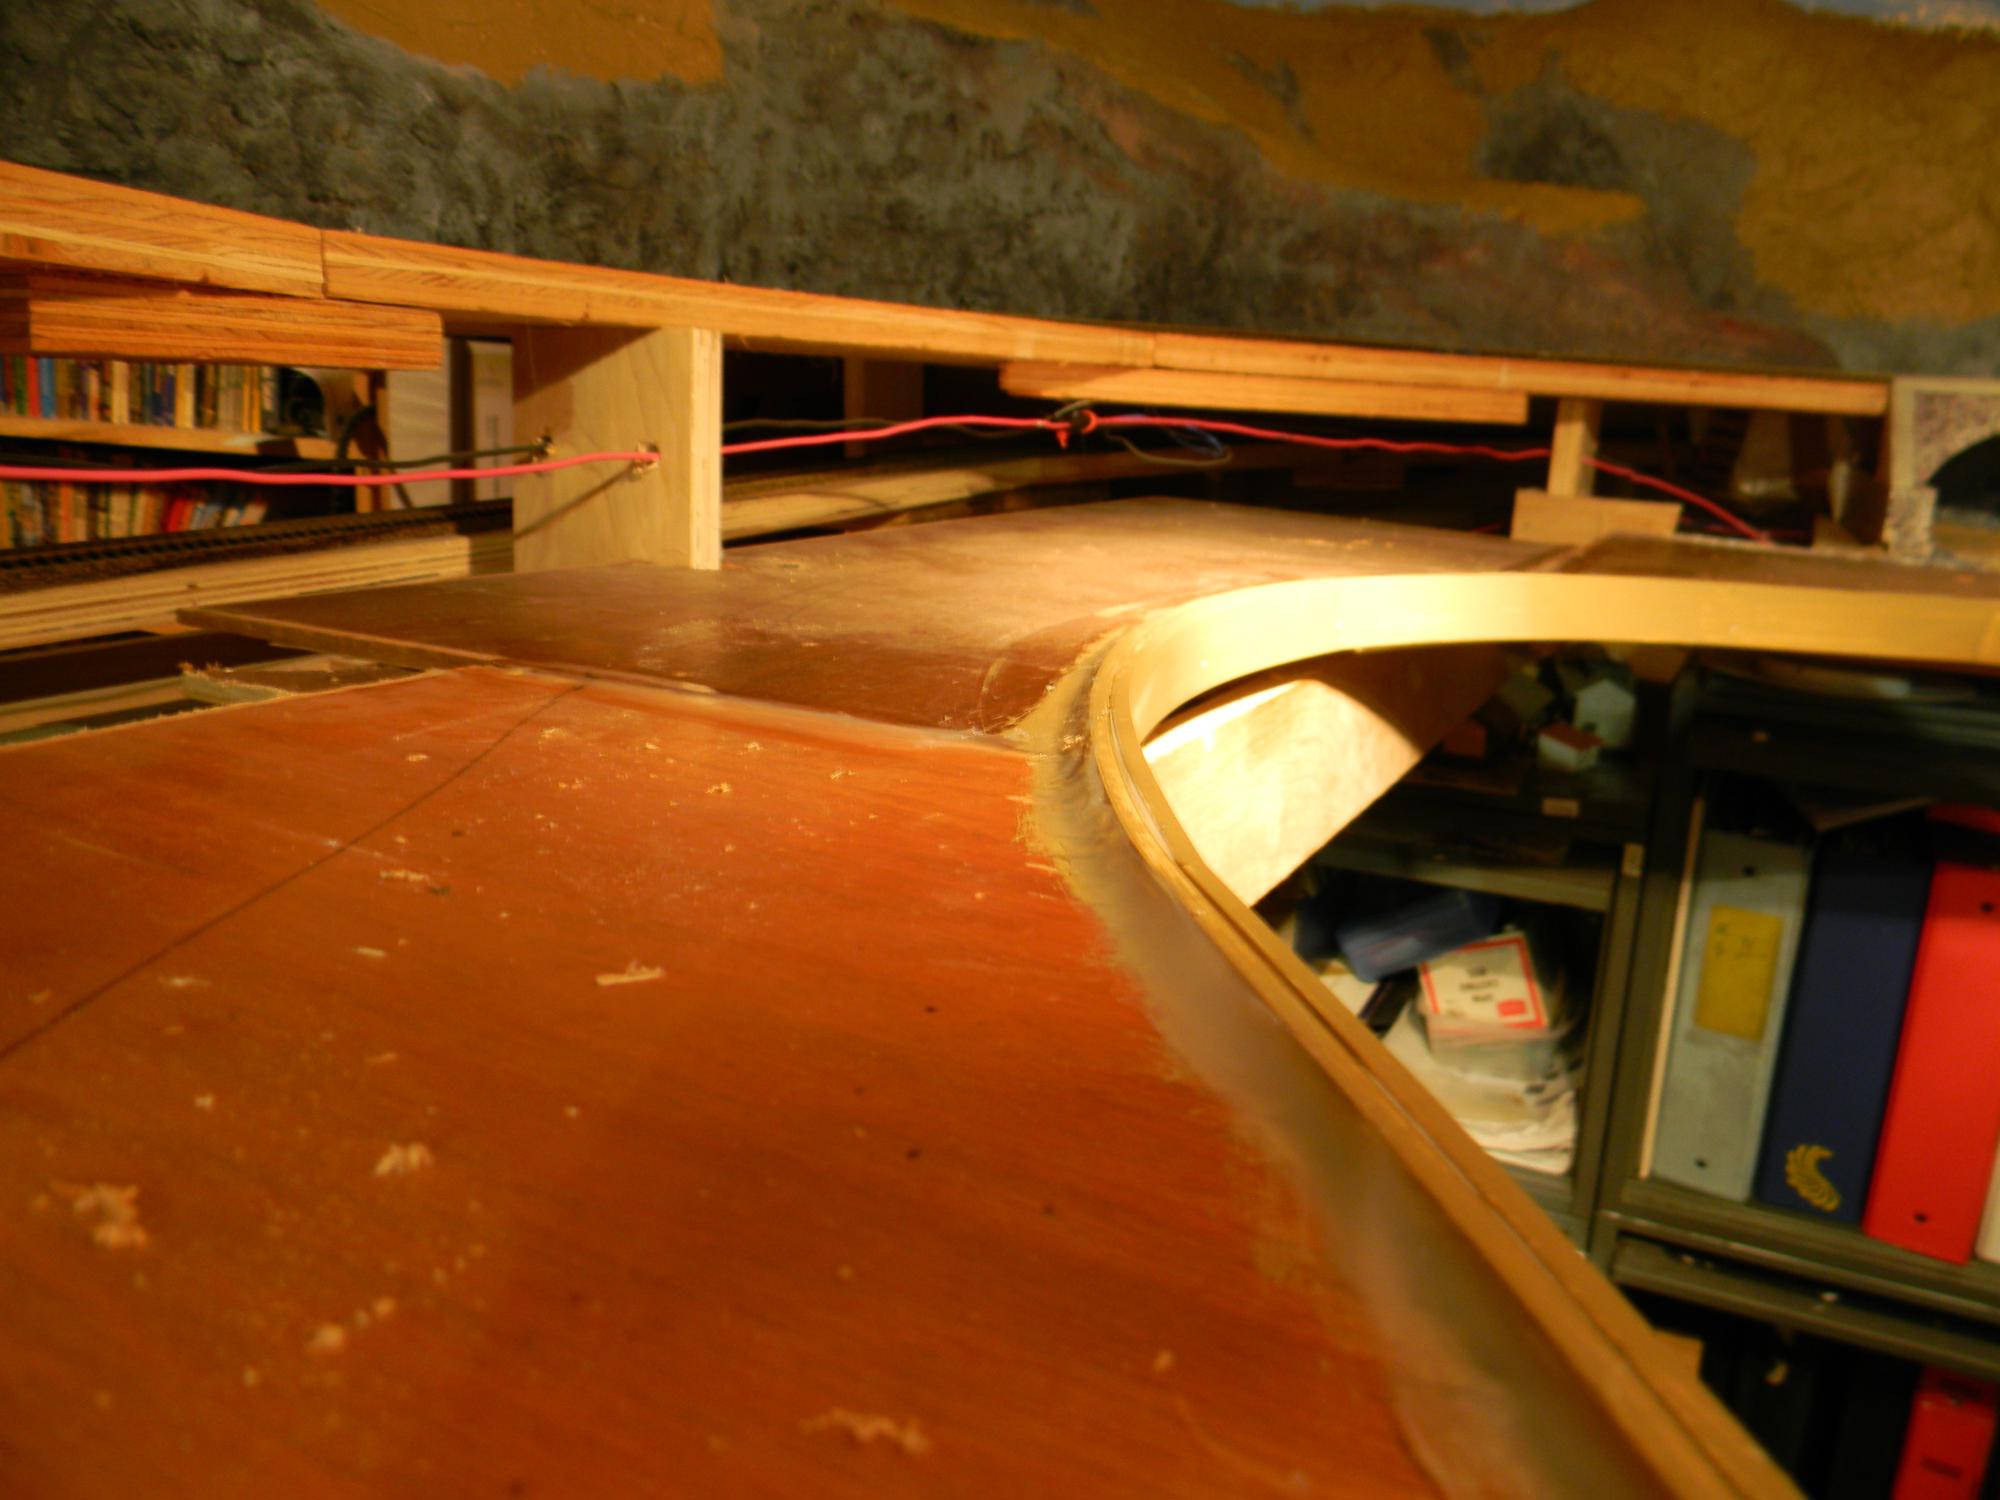
I tried installing some 1 1/2" strips of 1/4" luan plywood as my fascia dams on the edge of the layout where I'm going to pour Realistic Water. Unfortunately, either the luan was old and dried out, or the radii were too tight. Snapped a bunch of it before giving it up. Went to the local Home Depot and picked up some strips of PVC strip molding. Still snapped on a couple of the sharper turns, but made it work. Painted it brown and then ran a bunch of silicone caulk at all of the edges and plywood joints. If you don't, you end up losing a good bit of RW to drips (and you do want to install some drop cloths when you do the application. Next will be the carboard strip work for the embankments followed by plaster cloth over the works.
Posts: 606
Threads: 12
Joined: Jun 2022
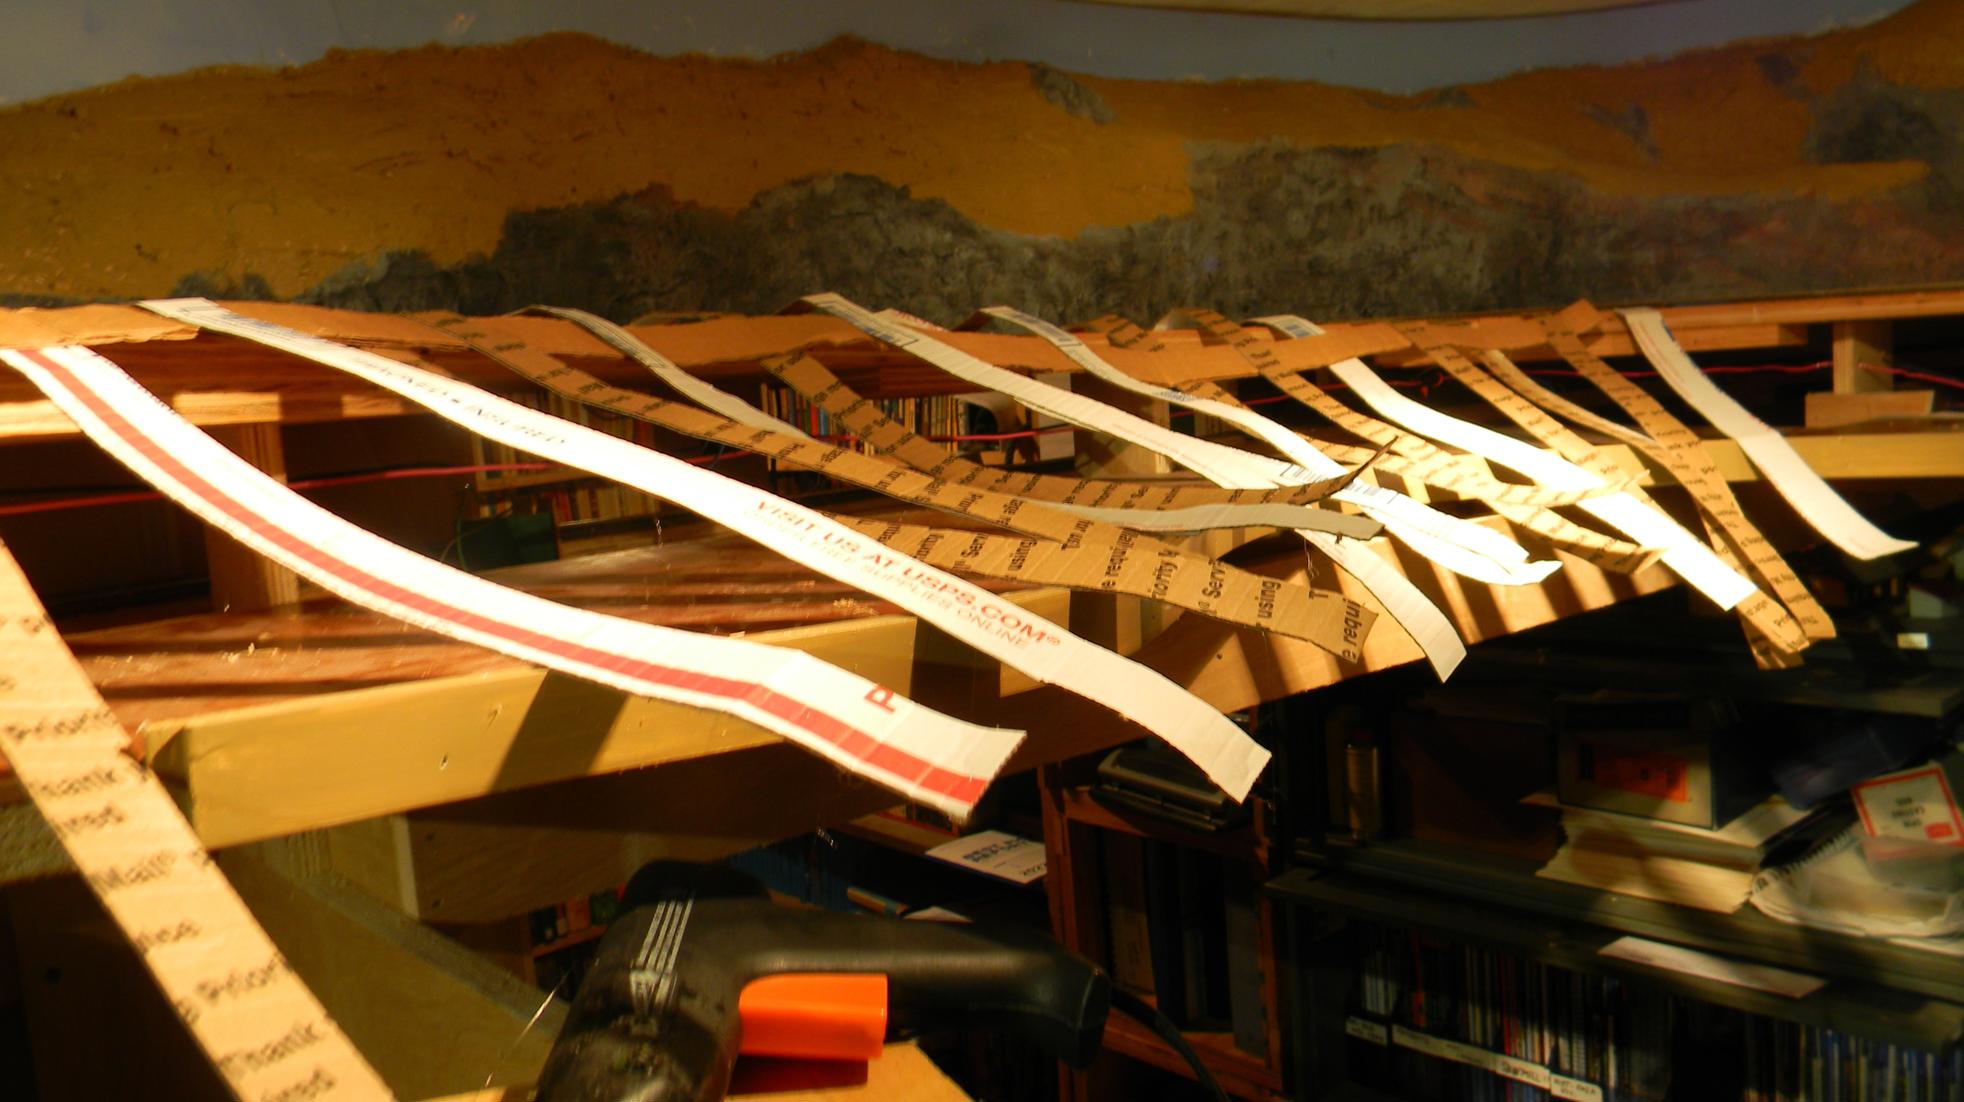
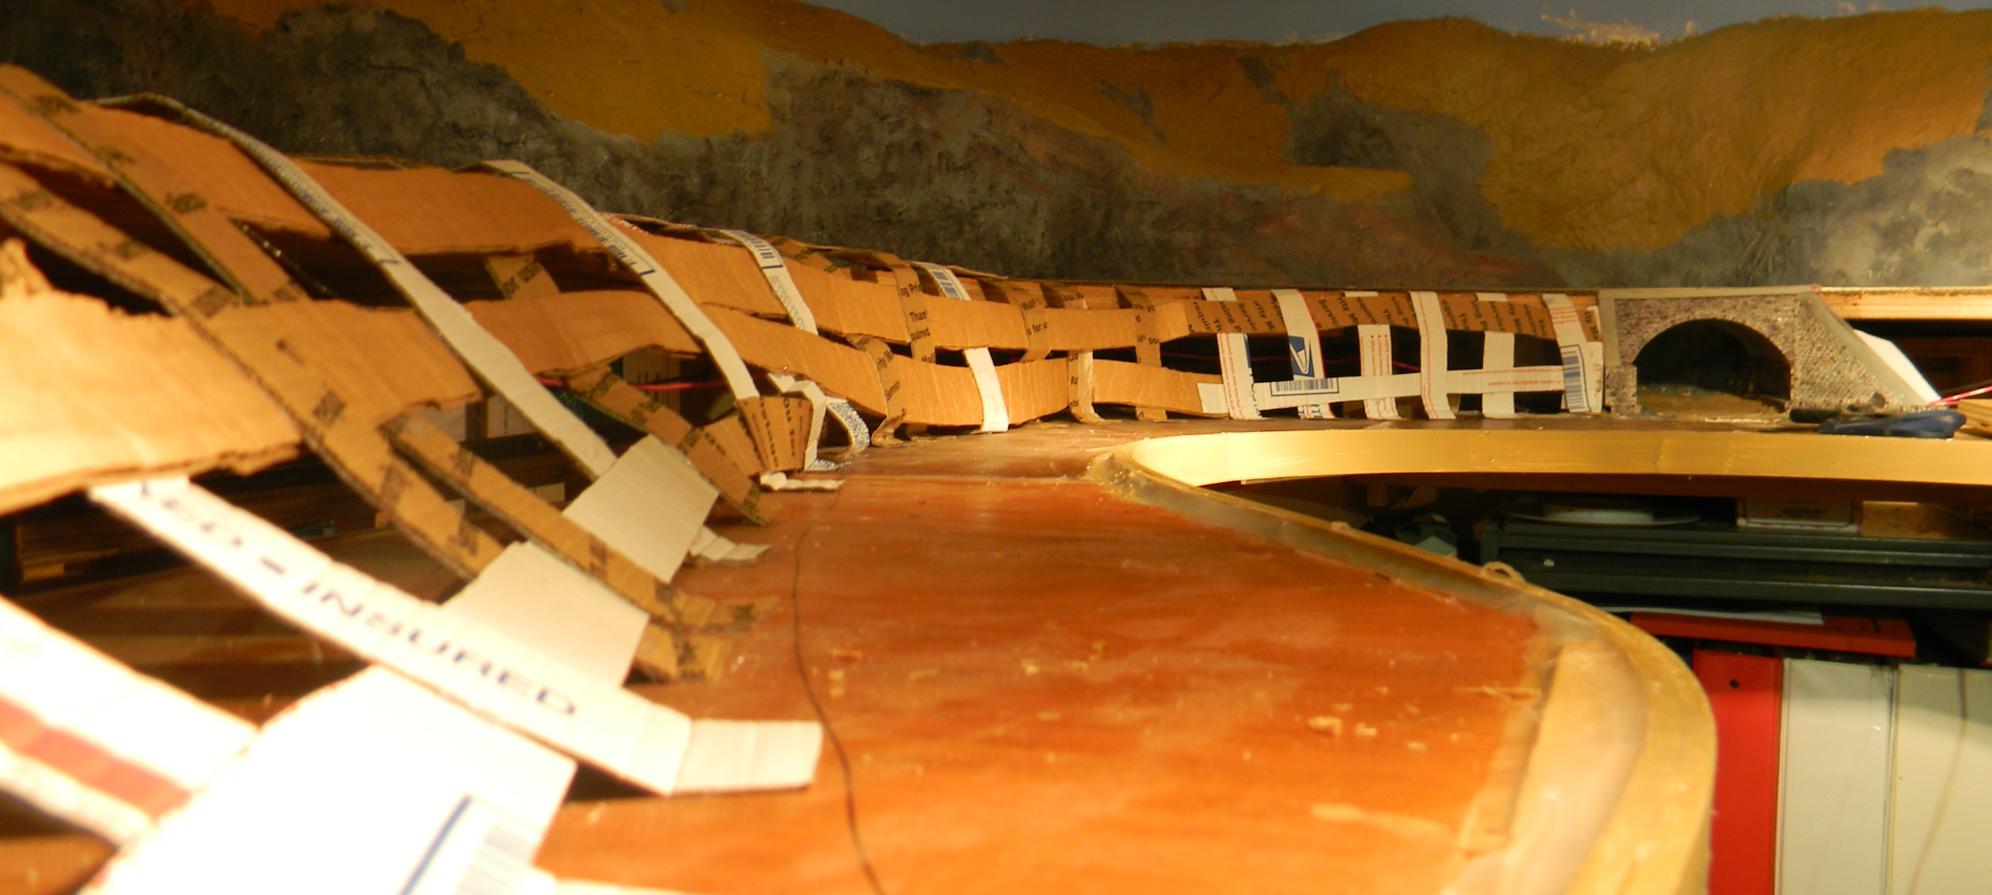
Cardboard strip laying has started. Hope to get it all done tonight. Hot glue gun has been going through some sticks.
Posts: 2,091
Threads: 40
Joined: Dec 2008
Nice progress.
You are starting to make me want to do some layout work.
Posts: 606
Threads: 12
Joined: Jun 2022
Industriousness is infectious! Short days, long nights, cold temps mean time spent indoors.
Posts: 606
Threads: 12
Joined: Jun 2022
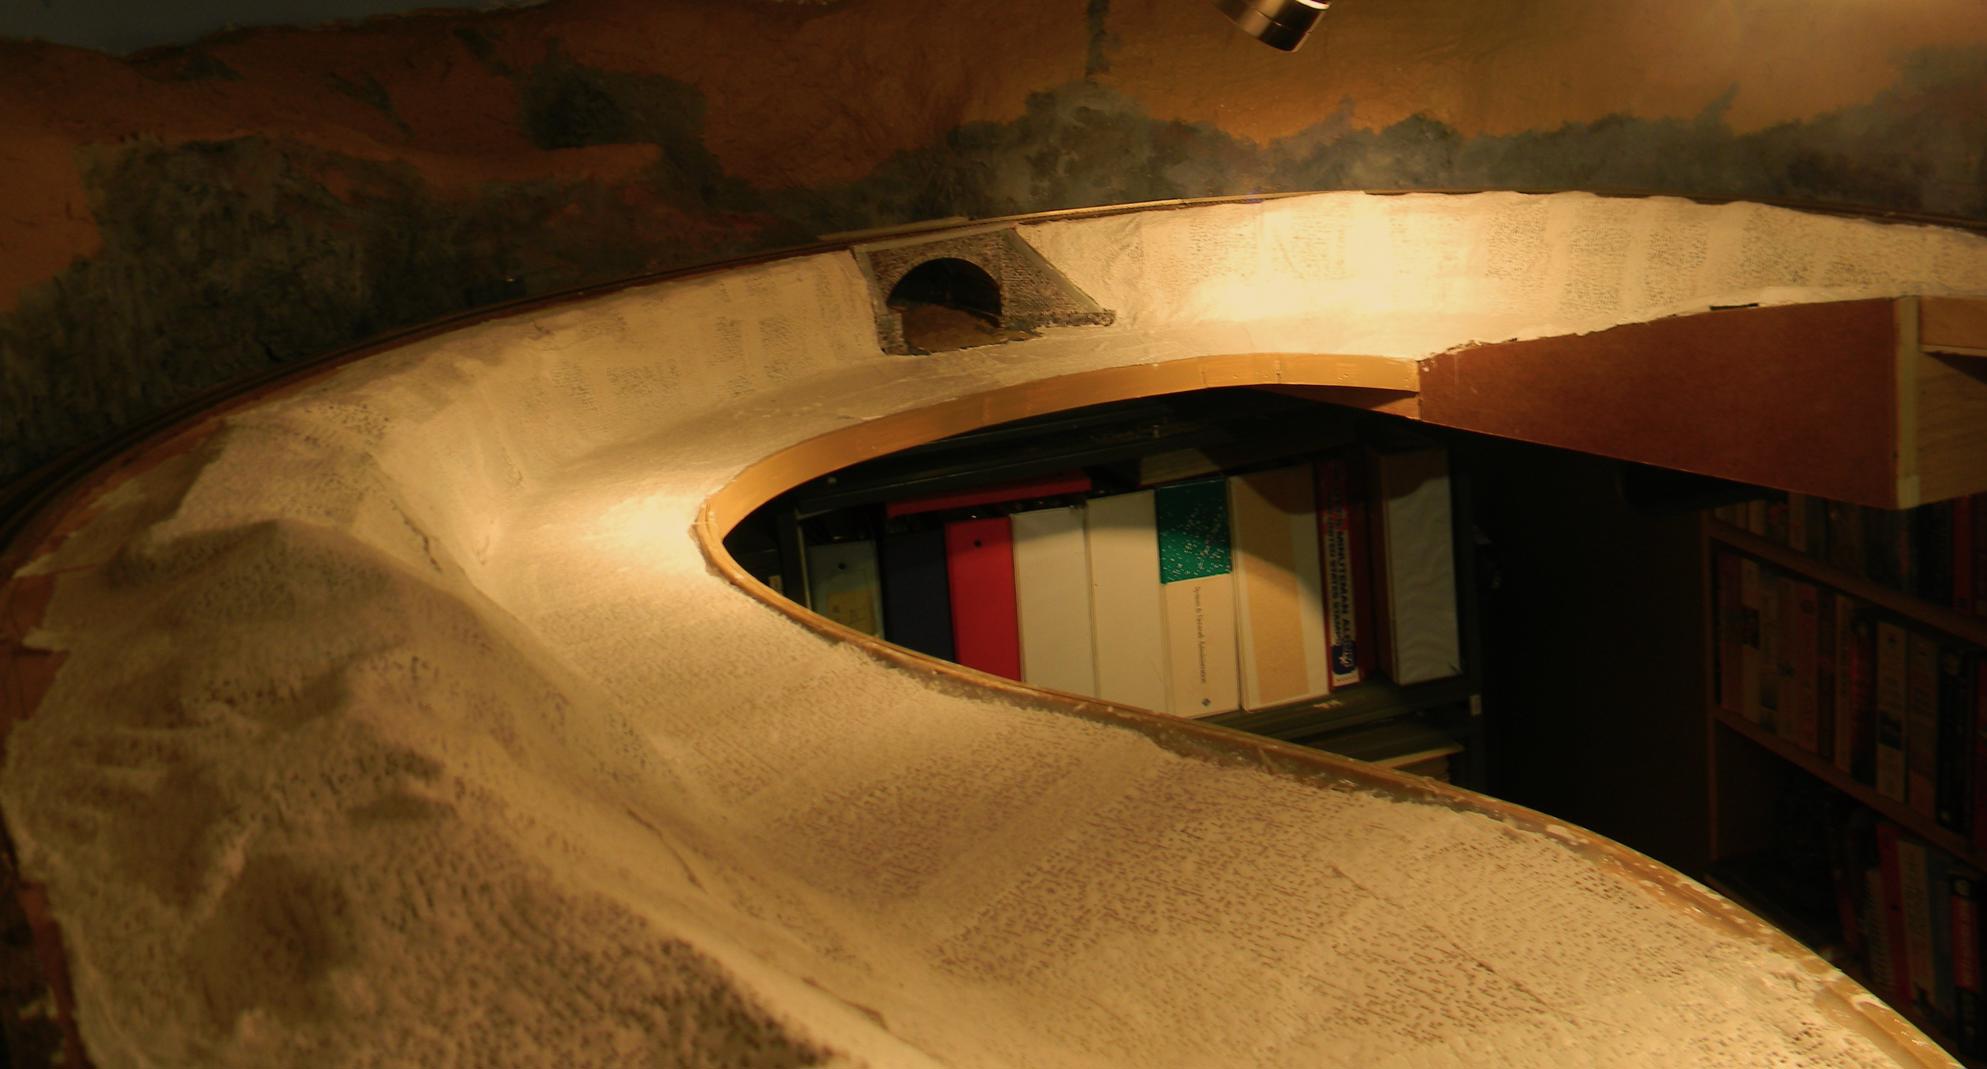
Tonight was plaster cloth night. It's pretty amazing how fast you can lay almost two rolls of the stuff. The Sculptamold will take a bit longer, but I'll try to start tomorrow night.
Posts: 9,733
Threads: 233
Joined: Dec 2008
Todd, that is really looking good and I know it will be great when you finish. Your scenery is excellent.
It is amazing what a little bit of plaster can do. I am past that stage but I do want to make some more rock castings. I am going to use dura bond this time. It is slower setting but seems to be a lot harder after setting.
Charlie
Posts: 606
Threads: 12
Joined: Jun 2022
I need to cast some rock as well, which reminds me that I need to pick up some plaster tonight. I generally precast a whole bunch of rock and piecemeal insert each with a Sculptamold backing, and then I'll tie each "formation" by smearing more Sculptamold in between the individual casts and then applying crumpled aluminum foil over the whole kit and kaboodle and letting it set for a few minutes before removing the foil. I'm sure I'll have a bunch of pictures coming soon of that whole process. And then there's the painting... lot to work on before Mud Run's complete.
Posts: 606
Threads: 12
Joined: Jun 2022
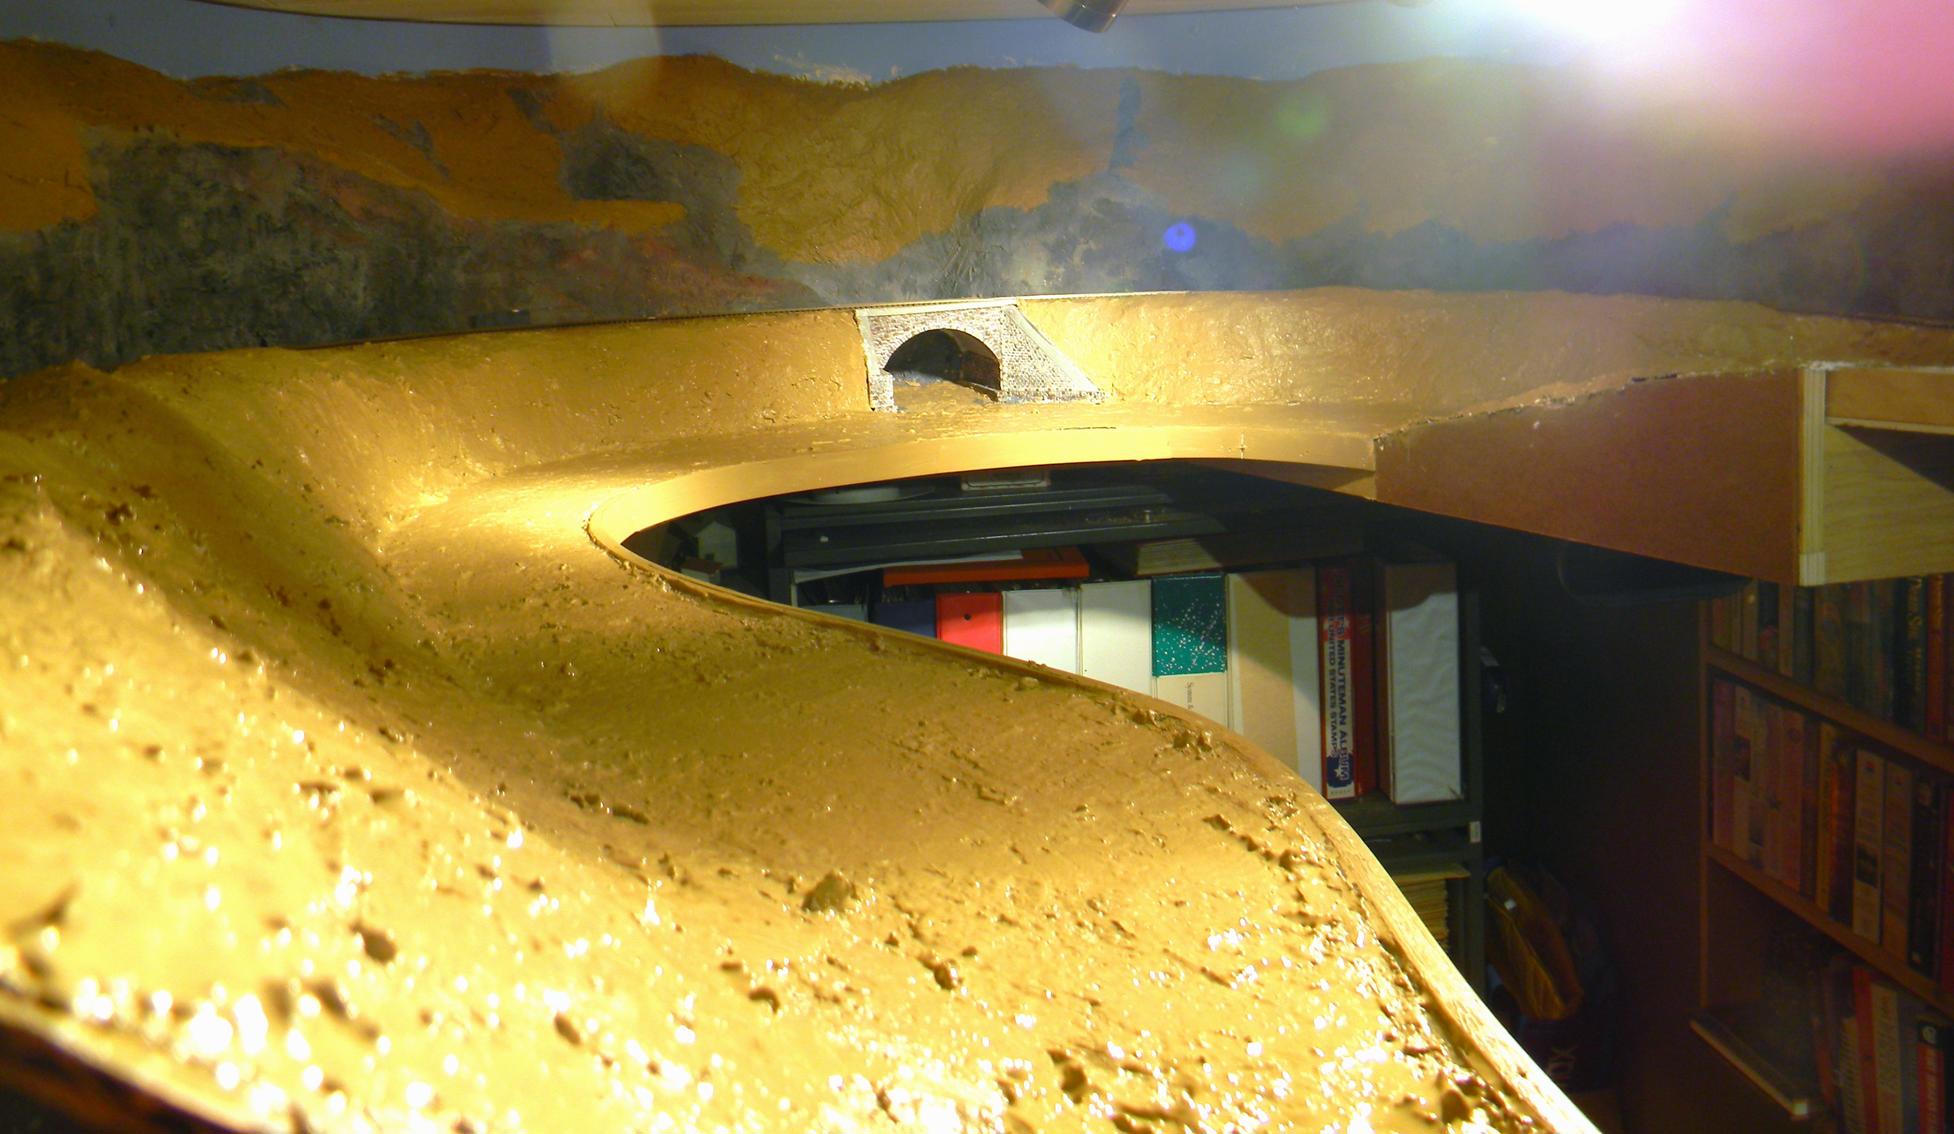
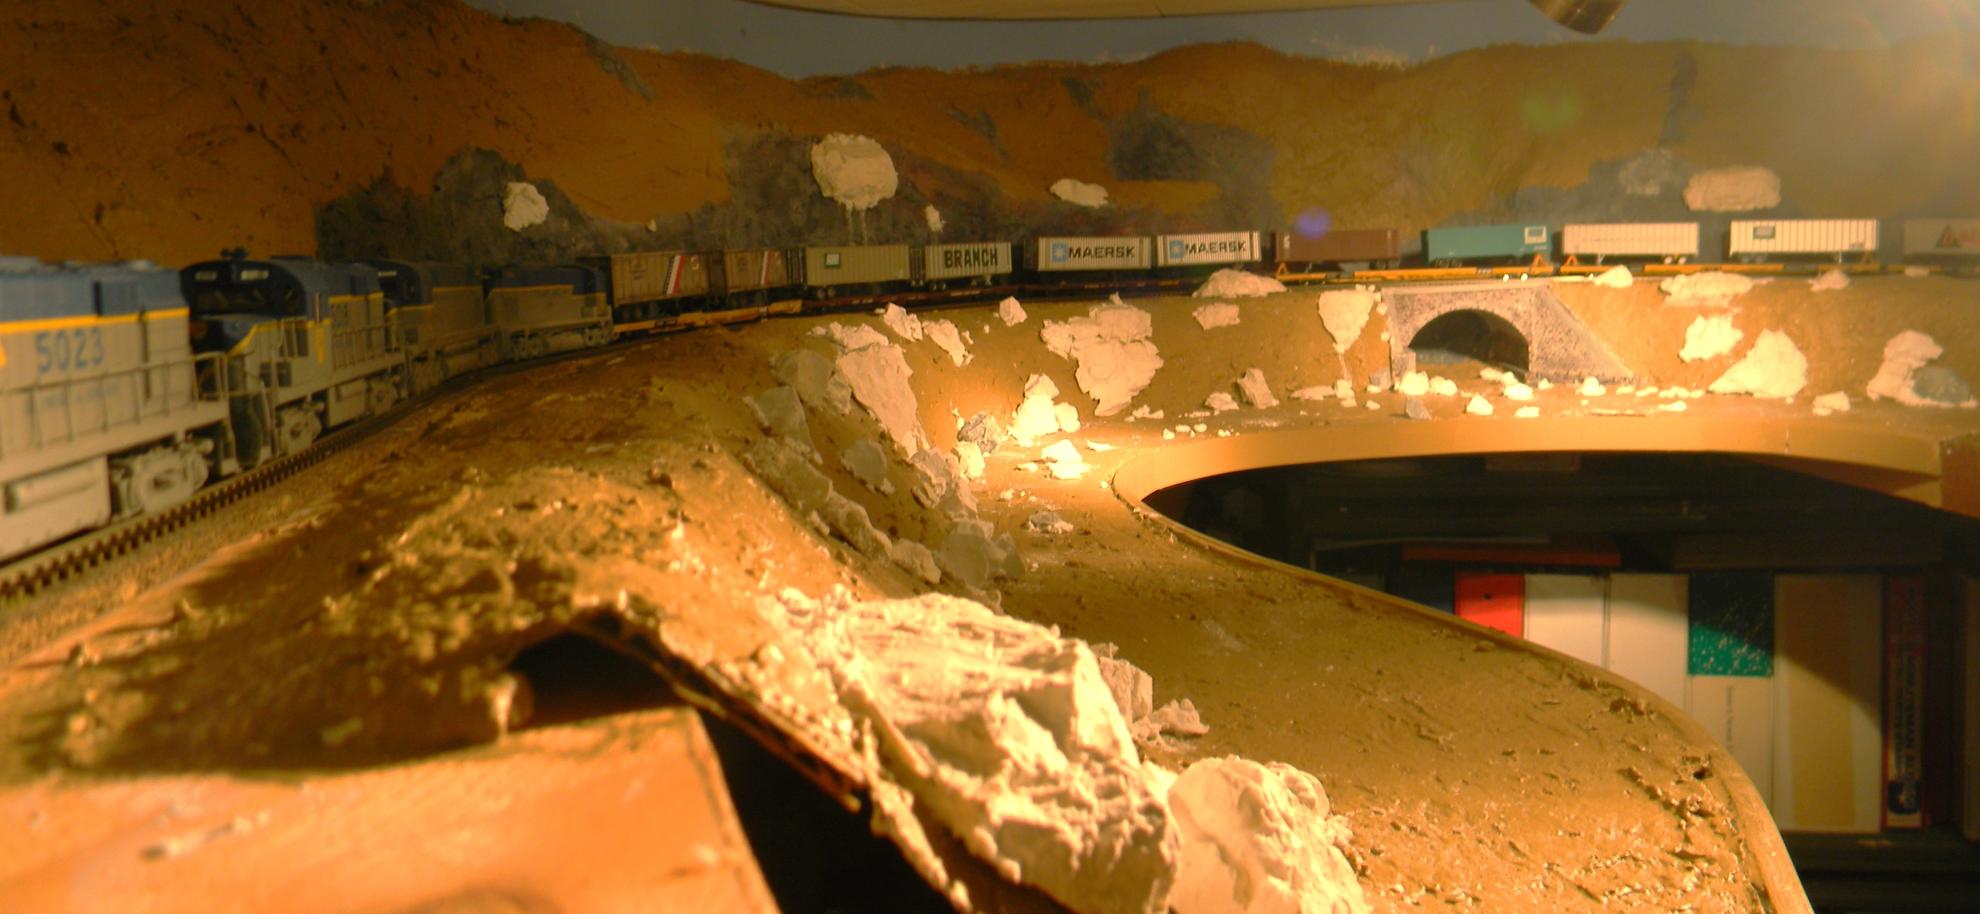
I did buy some plaster, but I haven't cast my new rocks yet. Not to say nothing's getting done. Over the last three evenings I've applied Sculptamold to the plaster cloth and then covered everything with a medium brown base coat to cover the bright white. The paint's still drying in the picture. On a slope this steep and this close to the river and within the river itself, I'm going to end up needing a bunch of rock or painting in a bunch of rock. That's the assignment for the next week or so.
Posts: 606
Threads: 12
Joined: Jun 2022
I've cast some more rock and placed some at various points on the riverbank and in the river - used Sculptamold as adhesive on the larger rocks, craft glue for the small stuff). It now looks like something out of a science fiction landscape - white rocks in a sea of brown. In my experience, paint helps - and that's the next step. The gorge is a mix of shale and slate-colored rocks in a variety of mostly grays, so we mix black and white and maybe a touch of blue or green (moss) for the week.
On the areas of the riverbank, I'll be applying a good bit of scenic elements after painting rock, and a lot of the rock I paint will eventually be covered with some other ground cover (leaves, underbrush, shrubs and trees). I will wait to do most of the ground cover and scenery on the riverbank until I've poured my water and have that finished to my liking.
The riverbed itself will be a mottling of light brown (shallow waters near shore) to deep green (in deeper sections). I'll also have areas rocks protrude above the waterline. More photos forthcoming as the paint is applied.
I'm running the Apollo at low speed while I work.
Posts: 606
Threads: 12
Joined: Jun 2022
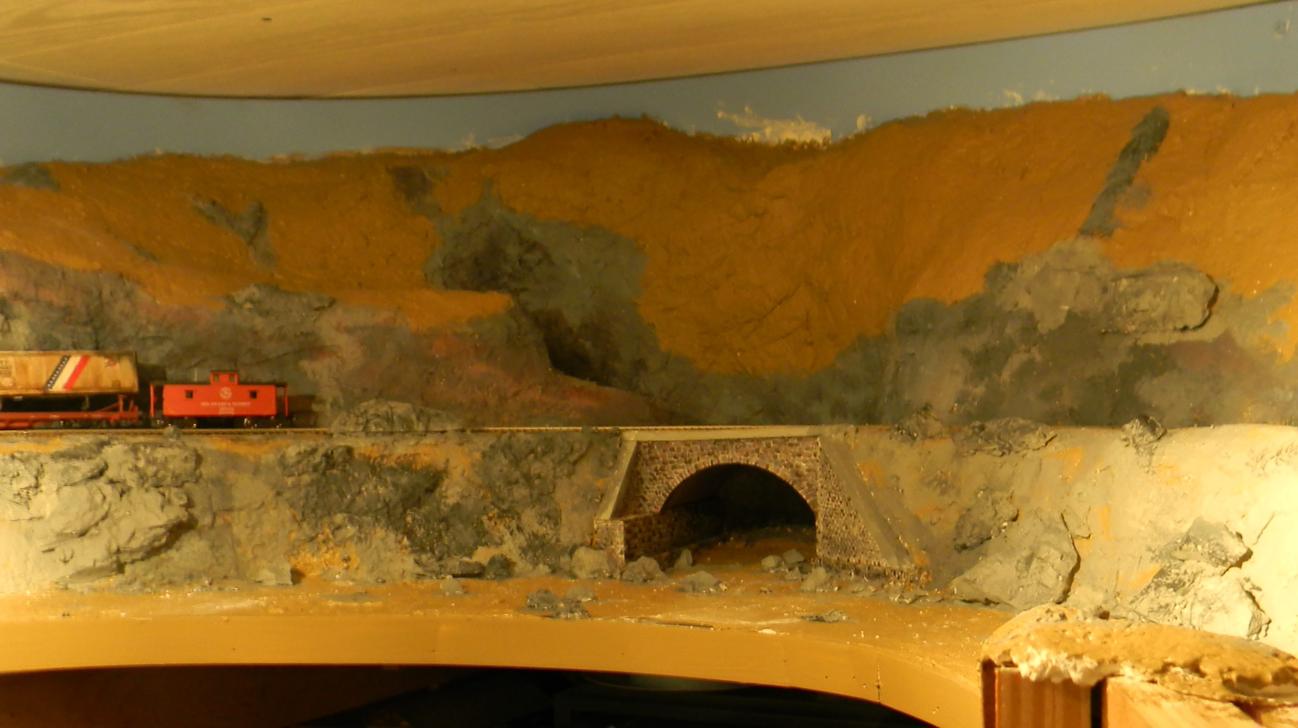
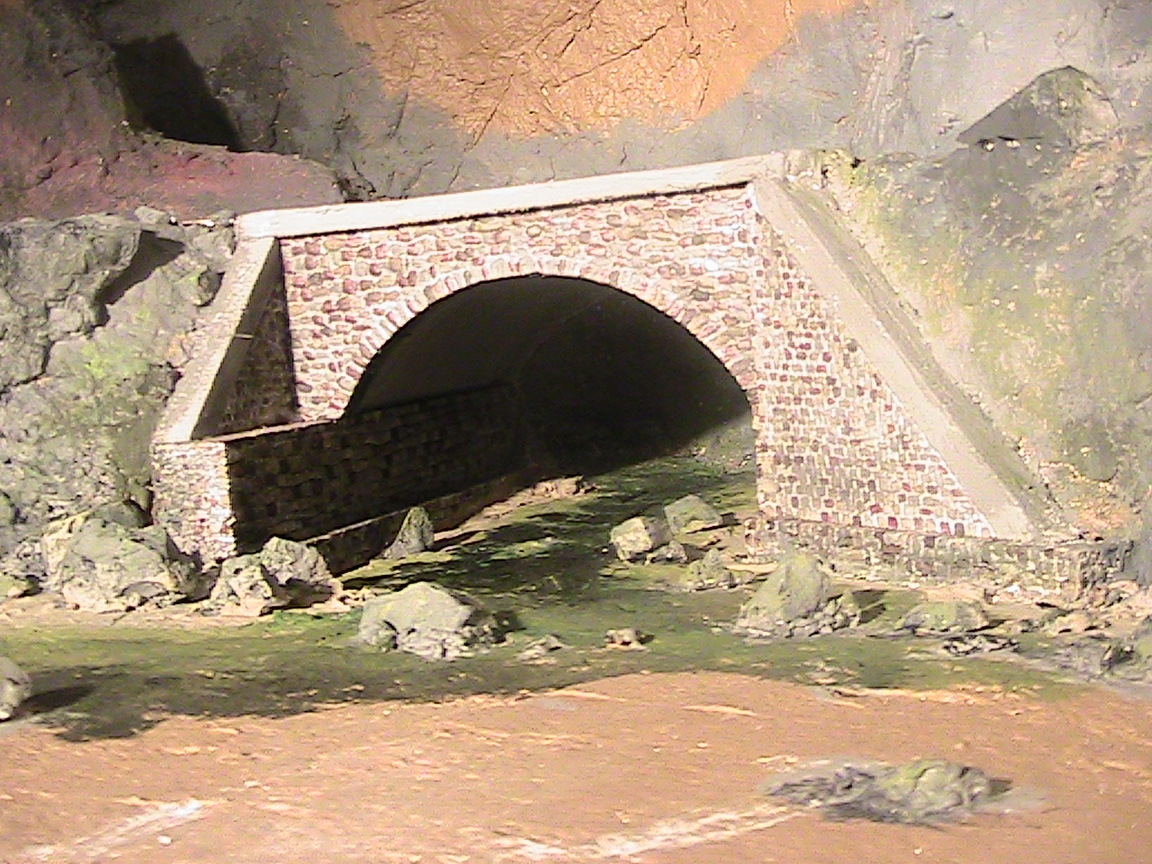
Got rid of the white rocks. Had some leftover gray paint from painting the walls of my garage and used that for the base. Added touches of white and black as I went along and the paint was still wet, and just concentrated on abolishing the white and establishing areas that might be rocks or rock faces. The more vertical the slope, the more rock I "exposed". On areas with more moderate slope, I'll have a lot more opportunities to add ground covers, shrubs and trees.
In later phases of painting, I'll bring out graining in the rock and add some other colors (for instance, everything right of the bridge will be in shade for most of the day and will be subject to moss growth), but for now, at least I have a base that I can work with. The plaster also soaks up paint and I'll have to return layer and hit some small white areas. I'll probably work on some of that stuff tonight and re-evaluate tomorrow night.
Posts: 5,859
Threads: 175
Joined: Dec 2008
It looks to me like a pretty-good start.   
Wayne
Posts: 9,733
Threads: 233
Joined: Dec 2008
Well, last time I looked it was white rock, now it looks like a railroad embankment.
Looking great Todd.
Charlie
Posts: 606
Threads: 12
Joined: Jun 2022
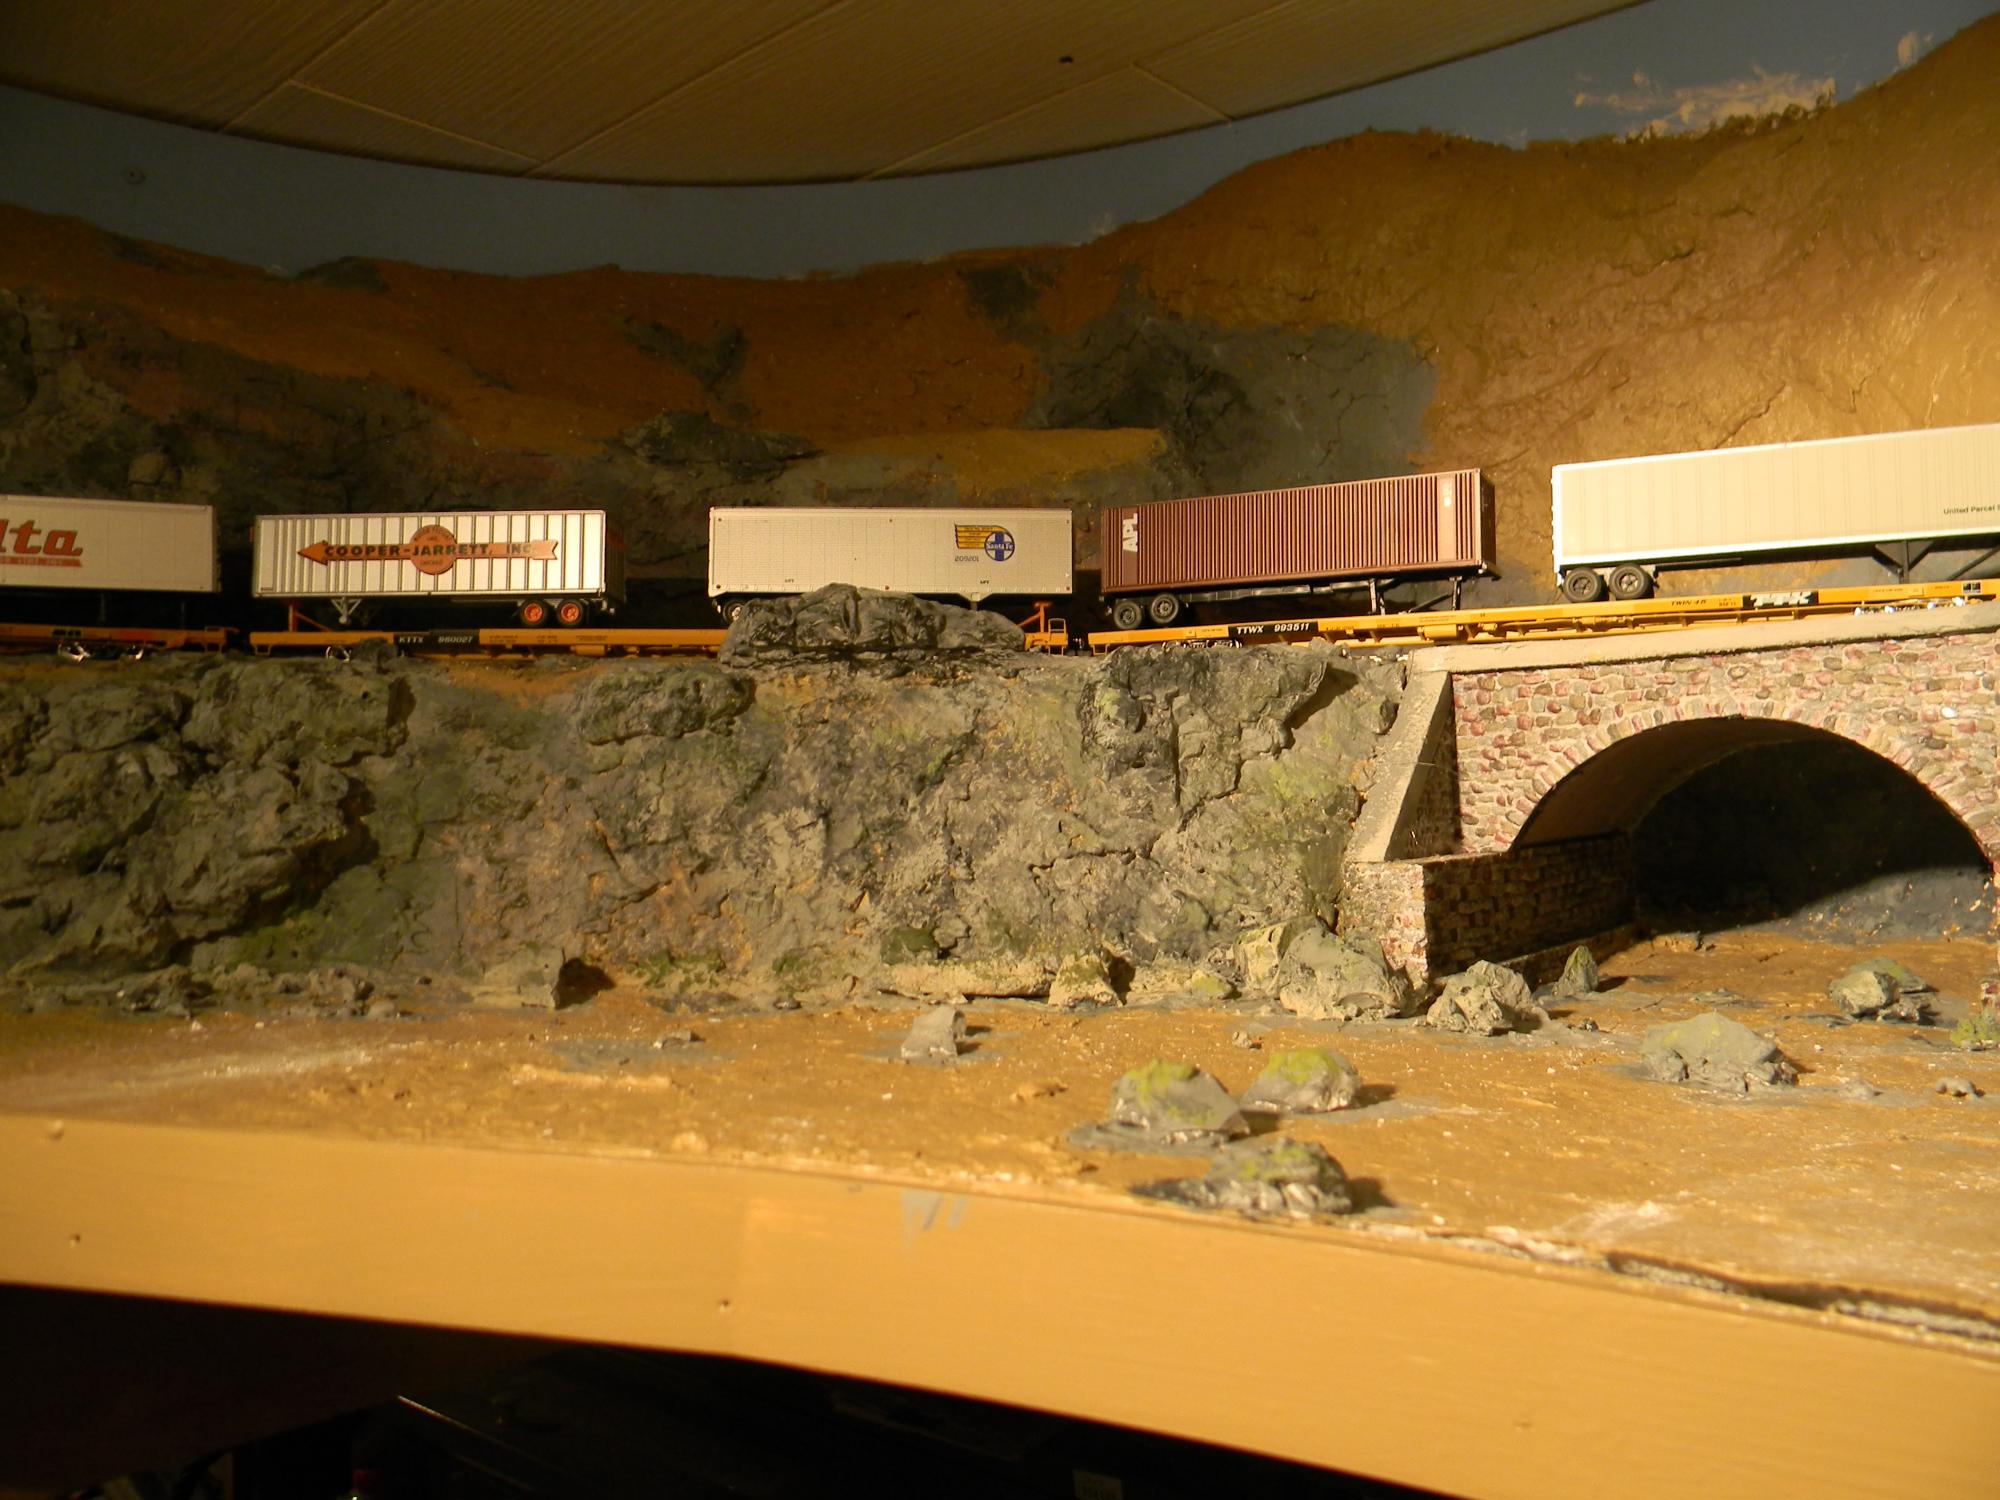
Last night was embellishment time. Damp and shaded areas near the river are going to have a good deal of moss and that'll include rocky areas on the north side of things. I loaded up the paint pallet with some black, white and a herd of different greens and browns and turned my brain off. Dabbed a bit here and there and if I didn't like what I created, there was always a dip in the black and white to produce gray as an eraser. I also made sure to hit the areas close the edge of the shoreline with a light brown to show silt from a recent heavy rain event. If I get a chance tonight, I'll hit the rocky areas behind and under the bridge using the same techniques and I'll try to start painting in the colors for the river and the Mud Run tributary.
Posts: 606
Threads: 12
Joined: Jun 2022
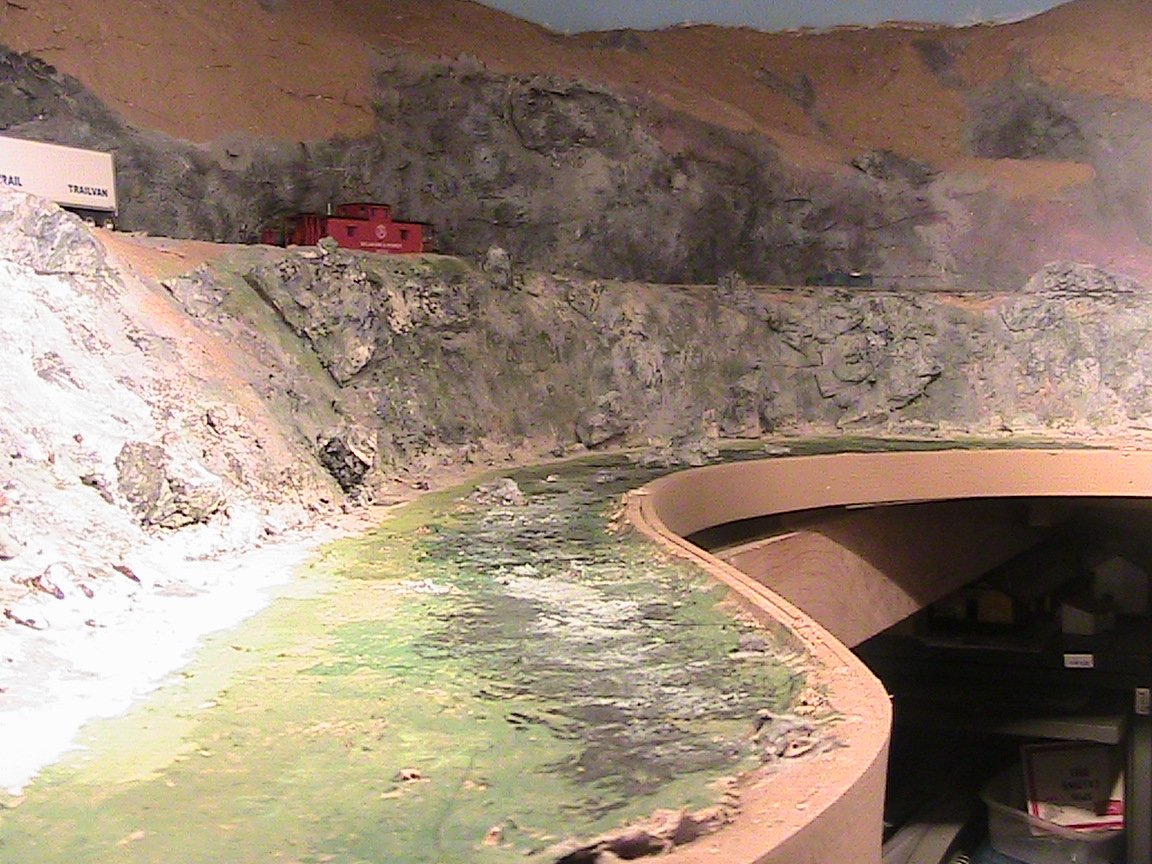
And here we go with water for the Lehigh River and Mud Run. With the proximity to stone and tons of trees, there's not going to be much "blue" in the water, green, gray, black and tan for silt on the edge. Got about half of the initial work done tonight, hope to finish the rough work tomorrow. Looks like a lot of work, but again, I go with my philosophy of adding color until I like it. There are basically only a few colors on my pallet - three or four varieties of green, black, white and tan. I apply with a brush that's about 3/8" wide and load it up with color and go crazy. It's really just that simple. A couple of photos:
|


