03-18-2020, 10:13 PM
Thanks for the encouragement, guys. 
I finished painting the support structure a few minutes ago....what a miserable job. I'm using Scalecoat paint, not more than a few years old, but apparently with a short shelf-life. It was actually a combination of some black and red, so a decent brown colour for creosote. Unfortunately, it's mostly sludge and too thick to shake with any hope of blending the colours. It was actually destined for a trip to the hazardous waste depot. I gave it a few stirs, then more-or-less daubed it on, as it starts to dry almost as soon as it hits the plastic. Luckily, most of it is underneath, discoverable only by the next owner.
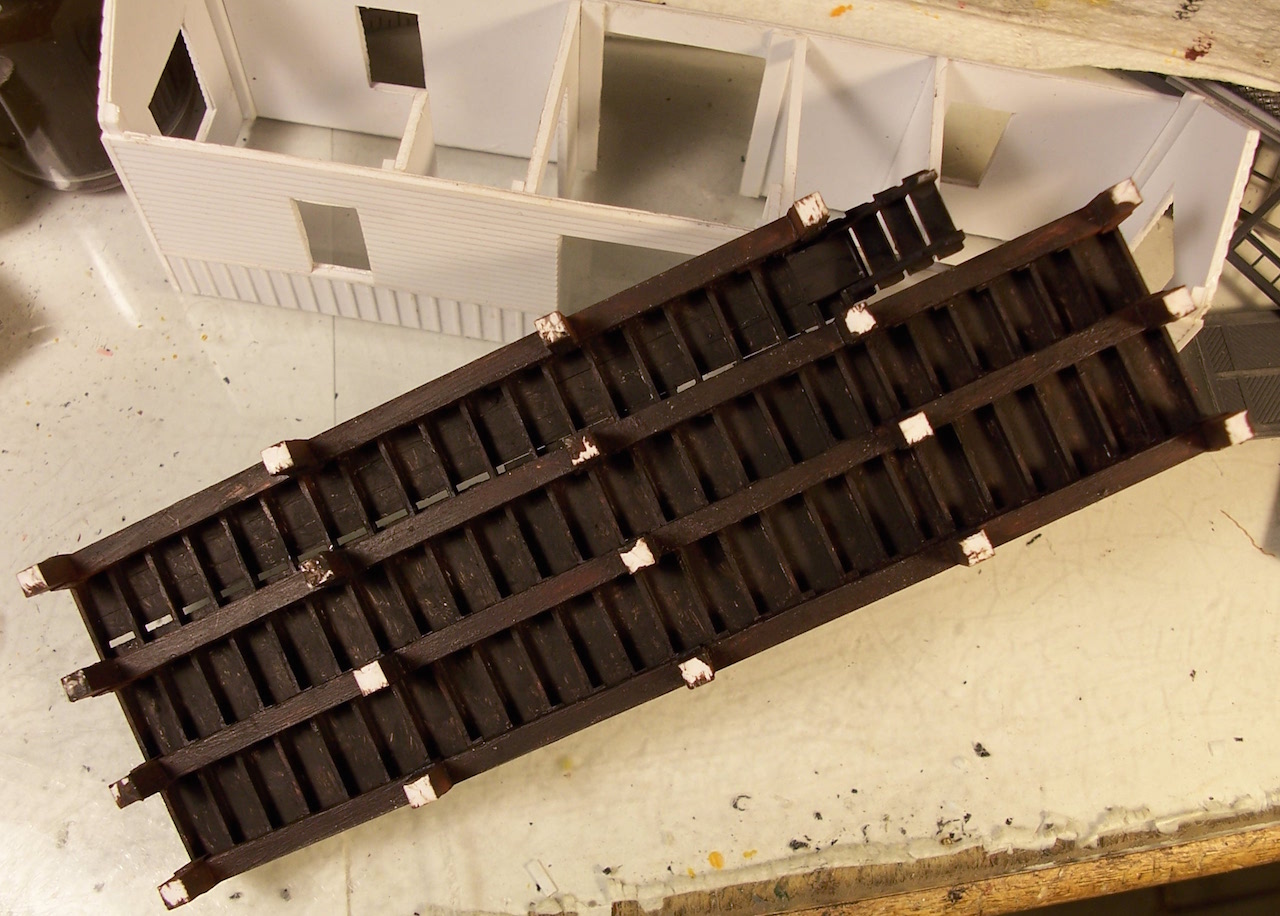
Here's the start of the warehouse, which is designed to snap-in-place onto its base...
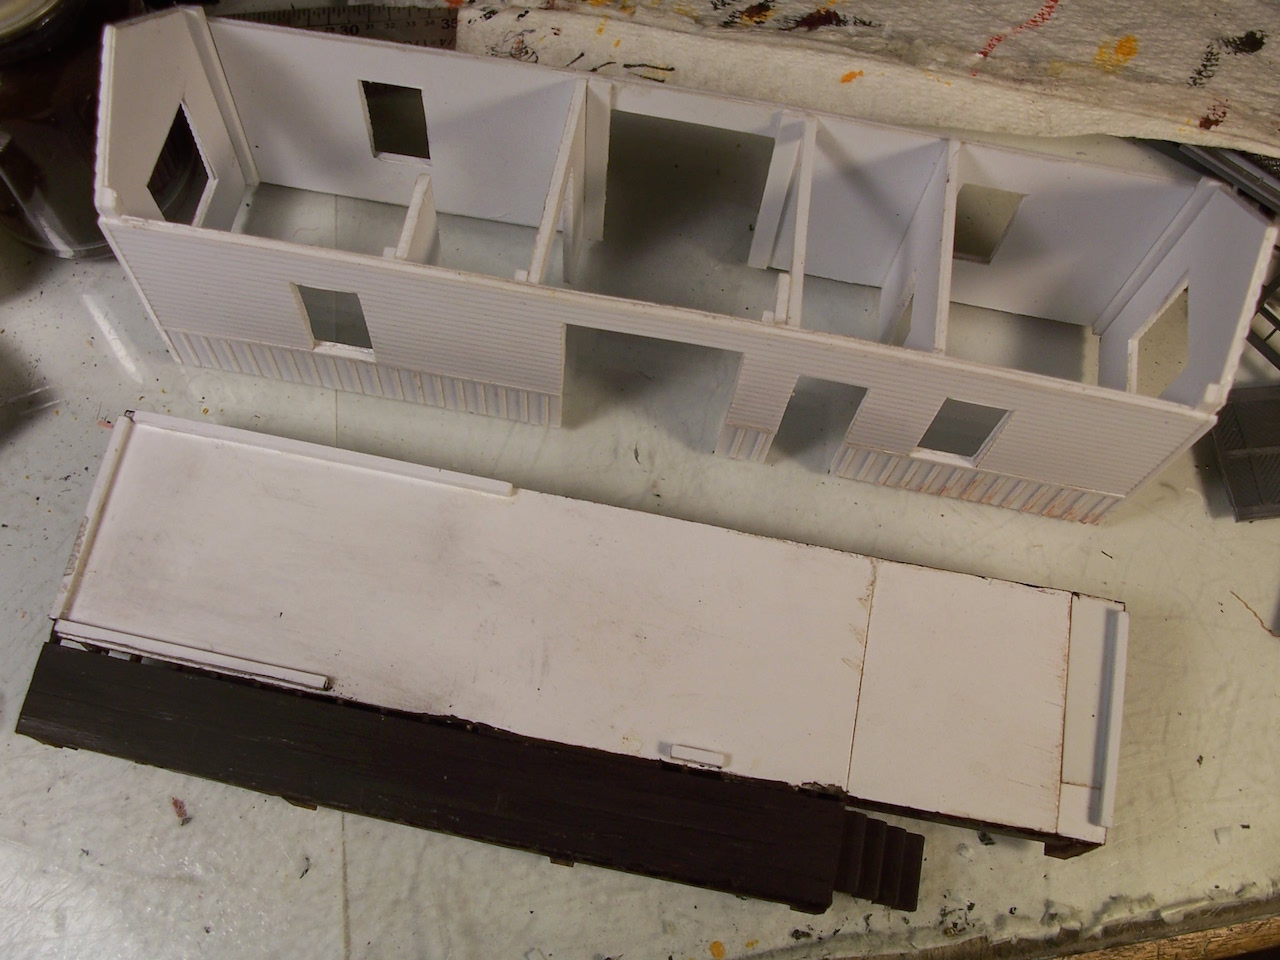
...and installed on the base, showing the floorplan...
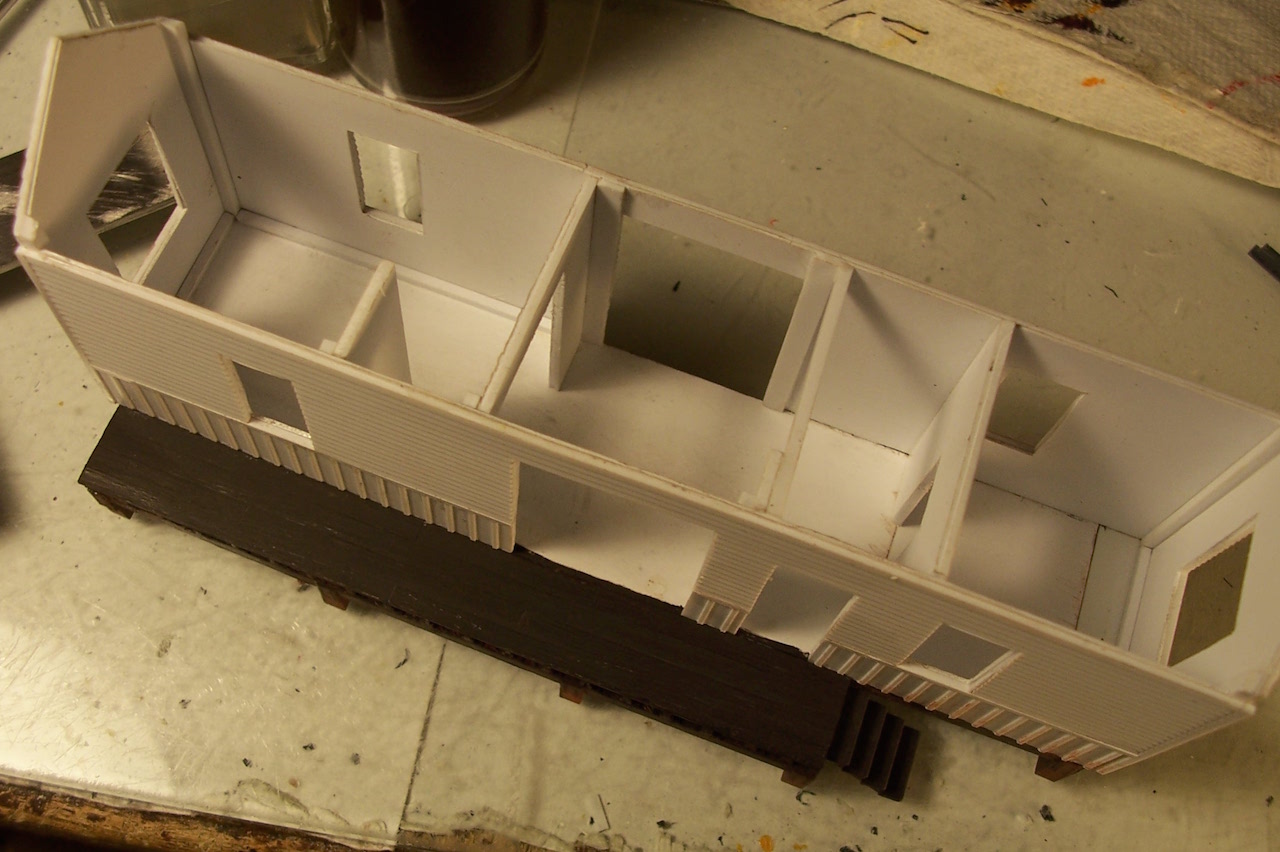
It was originally going to be all one room, but the walls are rather flimsy, so I added an interior liner of .020" sheet styrene, then decided that an office was needed for the agent, and also added a few semi-partitions in order to stiffen the walls.
I'll probably make a removeable roof, but will also leave the structure removeable from its base, as it will make any future interior work easier. I do plan to make at least the freight doors operable...they'll be simple sliders, somewhat like those on a boxcar, but in the interior of the building.
Here's a view of the front (viewable side when on the layout)...
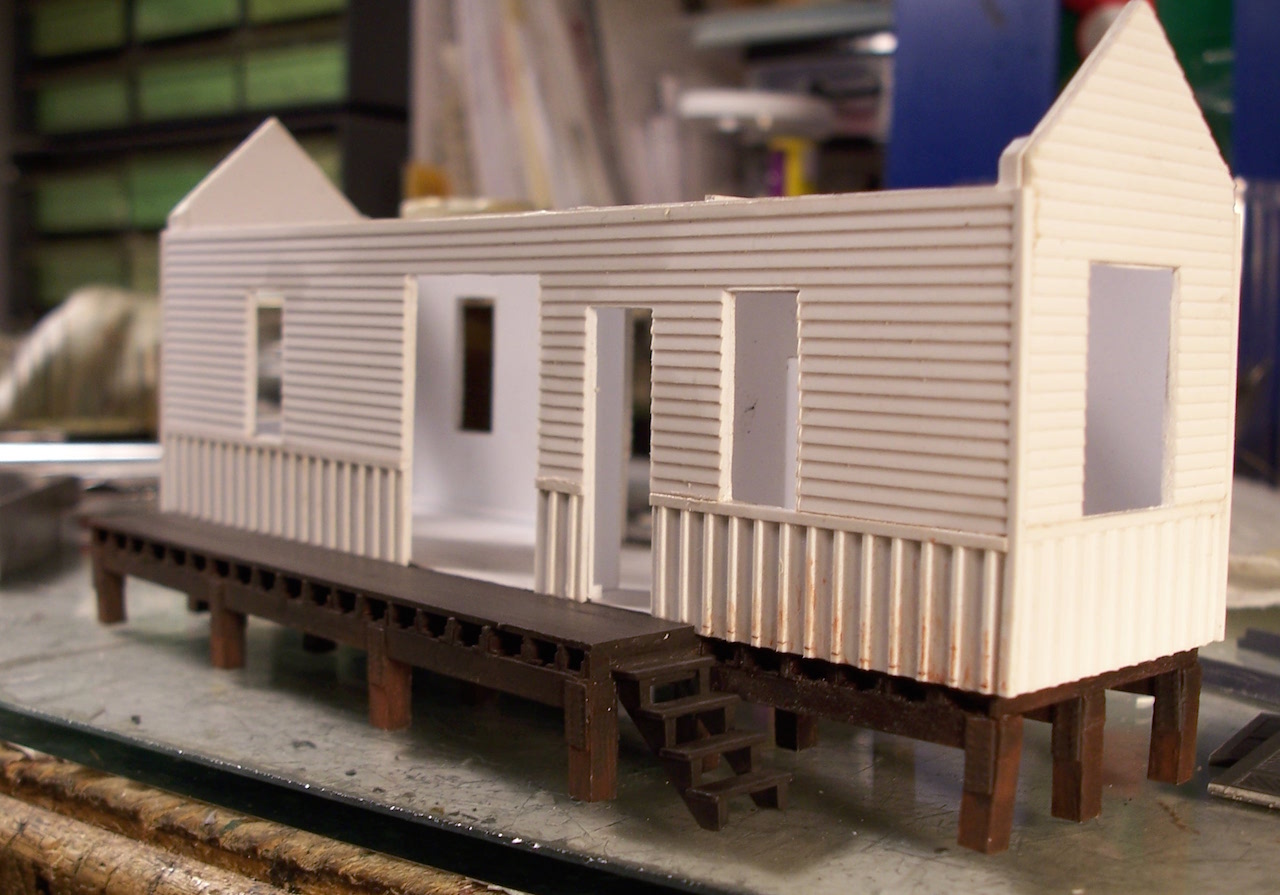
...and the back, which will face the siding....
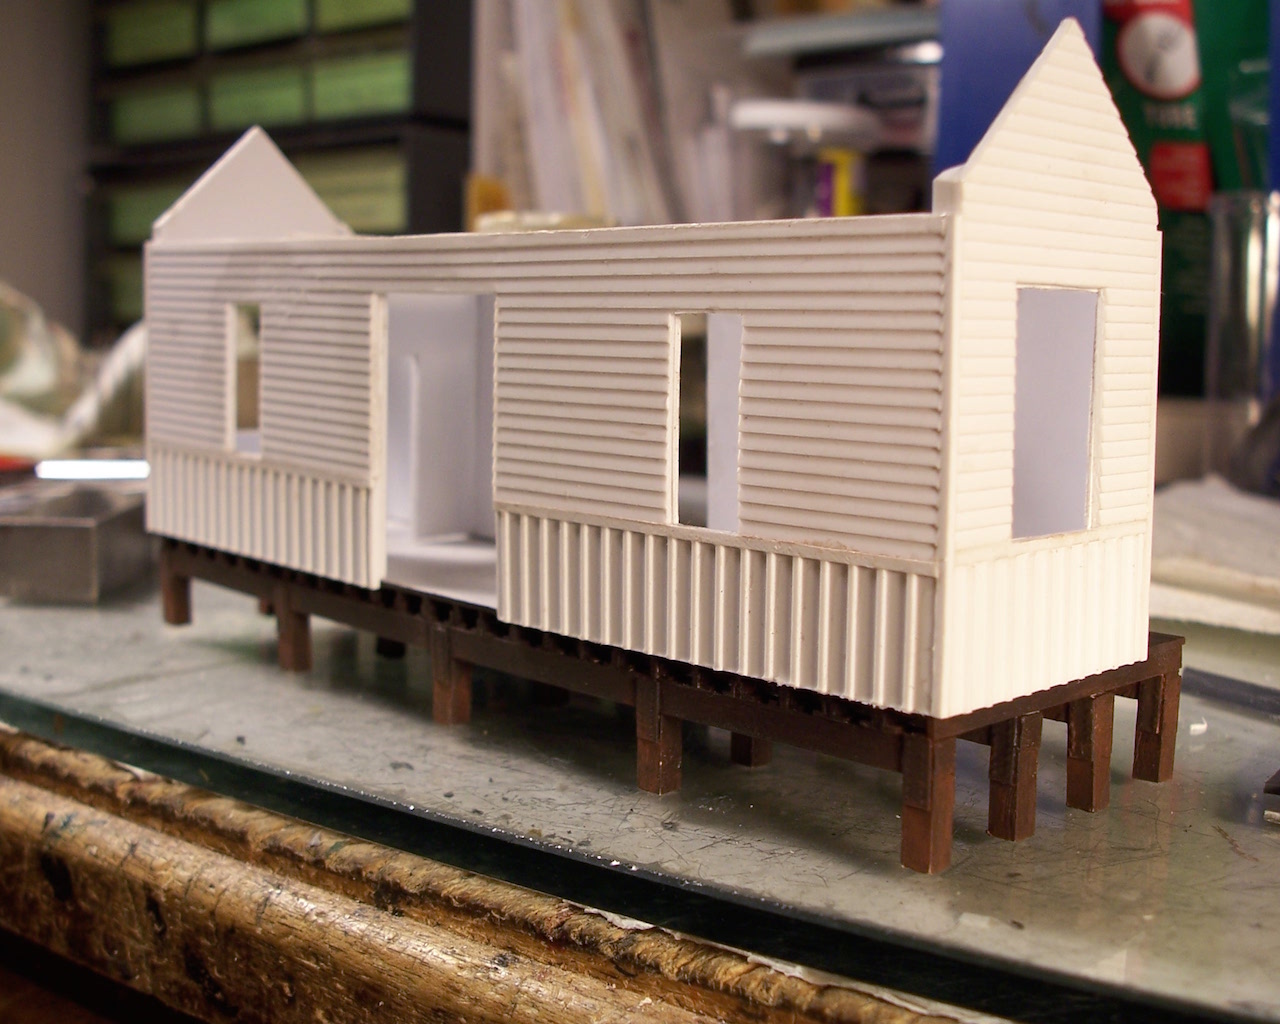
I was about to wash the building, along with the doors and windows, in preparation for painting, but I think that I should build the roof structure first.
Wayne

I finished painting the support structure a few minutes ago....what a miserable job. I'm using Scalecoat paint, not more than a few years old, but apparently with a short shelf-life. It was actually a combination of some black and red, so a decent brown colour for creosote. Unfortunately, it's mostly sludge and too thick to shake with any hope of blending the colours. It was actually destined for a trip to the hazardous waste depot. I gave it a few stirs, then more-or-less daubed it on, as it starts to dry almost as soon as it hits the plastic. Luckily, most of it is underneath, discoverable only by the next owner.
Here's the start of the warehouse, which is designed to snap-in-place onto its base...
...and installed on the base, showing the floorplan...
It was originally going to be all one room, but the walls are rather flimsy, so I added an interior liner of .020" sheet styrene, then decided that an office was needed for the agent, and also added a few semi-partitions in order to stiffen the walls.
I'll probably make a removeable roof, but will also leave the structure removeable from its base, as it will make any future interior work easier. I do plan to make at least the freight doors operable...they'll be simple sliders, somewhat like those on a boxcar, but in the interior of the building.
Here's a view of the front (viewable side when on the layout)...
...and the back, which will face the siding....
I was about to wash the building, along with the doors and windows, in preparation for painting, but I think that I should build the roof structure first.
Wayne


![[Image: 100_8725.jpg]](https://i23.photobucket.com/albums/b399/doctorwayne/Some%20layout%20views%20II/100_8725.jpg)
![[Image: MoW%20building%20view%201.jpg]](https://i23.photobucket.com/albums/b399/doctorwayne/STRUCTURES%20%20PART%20II/MoW%20building%20view%201.jpg)
![[Image: MoW%20building%20view%202.jpg]](https://i23.photobucket.com/albums/b399/doctorwayne/STRUCTURES%20%20PART%20II/MoW%20building%20view%202.jpg)
![[Image: MoW%20building%20view%203.jpg]](https://i23.photobucket.com/albums/b399/doctorwayne/STRUCTURES%20%20PART%20II/MoW%20building%20view%203.jpg)
![[Image: Challenge%20part%203a.jpg]](https://i23.photobucket.com/albums/b399/doctorwayne/STRUCTURES%20%20PART%20II/Challenge%20part%203a.jpg)
![[Image: Challenge%20part%203b.jpg]](https://i23.photobucket.com/albums/b399/doctorwayne/STRUCTURES%20%20PART%20II/Challenge%20part%203b.jpg)