Rainbows in the Lehigh Valley Gorge
#91
I've always found painting rail and ballasting track to be very relaxing, and I've used both the Woodland Scenics ballast and real limestone ballast, too.
An easy method to groom it before applying diluted white glue is to use a 3/4" wide brush, with soft bristles, then simply hold it as close, and parallel to the track as possible,  dragging it over the ties.  You can then follow-up to remove any ballast that's still atop the ties.  All that's needed is to lay the brush-handle across the rails, then, with your free hand, rapidly tap the handle as you move along the track, bouncing the excess ballast off the ties and then into the area between the ties.

Wayne
Reply
#92
Thanks Wayne! I'm going to try that tonight.
Check out my "Rainbows in the Gorge" website: http://morristhemoosetm.wixsite.com/rainbows
Reply
#93
Speaking of things to try, I know back in the summer I promised a track plan that wasn't just scrawled on Engineer Pad to give a better idea of the scale and design of "Rainbows in the Gorge". I (obviously) have a computer and use one for lots of stuff (work and personal). I've had good luck with Freeware in the past (knock on a lot of wood!) and did a search on "Model Railroad Design Freeware" and ran into XtrackCAD which offers a free download and is Open Source (I think through the GNU project). I don't know much about it yet, but I'm going to make an attempt over the coming weeks to use it to model what's already built and to see if it might also trigger some changes in what I'm thinking of doing for the remainder of the space. More to follow (I hope).
Check out my "Rainbows in the Gorge" website: http://morristhemoosetm.wixsite.com/rainbows
Reply
#94
Back to scenery!

I did make a little headway working on a digital representation of my layout, but I'm going to need some time to work through some of the nuances of the software.  Rather than bang my head against my computer monitor, I've been back at work on Mud Run.  

Finished almost all of the ballast efforts in the area, so I'm now going to be working on the foreground between the river and the tracks.  This areas going to be heavily dressed with a wide variety of ground covers, shrubs, rocks and small trees just like the prototype.  I'm a bit concerned that it's going to mean a lot of work if I get a derailment in the curve, but we'll deal with that if we have to.

First thing to apply is a good covering of "brown stuff" to simulate loam, leaves, dead flora.  I collect this stuff from a wide variety of sources with sawdust as a major component.  Coffee grounds, tea leaves, ground up leaves, ground foam, leftovers of all types.  I had an empty plastic mixed nut container that works well for collecting and mixing the "brown stuff".  I keep a plastic spoon in there for mixing and applying the contents.


I apply a good smattering of wood glue with a chip brush and then coat on the brown stuff and let it sit overnight.  Then I'll take the loose stuff off with a sock-covered vacuum and dump the extra back into the brown stuff container.  I'll work my way around the Mud Run curve until I get good coverage and the look is "right".  Goal is to build the scenery from the ground up.
Check out my "Rainbows in the Gorge" website: http://morristhemoosetm.wixsite.com/rainbows
Reply
#95
The last few days of work on the railroad have been distinctly frustrating, but it's just another example of "You live, you learn!"

I've been dressing up the last of the ballast work, and that gave me a chance to run trains over my new ballasted track.

Been there?

The track sections that begin the northbound run up the Mud Run curve are the most risky part in the design of my layout.  Mud Run has the tightest curvature on my layout, and the amount of space dictated the tightness.  There's a track running on the outside of the curve just inside the mountain scenery that runs downward to the storage area, and both tracks begin that section by making an S-curve to get around the corner of a wall.  By the time they complete the horseshoe curve, there's just enough room under the upward track to have the downward track pass directly underneath it at 2% grades for each.  When I was laying track in 2009, I spent a lot of time working out the optimal arrangement of track to discourage derailments.  There's a shot from 2020 below showing the track before all of the scenery went in.  The track on the right side nearest the wall runs downward, the one of the left upward.
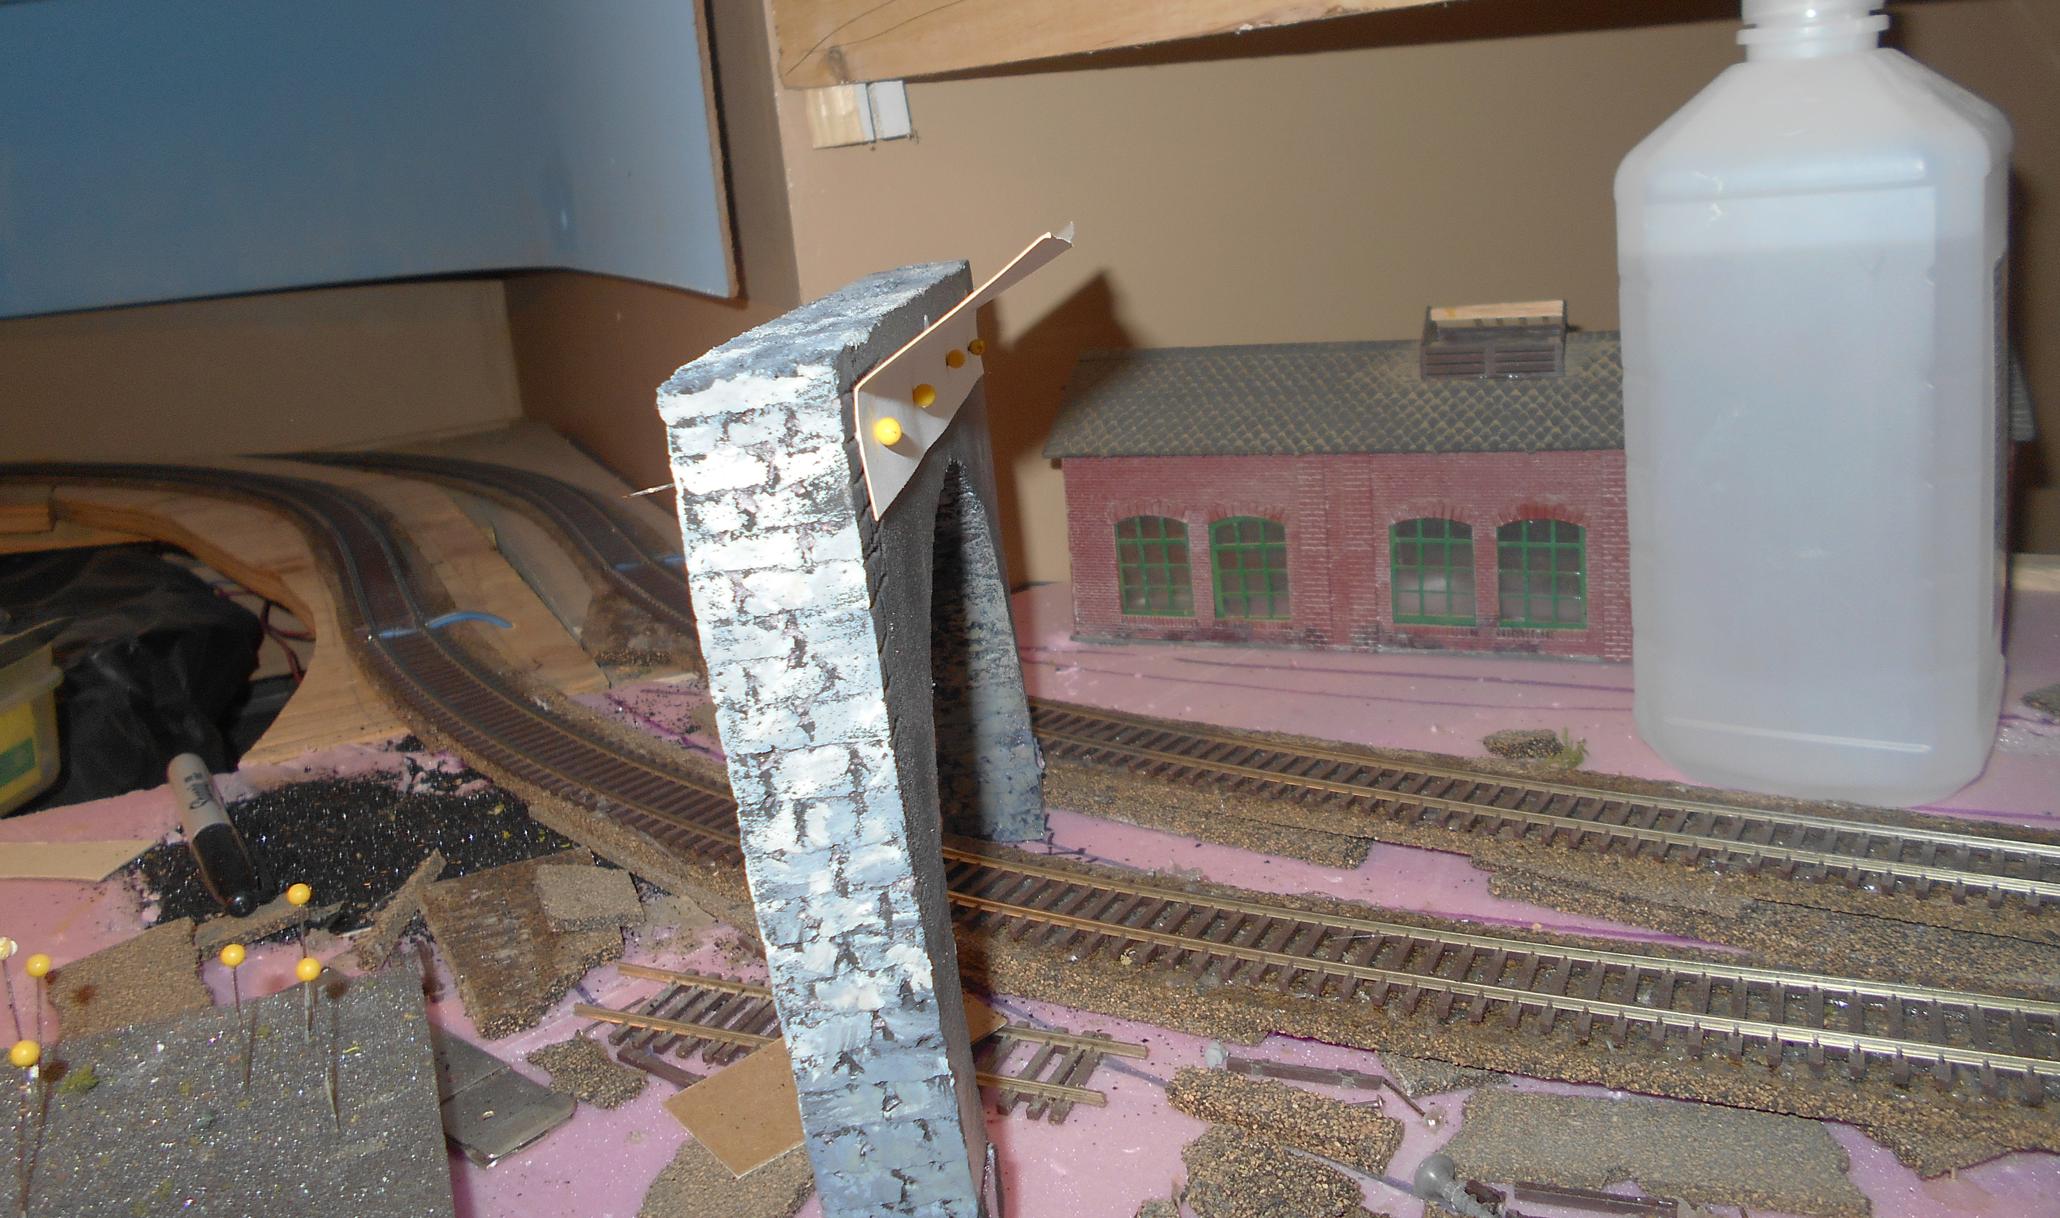
   

You may remember that over the previous few weeks I've been engaged in the process of weathering the track in this area and adding ballast.  Two innocent tasks that if done correctly, shouldn't change the behavior of trains passing over the rails.  That tight S-curve got me good.  I'd ballasted that section one night and came back the next night and found that the track has risen slightly off the roadbed.  I'd glued it down with a layer of silicone, but I suspect the alcohol I laid as a whetting agent freed up the track.  No problem.  I couple of pin vise holes, a few track nails and it went right back down.  Unfortunately, I didn't pay much attention to making sure the track went right back down in the original location (side to side) before re-ballasting.  

Running trains was one disaster after another.  Had a locomotive that derailed at a joint in the track and 89' flat cars whose trucks were lifting free of the track just in time to try to reverse directions in the S-curve.  Crashes as trailers fell off flat cars, locomotives jammed into scenery.

All of this made me quite grumpy (I usually go through life with a smile on my face and a "glass is half full" mentality). The big problem is that I could only blame the guy in the mirror.  I knew what I'd done, and I knew how to fix it, but it just meant getting out putty knives and pliers and laying waste to ballast, track and roadbed that were already hardened in place, and ultimately it would mean time and effort to redo something that was already "complete".  Wah! 

To make matters worse, my D&H consist of 4 locomotives that I was using for the track checkout was not right.  Had a decoder in one of them that seems to go into LaLa land and forget its address.  Had another one who's headlight was always on.  A third wasn't consistently picking up the track voltage.  Wah!

I decided that today would be a day to get things straightened out and RIGHT.

First I worked on the track issues with a dependable consist pulling my flat cars.  Removed those track nails and worked on getting the track orientation right going around the curve and paying special attention to the side-to-side cant of the track around those curves.  I still have the redress the ballast at the reconstruction areas, but I did try only to disturb small areas - won't be that bad.

Then I worked on the troublesome locomotives.  Reset the decoders back to factory settings and worked up from there.  Pulled a shell off one of them and did a tape wrap around the decoder to help secure it.  Ran them singly and found some dirty track that was affecting some of them, consisted them together and ran them again, and when all was said and done, ran the Apollo around the layout and got the camera out.
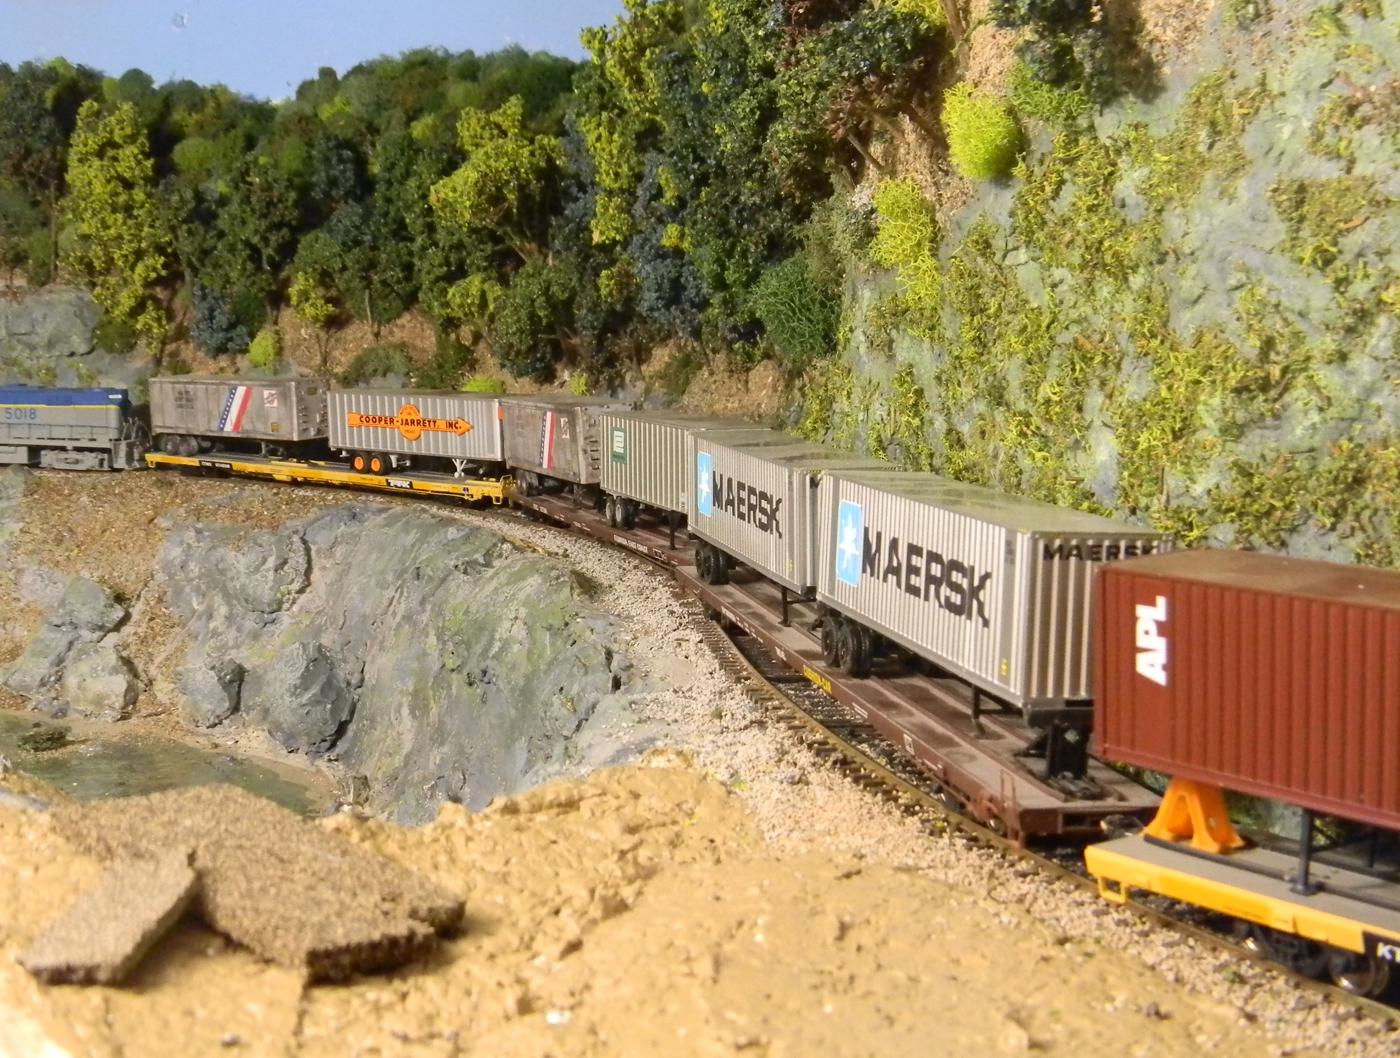
     

There are the things you WANT to do, but sometimes, the things you HAVE to do take precedence.  All's well that ends well.
Check out my "Rainbows in the Gorge" website: http://morristhemoosetm.wixsite.com/rainbows
Reply
#96
The fun of model railroading. How many times I have been where you were. However, you are far more persistent in correcting the problems. I wish I could follow your lead. Good job working out your issues.
Tom
Silence is golden but Duct tape is silver
Ridley Keystone & Mountain Railroad
My Rail Images Gallery
Reply
#97
After re-establishing that I can run trains (thanks for noting my persistence, Tom!), it was back to the foreground of Mud Run.  After the base coat of brown stuff, it was time to add some underbrush.  I went back to the well on cutting up different moss and clump foliage, dabbing on some wood glue and jamming and fitting the underbrush into position.


And here she is for now.  This curve has gone from the un-sceniced area of my layout to a showplace in a relatively short period of time.


Tomorrow I'll suck off all the extra underbrush with my ShopVac and give stuff a haircut before putting in some decent sized bushes and understory trees.  I'm not going to put a whole lot of trees in the foreground since I have to reach over them if there's a derailment.  I also figure that once upon a time the railroad probably tried to keep the trees off of the banks, and there probably would have been some flooding in this region that would have discouraged growth of larger trees. Trees will also hide view of the trains, but it's a balancing act that I'll play around with until I like the look.
Check out my "Rainbows in the Gorge" website: http://morristhemoosetm.wixsite.com/rainbows
Reply
#98
Suggestion: put a piece of window screen across the hose of the shop vac. Then you can recover all the bits that you didn't plan to suck up.
David
Moderato ma non troppo
Perth & Exeter Railway Company
Esquesing & Chinguacousy Radial Railway
In model railroading, there are between six and two hundred ways of performing a given task.
Most modellers can get two of them to work.
Reply
#99
Excellent tip! I usually use an old (unholy) sock with a rubber band around the end of the sock rolled over the end of the hose.

Funny story though.... I was using this setup last week when the sock got sucked all the way in and the rubber band went who knows where. Found it draped over a tree in my scenery this afternoon.
Check out my "Rainbows in the Gorge" website: http://morristhemoosetm.wixsite.com/rainbows
Reply
Todd---take a bow after the well deserved standing ovation from the Leetown Division---a beautiful scene indeed  Worship.
Reply
Praise from Leetown is praise indeed! Many thanks. I'll take that bow when it's finished, but the checkered flag isn't that far away.

And no rest for the weary - after this area's complete I have the area under the White Haven RR bridge to scenic - that one's going to be a bird of a different feather. Much smaller, but with less space to work.
Check out my "Rainbows in the Gorge" website: http://morristhemoosetm.wixsite.com/rainbows
Reply
Mountain Laurel is the state flower of Pennsylvania.  

Between that and Rhododendron, a majority of the Appalachians between Pike County in the east all the way to the southwest corner near Charlie's place is covered in an understory of this shrub.  It grows slowly, attaining a height of about 6-8 feet and the multi-stemmed trunks are thick, dense and gnarly with mid- to dark green leaves that give way in May or June to sticky white flowers.  Deer love to hide in the stuff, and it makes hunting a bit of an adventure, since you can't go in a straight line in any direction - you're constantly weaving your way between the plants while trying not to get lashed in the face by the ends of the branches.

I've been looking for a good method to model the sturdy shrub for the foreground of Mud Run, and I've settled on the flower support of the gray dogwood (also known as the northern swamp dogwood How to Grow and Care for Gray Dogwood (thespruce.com)).  I have a number of these on my property - it's not a great tree for much of anything.  The birds love when the white flower heads turn into white berries.  They eat the berries and poop them out to plant a new tree.  In the process they also get a bunch of berries to fall right around the trunk and you get a ton of sprouting volunteers that are a pain in the neck to beat back to the ground.  However, after the berries fall, you're left with a perfect little tree-ish thing on the end of the new growth that you can just snap off.  It's really good for something like a small spreading (pruned) apple tree once you put some leaves on it. 


For the mountain laurel, I decided to push the "trunk" right down to ground level so the spreading trunks just seem to come out of the ground.  I hope to make a bunch of this stuff and clump it all together on the slope between the river and the track.   This could also work to model small spreading pines that you see in the mountains at high elevations.  With all of the green stuff in the photo below, it's probably tough to descriminate between what's mountain laurel and what's not (the mountain laurel is spread out between the big boulders on the left and the rocks in the middle of the photo).  


(Looks much better in person - the camera really flattens out the greenery here).  I took one from the side and it still doesn't capture the "3D" effect.

   
Check out my "Rainbows in the Gorge" website: http://morristhemoosetm.wixsite.com/rainbows
Reply
After putting in a healthy dose of mountain laurel, I want to put in some trees (used the same techniques as my previous tree installation nearer the background) and check the density of the undergrowth to see if it looks "right".


Since this grouping looked about "right", I proceeded to add trees and mountain laurel to fill in the space between the end of White Haven and the Mud Run bridge.  Tomorrow the plan is to do the same from the bridge to the tunnel on the other side of the horseshoe.  Pretty tickled about the way it turned out, and having one portion of my layout "complete" from foreground to background. Pictures of the end result follow:

                   
Check out my "Rainbows in the Gorge" website: http://morristhemoosetm.wixsite.com/rainbows
Reply
That's some very nice-looking work that you've done on the scenery. Applause Applause Applause

Wayne
Reply
Very very nice work.

Tom
Life is simple - Eat, Drink, Play with trains

Occupation: Professional Old Guy (The government pays me to be old.)
Reply


Forum Jump:


Users browsing this thread: 1 Guest(s)