05-14-2010, 10:56 AM
I only have one rubber rock mold from woodland scenics, and don't have the money to buy more. No worries there, though. I also considered the aluminum foil method of making rocks. I have had success with it before, but some extra work needs to be done to make it truly look convincing and not like crinkled aluminum foil. Carving the rocks out of foam is quite tedious, and I am just not patient enough for that these days.
Rubber rock molds are a great way to get some good-looking hard rocks. But they also have drawbacks:
1) Large rock faces will require blending various castings together
2) One needs to avoid repetitive patterns due to using the same mold more than once
Since the various molds often have distinctively different textures, using an assortment of molds sometimes leads to a rock outcrop of unrealistic contrasting textures. But using the same mold over and over leads to repetitive patterns.
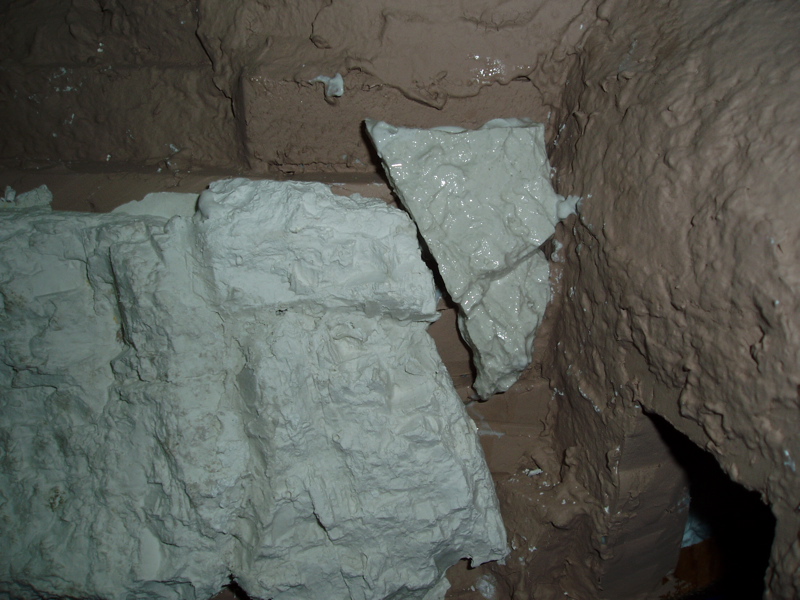
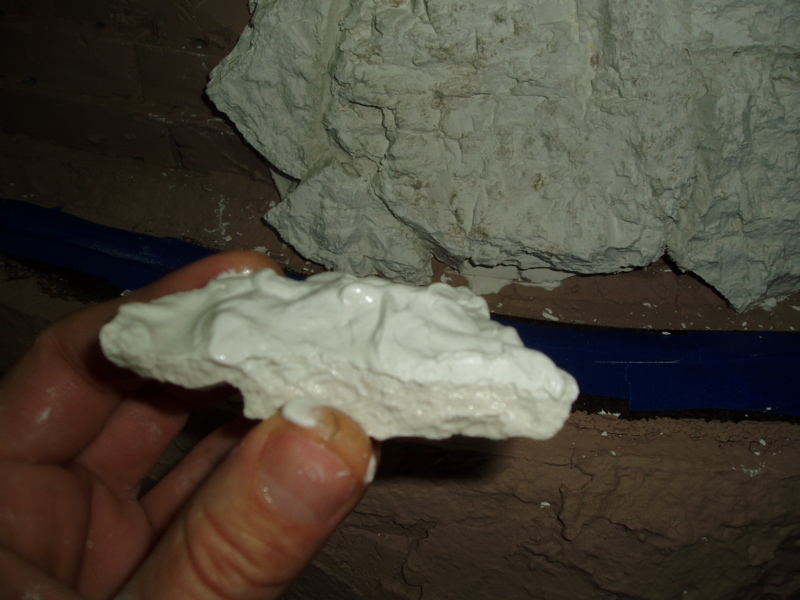
There are two was to apply rock castings - wet and dry. Wet castings are applied with wet plaster directly to the scenery shell. Dry castings are allowed to dry in the mold and then glued to the scenery. I am using a combination of both methods. First, I applied a few wet castings to my rock face spaced by about 10 inches. I made sure to orient the mold in different directions so that the pattern is less recognizable. Then, i made a bunch of dry castings using the same mold, and broke the castings into pieces.

I then wet the casting fragments and "back buttered" the fragments with plaster and glued them to the scenery. If you don't wet the castings first, they will dry the plaster glue and it won't set up hard - the rock castings won't stick well. I used the various pieces and arranged them however they would fit. This is similar to applying a cultured stone veneer to a building, or laying a flagstone path. I tried fitting the casting fragments at tightly together as I could with minimal gaps. Having the few "wet casted" rocks already applied to the scenery helped give something to work from.

Rubber rock molds are a great way to get some good-looking hard rocks. But they also have drawbacks:
1) Large rock faces will require blending various castings together
2) One needs to avoid repetitive patterns due to using the same mold more than once
Since the various molds often have distinctively different textures, using an assortment of molds sometimes leads to a rock outcrop of unrealistic contrasting textures. But using the same mold over and over leads to repetitive patterns.
There are two was to apply rock castings - wet and dry. Wet castings are applied with wet plaster directly to the scenery shell. Dry castings are allowed to dry in the mold and then glued to the scenery. I am using a combination of both methods. First, I applied a few wet castings to my rock face spaced by about 10 inches. I made sure to orient the mold in different directions so that the pattern is less recognizable. Then, i made a bunch of dry castings using the same mold, and broke the castings into pieces.
I then wet the casting fragments and "back buttered" the fragments with plaster and glued them to the scenery. If you don't wet the castings first, they will dry the plaster glue and it won't set up hard - the rock castings won't stick well. I used the various pieces and arranged them however they would fit. This is similar to applying a cultured stone veneer to a building, or laying a flagstone path. I tried fitting the casting fragments at tightly together as I could with minimal gaps. Having the few "wet casted" rocks already applied to the scenery helped give something to work from.
--
Kevin
Check out my Shapeways creations!
3-d printed items in HO/HOn3 and more!
<!-- m --><a class="postlink" href="https://www.shapeways.com/shops/kevin-s-model-train-detail-parts">https://www.shapeways.com/shops/kevin-s ... tail-parts</a><!-- m -->
Kevin
Check out my Shapeways creations!
3-d printed items in HO/HOn3 and more!
<!-- m --><a class="postlink" href="https://www.shapeways.com/shops/kevin-s-model-train-detail-parts">https://www.shapeways.com/shops/kevin-s ... tail-parts</a><!-- m -->


