07-10-2011, 07:33 PM
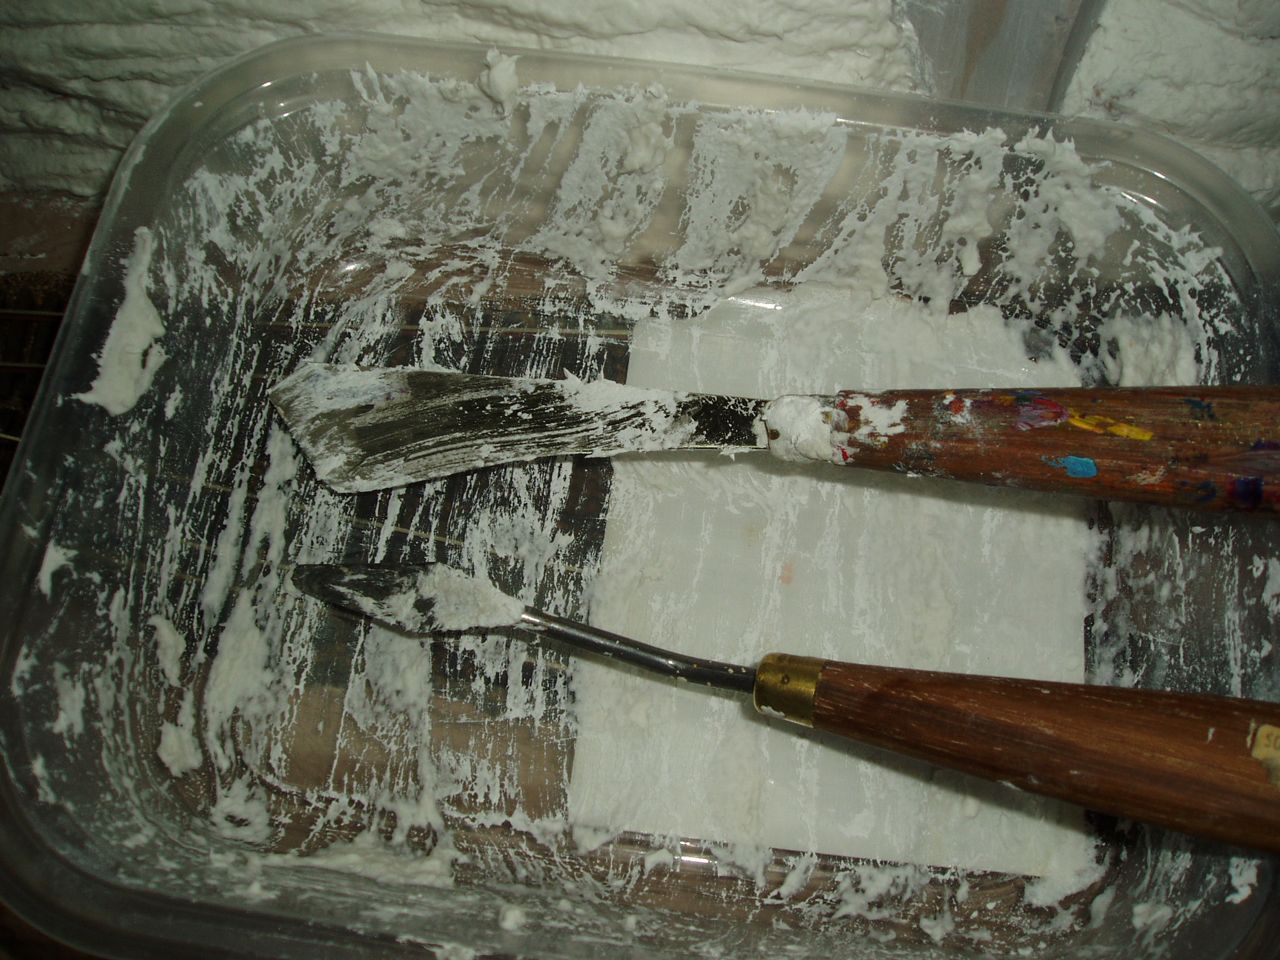
My tools included two artist's palette knives, a plastic tub from a microwave meal, and a throw away paint brush. My materials included sculptamold, joint compound, playground sand, india ink, and various colors of acrylic craft paint.

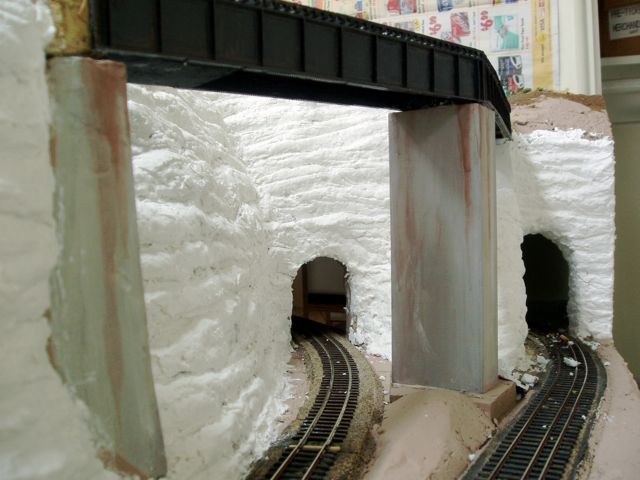
First, I smeared scultamold over the foam cliff face, using the narrow palette knife to sculpt it into a layered appearance. Sculptamold is excellent for this because it has a long working time, can be applied thick, and does not crack when dried. The idea here is to create more of a finished shape than the foam alone. I applied the sculptamold this in a few reasonable sized batches.

First, I smeared scultamold over the foam cliff face, using the narrow palette knife to sculpt it into a layered appearance. Sculptamold is excellent for this because it has a long working time, can be applied thick, and does not crack when dried. The idea here is to create more of a finished shape than the foam alone. I applied the sculptamold this in a few reasonable sized batches.
--
Kevin
Check out my Shapeways creations!
3-d printed items in HO/HOn3 and more!
<!-- m --><a class="postlink" href="https://www.shapeways.com/shops/kevin-s-model-train-detail-parts">https://www.shapeways.com/shops/kevin-s ... tail-parts</a><!-- m -->
Kevin
Check out my Shapeways creations!
3-d printed items in HO/HOn3 and more!
<!-- m --><a class="postlink" href="https://www.shapeways.com/shops/kevin-s-model-train-detail-parts">https://www.shapeways.com/shops/kevin-s ... tail-parts</a><!-- m -->


