08-09-2011, 09:05 AM
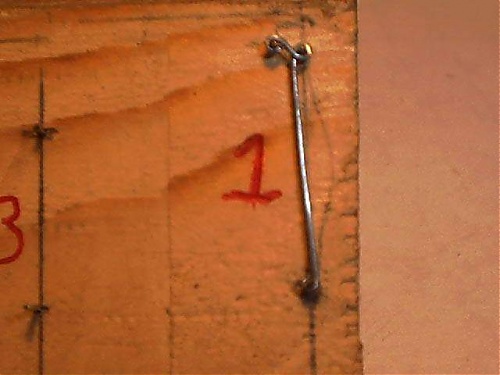
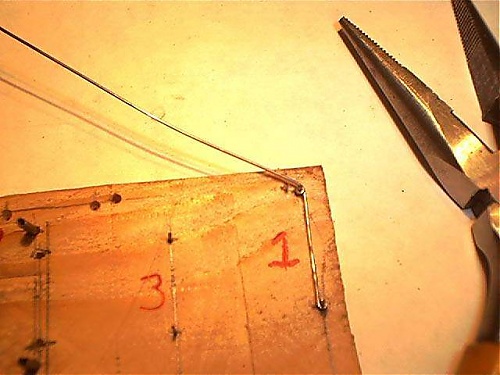
Place the loop in jig #1 as shown with the arm on the left side of the bottom pin in the photo.
Then wrap it counterclockwise around the upper right pin.
Then counterclockwise around the upper left pin.

Remove it from the jig.
You will notice that it will spring out of shape. You will need to bend it a bit untill it fits easily onto the jig.
I don't cut the part from the wire untill this is done, it's easier to handle.

Once the part is cut from the wire I reinstall it on the jig and reshape the last loop.
This part will go on the left side of jig #5.
Two of these are required for each pantograph.

The next part will basically be the opposite of the first.
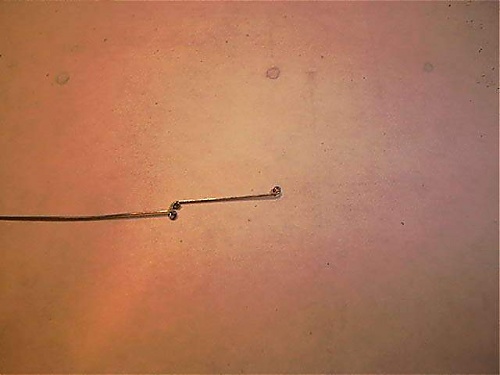
Start by forming the first loop as before.
Place it into jig #1 with the arm on the right hand side of the bottom pin.
Wrap it clockwise on the upper right pin.
Then counterclockwise on the upper left pin.
Complete the part as you did with the first one.
This part will go on the right side of jig #5.
Two of these are required for each pantograph

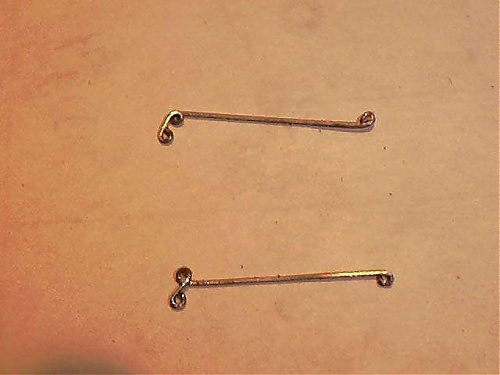
This is a comparison of the two.
Set these aside until later.

Then wrap it counterclockwise around the upper right pin.
Then counterclockwise around the upper left pin.
Remove it from the jig.
You will notice that it will spring out of shape. You will need to bend it a bit untill it fits easily onto the jig.
I don't cut the part from the wire untill this is done, it's easier to handle.
Once the part is cut from the wire I reinstall it on the jig and reshape the last loop.
This part will go on the left side of jig #5.
Two of these are required for each pantograph.
The next part will basically be the opposite of the first.
Start by forming the first loop as before.
Place it into jig #1 with the arm on the right hand side of the bottom pin.
Wrap it clockwise on the upper right pin.
Then counterclockwise on the upper left pin.
Complete the part as you did with the first one.
This part will go on the right side of jig #5.
Two of these are required for each pantograph
This is a comparison of the two.
Set these aside until later.
Ray Marinaccio


