08-26-2011, 01:30 PM
I've made some significant progress with the neon signs. And this time I have pictures!
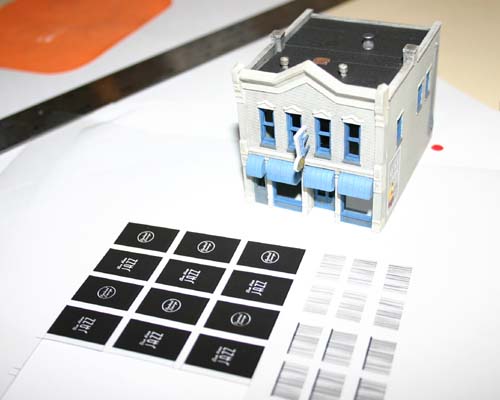
Photo 1. - I started with a sheet of printed windows on transparency paper. Printed multiple (just in case). The design was done in Photoshop at 600dpi using a neon-style font. I originally "broke" the lines of the letters to make it look more like prototypical neon tubing, but in N scale, you really couldn't see much of a difference, and it just made the words less readable. Also on the printed sheet are cafe curtains. In the background is the building these will be going in.
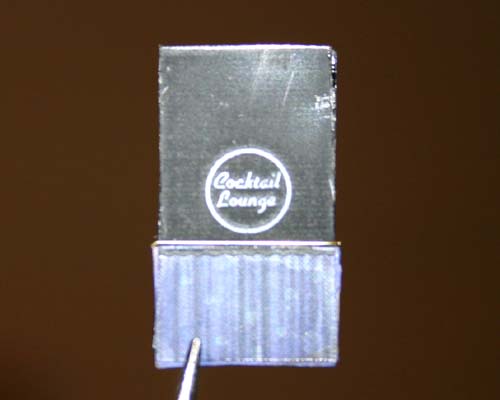
Photo 2. - The pieces are cut from the sheet. The pieces are layered to make the black more opaque -- 3 layers in all In this photo....2 of the layers have been glued together...one more to go. I used Testor's glue...the kind that's made to bond clear styrene. Can't remember the name of it. But it dries clear and even with backlighting this application, it's completely invisible.
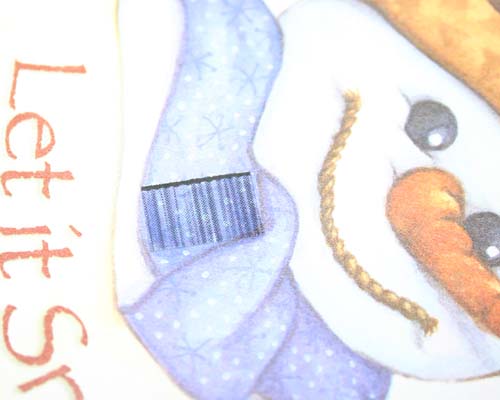
Photo 3. - This is a close up of the cafe curtains that will hang in the window. This is printed on transparency like the windows themselves. Note...this is an EXTREME closeup. This was printed on a laser printer at 600pdi. It's so close, you can actually see the dots! In real life, this is a smooth shadowed curtain.
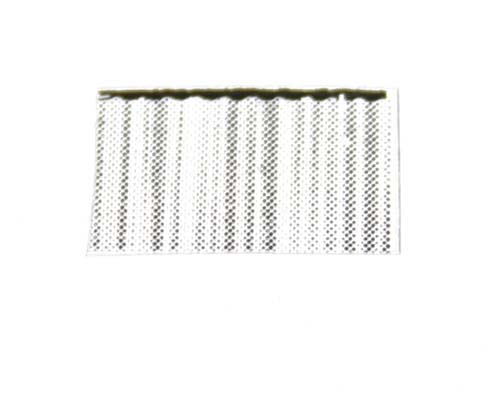
Photo 4. - To give the curtains the right texture and color, I used a winter-themed notepad featuring a snow man. The scarf was just the right color and has enough of a texture to appear like a pattern on the curtain. I glued the transparency to the snowman paper with Elmer's white glue.
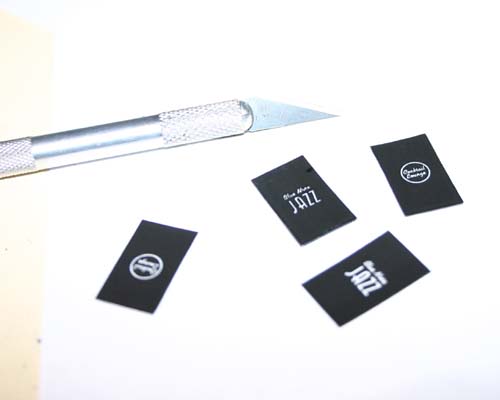
Photo 5. - This is the assembled window, with neon sign, curtain and curtain rod.This photo does NOT do it justice. Again...extremely close up. In real life, the black is completely solid and doesn't appear "scuffed". The flash on the camera made this look really bad. But anyway...The Cocktail Lounge portion is completely transparent. The curtain was glued to the front of the window piece with Elmers. The curtain rod is a very tiny brass wire glued on with CA glue.
More to come. Adding the back piece that defines the color; installed in the structure; lit.
Photo 1. - I started with a sheet of printed windows on transparency paper. Printed multiple (just in case). The design was done in Photoshop at 600dpi using a neon-style font. I originally "broke" the lines of the letters to make it look more like prototypical neon tubing, but in N scale, you really couldn't see much of a difference, and it just made the words less readable. Also on the printed sheet are cafe curtains. In the background is the building these will be going in.
Photo 2. - The pieces are cut from the sheet. The pieces are layered to make the black more opaque -- 3 layers in all In this photo....2 of the layers have been glued together...one more to go. I used Testor's glue...the kind that's made to bond clear styrene. Can't remember the name of it. But it dries clear and even with backlighting this application, it's completely invisible.
Photo 3. - This is a close up of the cafe curtains that will hang in the window. This is printed on transparency like the windows themselves. Note...this is an EXTREME closeup. This was printed on a laser printer at 600pdi. It's so close, you can actually see the dots! In real life, this is a smooth shadowed curtain.
Photo 4. - To give the curtains the right texture and color, I used a winter-themed notepad featuring a snow man. The scarf was just the right color and has enough of a texture to appear like a pattern on the curtain. I glued the transparency to the snowman paper with Elmer's white glue.
Photo 5. - This is the assembled window, with neon sign, curtain and curtain rod.This photo does NOT do it justice. Again...extremely close up. In real life, the black is completely solid and doesn't appear "scuffed". The flash on the camera made this look really bad. But anyway...The Cocktail Lounge portion is completely transparent. The curtain was glued to the front of the window piece with Elmers. The curtain rod is a very tiny brass wire glued on with CA glue.
More to come. Adding the back piece that defines the color; installed in the structure; lit.


