12-03-2016, 04:38 PM
To get this one off the ground I started on the tender wiring. This includes the lighting, pickup, and loco connection. It will also get some weight, as it's a little on the light side. So, out came the soldering iron and I got to it. This shot shows the bi-pin connector that will become the connection between the tender and engine.
It was soldered to the integrated pickup pads on the tender frame, along with a grain of wheat bulb and diode for directional lighting. I did check of the proper polarity before I soldered it in place.
Although I don't see this engine running in reverse for long periods of time, I did install a small section of brass tube to act as a heat sink. This will keep the bulb from getting too hot and melting the plastic, and it also helps to funnel the light to where it needs to go.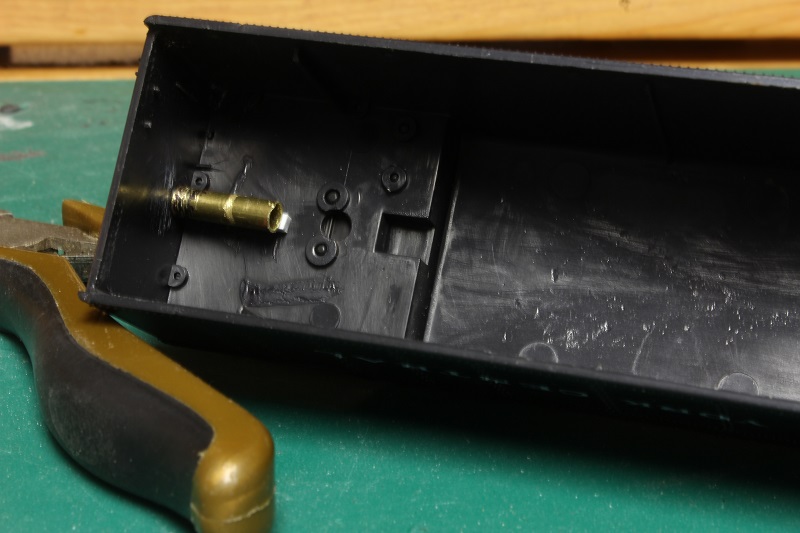
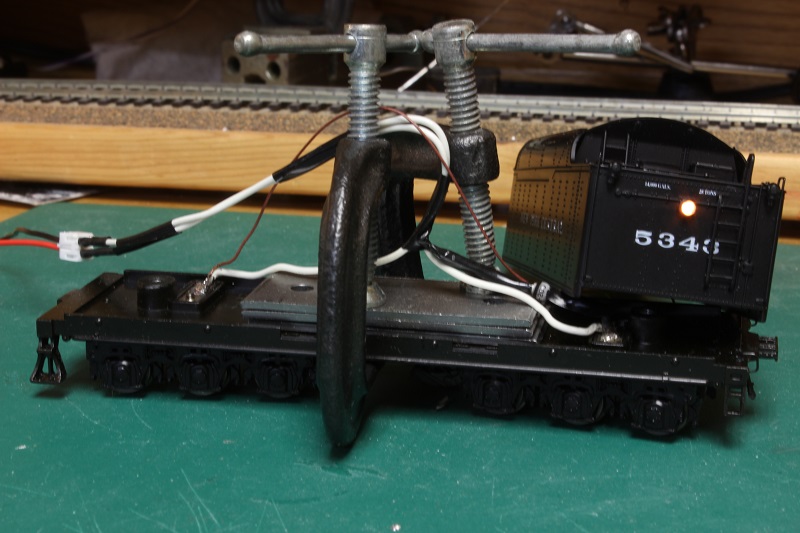
A few flat pieces of steel were glued to the tender floor to bring up the weight up to something a little more reasonable. I also checked the back up light while I had the chance. The clamps will have to stay in place until the glue dries.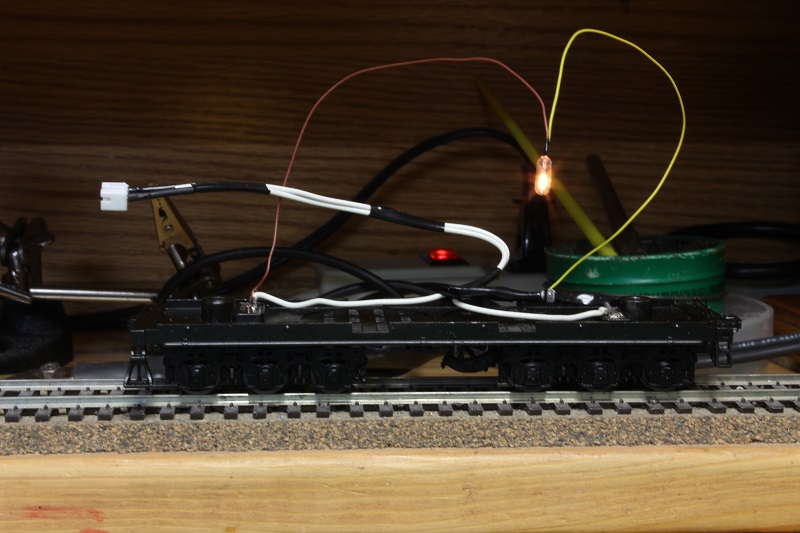
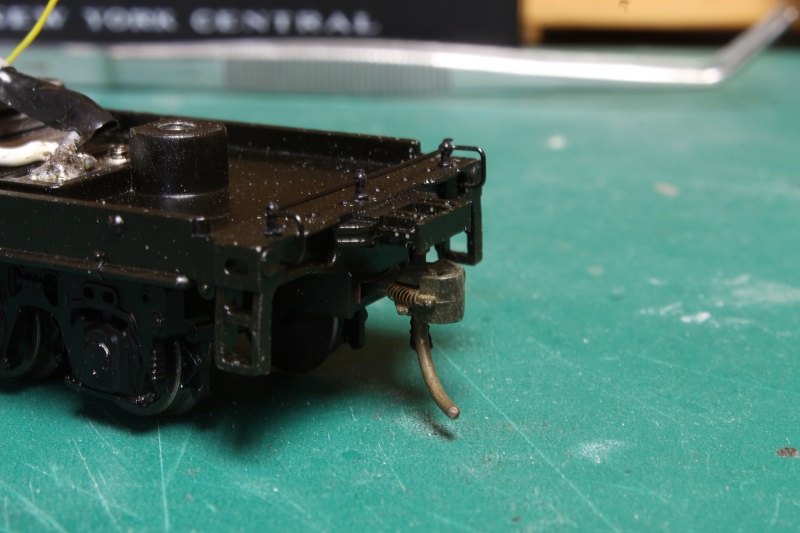
A kadee #5 was installed on the rear end and the horn hook was sent to the blast furnace. I will have to wait till I can remove the clamps to check the height and operation of the knuckle. All those little white specks are some kind of overspray. They only show up on the tender frame, and will have to be dealt with.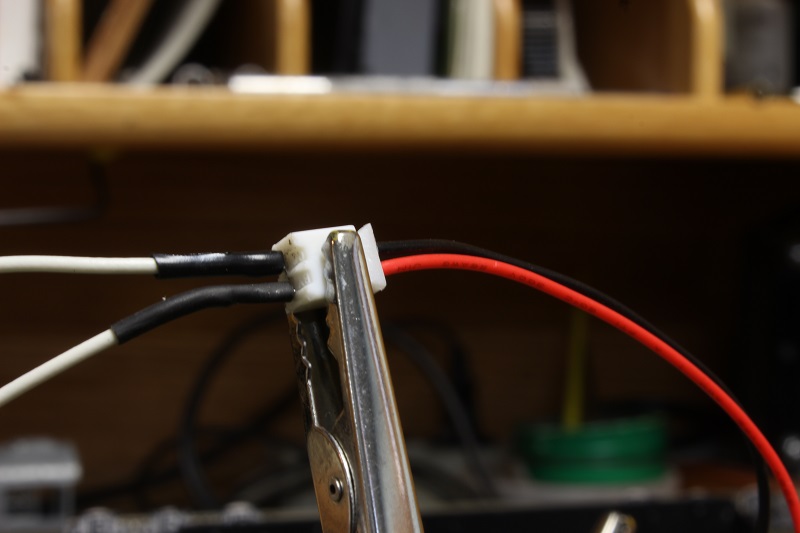
It was soldered to the integrated pickup pads on the tender frame, along with a grain of wheat bulb and diode for directional lighting. I did check of the proper polarity before I soldered it in place.

Although I don't see this engine running in reverse for long periods of time, I did install a small section of brass tube to act as a heat sink. This will keep the bulb from getting too hot and melting the plastic, and it also helps to funnel the light to where it needs to go.
A few flat pieces of steel were glued to the tender floor to bring up the weight up to something a little more reasonable. I also checked the back up light while I had the chance. The clamps will have to stay in place until the glue dries.
A kadee #5 was installed on the rear end and the horn hook was sent to the blast furnace. I will have to wait till I can remove the clamps to check the height and operation of the knuckle. All those little white specks are some kind of overspray. They only show up on the tender frame, and will have to be dealt with.
My other car is a locomotive, ARHS restoration crew


