Because the main line is on a grade here but the spur is level, you can see the elevation difference. One thing I had to do was slightly relocate the road that had been laid out on the existing layout segment just above the new area. I cut a hole to let it go down to the level of the spur:
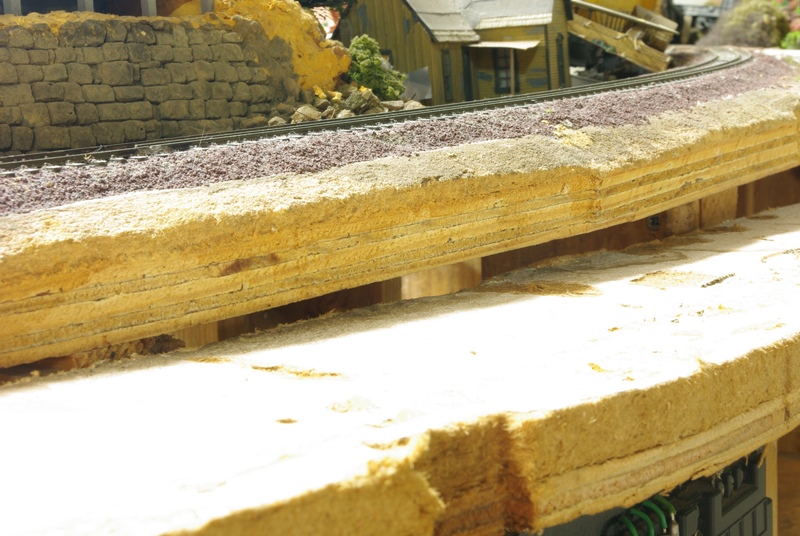
Here is the subroadbed for the spur running along the main line:
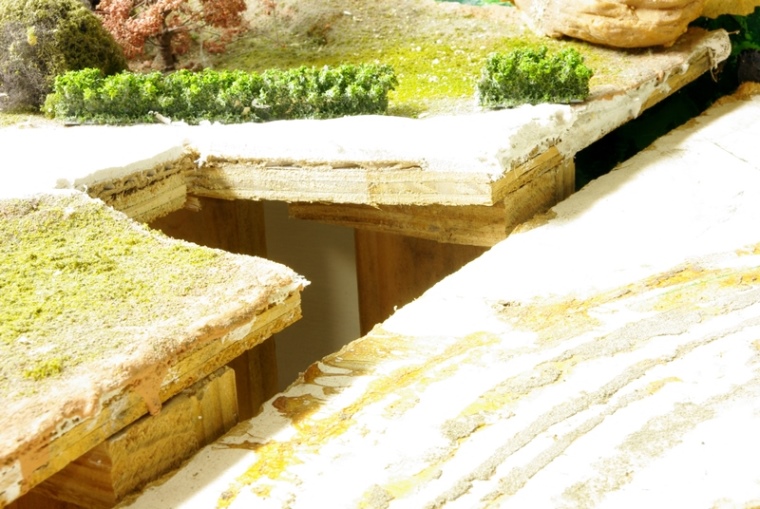
So scenery here should be fun!
I dimensioned the industrial area in part for the Showcase Miniatures Sunkist packing shed, which is a low-relief model. <!-- m --><a class="postlink" href="http://www.showcaseminiatures.net/ho-scale-packing-shed-description.html">http://www.showcaseminiatures.net/ho-sc ... ption.html</a><!-- m --> I went wild building PFE reefers 15 years ago, but never had an industry for them. Now I will!
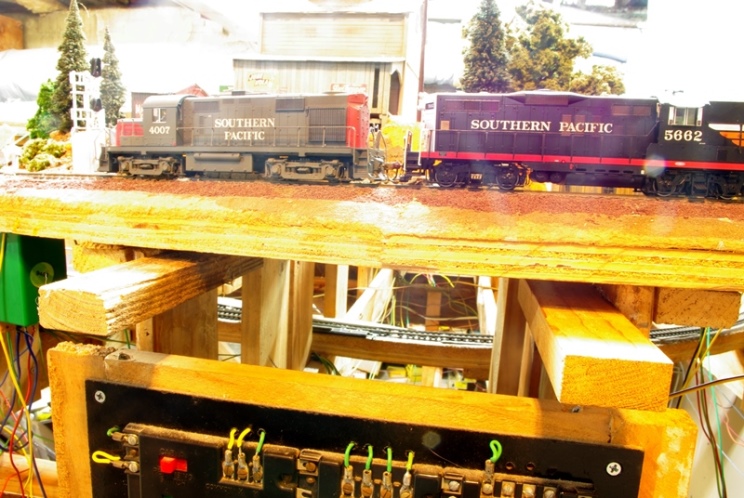
I added extensions to existing risers that support the main line, at a lower level to support the Sunkist spur. This is an example of how L-girder allows for easy modification of a layout.
Posts: 5,263
Threads: 195
Joined: Apr 2009
Indeed a flexible base frame becomes gold when you do modification years later.
Reinhard
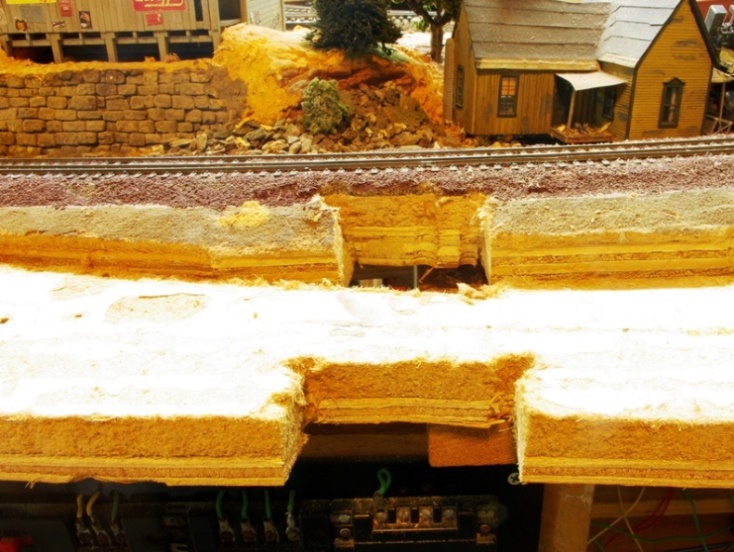
One of the main things I had in mind in designing this layout was recognizing that in the real world, there's nearly as much scenery below track level as above it. I tried to keep this in mind while building much of the layout, so I could have the option not just for bigger bridges, but for smaller drainages and culverts. So here was my chance to add a couple of culverts to the Sunkist industrial track. I've cut rebates in the subroadbed to add commercial culverts.
I filled the gaps and sanded over the irregularities and residue on the former N baseboard, got it properly screwed to all the risers and shelf brackets, gave it a preliminary coat of brown craft paint to tone down the color of the Celotex, and have begun scenery and tracklaying:
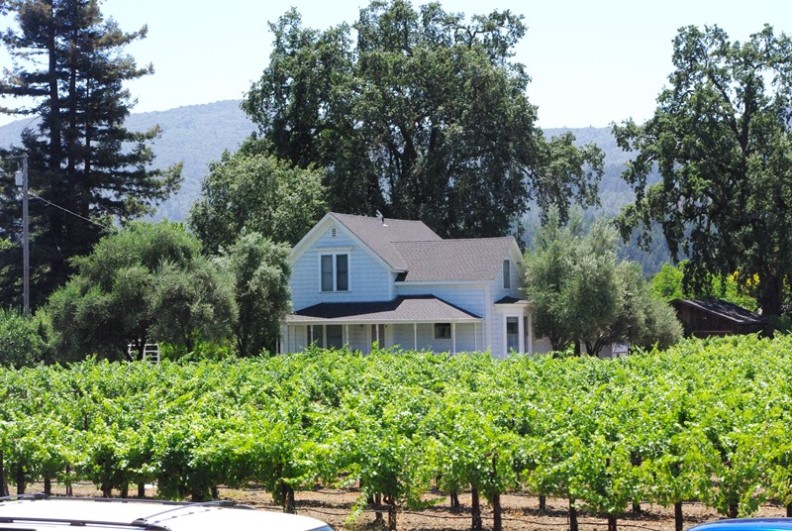
Here's something like what I want the final scene to look like here, possibly including the grape vines in the front yard:

I will need to do some rework on the background painting -- it was something fanciful (including the observatory in my neighborhood that was in Rebel Without A Cause) that I painted before I rethought using this wall space.
Basic tracklaying is complete on the Sunkist Industrial Track. The Showcase Miniatures citrus packing shed is in progress:

This will provide two much-needed spots for ice reefers:

There is also a spur for a prospective feed mill, which I'm happy to see has enough length for 55-foot covered hoppers:

On one hand, as I've already said, I'm not really happy with any commercial feed mill models, and none will fit the space I have here anyhow, so I'm going to have to do some thinking about exactly what I'll put here. Most of them are too old as prototypes, or they just don't look much like feed mills anyhow. Finally, the space left for culverts on the main and the spur:

The citrus packing shed is nearly finished -- I just have to finish painting the loading dock and attach it.

This isn't an easy kit - I would put it at 6 or 7 out of 10 in difficulty, and the instructions are minimal. However, it has a good California look.
Some more progress on the Sunkist area -- I need to add the spurs to the car routing system soon and set up jobs to switch the industries here. I've filled in the scenery profile with Celluclay and added the road down from in front of the house to the lower area:

I also got a JTT eucalyptus (they call it "gum") tree and have tentatively set it behind the house. This works well, so I need to get more of these for this area -- they'll help the backdrop a lot.

The packing shed has the loading platform attached:

I am scoping out the feed facility that will be in the center of the photo above. I think it will be a truncated version of this one, with only one cylindrical storage unit, with an elevator and truck loading bin:

I've started working on ground cover in the new area. I got a good idea from another forum of using fireplace ash, and I happened to have some, so that's what I'm starting with, although I'll be blending other materials in after this dries.

Also, I began to realize that there's about 3 feet of track between the former end of the spur and the new switch at Sunkist, which could certainly be used for something like an unloading point for heavy-duty flats. Here's a prototype example:

But then I realized there's no reason I can't use it as an ordinary team track.
Posts: 899
Threads: 85
Joined: Jan 2012
jwb Wrote:could certainly be used for something like an unloading point for heavy-duty flats. Here's a prototype example:
[ATTACHMENT NOT FOUND]
That thing is a monster, never seen a flat like that before
Here's the corner with ground cover and most of the track ballasted:


The urethane Pre-Size culvert castings arrived, and I gave them a first coat of Floquil Aged Concrete (I've been straining my hobby budget stocking up on Floquil, too).

Meanwhile, I added an elevator leg and finished the roofing on the Campbell Sierra Talc-Frary Fertilizer kit:

My inspiration in assembling and detailing this has been an abandoned fertilizer plant at Bena, CA:


As you can see, I need to add some storage tanks and various other details, as well as integrating it into the scenery, but it's progress!
Here's a project that I've procrastinated for 10 years or so -- the peninsula whose end you see here was set up as an afterthought, reached via a Walthers bascule bridge that I've shown in other posts. The aisle was left to allow access to the water heater that you see, as well as the HVAC unit. Good thing, we've replaced both in the past several years.

However, as you can see on the right, there's a Walthers float bridge that points off into the void. It had always been my intent to add some sort of temporary bridge to the end of the peninsula here that would allow me to install a Walthers car ferry to load from the float bridge (which in turn would allow me to determine the final level at which to attach said float bridge). The next time the water heater or HVAC need work, I can remove the temporary bridge, though I would hope that wouldn't be too frequently.
Then FOS came out with the Pier 27 kit:

(This is from the FOS instructions, and I assume it's OK with Doug Foscale for me to post it here, as it makes his product look good.)
I grew up around coastal New Jersey and tidewater Maryland, Virginia, and North Carolina, and every now and then one of FOS's east coast style maritime kits grabs me hard. I figured I could mount the Pier 27 parallel to the Walthers car ferry on the removable bridge piece that I install over this aisle. There would be no power to either the car float or pier tracks, with the locos using idlers to switch both of them.
I got the removable section cut from scrap 3/4" plywood at the lumber yard, and work on the removable piece will now begin.
Posts: 5,859
Threads: 175
Joined: Dec 2008
How about placing the carfloat and the structure on a moveable section of the layout? A friend has a carfloat operation used as an interchange point, and has put the carfloat on a cart equipped with large caster-type wheels. You could affix it to the layout-proper with barrel-type bolts or a hook-and-eye arrangement, allowing it to be easily disconnected and rolled out of the way when necessary.
Wayne
Well, that was easier than I thought. In it went, it more or less slides like a drawer.

Dr Wayne, I wouldn't completely rule out a wheeled cart approach, but let's face it, it's taken me 10 years to do this much, and there's a lot left to do on the rest of the layout. I like the way the float bridge area has fit in here, too, and I'm not sure how stable a wheeled cart would be 52 inches high and only 30 inches by 20 inches.

Since I haven't looked at the area as much from this perspective, you can see there's more scenery finishing to do here as well.
|


