Posts: 888
Threads: 56
Joined: Mar 2015
Looking good, Steve. I'm gaining some knowledge and inspiration for my upcoming MDC rebuilds. I hadn't thought about the pilot ladders until looking through this thread as well as other details.
Glad you could fix the melted cab corner, I know the feeling from when I accidentally 'melted' the body side of my doodlebug project with the dremel saw.
Posts: 2,724
Threads: 160
Joined: Dec 2008
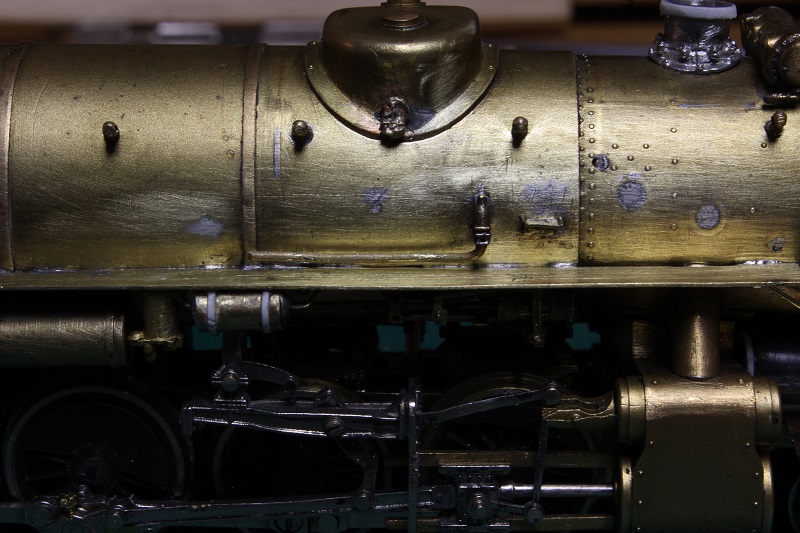
I spent this evening working on the sanders and check valves, both of which have to be heavily modified. This is where they are at now.
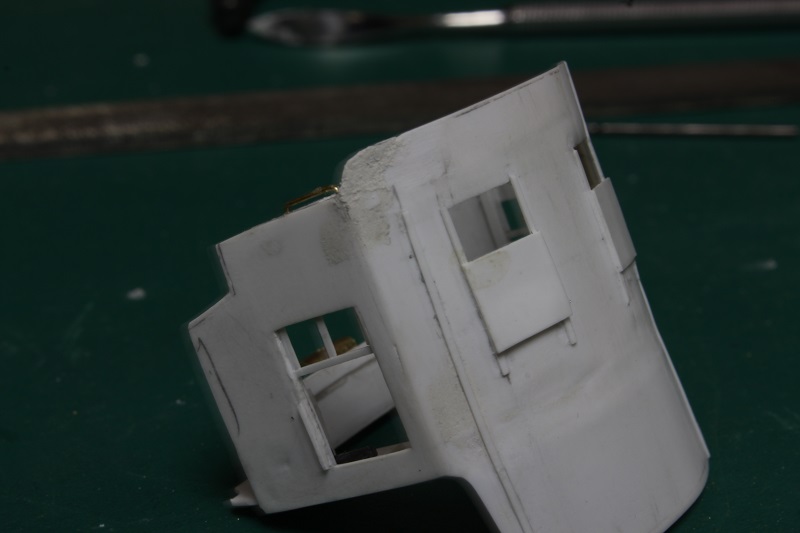
,,,And the melted cab corner is also coming along.
My other car is a locomotive, ARHS restoration crew
Posts: 2,724
Threads: 160
Joined: Dec 2008
Some work completed to the fireman's side.
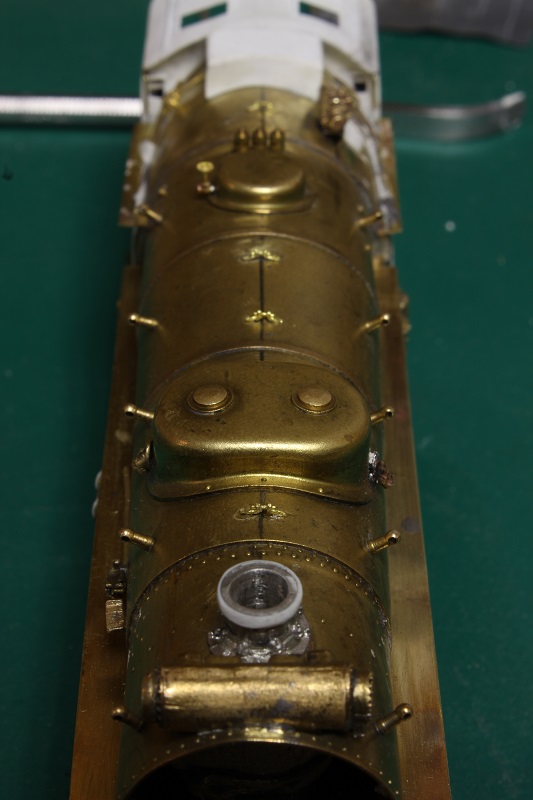
The air tank mounted towards the front of the engine is one that I reused from the original model. After that is the feed water heater's pump, and lastly is a modified cross-compound compressor.
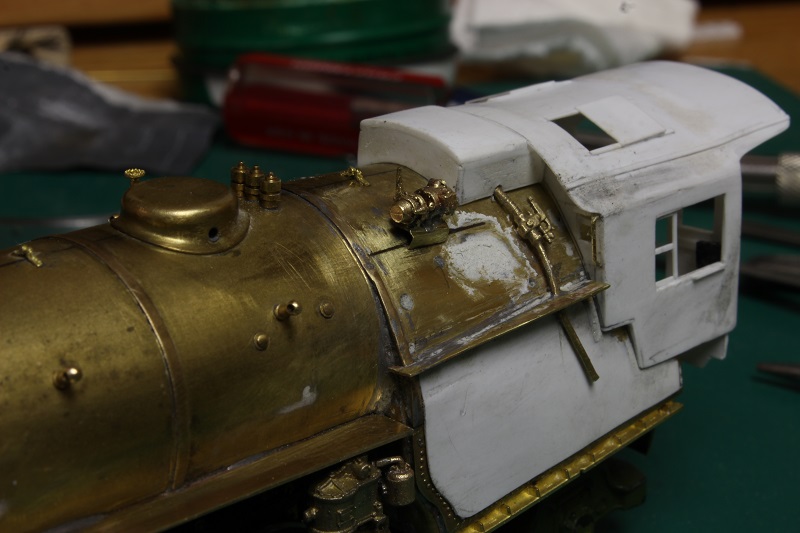
The turbo generator and it's mount proved to be the most difficult part of this side of the engine. To solder it up and fitting the bracket to the curve of the firebox proved to be a several hour challenge. On top of that the hand piece of my resistance soldering rig was giving me trouble. It finally broke apart in my hand, burning my right hand and dropping the hot generator onto my cutting pad and melting that. I ended up using CA glue to fasten it to the boiler.
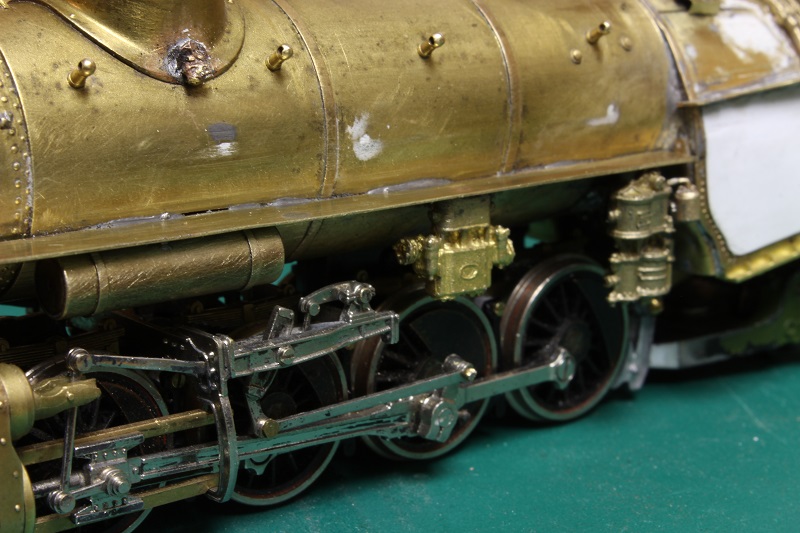
I drew as straight of I line as I could down the center of the boiler to help locate the boiler straps. I felt that they were too small to solder and glued them with CA. By this time the soldering rig was trashed and unusable anyway.

My other car is a locomotive, ARHS restoration crew
Posts: 5
Threads: 0
Joined: Nov 2015
I love reading about projects like this.
Could I ask about the cab?
I always find attaching the cab and "making it look right" really difficult. You make it look easy - how long did it take you to this?
Thanks.
Posts: 2,724
Threads: 160
Joined: Dec 2008
It probably took an hour or two to get the cab to fit tight against the fire box. Making the supports and drilling / tapping the holes probably took longer.
My other car is a locomotive, ARHS restoration crew
Posts: 2,724
Threads: 160
Joined: Dec 2008
FIXED IT
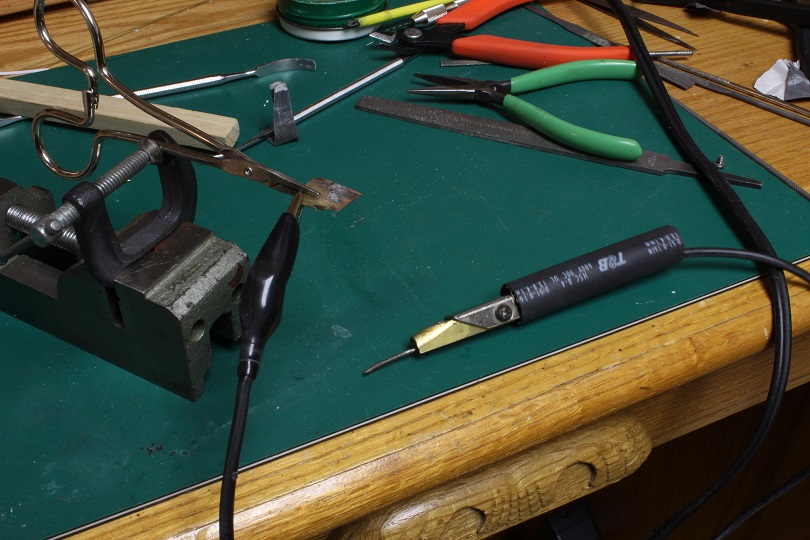
I managed to fix / reconfigure my resistance rig....I used a high temp alligator clip and one of the pincer probes to create a more typical soldering rig.. I gave it a test run and as you can see from the melted solder on the brass scrap, it works. I have to borrow the heat gun from work to shrink down the insulation sleeve on the probe.
My other car is a locomotive, ARHS restoration crew
Posts: 2,724
Threads: 160
Joined: Dec 2008
""The plumbing is being hung, on the engine with care"".... It sounds a little Christmassy doesn't it??
well at least it's started, only a few miles of pipe to go.
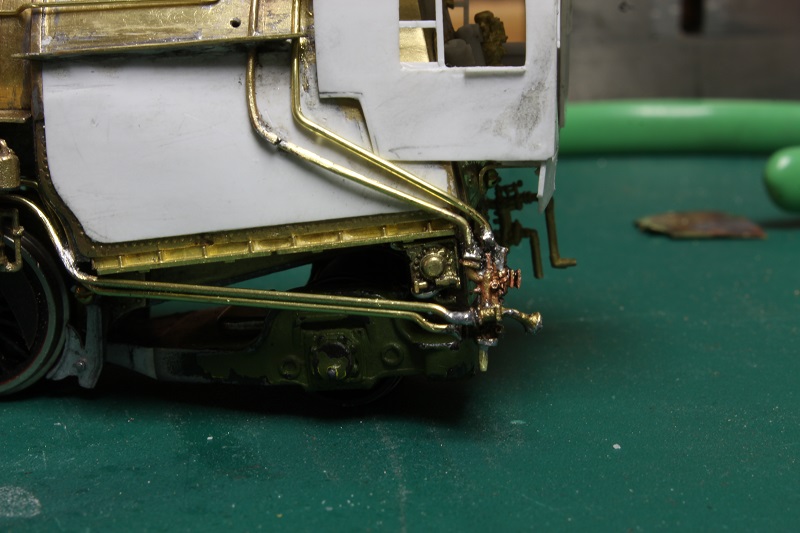
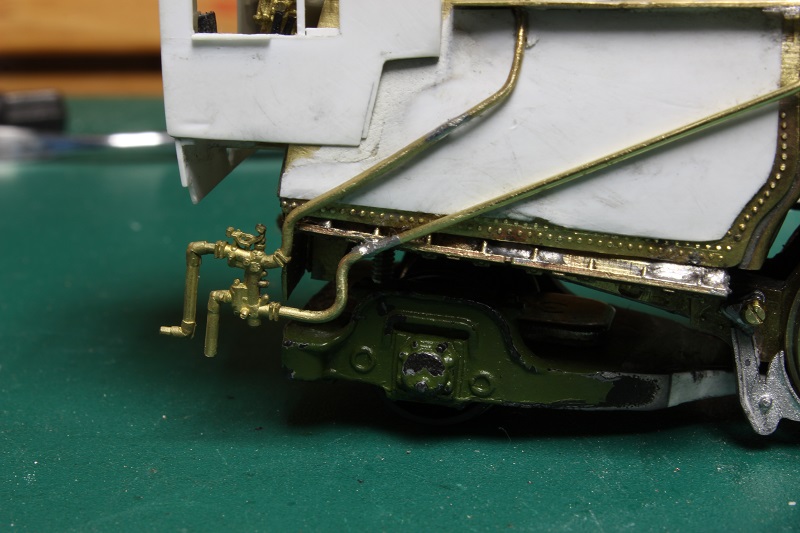
The injectors gave me some trouble, as the ones that the CNJ uses are not available. Apparently they hung two different ones under the cab of the 2-8-2's. I compromised and modified two injectors to get a close enough look to the prototype.
On the fireman's side there is an injector and the stoker motor.
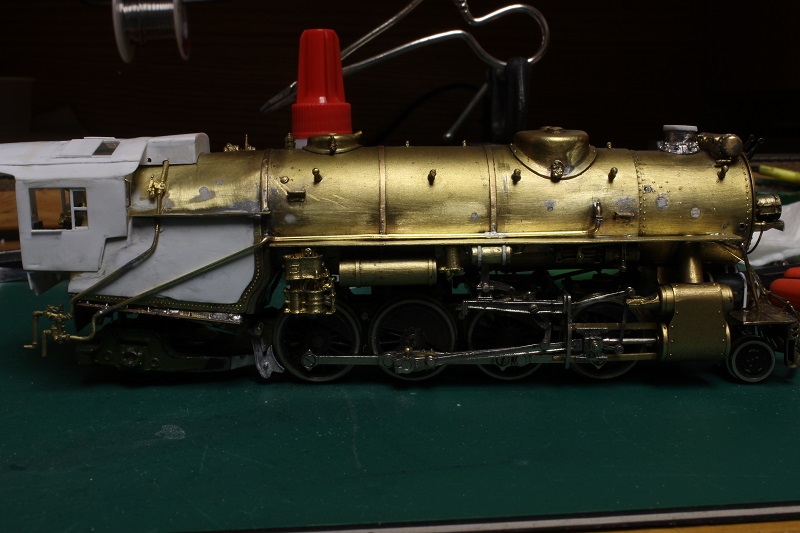
Under the right hand seat is the other injector and some other appliance mounted above it that I have not modeled yet. My first thought was that it's the control valve for the brakes, but I was proven wrong, More research is needed.

My other car is a locomotive, ARHS restoration crew
Posts: 2,724
Threads: 160
Joined: Dec 2008
My other car is a locomotive, ARHS restoration crew
Posts: 5,859
Threads: 175
Joined: Dec 2008
That's coming along very nicely, Steve. I like the Santa cap on the steam dome, too. 
Wayne
Posts: 2,724
Threads: 160
Joined: Dec 2008
That's called Christmas cheer Doc.... I have started on the after cooler. In this pic you can see it mounted just above the cylinder. I cut some thin plastic into strips to make the fins of the cooler and glued them onto a backer to act as a frame to hold it all together. Still needs more details to be added before I can mount it.
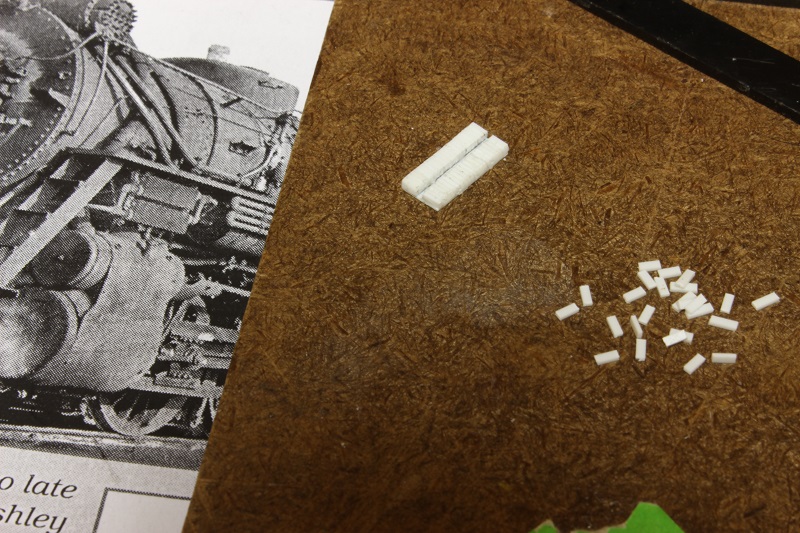
My other car is a locomotive, ARHS restoration crew
Posts: 1,682
Threads: 101
Joined: Dec 2011
Nice work! Gluing the cooler fins must be nerve breaking!
Matt
Posts: 888
Threads: 56
Joined: Mar 2015
Neat idea for the cooler. Dis you keep track of # of fins? 
Posts: 2,724
Threads: 160
Joined: Dec 2008
A bunch Cnrglen, that's the best I could tell you.
well here it is, complete.
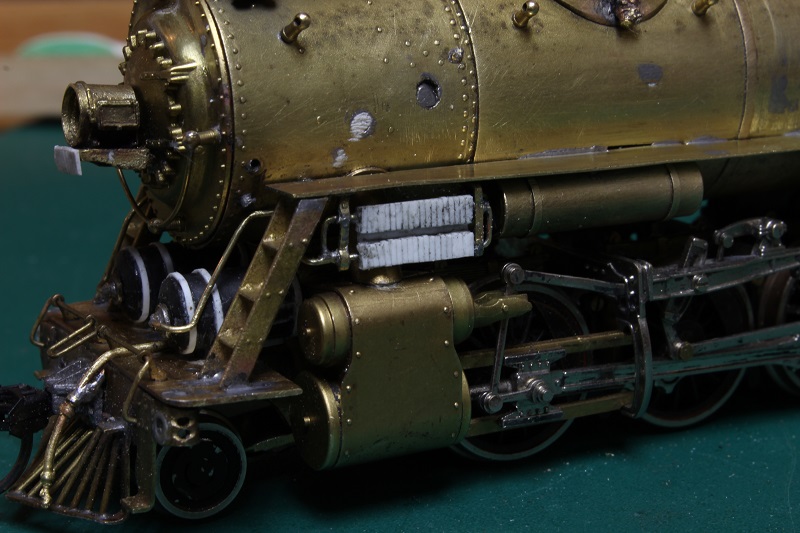
And installed.
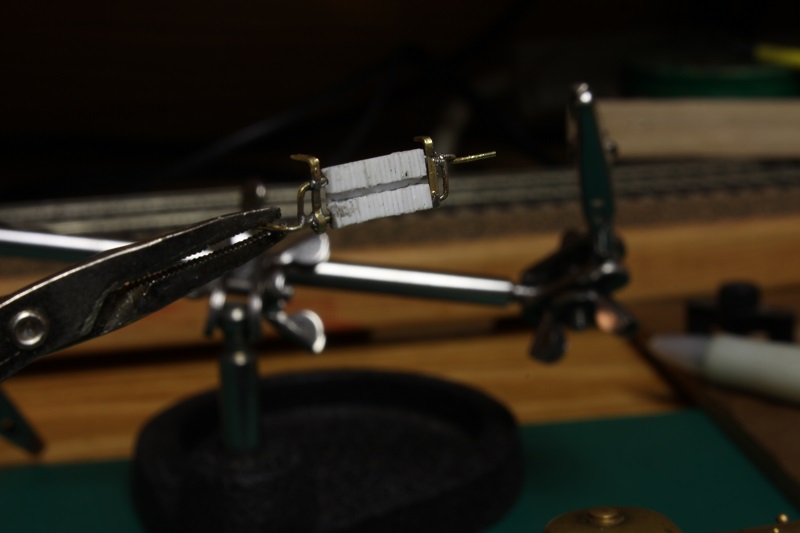
My other car is a locomotive, ARHS restoration crew
Posts: 2,724
Threads: 160
Joined: Dec 2008
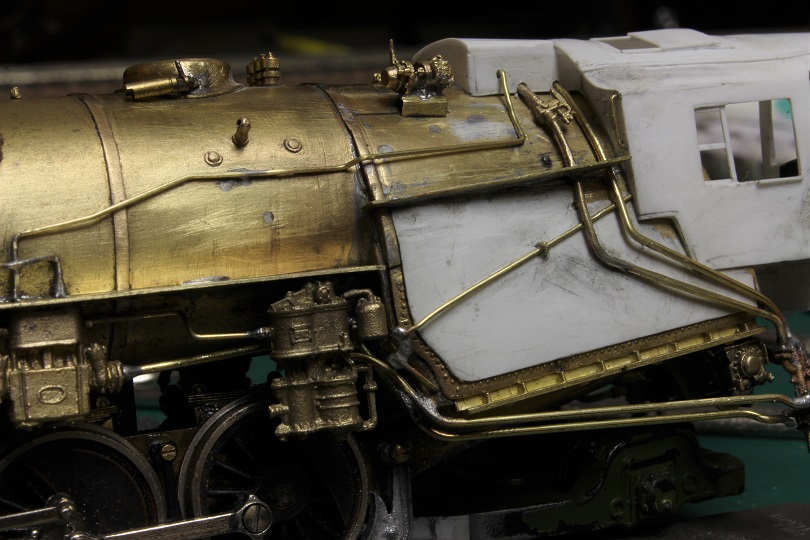
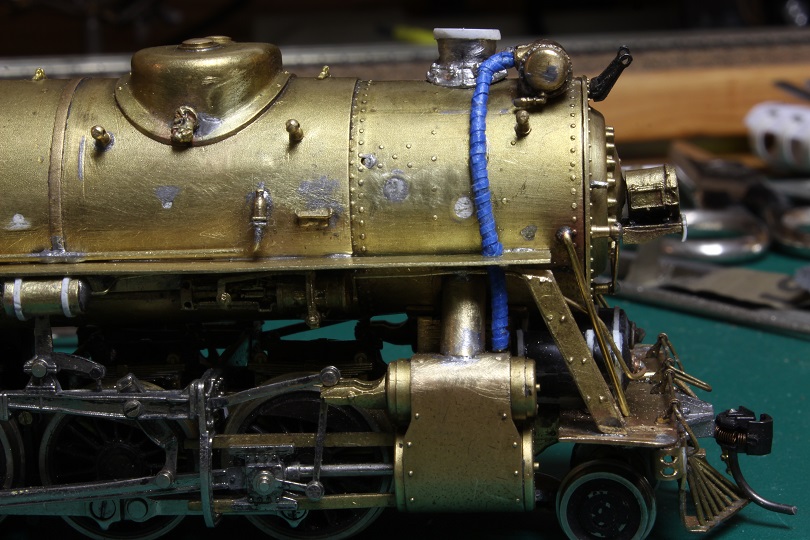
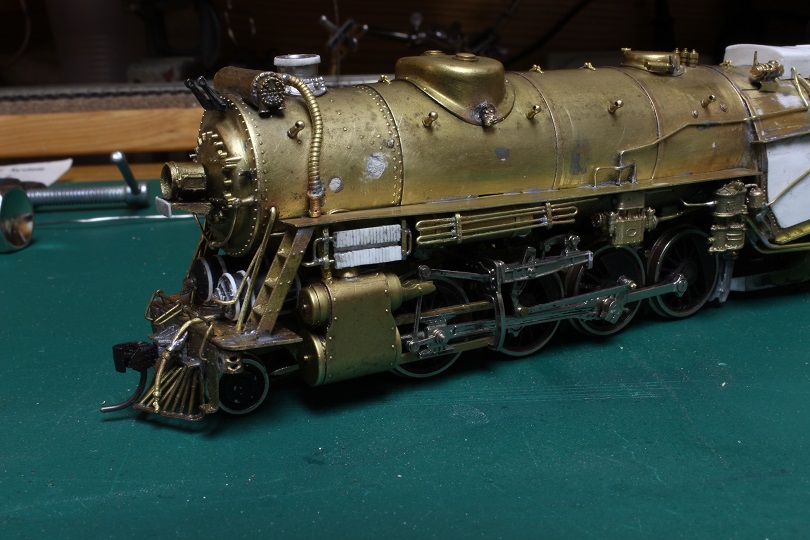
Plumbing, plumbing, and more plumbing.. I think that I am almost about half way through the pipe work.
Exhaust steam for the feed water heater, and airlines for the main reservoirs have been run .
On this side I had to make my own lagged pipe because the ones supplied with the heater kit were not long enough.
On the firebox, this linkage running from the ash pans to the cab was also put in. I have no idea what it does, but it's in the pics so it went on.
My other car is a locomotive, ARHS restoration crew
Posts: 5,161
Threads: 100
Joined: Dec 2008
Outstanding work Steve---your model is as good or even better than any of the high end brass models available today 
|


