Posts: 1,315
Threads: 34
Joined: Mar 2009
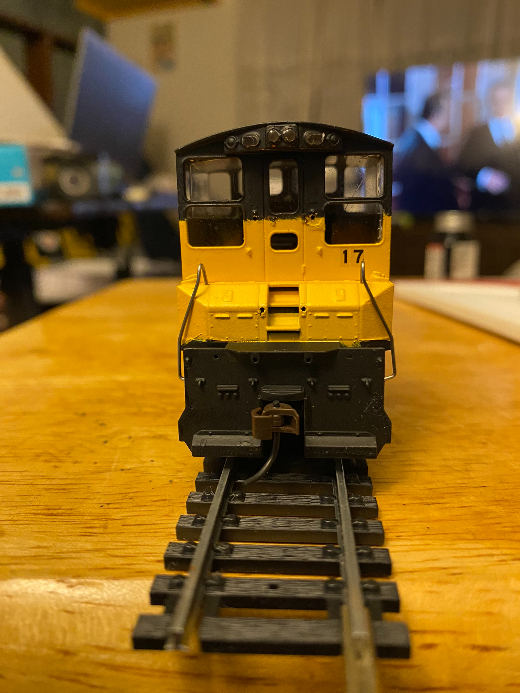
More progress on #17
Paint and decals are done. Now I'm adding the hand rails and it will be finished after that.


Matt
Conrail's Blairsville Cutoff - A Fictitious Alternative Route Over The Allegheny Mountains From Blairsville, Pa to Cresson, Pa
Milepost 363.8 to Milepost 338.9
Posts: 295
Threads: 18
Joined: Nov 2015
Looks great! I would love to see your paint setup the next time you are painting since it sounds like you paint outside.
————————————————————————————
Modeling the East Broad Top as it was between 1937-1942
~Amanda
Posts: 1,315
Threads: 34
Joined: Mar 2009
(04-10-2024, 09:04 PM)Amalynn Wrote: Looks great! I would love to see your paint setup the next time you are painting since it sounds like you paint outside.
Honestly all I use is spray paint. It has it's hiccups but 99% of the time I can correct it with the next color being applied.
Matt
Conrail's Blairsville Cutoff - A Fictitious Alternative Route Over The Allegheny Mountains From Blairsville, Pa to Cresson, Pa
Milepost 363.8 to Milepost 338.9
Posts: 1,315
Threads: 34
Joined: Mar 2009
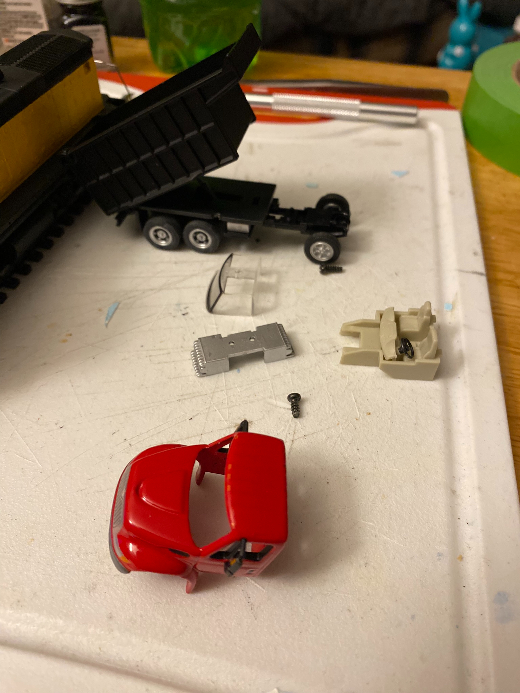
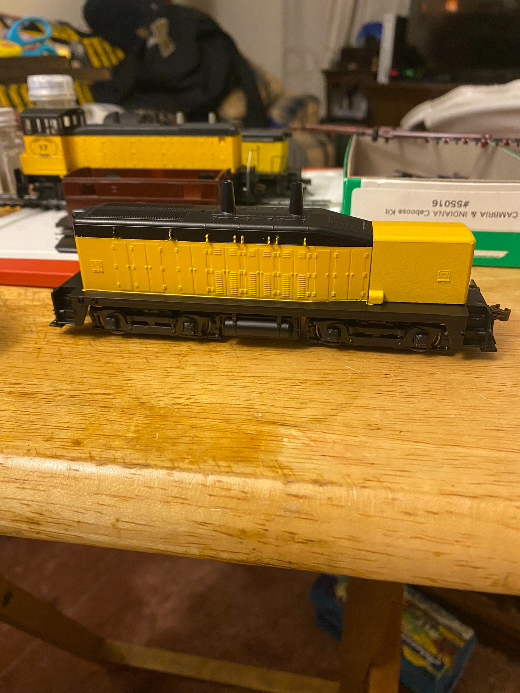
Here we have a dump truck taken apart to be painted another color.
Another C&I Caboose in the works.
Then last the fictional calf engine. It does need a few touch ups on the black paint but it is ready for decals.

Matt
Conrail's Blairsville Cutoff - A Fictitious Alternative Route Over The Allegheny Mountains From Blairsville, Pa to Cresson, Pa
Milepost 363.8 to Milepost 338.9
Posts: 1,315
Threads: 34
Joined: Mar 2009
I have started to apply the decals. I managed to get about 97% of them on right now. Later today I will finish putting the rest on which include the inner decal ( cambria & indiana railroad decal ) and the number on both sides front and rear. It will then be completed and tested on the track with Engine #17.
C&I #64
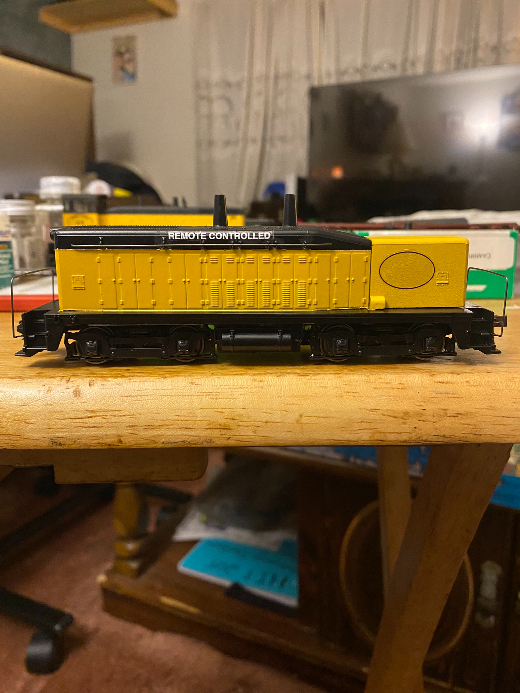
The back story to having the calf units are is that they will be placed at the mines ( more than likely the bigger mines ) to move empty and loaded hopper cars around. They are Remote Controlled and are the only remote controlled units on my roster. The only time you will see them paired with a "cow" engine is when they are being moved to the shops for servicing.
Matt
Conrail's Blairsville Cutoff - A Fictitious Alternative Route Over The Allegheny Mountains From Blairsville, Pa to Cresson, Pa
Milepost 363.8 to Milepost 338.9
Posts: 2,599
Threads: 52
Joined: Dec 2008
Things are coming along nicely. The decaling is looking great.
Posts: 1,315
Threads: 34
Joined: Mar 2009
(04-13-2024, 08:13 AM)tompm Wrote: Things are coming along nicely. The decaling is looking great.
Thank You Tom. Now I just have to get the numbers on and it will be ready to roam the yards of the C&I when it's built.
Matt
Conrail's Blairsville Cutoff - A Fictitious Alternative Route Over The Allegheny Mountains From Blairsville, Pa to Cresson, Pa
Milepost 363.8 to Milepost 338.9
Posts: 1,315
Threads: 34
Joined: Mar 2009
Matt
Conrail's Blairsville Cutoff - A Fictitious Alternative Route Over The Allegheny Mountains From Blairsville, Pa to Cresson, Pa
Milepost 363.8 to Milepost 338.9
Posts: 2,599
Threads: 52
Joined: Dec 2008
I remember that kit. I built it when I as about 10 or 11. I can't remember what happened to it.
Posts: 10,830
Threads: 248
Joined: Dec 2008
Matt I found this in my collection of photos and it might help with details. It was on the old Allegheny Valley RR in Aladdin, Pa

Charlie
Posts: 1,315
Threads: 34
Joined: Mar 2009
(04-22-2024, 08:44 PM)tompm Wrote: I remember that kit. I built it when I as about 10 or 11. I can't remember what happened to it.
I will admit that this kit is very trying especially with the instructions. I now finally have a use for the little bit of narrow gauge track that I have set off to the side from when I bought a bunch of HO stuff from a lady at the start of the year.
Matt
Conrail's Blairsville Cutoff - A Fictitious Alternative Route Over The Allegheny Mountains From Blairsville, Pa to Cresson, Pa
Milepost 363.8 to Milepost 338.9
Posts: 1,315
Threads: 34
Joined: Mar 2009
(04-22-2024, 09:06 PM)Charlie B Wrote: Matt I found this in my collection of photos and it might help with details. It was on the old Allegheny Valley RR in Aladdin, Pa
Charlie
Thank you Charlie. That will help out with details. Thank you for sharing it with me.
Matt
Conrail's Blairsville Cutoff - A Fictitious Alternative Route Over The Allegheny Mountains From Blairsville, Pa to Cresson, Pa
Milepost 363.8 to Milepost 338.9
Posts: 1,315
Threads: 34
Joined: Mar 2009
Matt
Conrail's Blairsville Cutoff - A Fictitious Alternative Route Over The Allegheny Mountains From Blairsville, Pa to Cresson, Pa
Milepost 363.8 to Milepost 338.9
Posts: 1,315
Threads: 34
Joined: Mar 2009
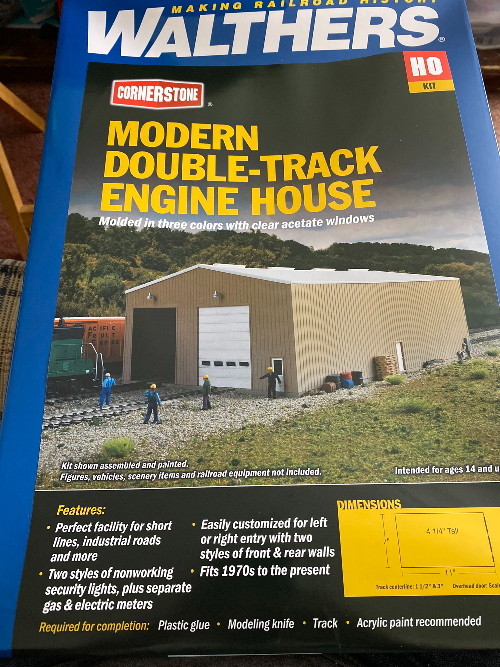
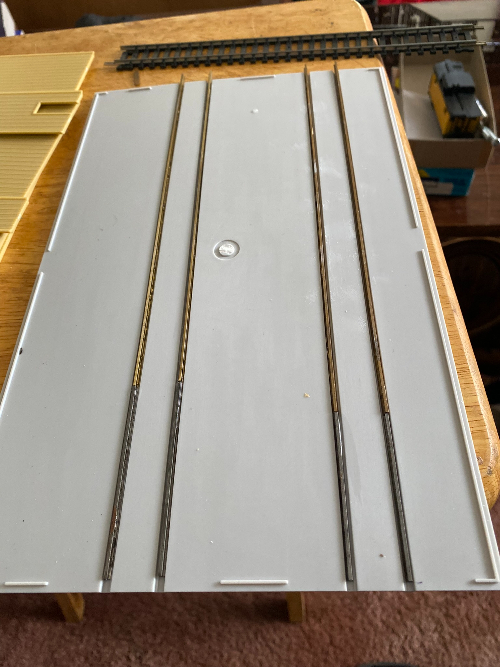
Taking a break from building the mine as it took a little bit to get the pieces bent so they fit. Below is the progress of the new engine house that will be located at Revloc, Pa. This engine house is the closest I have now found to the building in Revloc. I had taken rail apart and glued it down into he grooves. I did have to cut a couple pieces to make sure they extended the entire length of the building. I like how this Walthers kit came with extra pieces in case there was a screw up. I can now use those other pieces for another project and maybe template. Anyways below is my progress so far.
Rail laid and drying
Holes drilled for the light fixtures

Two walls put up
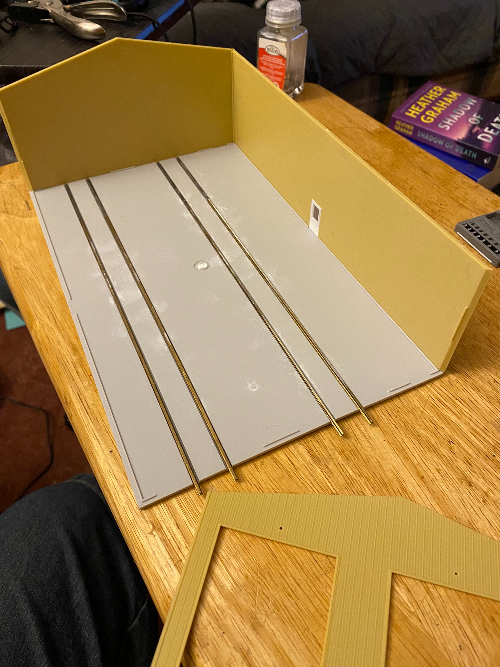
Third wall up
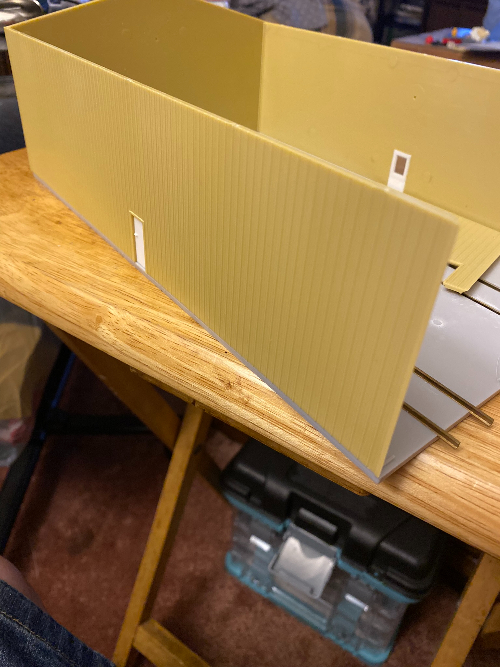
The front is on and taped for drying over night

Rough idea of what's going to sit inside the engine house
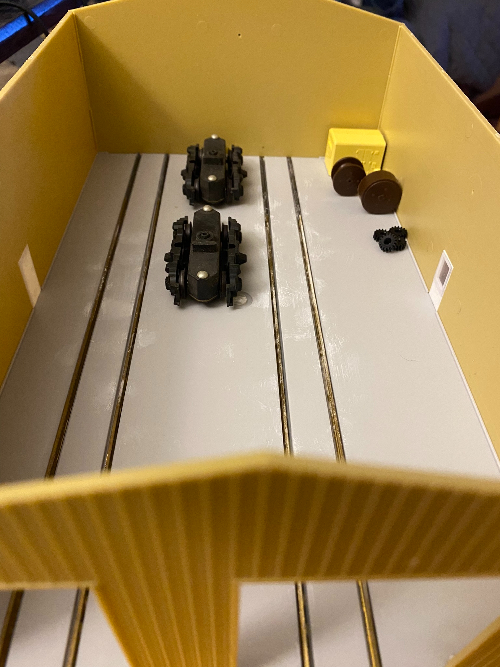
The front of the building will dry over night and then the roof will be glued on. But before I do that I am going to mess around with a few ideas of what to have on the inside as in, gears, extra traction motors, cabs, etc etc. Just a few small things.
Matt
Conrail's Blairsville Cutoff - A Fictitious Alternative Route Over The Allegheny Mountains From Blairsville, Pa to Cresson, Pa
Milepost 363.8 to Milepost 338.9
Posts: 2,599
Threads: 52
Joined: Dec 2008
Nice job thus far.
You might want to consider not gluing the roof to the walls. That way if there is a problem such as derailment inside the engine house you can access it easily.
|


