11-28-2011, 09:42 AM
G’day All,
I have spent some time working on the Scalescenes kit and already made some errors due to my changes to the structure to make it double the normal width. The fact that the error will be on the track side of the building’s layout front side location will mean that it will be out of view 99% of the time. Future builds will hopefully avoid the error and even benefit from it.
Basic methods, materials, etc:
The printed paper parts used either on their own or stuck onto various thickness of card (light, medium, heavy). For N scale Scalescenes recommends:
Light: approx. 80gsm
Medium: approx. 200gsm
Heavy: approx 1mm thick.
For my build I am using the following materials as available at my local newsagent in rural Australia:
Light: 100gsm paper/card
Medium: `6 sheet' card
Heavy: `10 sheet' card
After printing off the paper sheets I sprayed them with three coats of a spray can acrylic satin finish `varnish’ that dries clear, not yellowish.
For gluing the paper onto the card I use a plain `Glue Stick’ as the comparatively dry glue does not soak into the paper and threaten to make the inks run. It also allows a small amount of adjustment time.
For gluing cut out components together I normally use a fast drying yellow PVA type glue that is sold here in Australia by Bostik as “MDF glue”. Large gluing areas excepted, this is normally applied using the points of toothpicks or bamboo meat skewers.
After sticking all the various components onto their appropriate sheets of cardboard and letting the glue dry for an hour or two I began work with cutting out the UPPER SECTIONS of what would become the rail side wall. Each wall has an inside and out side component stuck onto the THICK card. As with all kits, reading the instructions twice and examining the parts twice before assembly pays dividends in both the short and long term. These components have a definite TOP and BOTTOM arrangement that needs to be noted.

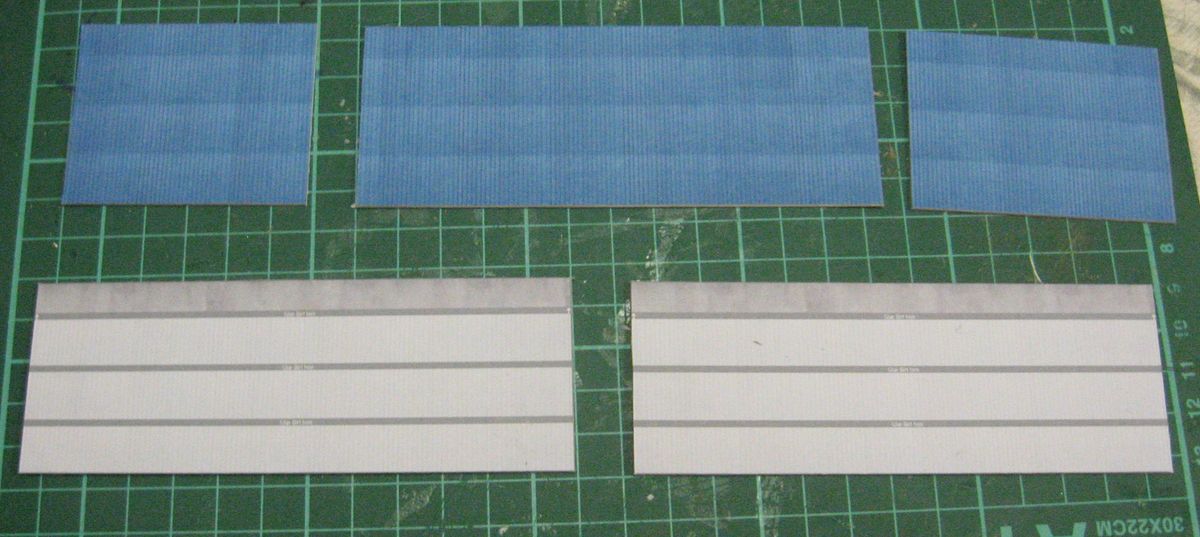
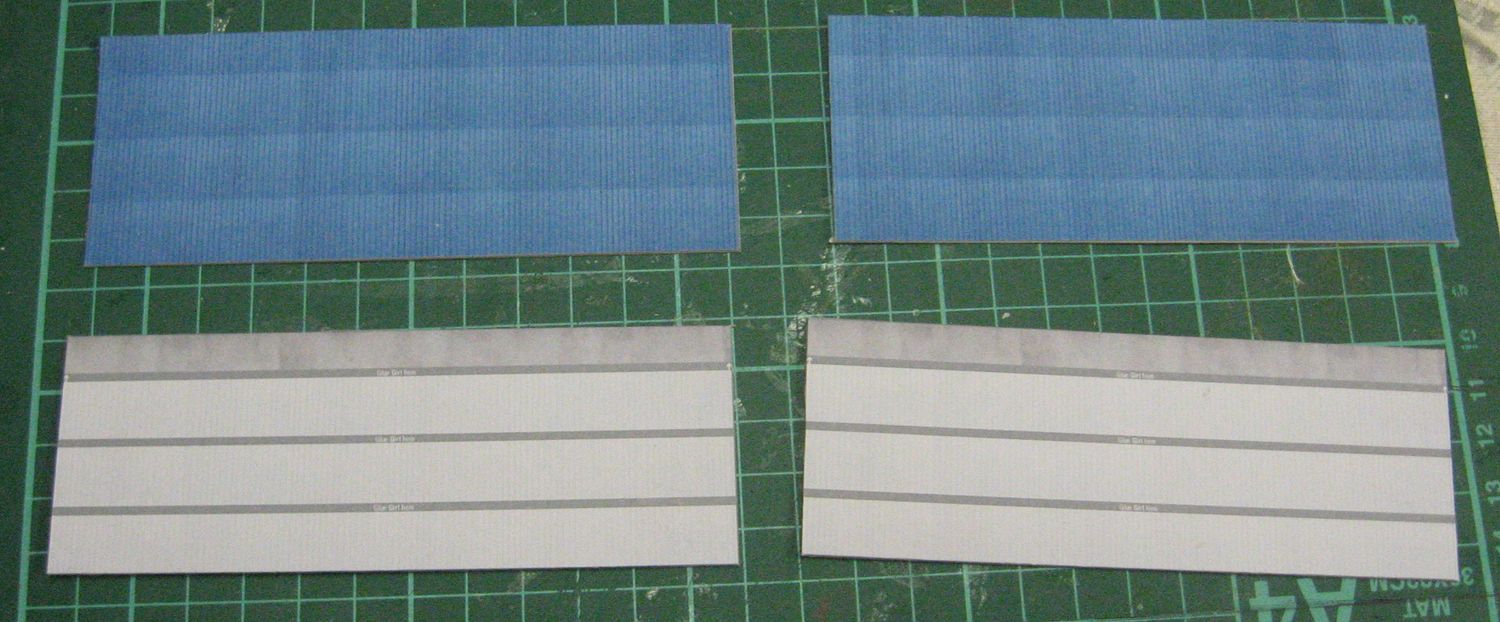
The blue coloured sheet is the outer wall and the grey coloured sheet is the inner wall.
I figured out that butt joining the two wall sections would not be a good idea and that somehow staggering the joints would be a good idea, however I cut up one of the outer walls as follows:

This has left two joins on the outer wall that have to be covered with some form of ducting or down pipe (which will be even trickier when you find out in later posts where I cut the door openings out! A better move would have been to cut one of the inner walls in half or one-third/two-thirds to create the staggered joint. The outer wall joint would have been in the center of the outer wall and where the two downward sloping rooves meet, justifying a down pipe to cover the join. A more adventurous method that avoids the join between the two walls sections would be to cut out the wall sections in their paper sheet form and stick them down adjacent to each other directly on a piece of card.

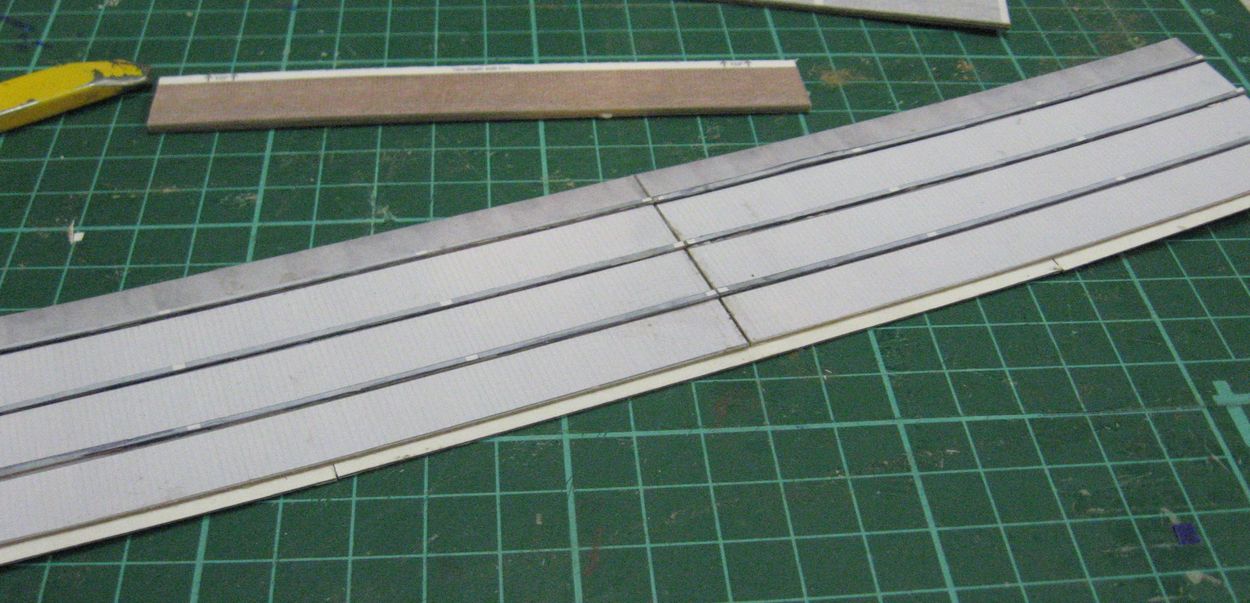
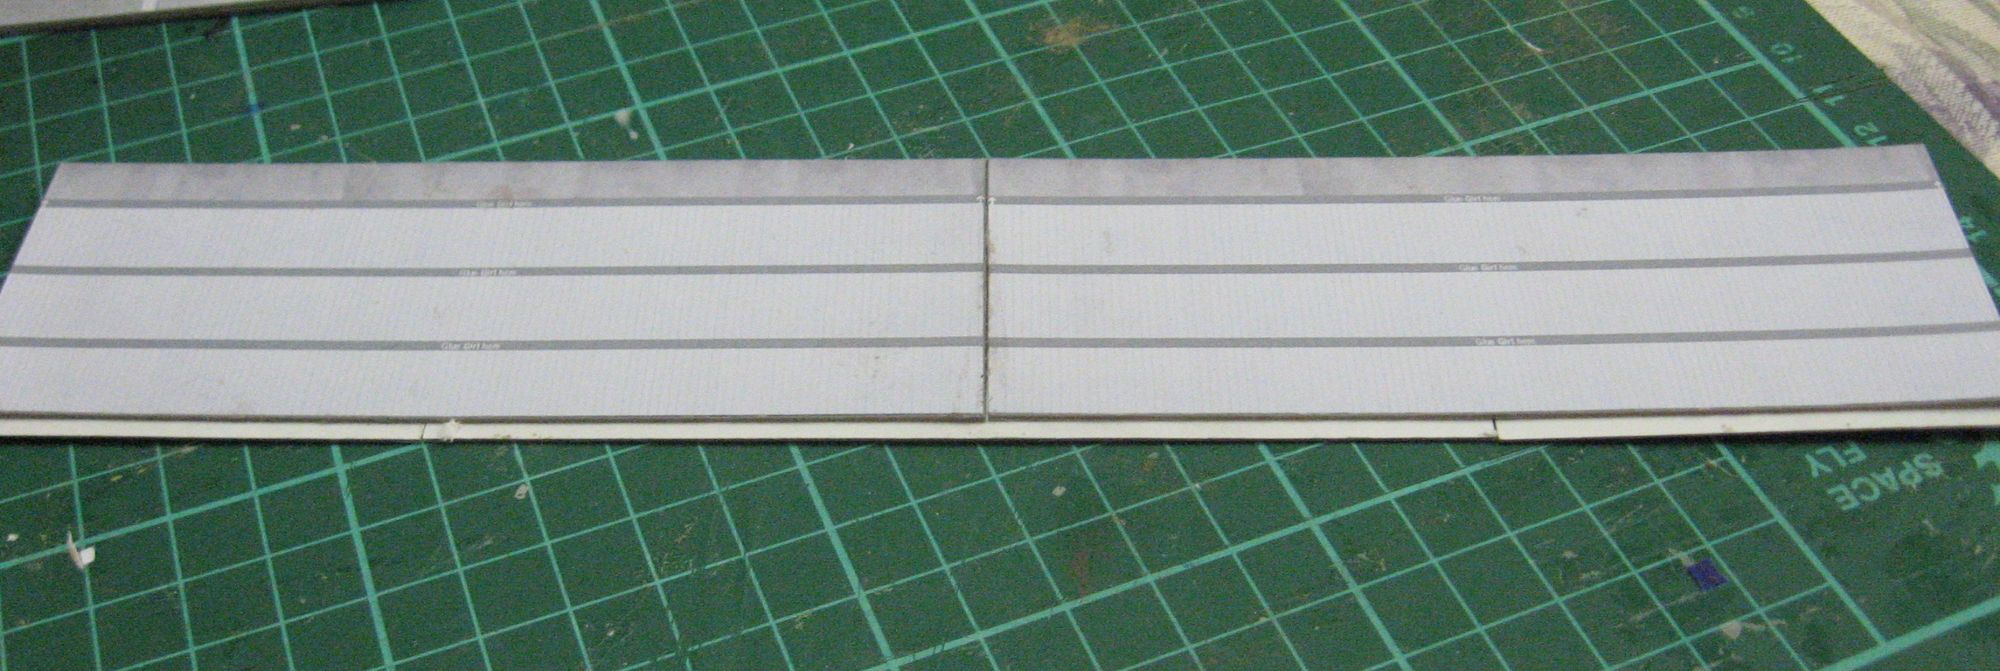
The grey inner walls have three darker grey horizontal bands. These mark out where the `girts' go. The girts are the horizontal beams that the metal sheeting of the walls is attached to (I assume). They are carefully cut out and following the instructions I ran down the side of each one with a grey felt tip pen to cover over the white card edges. I only had a darker grey on hand, if I had been able to raid the kid's collection I may have been able to find a lighter grey to enable a lower edge in shadow and upper edge in light effect for the girts. I got the glue on the girts by carefully pulling them through the top of the glue stick while gently holding them down with the forefinger of the other hand.


In `real time' I have gone a bit further than this but writing up the post takes almost more time than building the kit! I hope to get back in a few days time. Questions and feedback most welcome.
Regards, Andrew G.
Always learning, from both wins and losses.
My Model Railway blog: <!-- m --><a class="postlink" href="http://ttrakandrew.wordpress.com/">http://ttrakandrew.wordpress.com/</a><!-- m -->
I have spent some time working on the Scalescenes kit and already made some errors due to my changes to the structure to make it double the normal width. The fact that the error will be on the track side of the building’s layout front side location will mean that it will be out of view 99% of the time. Future builds will hopefully avoid the error and even benefit from it.
Basic methods, materials, etc:
The printed paper parts used either on their own or stuck onto various thickness of card (light, medium, heavy). For N scale Scalescenes recommends:
Light: approx. 80gsm
Medium: approx. 200gsm
Heavy: approx 1mm thick.
For my build I am using the following materials as available at my local newsagent in rural Australia:
Light: 100gsm paper/card
Medium: `6 sheet' card
Heavy: `10 sheet' card
After printing off the paper sheets I sprayed them with three coats of a spray can acrylic satin finish `varnish’ that dries clear, not yellowish.
For gluing the paper onto the card I use a plain `Glue Stick’ as the comparatively dry glue does not soak into the paper and threaten to make the inks run. It also allows a small amount of adjustment time.
For gluing cut out components together I normally use a fast drying yellow PVA type glue that is sold here in Australia by Bostik as “MDF glue”. Large gluing areas excepted, this is normally applied using the points of toothpicks or bamboo meat skewers.
After sticking all the various components onto their appropriate sheets of cardboard and letting the glue dry for an hour or two I began work with cutting out the UPPER SECTIONS of what would become the rail side wall. Each wall has an inside and out side component stuck onto the THICK card. As with all kits, reading the instructions twice and examining the parts twice before assembly pays dividends in both the short and long term. These components have a definite TOP and BOTTOM arrangement that needs to be noted.
The blue coloured sheet is the outer wall and the grey coloured sheet is the inner wall.
I figured out that butt joining the two wall sections would not be a good idea and that somehow staggering the joints would be a good idea, however I cut up one of the outer walls as follows:
This has left two joins on the outer wall that have to be covered with some form of ducting or down pipe (which will be even trickier when you find out in later posts where I cut the door openings out! A better move would have been to cut one of the inner walls in half or one-third/two-thirds to create the staggered joint. The outer wall joint would have been in the center of the outer wall and where the two downward sloping rooves meet, justifying a down pipe to cover the join. A more adventurous method that avoids the join between the two walls sections would be to cut out the wall sections in their paper sheet form and stick them down adjacent to each other directly on a piece of card.
The grey inner walls have three darker grey horizontal bands. These mark out where the `girts' go. The girts are the horizontal beams that the metal sheeting of the walls is attached to (I assume). They are carefully cut out and following the instructions I ran down the side of each one with a grey felt tip pen to cover over the white card edges. I only had a darker grey on hand, if I had been able to raid the kid's collection I may have been able to find a lighter grey to enable a lower edge in shadow and upper edge in light effect for the girts. I got the glue on the girts by carefully pulling them through the top of the glue stick while gently holding them down with the forefinger of the other hand.
In `real time' I have gone a bit further than this but writing up the post takes almost more time than building the kit! I hope to get back in a few days time. Questions and feedback most welcome.
Regards, Andrew G.
Always learning, from both wins and losses.
My Model Railway blog: <!-- m --><a class="postlink" href="http://ttrakandrew.wordpress.com/">http://ttrakandrew.wordpress.com/</a><!-- m -->
Always learning, from both wins and losses.
My Model Railway blog: <!-- m --><a class="postlink" href="http://ttrakandrew.wordpress.com/">http://ttrakandrew.wordpress.com/</a><!-- m -->
My FlickR Photostream: <!-- m --><a class="postlink" href="http://www.flickr.com/photos/85896932@N07/">http://www.flickr.com/photos/85896932@N07/</a><!-- m -->


