02-05-2012, 06:54 PM
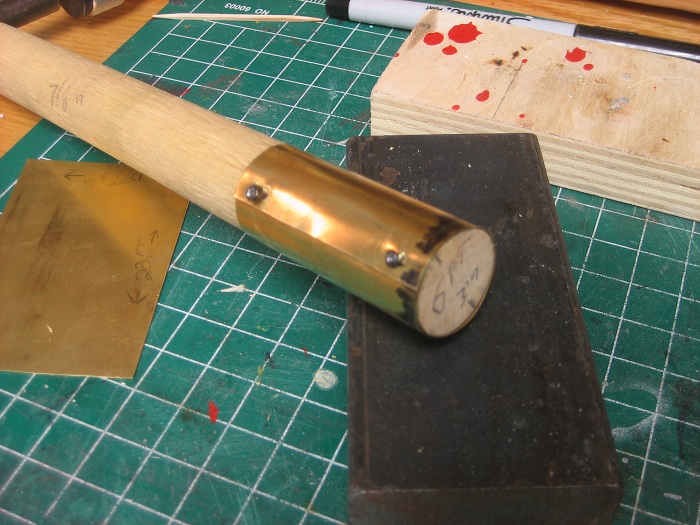
After I was satisfied with the fit it's time to roll. I just kept working the brass around the dowel by hand to keep the edge even with the end of the dowel, sometimes rolling the dowel on a hard surface when necessary. Next I removed one screw, re drilled the brass and resecured the now round sleeve to the dowel as shown here.
 This method works well for Camelback boilers because they and normally straight boilers with out any changes in diameter like a wagon top boiler.
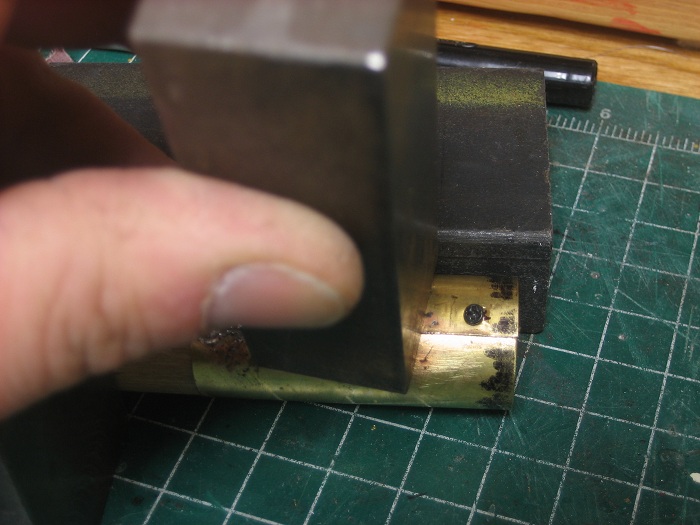
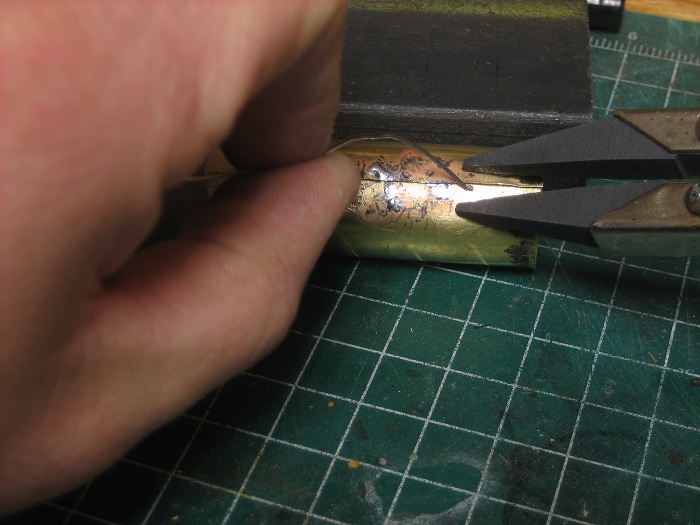
With this step finished it's time to break out the solder. Here a resistance soldering rig really shines. It could also be done with a torch or heavy iron, but I love my rig. I applied a generous amount of flux to the seam, got the brass nice and hot, and ran a bead of solder down the seam. This was done in sections so that the while the solder was still in a liquid state I could apply pressure with a piece of steal bar stock.
 Just make sure that you keep pressure on it till the solder hardens.
With this step finished it's time to break out the solder.
My other car is a locomotive, ARHS restoration crew


