02-11-2012, 12:38 PM
Time to install the smokebox....
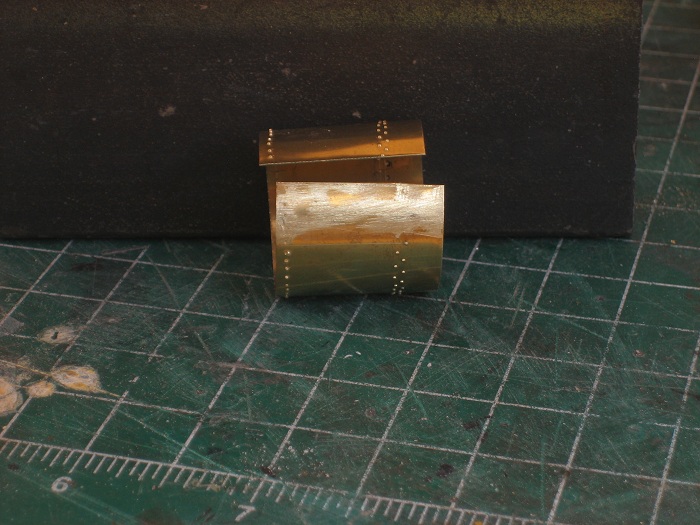
To prep the smokebox to be soldered in place I marked the aria that would be covered by the overlap and removed the rivets with a file that would be covered by the other side of the wrapper. I also cleaned the marker from the arias to be soldered to insure a good bond.
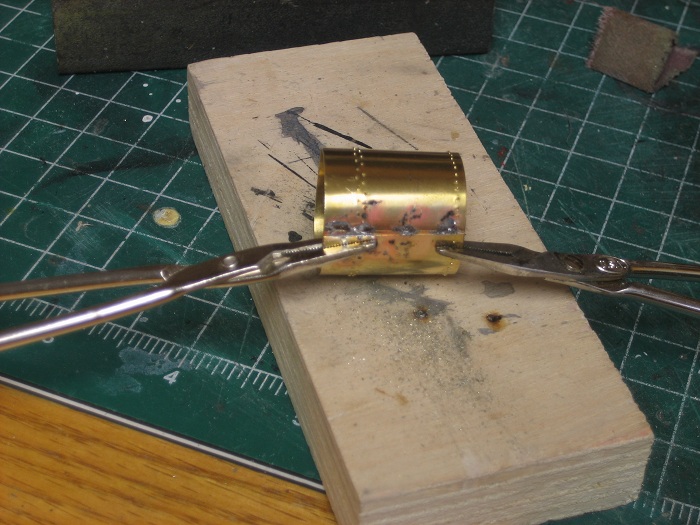
Using my mark as a guide I clamped and tacked the smoke box into a rough shape with some solder. This solder joint is only temporary and will be removed shortly, so I didn't go crazy with it. It is only there to hold the smokebox from twisting as you solder it to the boiler.
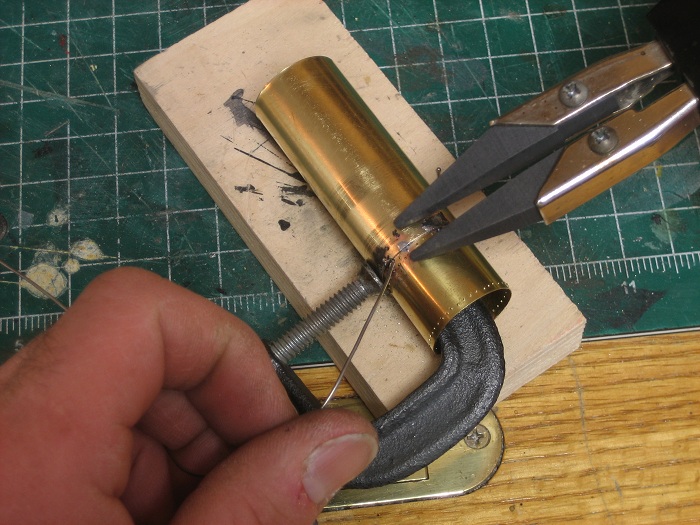
I lined up the smokebox with the seam at the bottom and clamped it in place with a small "C" clamp. working my way around with the clamp and soldering probes I tacked the smoke box to the boiler. At about the half way point as I went around the seam I un-tacked the bottom solder joint on the overlapping seam. The other solder joints will now hold the smokebox in line. This is done also to keep a "bubble" from forming between the boiler and smokebox. You just keep going around till you get to the bottom and re-solder the overlapping seam with a permanent bond.
Just try to keep the solder to a minimum on the joint between the boiler and smoke box,, it just becomes more to remove latter.
To prep the smokebox to be soldered in place I marked the aria that would be covered by the overlap and removed the rivets with a file that would be covered by the other side of the wrapper.
Using my mark as a guide I clamped and tacked the smoke box into a rough shape with some solder. This solder joint is only temporary and will be removed shortly, so I didn't go crazy with it. It is only there to hold the smokebox from twisting as you solder it to the boiler.
I lined up the smokebox with the seam at the bottom and clamped it in place with a small "C" clamp.
Just try to keep the solder to a minimum on the joint between the boiler and smoke box,, it just becomes more to remove latter.
My other car is a locomotive, ARHS restoration crew


