02-19-2012, 08:18 AM
The next piece of THICK cardboard to cut out was for the Inner Wall. While the printed paper was not going to be stuck to the cardboard in this version, the size of the cardboard still had to match the dimensions of three inner wall sections placed side by side.
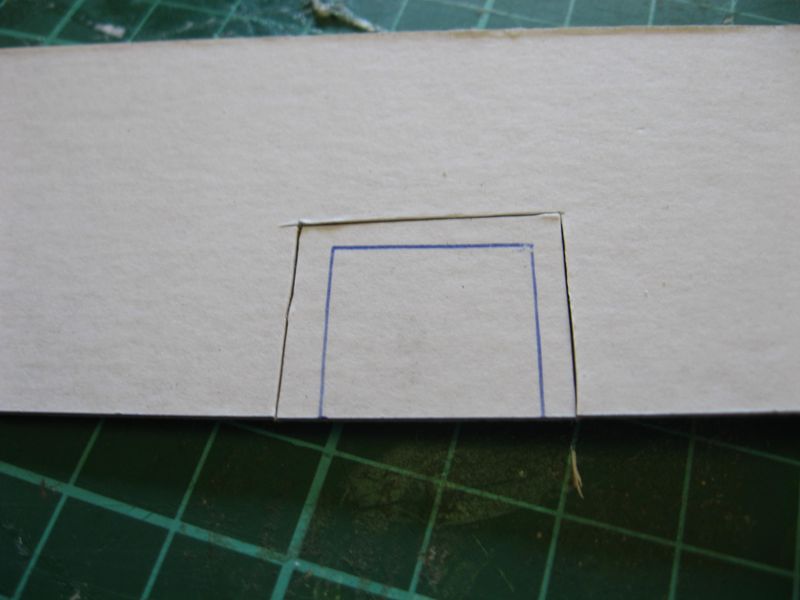
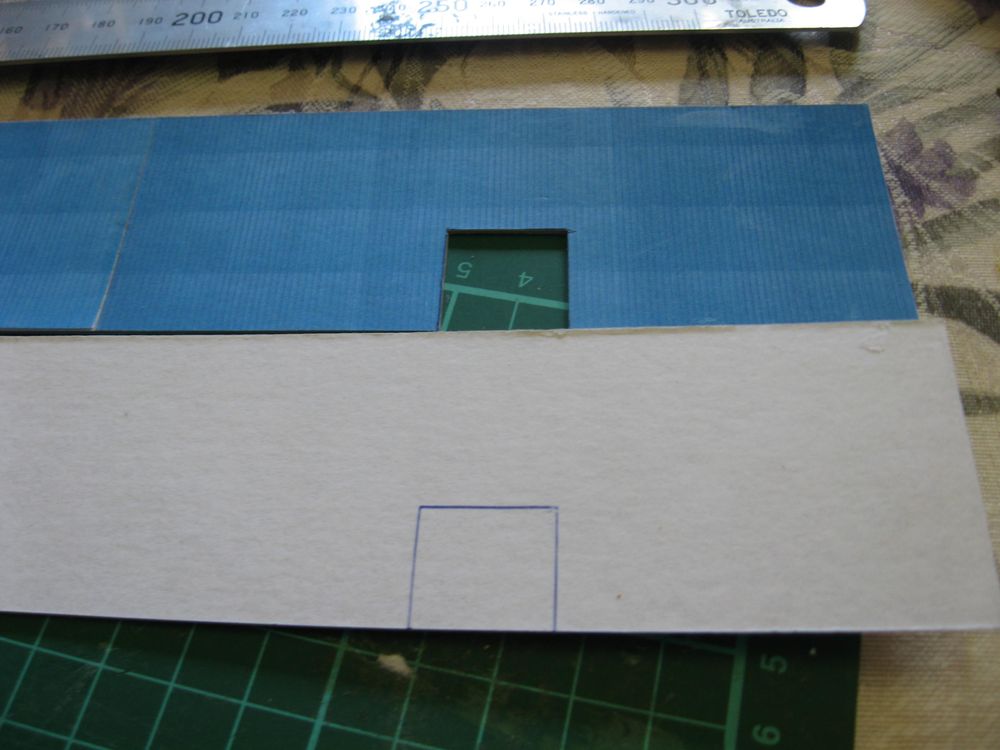
This new section was placed underneath the outer wall section and the door openings were traced onto the inner wall.
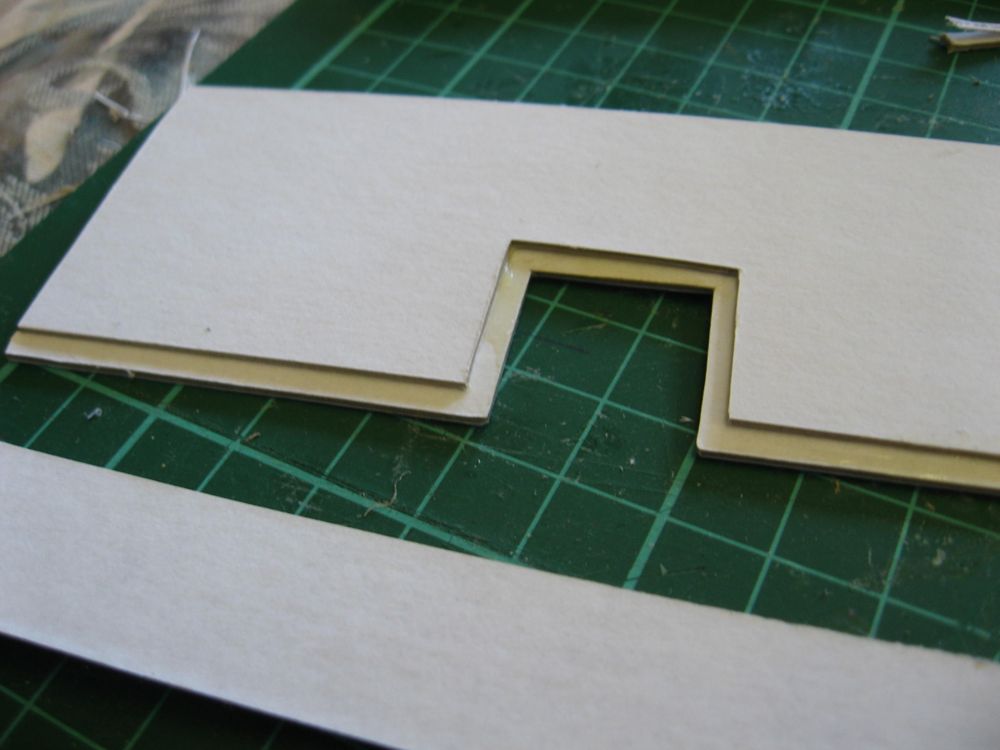
Then using micro-millimeter precision and a computer guided laser cutter (OH YEAH!!!!) I cut an opening in the inner wall that gave good clearance to the doorway.
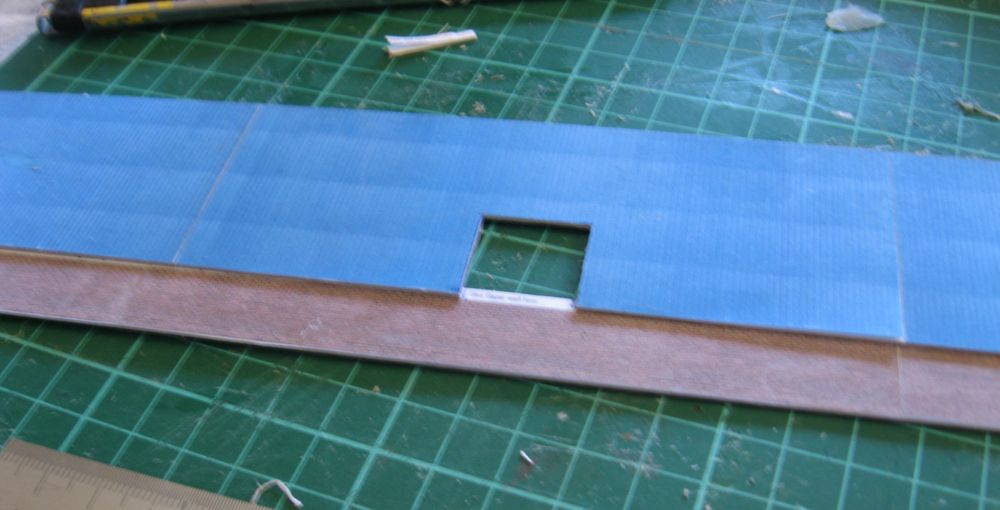
The inner wall was then glued to the back surface of the outer wall, aligning the tops and ends of both walls so that the required `step' was created to allow for attaching the lower wall section. The `blank' thick cardboard for the lower wall can be seen at the bottom of the photo below.
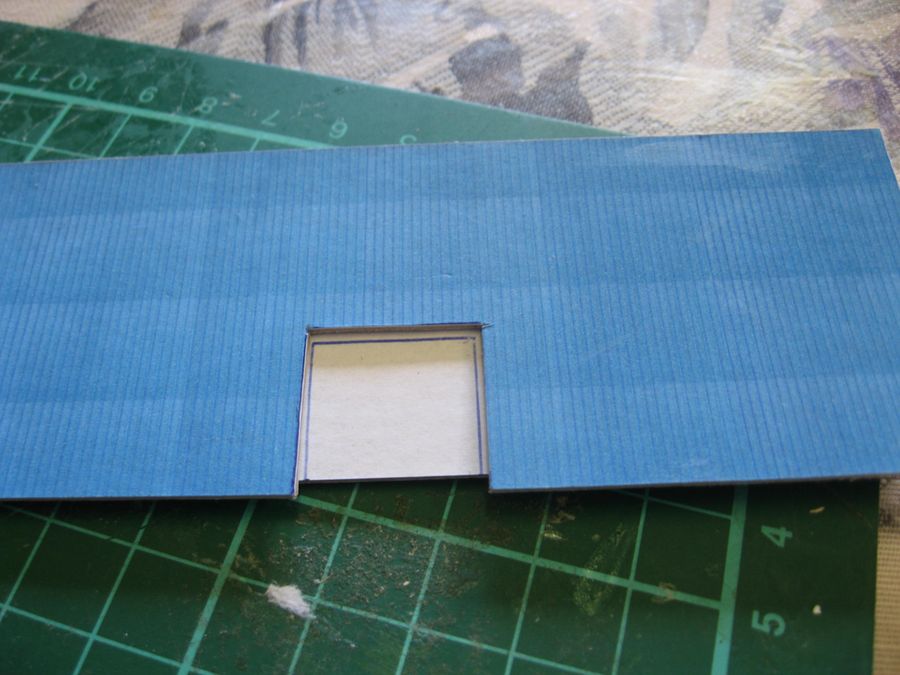
Here is the lower wall with the only the brick pattern paper stuck on. Again this piece of cardboard was cut to fit three lower wall outer sections placed side by side. The white strip at the top of the lower wall was only cut away where the door openings were. As you can see the joins between the upper wall paper sections now line up with the joins between the lower wall sections, which will allow me to cover them with down-piping or other architectural details.
This new section was placed underneath the outer wall section and the door openings were traced onto the inner wall.
Then using micro-millimeter precision and a computer guided laser cutter (OH YEAH!!!!)
 I cut an opening in the inner wall that gave good clearance to the doorway.
The inner wall was then glued to the back surface of the outer wall, aligning the tops and ends of both walls so that the required `step' was created to allow for attaching the lower wall section. The `blank' thick cardboard for the lower wall can be seen at the bottom of the photo below.
Here is the lower wall with the only the brick pattern paper stuck on. Again this piece of cardboard was cut to fit three lower wall outer sections placed side by side. The white strip at the top of the lower wall was only cut away where the door openings were. As you can see the joins between the upper wall paper sections now line up with the joins between the lower wall sections, which will allow me to cover them with down-piping or other architectural details.
Always learning, from both wins and losses.
My Model Railway blog: <!-- m --><a class="postlink" href="http://ttrakandrew.wordpress.com/">http://ttrakandrew.wordpress.com/</a><!-- m -->
My FlickR Photostream: <!-- m --><a class="postlink" href="http://www.flickr.com/photos/85896932@N07/">http://www.flickr.com/photos/85896932@N07/</a><!-- m -->


