07-06-2013, 05:11 PM
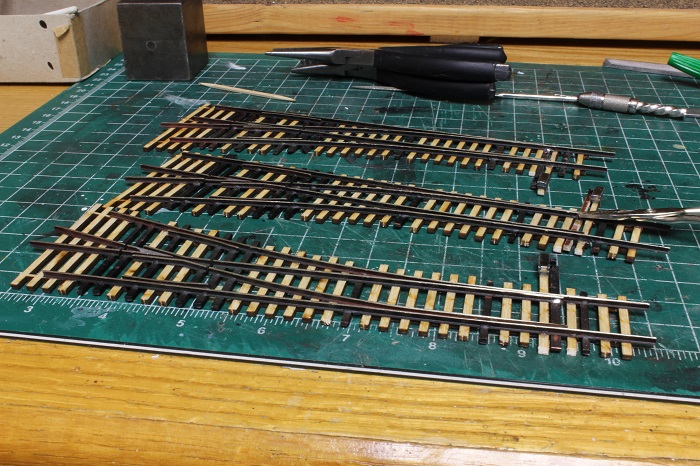
I built three #4 switches to use for the B&E during the week. I like the Fast Tracks gigs for hand laid switches. I'm not going to go into detail on this step there are a few demo's on YouTube on this subject. I will talk about how I control the turnouts. My method is to use a DPDT micro slide switch from All Electronics, part # ssw-45. It not only sets the polarity of the frog, but also holds the switch points in place. I have installed them on all of my hand laid switches without any problems so far.

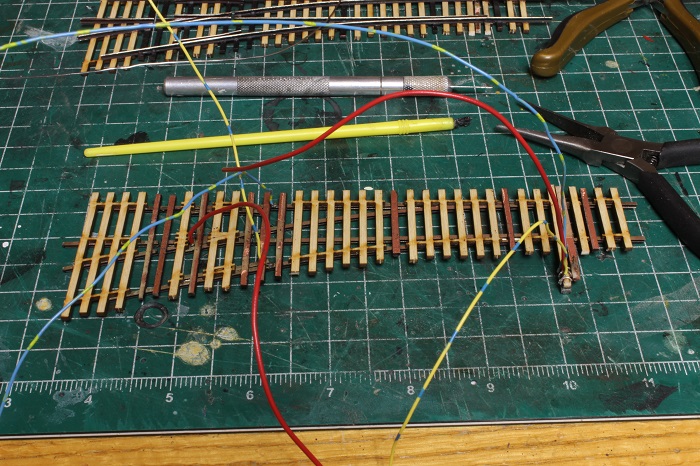
In this pic I have color coded the feeders to the rail and slide switch that has been glued to a longer tie with some CA type glue. On my layout the Yellow wire is the common rail and the blue will go to the switches on the control board for the block wiring. The red wire connects the center tap (common) on the slide switch to the frog. The slide switch has a pin through it that connects it to the through bar on the turnout. So when switch is set for either path the slide switch moves with it, holding the points in place, and the contacts send the correct power (+ or -) to the frog through the red wire. I will drill a set of small holes in the roadbed to the underside of the layout where all the wire will be spliced.
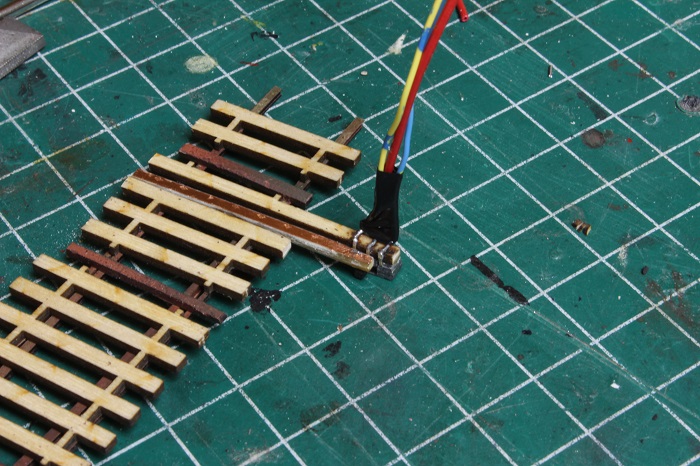
Here is a close up of the slide switch. The solder contacts on the switch are also peened over the tie to help hold it in place. now they need to be painted and they will be ready to be installed.
In this pic
Here is a close up of the slide switch. The solder contacts on the switch are also peened over the tie to help hold it in place.
My other car is a locomotive, ARHS restoration crew


