04-17-2009, 03:44 PM
...for 3% better results when applying static grass.
Here's the new GERN TurfMaster Grass Blaster, with the idea coming from this Thread on the Model Railroader site: Static grass applicator
My thanks to Joe Fugate, from the MR Forum, for the wiring diagram for this nifty little gadget.
You can go to the post in the link for more info, including a demonstrative video of the applicator in action. Below is a brief outline of how I built mine.
Here are the materials needed:
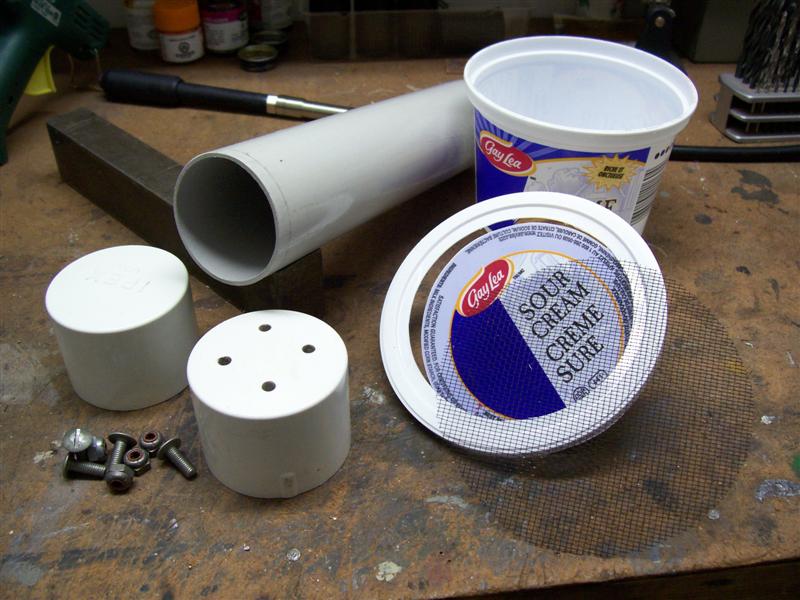
Clockwise, from upper left - a piece of 1 1/2" plastic pipe, about 8" long (I used a piece of thin-wall PVC that I had on hand, but was unable to get end caps to fit - the ones shown were modified), a 16 ounce plastic container, with lid, similar to the one shown, a piece of aluminum window screen, two suitable caps for the pipe, plus some screws and nuts to fasten the container to one of the pipe caps.
You'll also need the electrical stuff shown below:
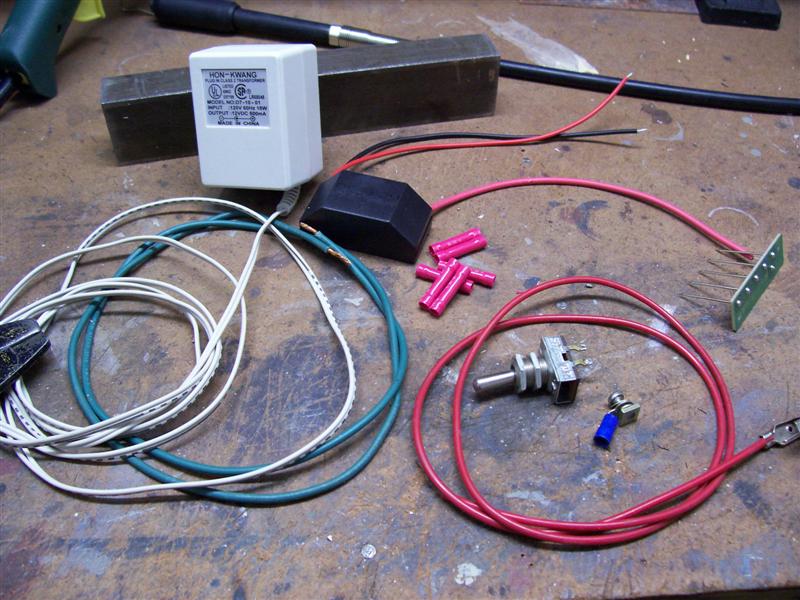
Clockwise, from upper left - A 12 volt DC power source - (mine is a 12 volt wall wart leftover from my old computer), a negative ion generator (available from Electronic Goldmine , for about $13.00 plus shipping), a piece of flexible wire with an alligator clip on one end (mine is from an old continuity tester, although the alligator clip was a bit shy, and is barely visible at right), a small screw and nut with a crimp-on lug connector, a simple on/off switch, and a piece of stranded #14 or #16 wire, plus some crimp-on connectors.
Tools needed are a drill, with suitable bits, a wire stripper/crimping tool, screwdriver, wrenches, soldering iron, scissors or tin snips, utility knife, and a hot glue gun.
Drill suitable holes and fasten the 16 oz. container to one of the pipe caps, using the screws and nuts.
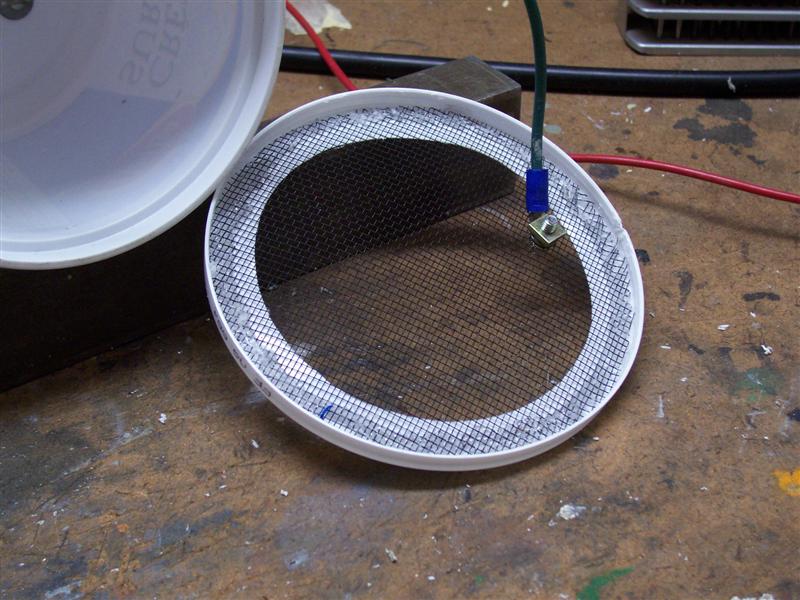
With the knife, carefully remove the centre of the lid, then use your scissors or tin snips to cut the piece of screen to fit inside of the rim of the lid.
I applied some hot glue along the edge of the installed screen, then pressed the glue and screen into place with the tip of a screwdriver.
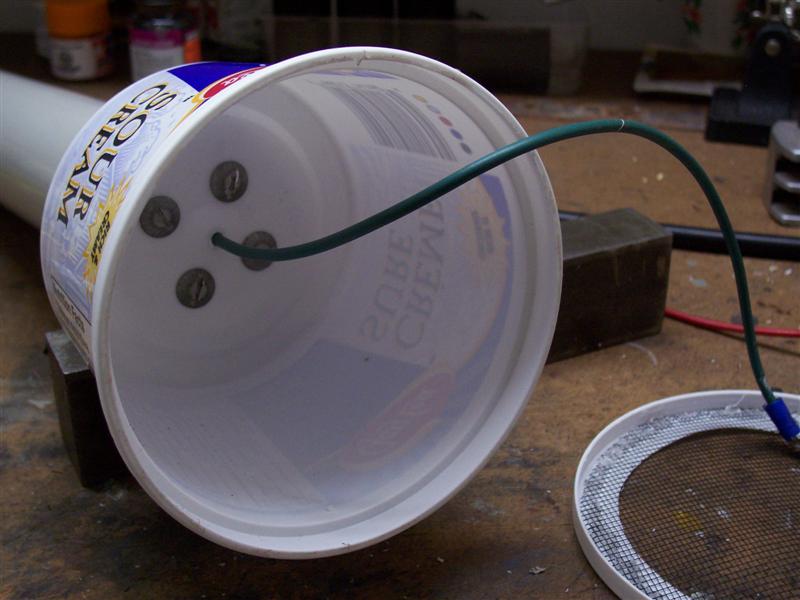
Fasten the crimp-on lug connector to one end of the #14/16 wire, spread the strands of the screening slightly, then use the small screw and nut to fasten the connector to the inside of the screen, near the edge. Drill a hole for a tight fit on this wire through the bottom of the 16 oz. container and the attached pipe cap, then thread a couple of inches of wire through. Wind the balance of the excess wire around the inside perimeter of the container, then snap the lid in place.
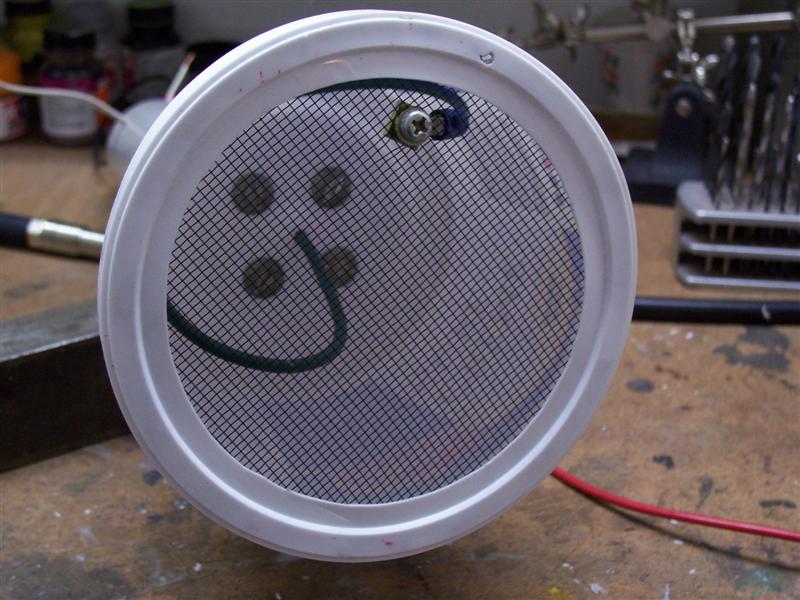
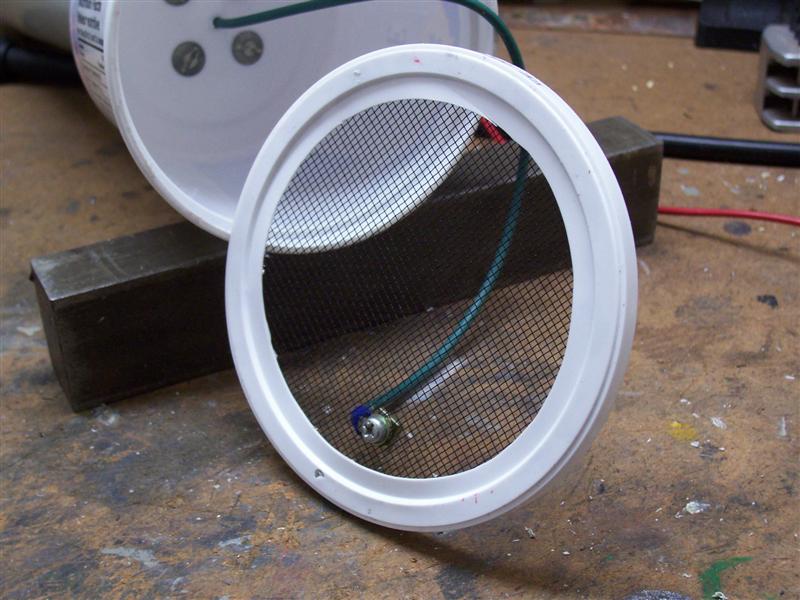
Cut the 5-pronged ion circuit board (visible in the second photo of this Thread, at the upper right) from the end of the red wire, then use a crimp-on connector to join this wire to the one that you threaded through the cap in the previous step. Insert the paired red and black wires of the ion generator, then the ion generator itself into the pipe (use the tin snips to trim the mounting bracket as required), pushing the ion generator right out the opposite end of the pipe. Push the crimp-connected wires into the pipe also, then install the pipe cap with the container attached.
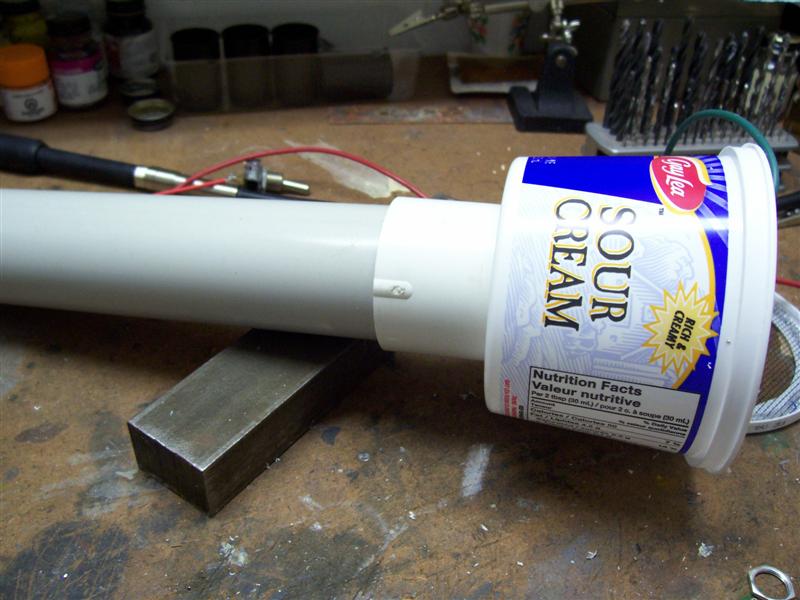

Using a drill bit sized to give a fairly tight fit, drill a hole through the side of the pipe, about 2" from the open end, then insert the free end of the wire that has the alligator clip at the other end.
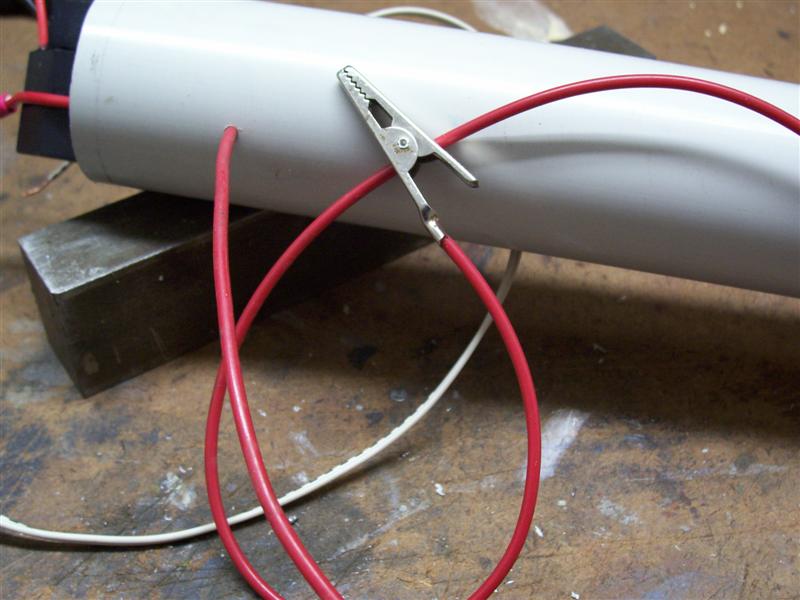
Opposite this hole, drill a similarly snug hole and insert the pair of wires from your DC power source.
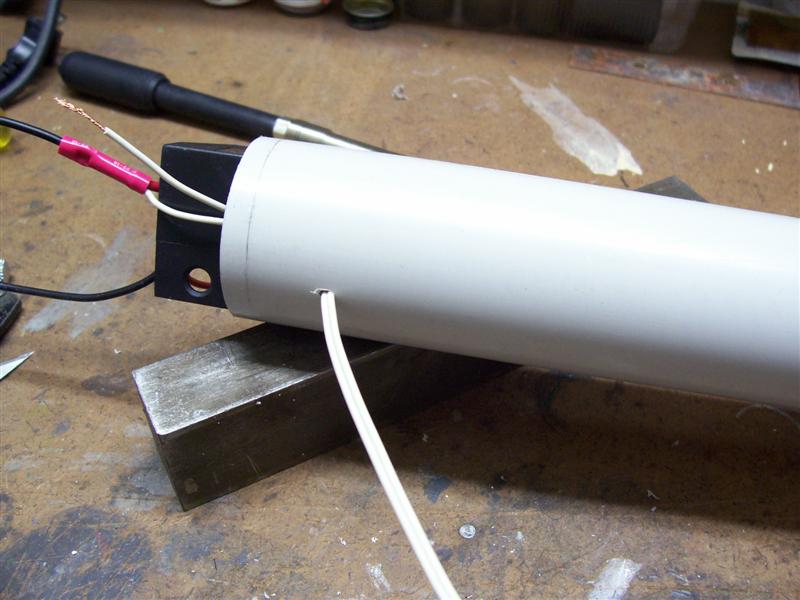
Connect the "+" wire from the DC power source to one pole of the switch, and the red wire from the ion generator to the other pole. Drill a suitably-sized hole on the top of the pipe cap, and mount the switch.
Using a crimp connector, connect the "-" lead from the power source, and the free end of the alligator clip wire to the black lead of the ion generator.
Carefully slide the ion generator and the wires into the pipe, then press the end into place. Here's the finished applicator.
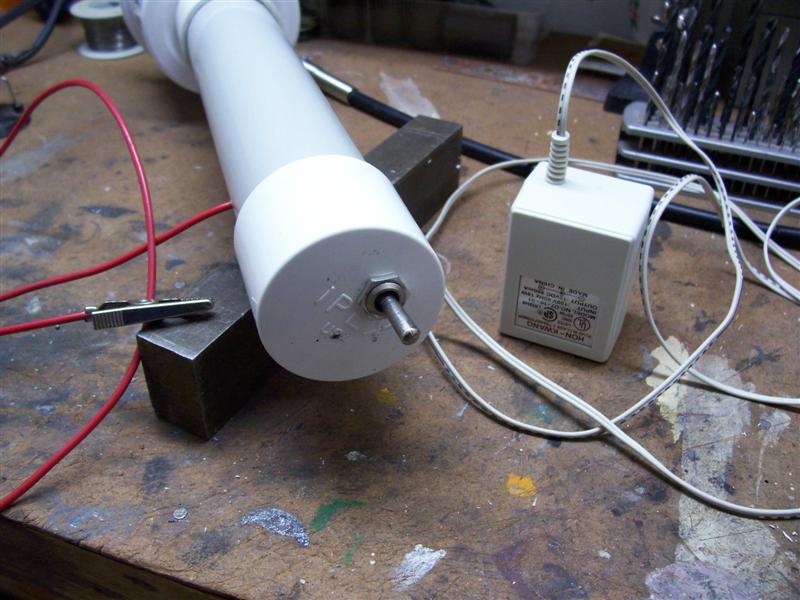
To use this tool, remove the lid from the 16 oz. container, dump in some static "grass" material (available from Woodland Scenics and Noch, and perhaps others), then replace the lid. Drill a hole into the area where you want to install some static grass and insert a 2" -2 1/2" nail - if your terrain is foam, simply push the nail into place. Apply glue or matte medium to the area (I used full strength white glue, applied with a brush, for my first attempt, but later also added grass to an area that I was scenicing using diluted glue in conjunction with ground foam. The grass seems to stand up well in either situation, although I haven't tried the thinned glue with no ground foam present, so I can't say if the grass will remain standing with only the thinned glue to support it), then attach the alligator clip to the nail, and turn on the Blaster. Move over the area slowly, tapping or shaking the applicator as you go. I quickly discovered that it's difficult to apply the grass precisely where you want it, although for a field or other broad area, this works well. I may replace the 16 oz. container with something narrower, such as a vacuum cleaner crevice tool, for more precise distribution of the "grass". I think that the screen might still need to be kept fairly large, though, as it's one half of the static attraction set-up that makes the grass stand on end. My little patch of scenery is still drying, so only a couple of pictures, but the grass is still standing.
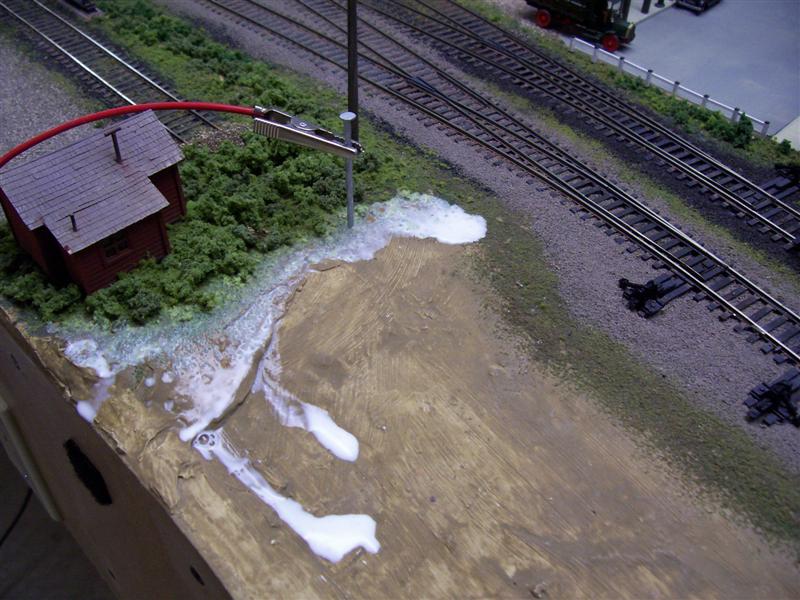
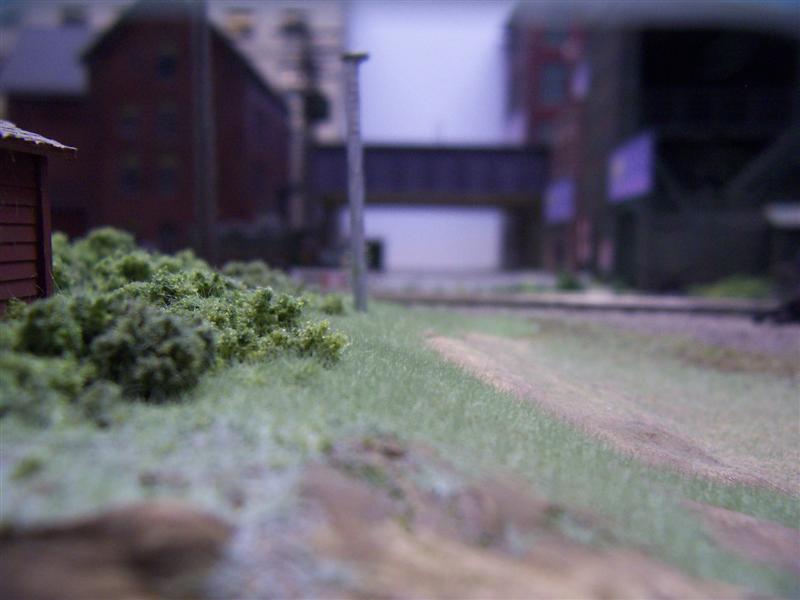
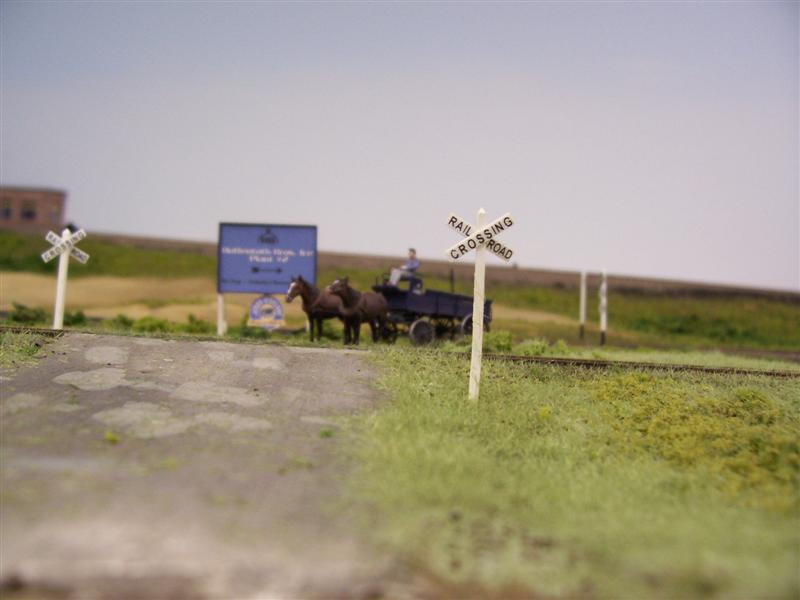
...and a more recent effort, combining static grass and ground foam in consecutive applications...
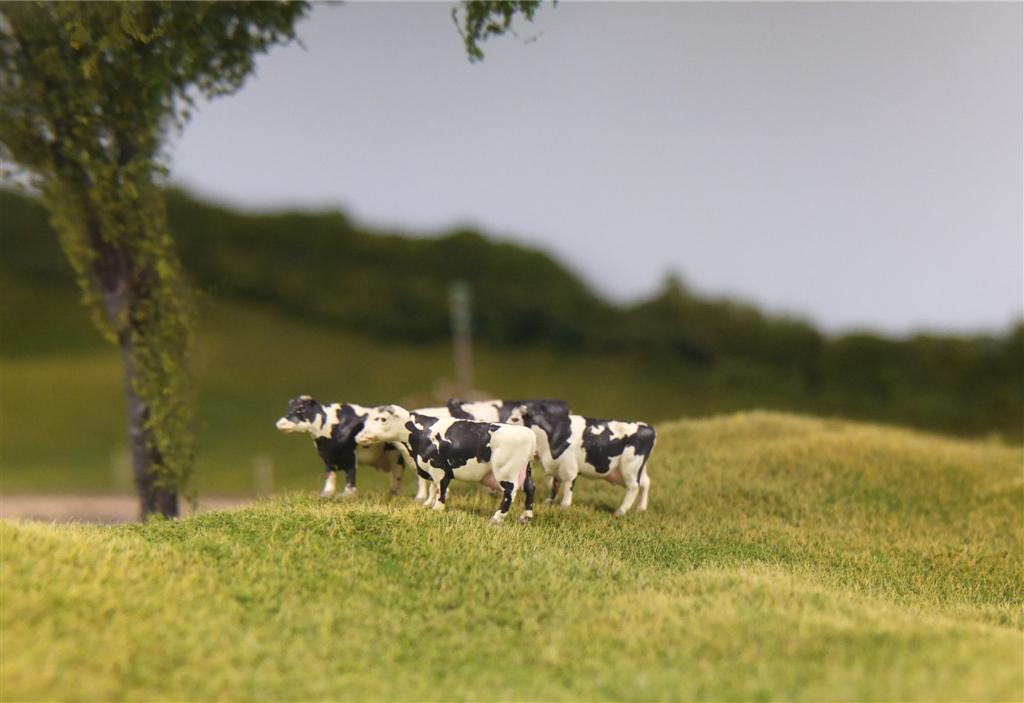
Obviously, surrounding areas and nearby structures will need to be cleaned-up once the area has dried, in a day or two, but overall, I'm pleased with the results. Supposedly, once the initial application is dry, you can spray the area with dilute glue, and repeat the grass application, for even longer tall grass.
Wayne
Here's the new GERN TurfMaster Grass Blaster, with the idea coming from this Thread on the Model Railroader site: Static grass applicator
My thanks to Joe Fugate, from the MR Forum, for the wiring diagram for this nifty little gadget.
You can go to the post in the link for more info, including a demonstrative video of the applicator in action. Below is a brief outline of how I built mine.
Here are the materials needed:
Clockwise, from upper left - a piece of 1 1/2" plastic pipe, about 8" long (I used a piece of thin-wall PVC that I had on hand, but was unable to get end caps to fit - the ones shown were modified), a 16 ounce plastic container, with lid, similar to the one shown, a piece of aluminum window screen, two suitable caps for the pipe, plus some screws and nuts to fasten the container to one of the pipe caps.
You'll also need the electrical stuff shown below:
Clockwise, from upper left - A 12 volt DC power source - (mine is a 12 volt wall wart leftover from my old computer), a negative ion generator (available from Electronic Goldmine , for about $13.00 plus shipping), a piece of flexible wire with an alligator clip on one end (mine is from an old continuity tester, although the alligator clip was a bit shy, and is barely visible at right), a small screw and nut with a crimp-on lug connector, a simple on/off switch, and a piece of stranded #14 or #16 wire, plus some crimp-on connectors.
Tools needed are a drill, with suitable bits, a wire stripper/crimping tool, screwdriver, wrenches, soldering iron, scissors or tin snips, utility knife, and a hot glue gun.
Drill suitable holes and fasten the 16 oz. container to one of the pipe caps, using the screws and nuts.
With the knife, carefully remove the centre of the lid, then use your scissors or tin snips to cut the piece of screen to fit inside of the rim of the lid.
I applied some hot glue along the edge of the installed screen, then pressed the glue and screen into place with the tip of a screwdriver.
Fasten the crimp-on lug connector to one end of the #14/16 wire, spread the strands of the screening slightly, then use the small screw and nut to fasten the connector to the inside of the screen, near the edge. Drill a hole for a tight fit on this wire through the bottom of the 16 oz. container and the attached pipe cap, then thread a couple of inches of wire through. Wind the balance of the excess wire around the inside perimeter of the container, then snap the lid in place.
Cut the 5-pronged ion circuit board (visible in the second photo of this Thread, at the upper right) from the end of the red wire, then use a crimp-on connector to join this wire to the one that you threaded through the cap in the previous step. Insert the paired red and black wires of the ion generator, then the ion generator itself into the pipe (use the tin snips to trim the mounting bracket as required), pushing the ion generator right out the opposite end of the pipe. Push the crimp-connected wires into the pipe also, then install the pipe cap with the container attached.
Using a drill bit sized to give a fairly tight fit, drill a hole through the side of the pipe, about 2" from the open end, then insert the free end of the wire that has the alligator clip at the other end.
Opposite this hole, drill a similarly snug hole and insert the pair of wires from your DC power source.
Connect the "+" wire from the DC power source to one pole of the switch, and the red wire from the ion generator to the other pole. Drill a suitably-sized hole on the top of the pipe cap, and mount the switch.
Using a crimp connector, connect the "-" lead from the power source, and the free end of the alligator clip wire to the black lead of the ion generator.
Carefully slide the ion generator and the wires into the pipe, then press the end into place. Here's the finished applicator.
To use this tool, remove the lid from the 16 oz. container, dump in some static "grass" material (available from Woodland Scenics and Noch, and perhaps others), then replace the lid. Drill a hole into the area where you want to install some static grass and insert a 2" -2 1/2" nail - if your terrain is foam, simply push the nail into place. Apply glue or matte medium to the area (I used full strength white glue, applied with a brush, for my first attempt, but later also added grass to an area that I was scenicing using diluted glue in conjunction with ground foam. The grass seems to stand up well in either situation, although I haven't tried the thinned glue with no ground foam present, so I can't say if the grass will remain standing with only the thinned glue to support it), then attach the alligator clip to the nail, and turn on the Blaster. Move over the area slowly, tapping or shaking the applicator as you go. I quickly discovered that it's difficult to apply the grass precisely where you want it, although for a field or other broad area, this works well. I may replace the 16 oz. container with something narrower, such as a vacuum cleaner crevice tool, for more precise distribution of the "grass". I think that the screen might still need to be kept fairly large, though, as it's one half of the static attraction set-up that makes the grass stand on end. My little patch of scenery is still drying, so only a couple of pictures, but the grass is still standing.
...and a more recent effort, combining static grass and ground foam in consecutive applications...
Obviously, surrounding areas and nearby structures will need to be cleaned-up once the area has dried, in a day or two, but overall, I'm pleased with the results. Supposedly, once the initial application is dry, you can spray the area with dilute glue, and repeat the grass application, for even longer tall grass.
Wayne


