12-15-2008, 06:05 PM
I am not going to go into fine detail on all that was done to restore the locomotive and tender but I will touch on a lot of what was needed to be done to get it back into service. Everything from a new can motor, new gear box, frame repairs, driver replacement, drive setup, painting + decals and even a Soundtraxx Tsunami sound decoder install. For the most part a total overhaul.
My first move was to remove the paint, oil, grease and dirt from the locomotive and tender. I first unscrewed the boiler/cab assembly from the drive and the tender shell from the tender bottom. They were then placed in a jar of lacquer thinner and let soak for an hour. Most of the paint fell off like an old skin. The rest was scrubbed of with and old toothbrush.
The drive had everything that was screwed on was removed. I used a plastic tray with seperate compartments to store all the parts. Every part and screw was label to show where it came from so it could go back in the same spot. Everything except for the drivers, motor, gear box was given the same lacquer thinner bath. No parts that ore insulated or have plastic should go in the lacquer thinner as it will destroy the platic and insulation.
Once clean I was happy to see that it looked a lot better with the paint and dirt gone. I was also shooked to find a few details had come unsoldered sometime in the past and had been glued on.The lacquer thinner ate the glue and I was left to fish detail parts off the bottom of the jar.
Removing the paint from the tender showed the damage was bad but possibly repairable. The original owner liked a coal tender more and he had removed the oil bunker. The oil bunker was bent in places and was the tender top deck where it was mounted. He had mounted a coal bunker from a brass CPR engine in its place and covered over the rest of the large hole with paper and some glued down coal.
I did not take any pictures of the paint removal process as it was a messy and stinky job.
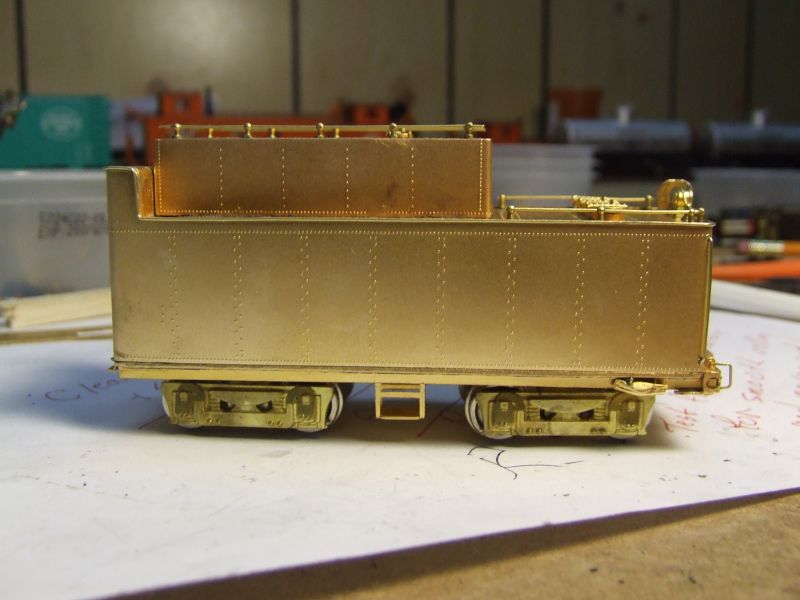
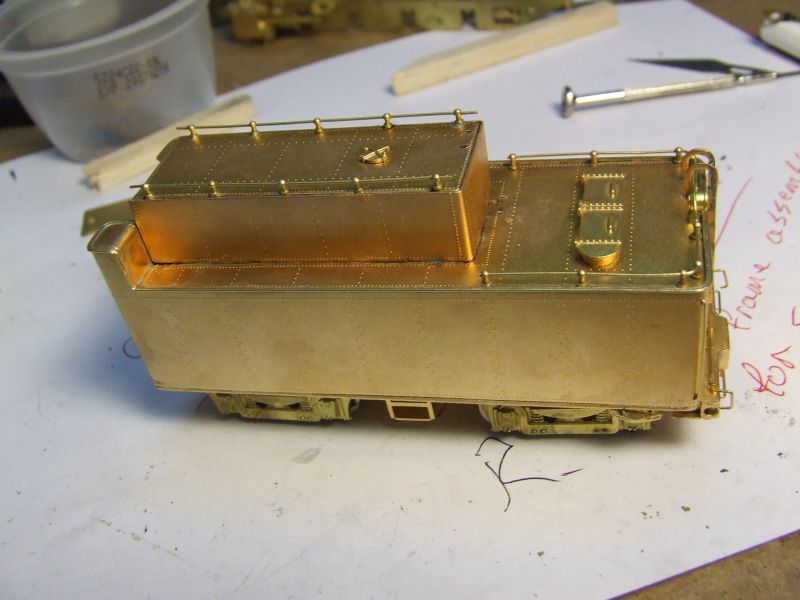
Seeing as the locomotive would need a usable tender I decided to start with it. After a lot of careful bending, test fitting and two evenings worth of effort I was able to piece the tender back together. The pictures below show the repaired tender. The repaired parts were test glued back together to check the fit of the parts. Once I was happy the glue was removed with acetone and the part soldered back together.
I am actually very pleased with the results.
Wayne R


