05-13-2010, 12:49 PM
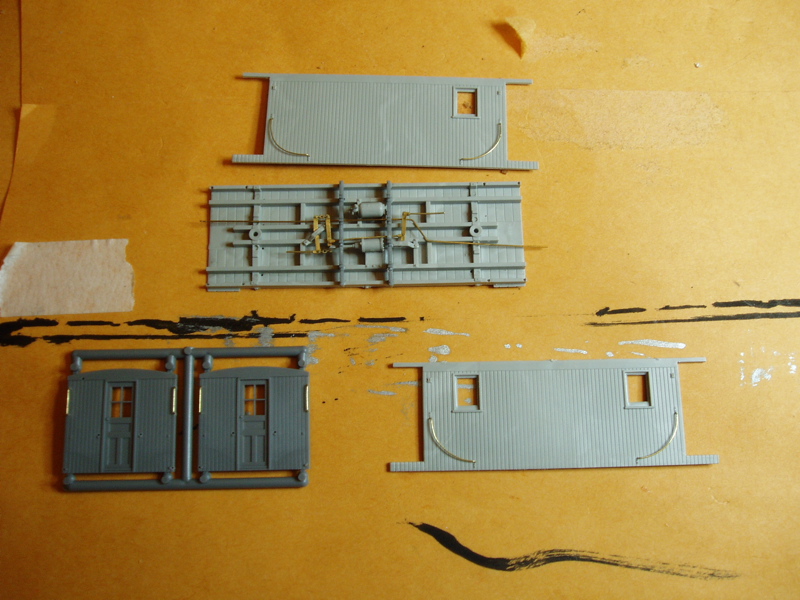
Like most kits, the instructions seem to be lacking needed info. This requires some test fitting and tinkering to figure out how it goes together. The parts are cast out of both plastic and brass and are fairly clean and free of flash. They fit together better than average, but I did run into a few problems with the needle beams on the floor. One of the "notches" seemed to be in the wrong place, and I had to trim the notch wider to clear the brake rods. My guess is either the brake parts or needle beams were re-designed at some point, or perhaps they used the needle beams that were designed for another of their kits. Either way, the first step was to assemble the brake rigging on the floor, and install grab irons on the sides and ends.

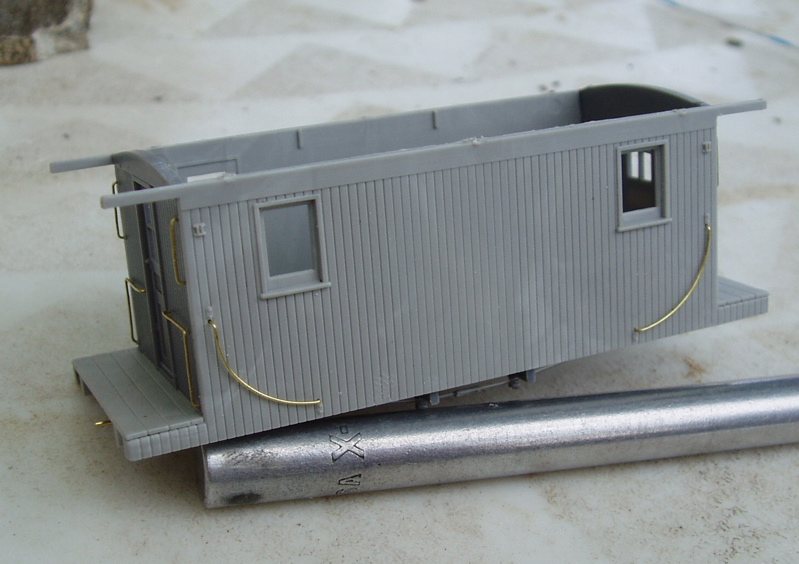
next, I glued the ends and sides to the floor. These parts fit together quite well and I am so far happy with the results.

next, I glued the ends and sides to the floor. These parts fit together quite well and I am so far happy with the results.
--
Kevin
Check out my Shapeways creations!
3-d printed items in HO/HOn3 and more!
<!-- m --><a class="postlink" href="https://www.shapeways.com/shops/kevin-s-model-train-detail-parts">https://www.shapeways.com/shops/kevin-s ... tail-parts</a><!-- m -->
Kevin
Check out my Shapeways creations!
3-d printed items in HO/HOn3 and more!
<!-- m --><a class="postlink" href="https://www.shapeways.com/shops/kevin-s-model-train-detail-parts">https://www.shapeways.com/shops/kevin-s ... tail-parts</a><!-- m -->


