12-23-2008, 06:04 AM
Stephen, if you happen to drop-in, my apologies for taking-over your post here, but in attempting to re-build my original post, I've run into limits on photos, and posting them here was the only option available that would keep the parts of the split post at least in consecutive order.
Always been fascinated by this stuff. Probably because I can't do it myself LOL
Wow it does look good there. Nice work Wayne
Building Beeg Boy...continued....
Here's another photo of one of the real ones...
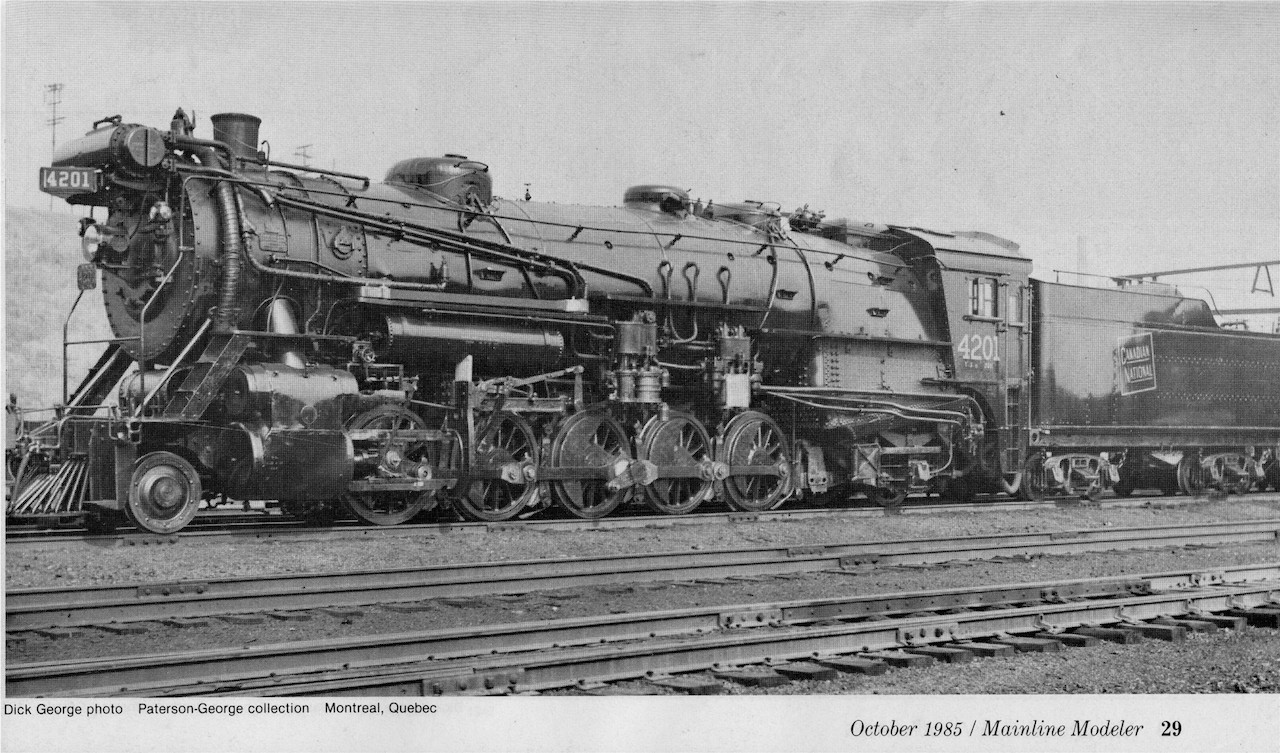
Well, somewhere during this process, I've lost the remainder of the original thread and its photos, so this will be a somewhat compressed version.
Here's the original Bachmann tender...
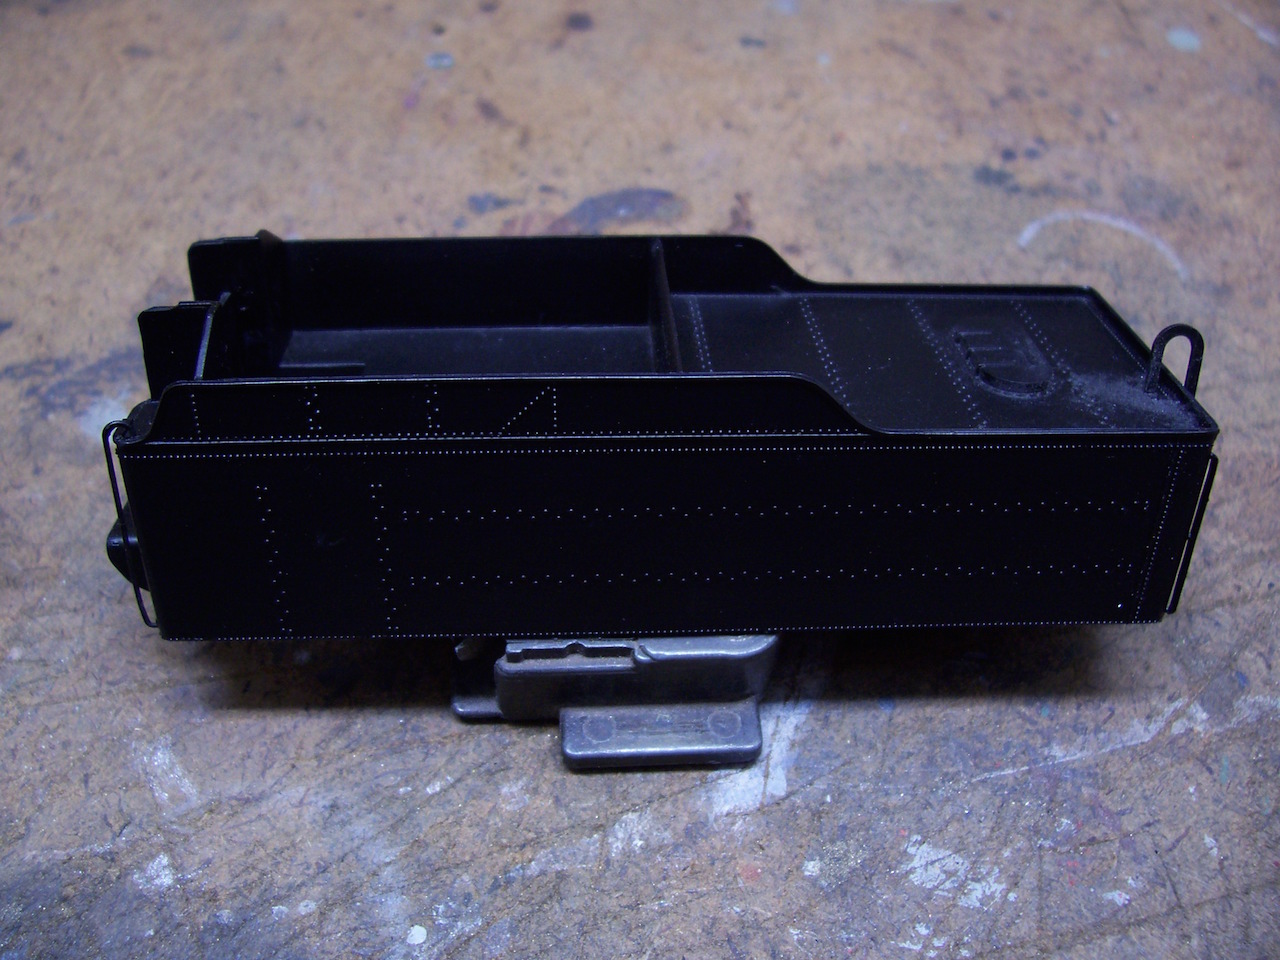
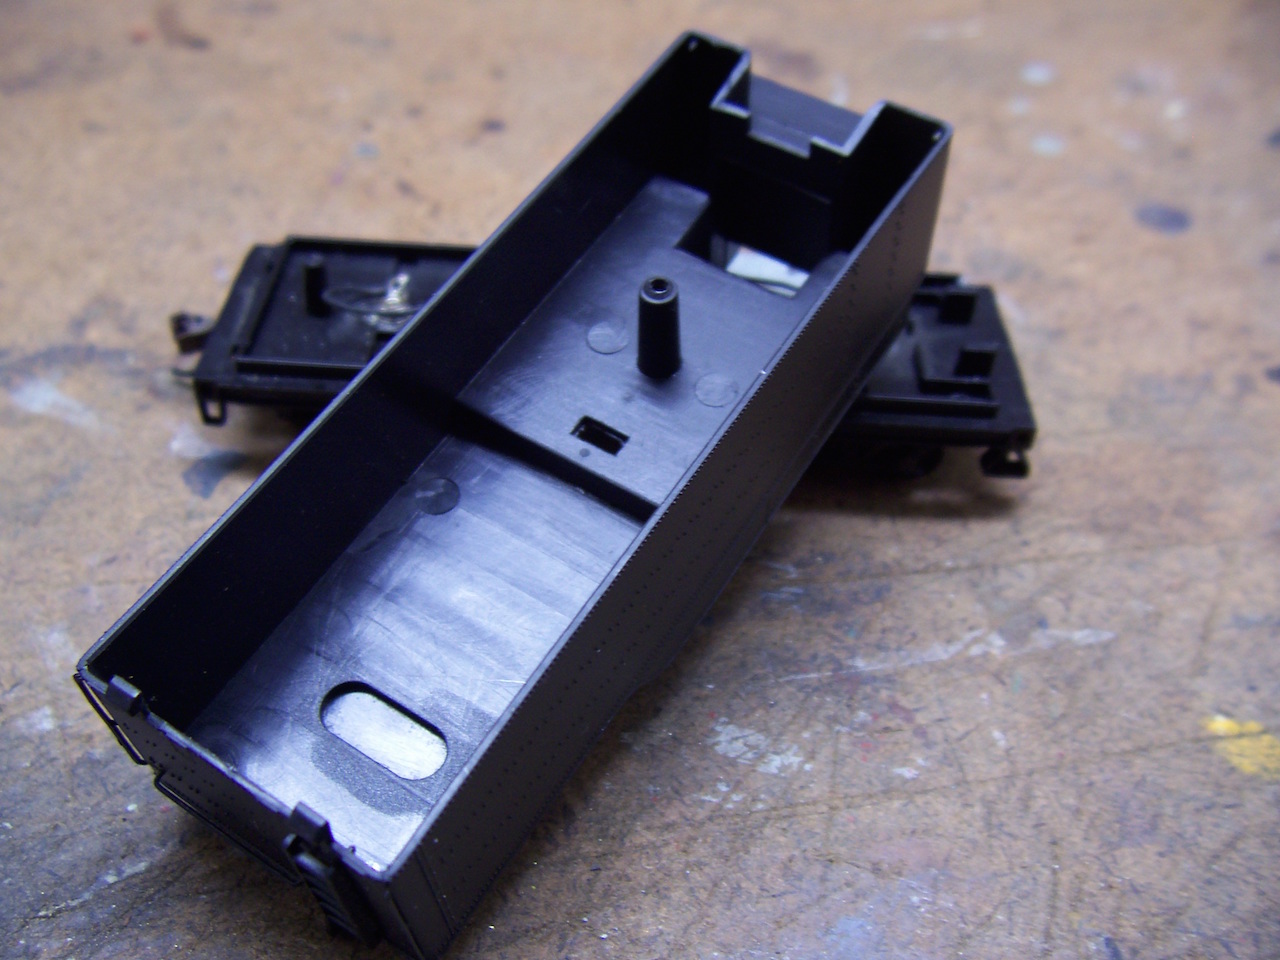
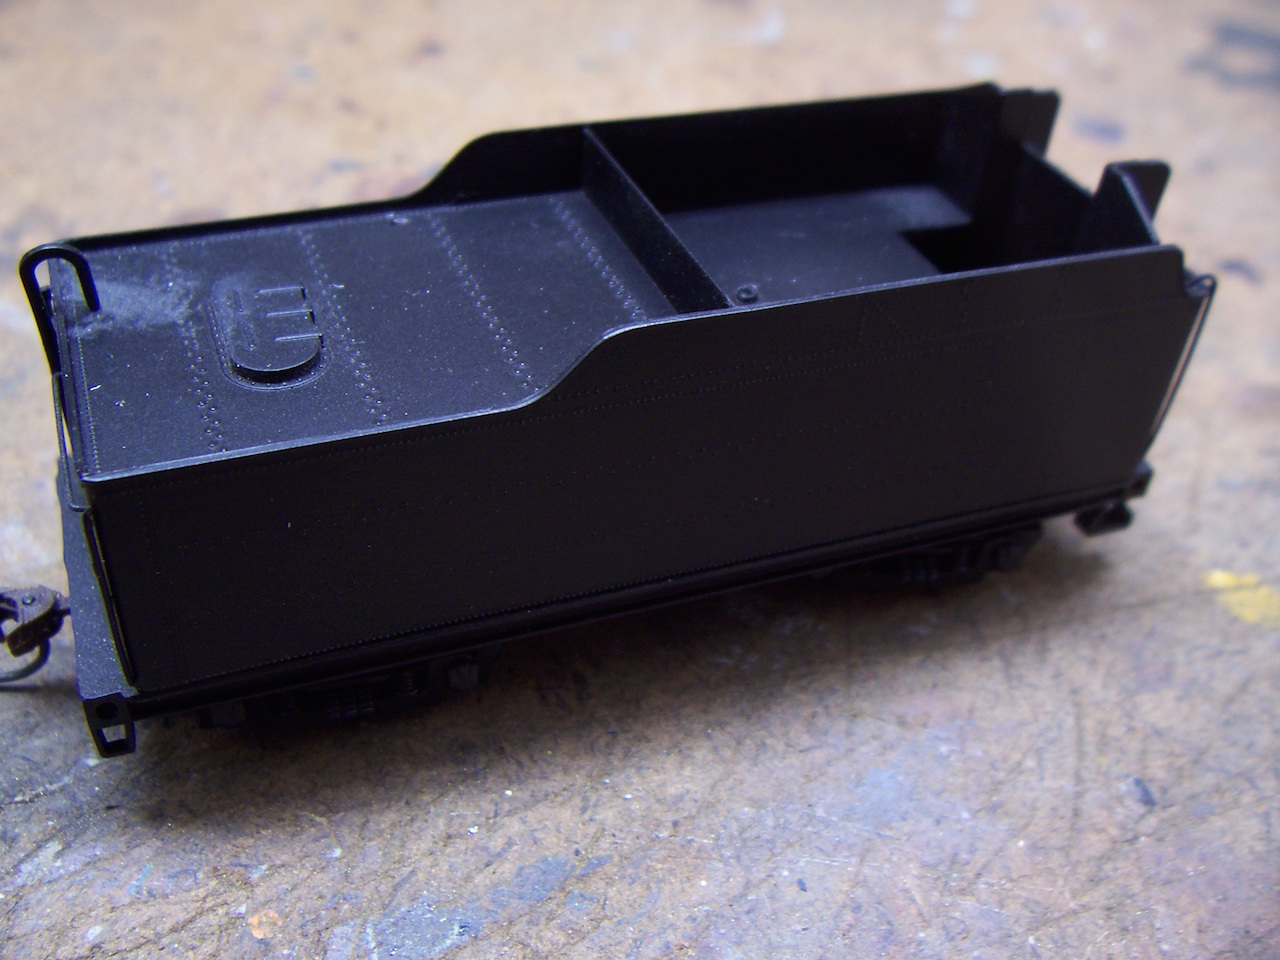
...and with some modifications...
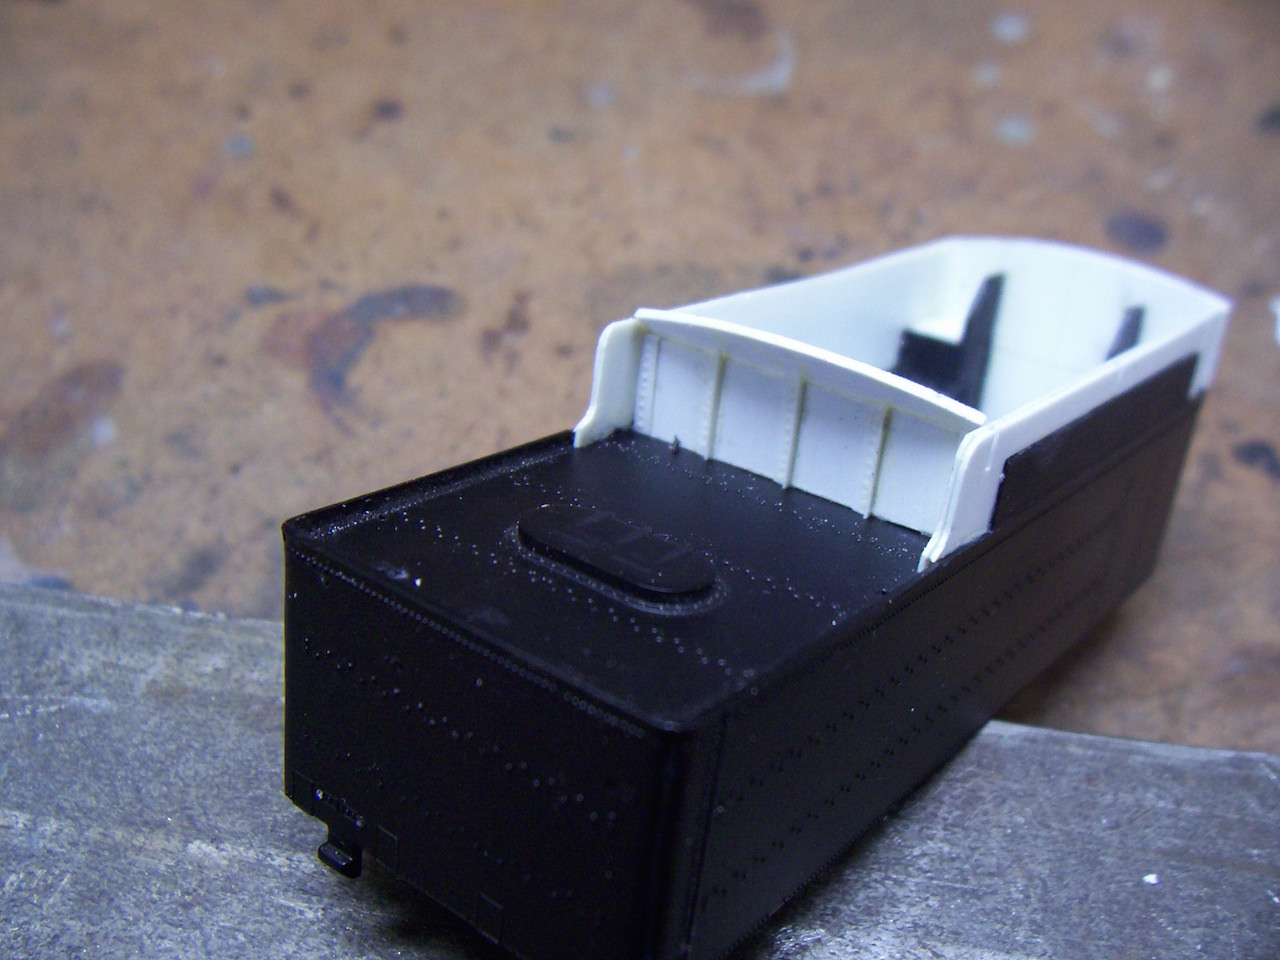
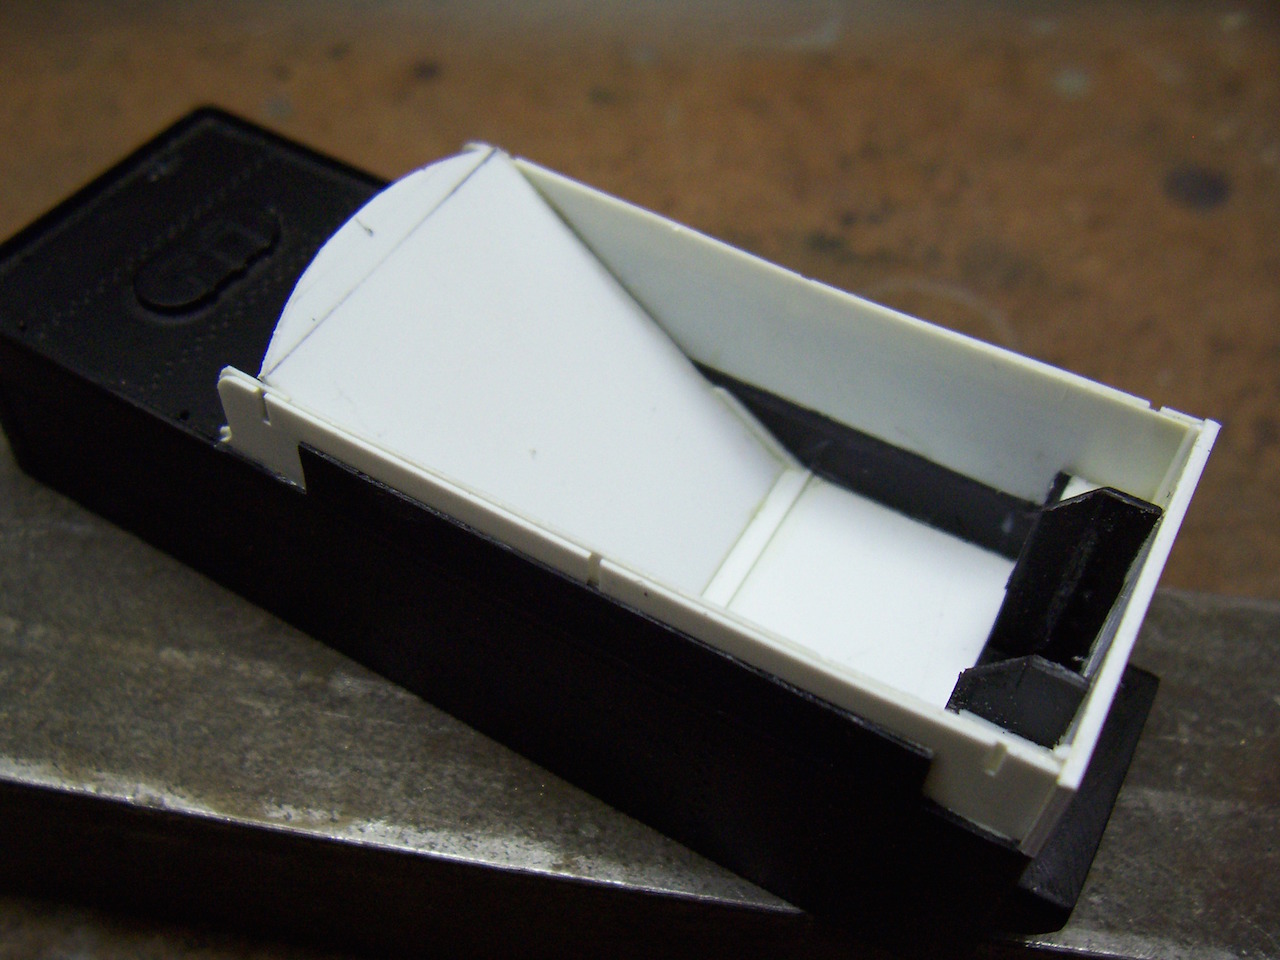
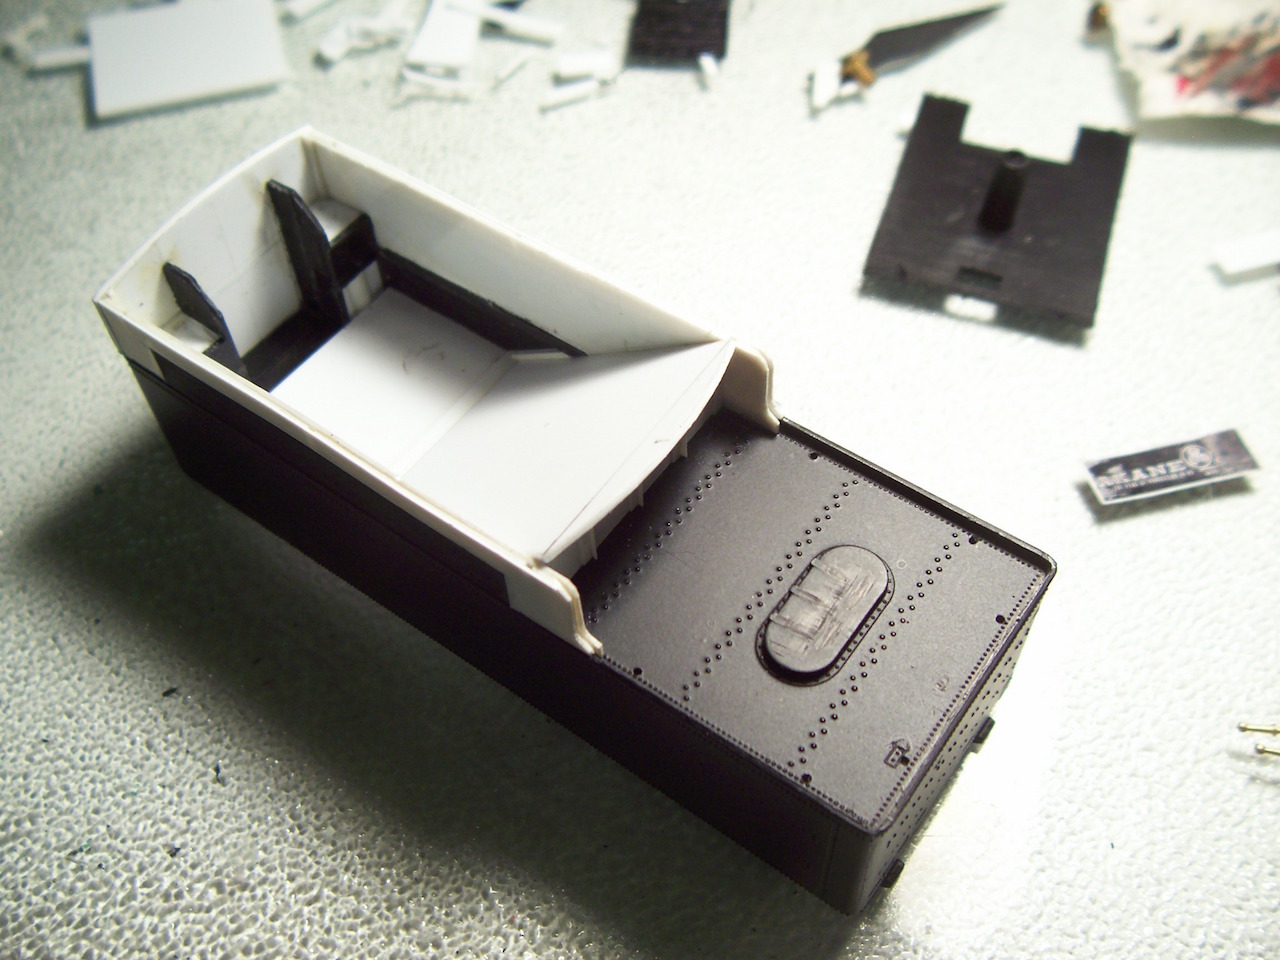
Because of the modifications made, I had to remove the original single-screw set-up for attaching the tender to its frame and running gear, so I added some styrene tubing in the water legs of the tender's cistern. Screws through the floor of the tender and into that tubing will keep the whole shebang together...
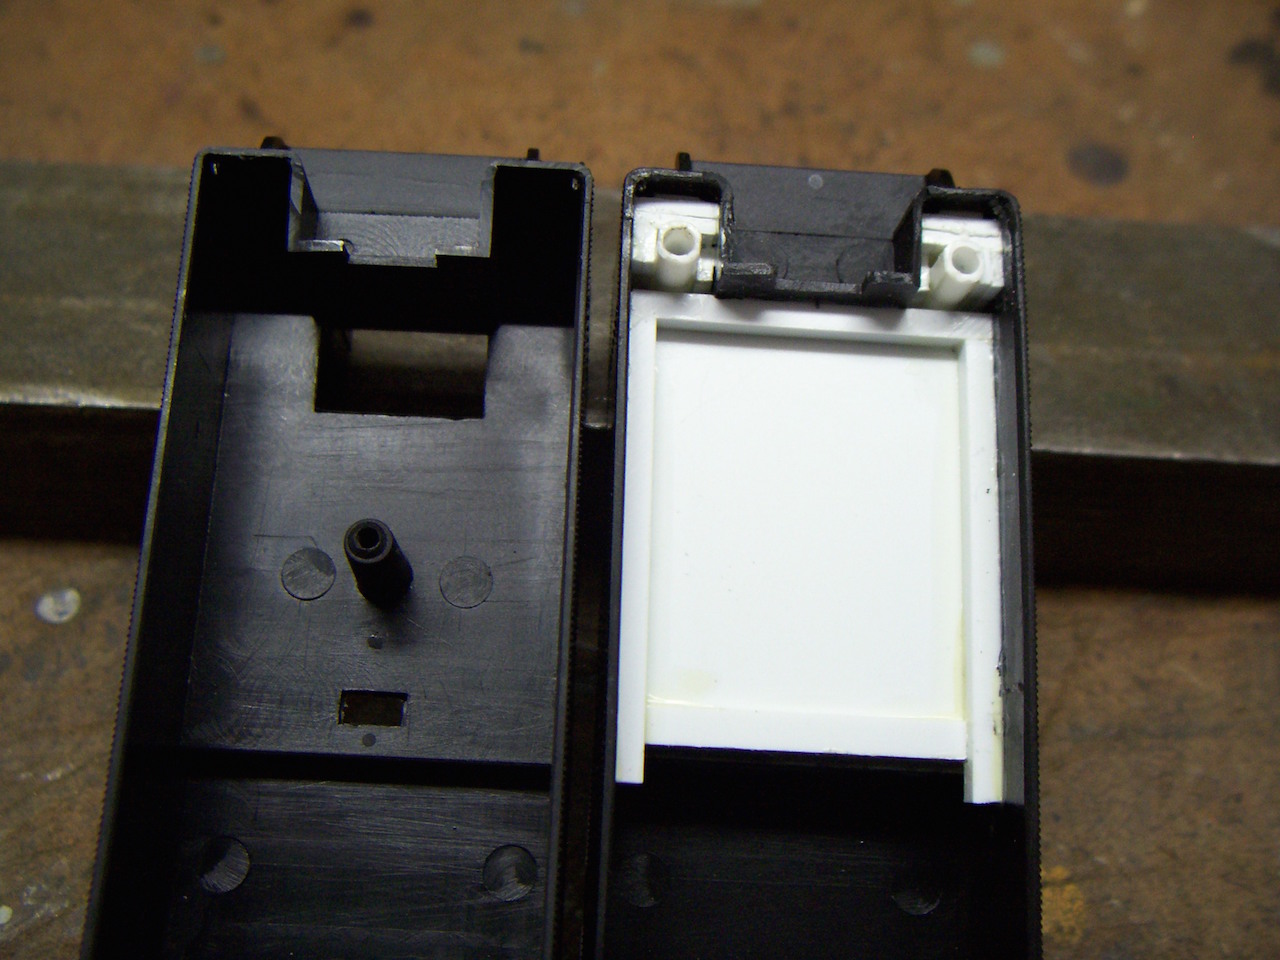
Here are the overlays which will change the appearance of the tender's coal bunker....
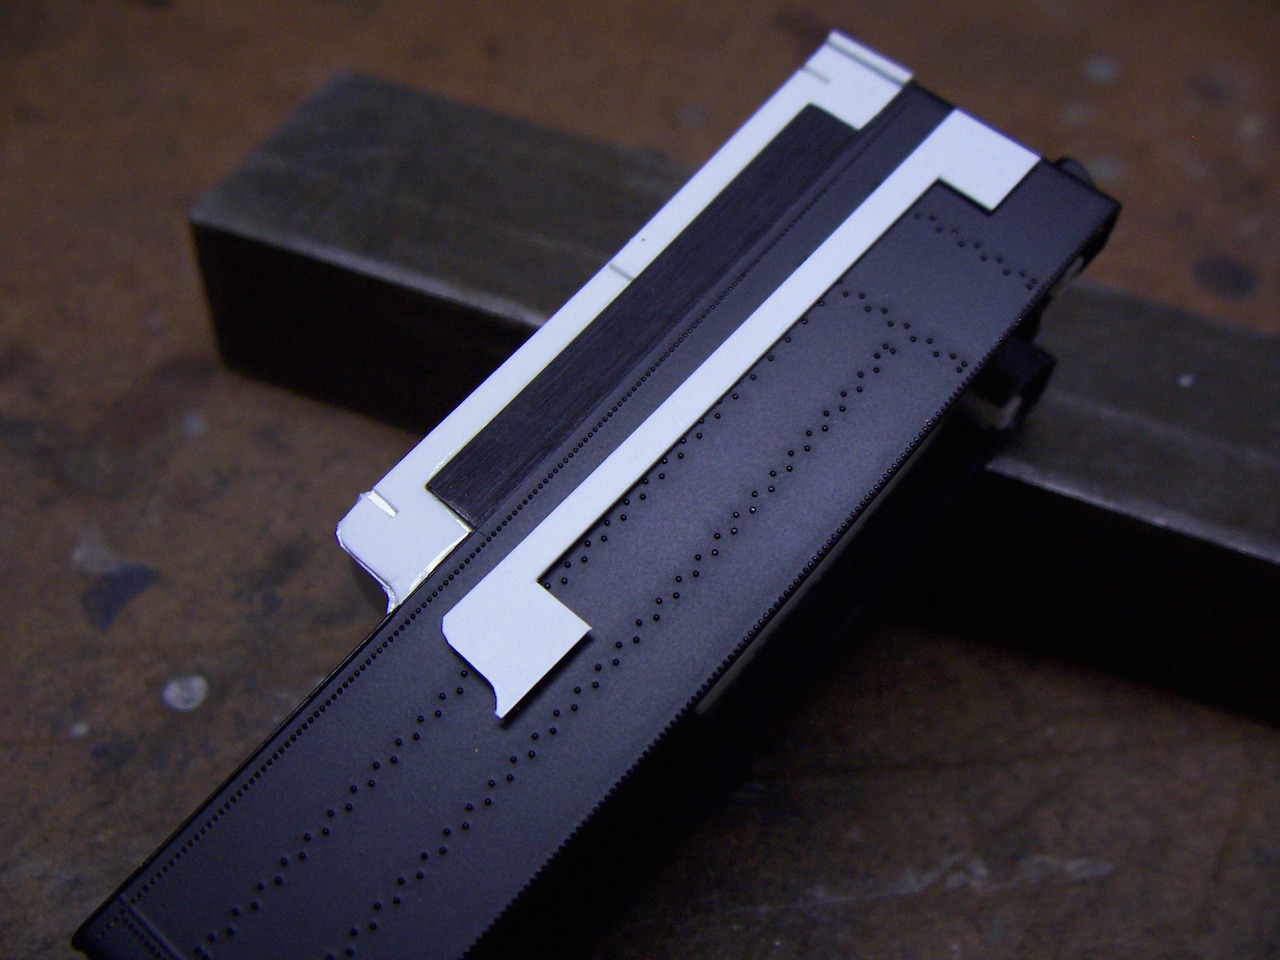
...once cemented in place over the one already installed, it will change the slots cut into the installed-one into pockets, in which I'll insert stanchions for the railings which will be fitted to the top edges of the coal bunker.
This is the Bachmann underframe for the tender. The circuit board has been removed (I simplified the original wiring for DC operation) and removed the stock steel weight, replacing it with sheets of lead. The small toolbox has been added, along with a re-railing frog on the other side...
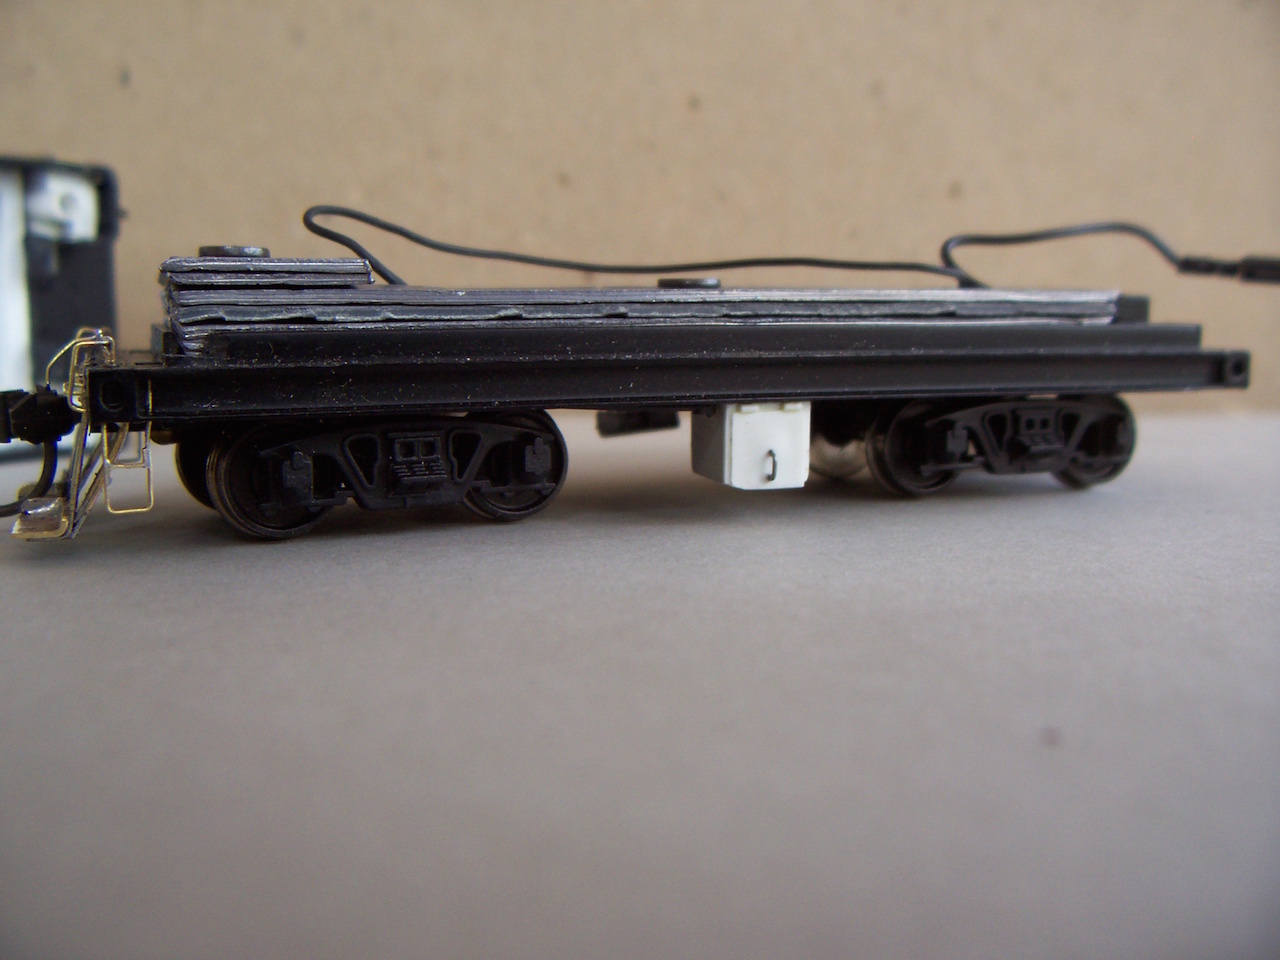
Here's the re-detailed tender....
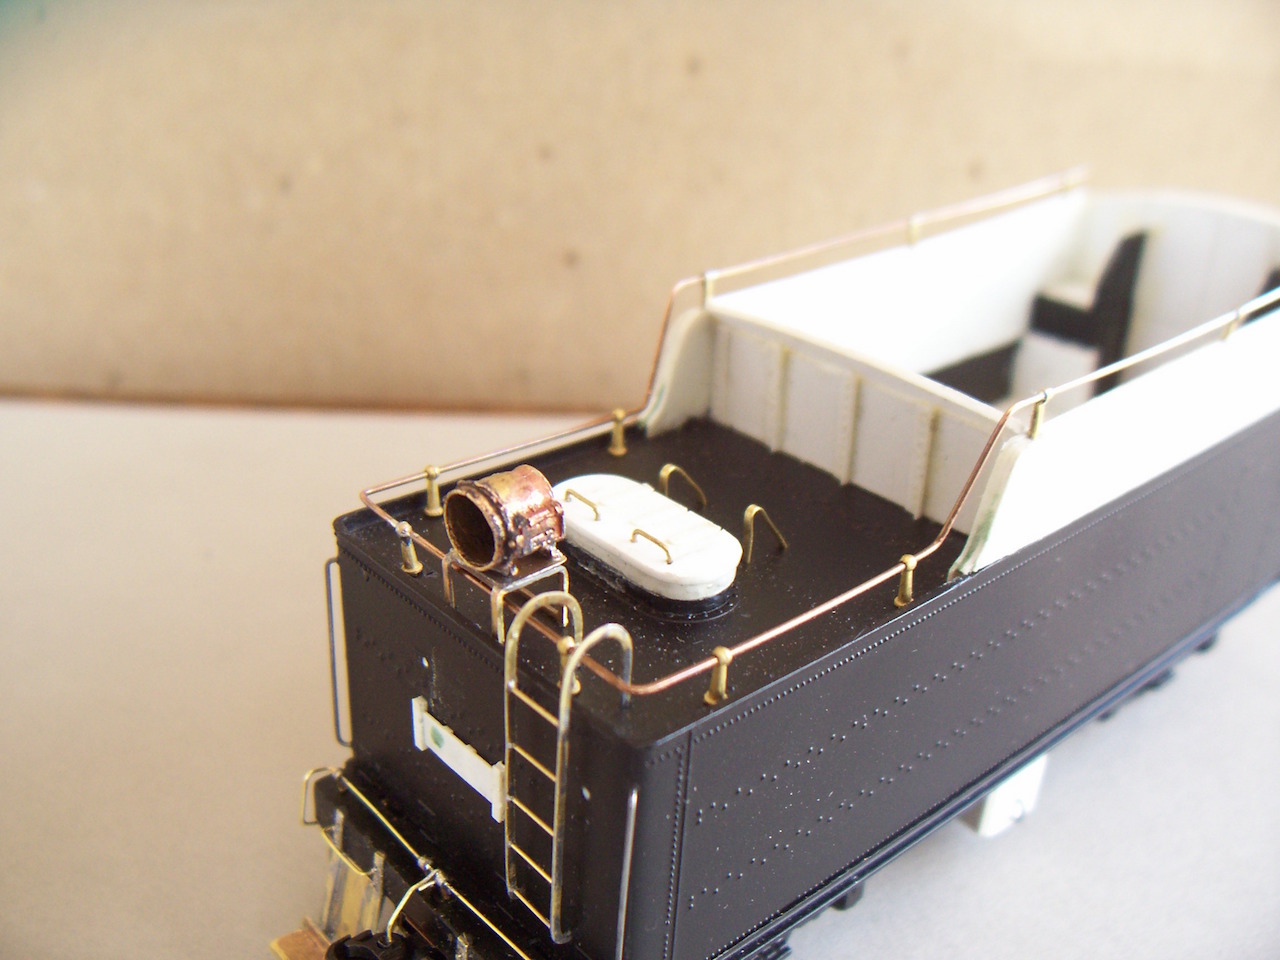
The ladder was built (on a jig) using .010"x.030" brass strip for the stiles, and .012" phosphor-bronze wire for the rungs. The same strip material and wire was used for the bunker handrails and stanchions, the latter inserted into those pockets mentioned previously, and likewise for the uncoupling levers and mounting stanchions.
The rests for the cistern water hatch are more brass strip material, while the cistern handrail is supported by brass stanchions from Precision Scale.
I used a piece of brass ladder stock, bent to suit, as a support for the back-up light.
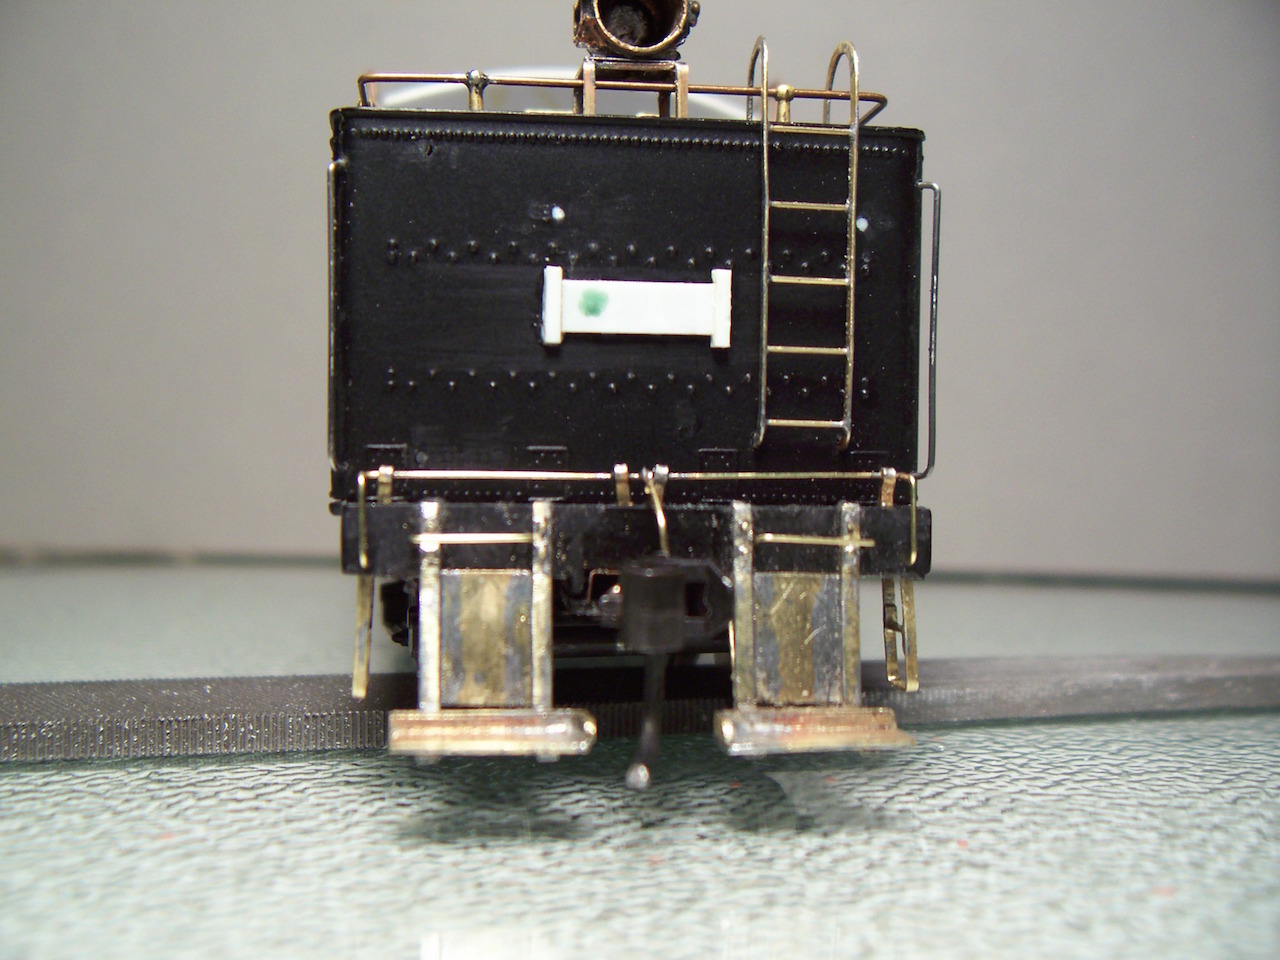
...and a view of the rear of the tender, better showing the footboards, sill steps at the rear of the sides, and the number board on the rear of the cistern...
Here's the loco's superstructure in primer...
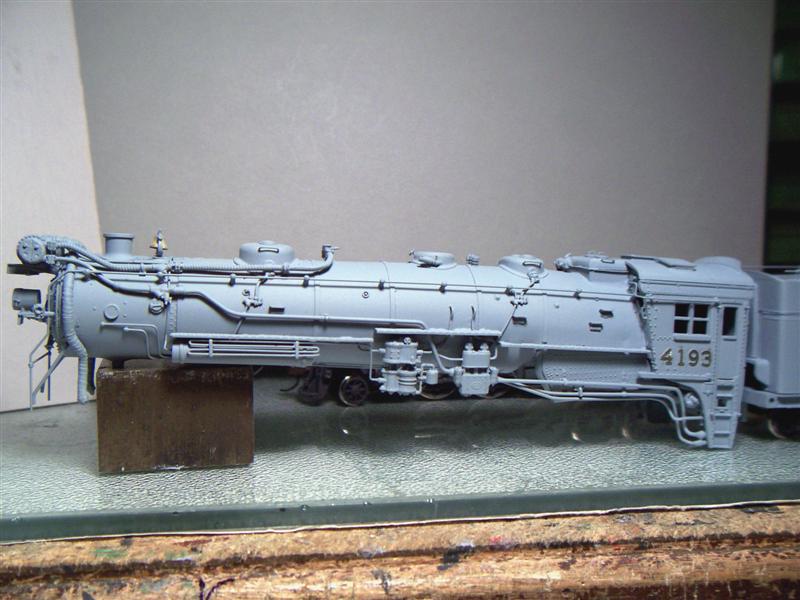
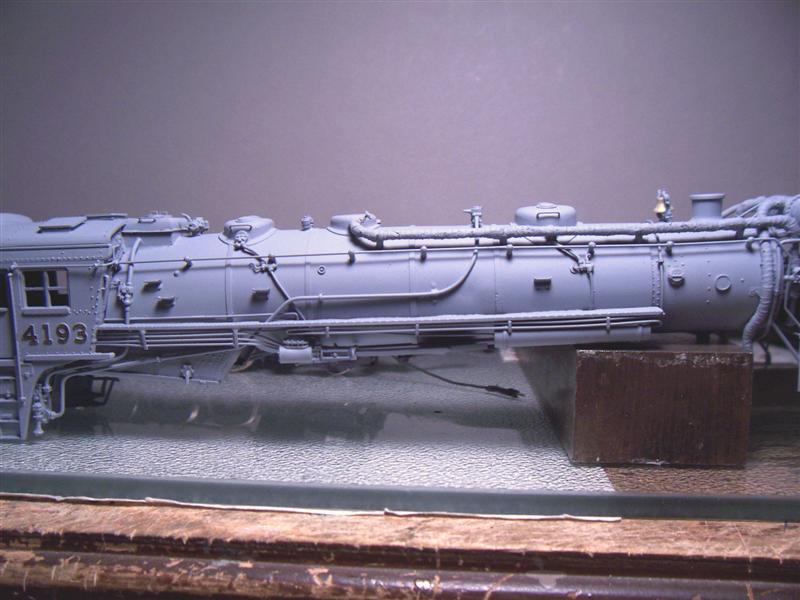
...and fresh from the paint shop...
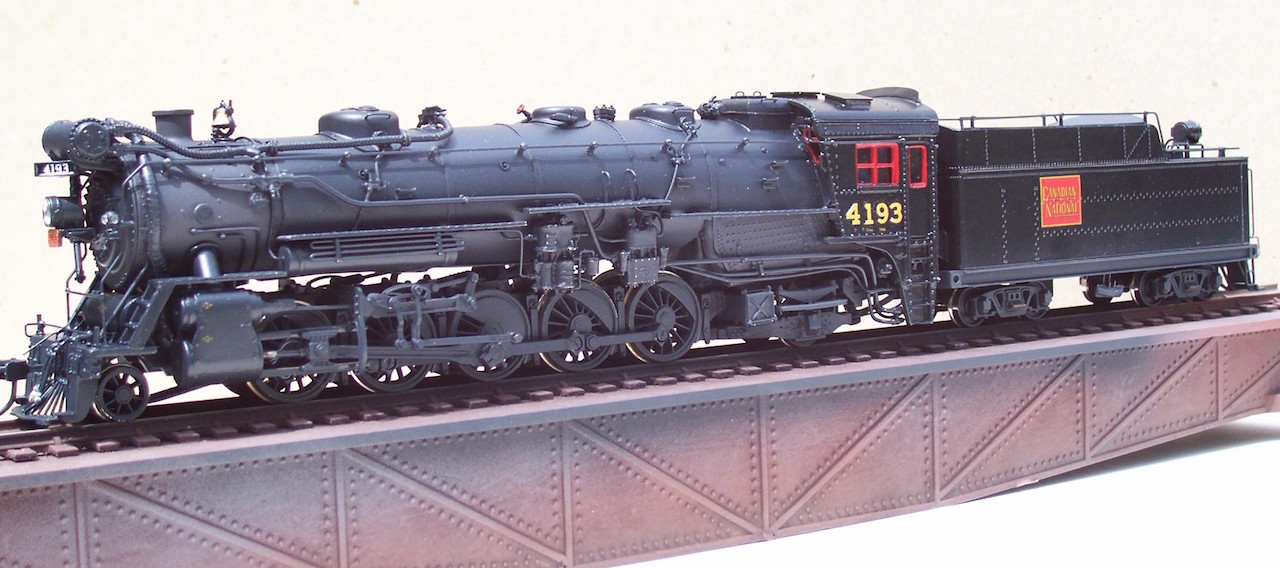
After a light weathering (representing a locomotive just back into service from the shops), the 4193 did a couple of shakedown runs on EG&E's lines, before making the trip back to CNR's Lee Town sub...
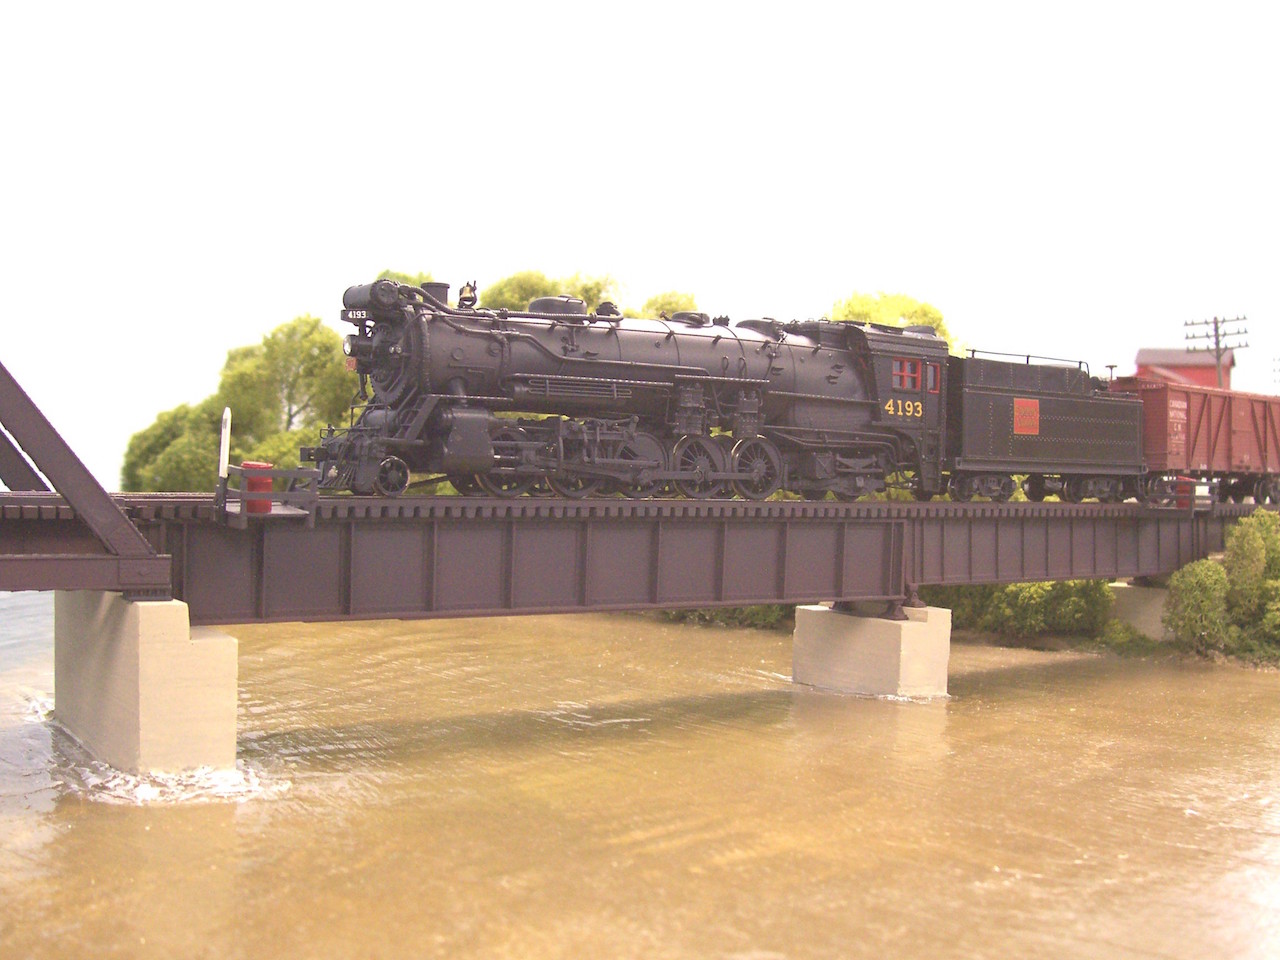
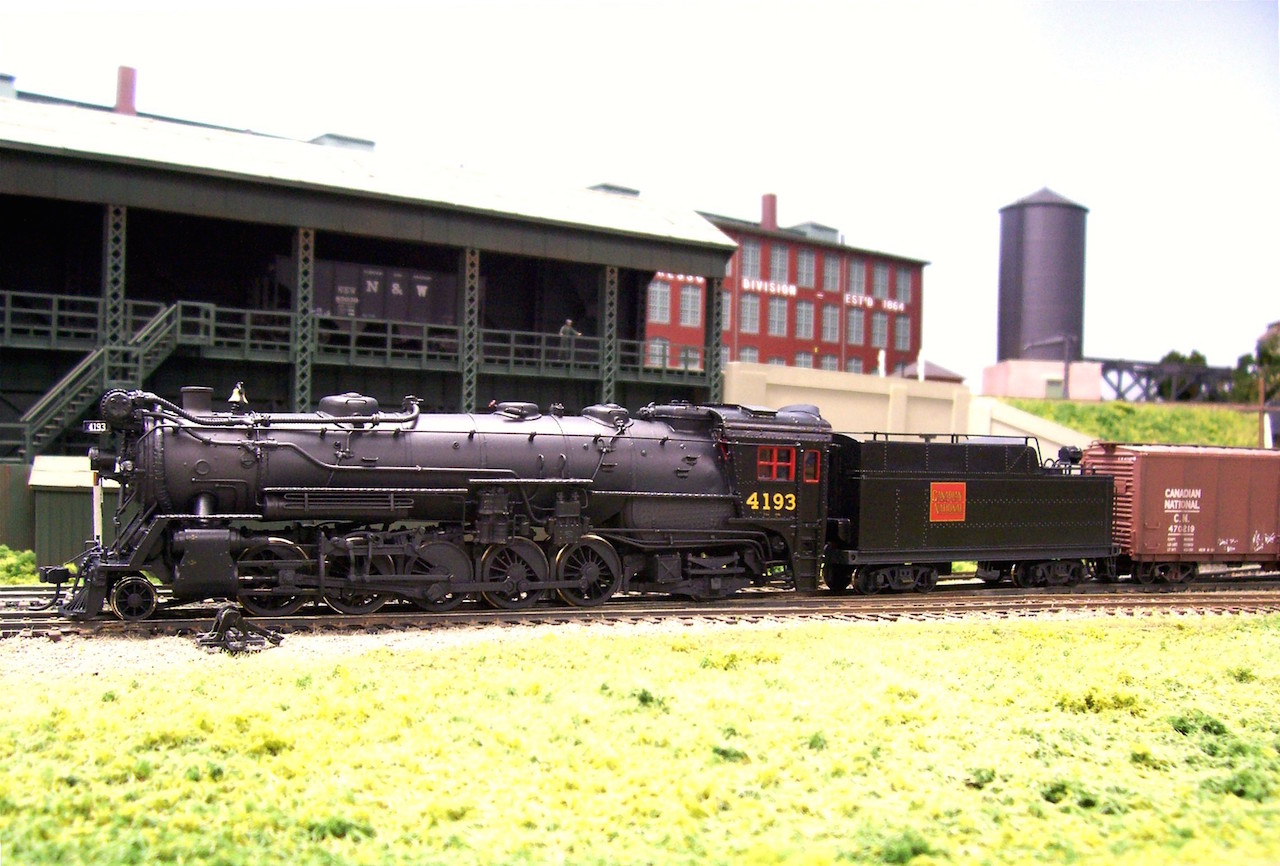
That concludes the story of Beeg Boy's re-building.
Wayne
Always been fascinated by this stuff. Probably because I can't do it myself LOL
Wow it does look good there. Nice work Wayne

Building Beeg Boy...continued....
Here's another photo of one of the real ones...
Well, somewhere during this process, I've lost the remainder of the original thread and its photos, so this will be a somewhat compressed version.
Here's the original Bachmann tender...
...and with some modifications...
Because of the modifications made, I had to remove the original single-screw set-up for attaching the tender to its frame and running gear, so I added some styrene tubing in the water legs of the tender's cistern. Screws through the floor of the tender and into that tubing will keep the whole shebang together...
Here are the overlays which will change the appearance of the tender's coal bunker....
...once cemented in place over the one already installed, it will change the slots cut into the installed-one into pockets, in which I'll insert stanchions for the railings which will be fitted to the top edges of the coal bunker.
This is the Bachmann underframe for the tender. The circuit board has been removed (I simplified the original wiring for DC operation) and removed the stock steel weight, replacing it with sheets of lead. The small toolbox has been added, along with a re-railing frog on the other side...
Here's the re-detailed tender....
The ladder was built (on a jig) using .010"x.030" brass strip for the stiles, and .012" phosphor-bronze wire for the rungs. The same strip material and wire was used for the bunker handrails and stanchions, the latter inserted into those pockets mentioned previously, and likewise for the uncoupling levers and mounting stanchions.
The rests for the cistern water hatch are more brass strip material, while the cistern handrail is supported by brass stanchions from Precision Scale.
I used a piece of brass ladder stock, bent to suit, as a support for the back-up light.
...and a view of the rear of the tender, better showing the footboards, sill steps at the rear of the sides, and the number board on the rear of the cistern...
Here's the loco's superstructure in primer...
...and fresh from the paint shop...
After a light weathering (representing a locomotive just back into service from the shops), the 4193 did a couple of shakedown runs on EG&E's lines, before making the trip back to CNR's Lee Town sub...
That concludes the story of Beeg Boy's re-building.
Wayne
My name is Stephen and I want to give back to this great hobby.
So please pop over to my website and enjoy the free tutorials.
If you live near me maybe we can share layouts.
Have fun and God bless.
http://fsm1000.googlepages.com
So please pop over to my website and enjoy the free tutorials.
If you live near me maybe we can share layouts.

Have fun and God bless.


