Thanks for the kind comments, one thing I should really stress that while I may acknowledge Individuals tips, techniques, and articles, ALL FAILURE IN EXCUTION IS MINE!!!
Part 2.
While reasonably satisfied with the Frateschi kit bash, I certainly needed a lot more practise and looking through my notebook dug out the reference for my next project.
An article in the May 1993 Model Railroader by Don Mitchell described how Cris Hollinshead shortened a Model Die Casting covered hopper kit into one owned by Du Pont and while the prototype was probably too modern for my modelled time frame I wanted one and thought it well worth giving it a crack. Having obtained a 2nd hand assembled car for the purpose I set about dissembling it and with some trepidation made the first cut.

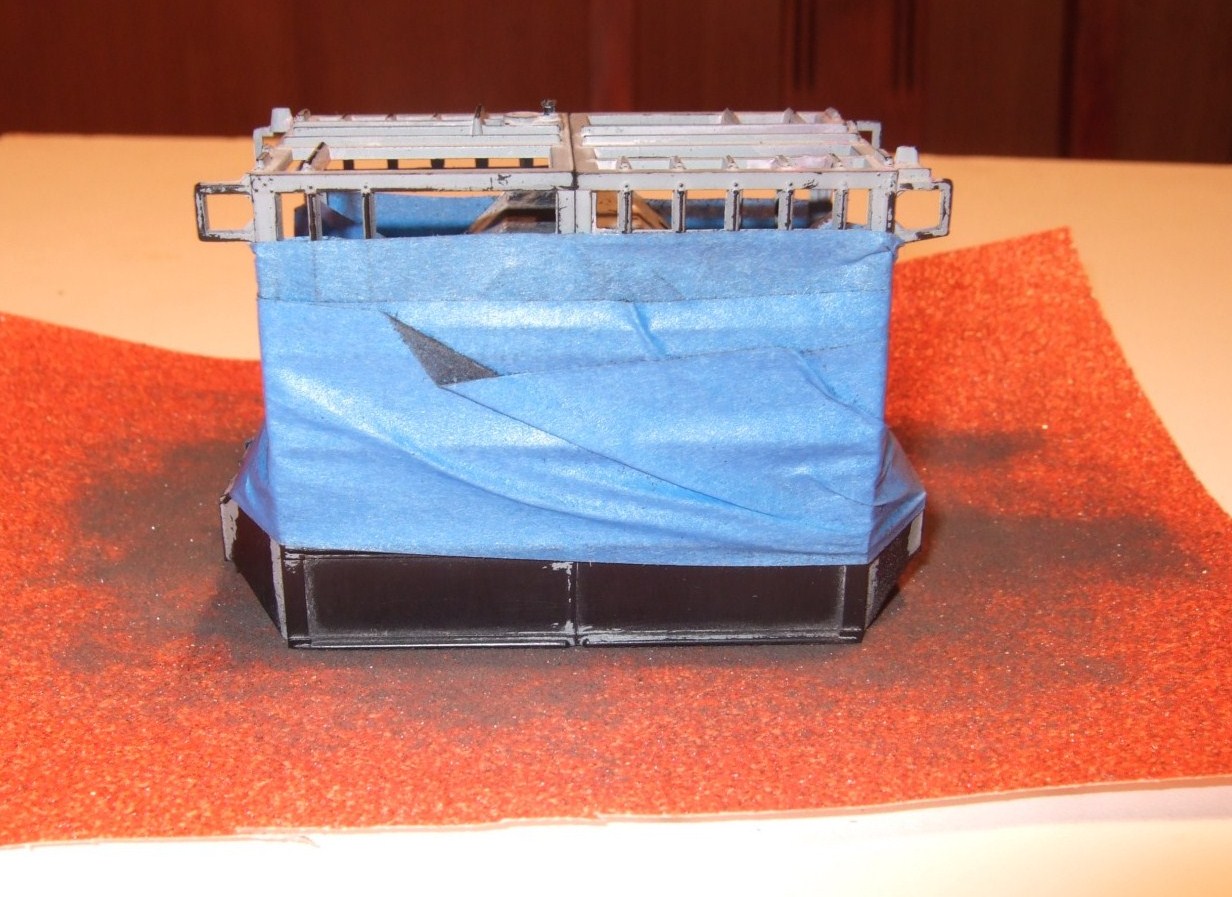
Then truing the 2 halves with my 4” engineers square I taped them firmly together and proceeded to slowly remove the excess material with sand paper laid on a flat surface.

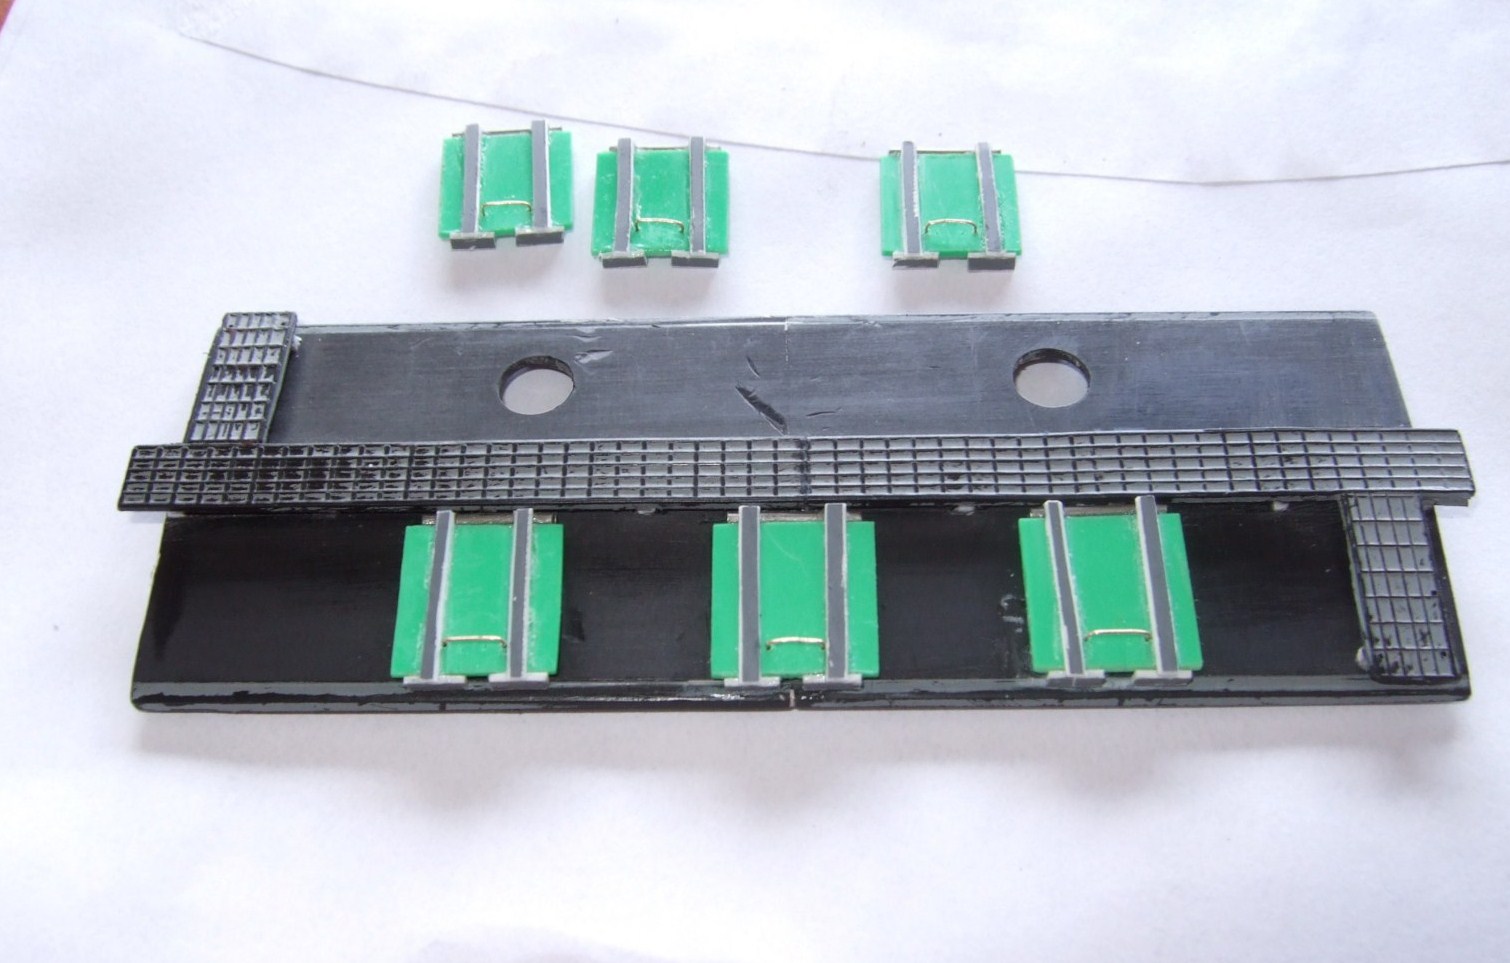
When I was finally satisfied I glued the two halves together reinforcing the join with two free .030” green styrene supermarket bag ties, which unfortunately they no longer supply.
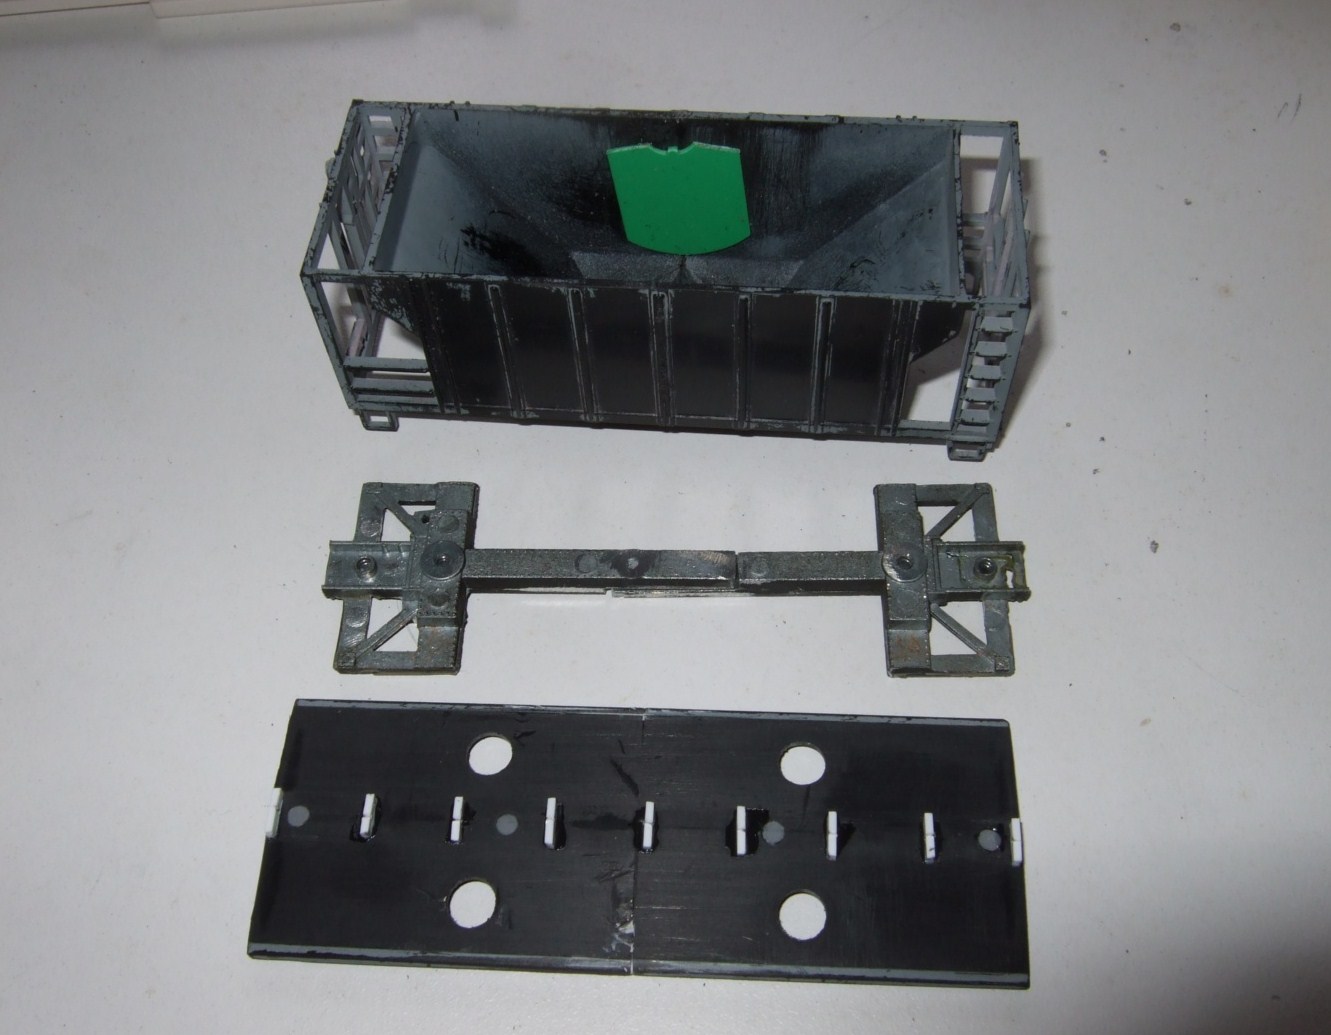
I then attacked the underframe and though I wanted to make it strong, not wanting the car to come apart especially if it was up the front of a consist. I must admit I got a bit over excited. Not only, once clamped together did I drill an interference fit reference hole to take one of her-in-doors stainless dress making pins, she doesn’t know I “borrowed” one, but I also drilled and tapped a hole for 2-56 screw that would not only hold the underframe together but also attach it firmly to the body. Well there is no prize for guessing what happened to the screw when I applied the epoxy adhesive to the mating surfaces, suffice it to say that the body does not need attaching to the underframe with a screw. :oops:

The round roof hatches and detail were then removed, the roof shortened and glued together, again using the supermarket reinforcements, and the roof walk supports fitted. With a file I also thinned down the roof walk, subsequently I’ve settled on taking a .060” MDC roof walks down to approximately .035” as that is about the point my patience runs out which is just before I run the risk of turning it into a real pigs ear!

Now this photo clearly shows two things.
(1) When removing detail take care, the fact that the gouges were hidden by the hatches and in any case there is, if needs must, filler putty, is for me, a pitiful excuse.
(2) When a scratch building plan calls for scale 4x2, sorry I’ll “Americanise it”, 2x4 styrene strip (.023” x .046”) go buy some. As you will see my attempts at cutting some from .025” sheet is less than satisfactory, though it does stand scrutiny if I invoke the “Three Foot Rule”, and close one eye.

Cheers, the Bear.
Part 2.
While reasonably satisfied with the Frateschi kit bash, I certainly needed a lot more practise and looking through my notebook dug out the reference for my next project.
An article in the May 1993 Model Railroader by Don Mitchell described how Cris Hollinshead shortened a Model Die Casting covered hopper kit into one owned by Du Pont and while the prototype was probably too modern for my modelled time frame I wanted one and thought it well worth giving it a crack. Having obtained a 2nd hand assembled car for the purpose I set about dissembling it and with some trepidation made the first cut.
Then truing the 2 halves with my 4” engineers square I taped them firmly together and proceeded to slowly remove the excess material with sand paper laid on a flat surface.
When I was finally satisfied I glued the two halves together reinforcing the join with two free .030” green styrene supermarket bag ties, which unfortunately they no longer supply.
I then attacked the underframe and though I wanted to make it strong, not wanting the car to come apart especially if it was up the front of a consist. I must admit I got a bit over excited. Not only, once clamped together did I drill an interference fit reference hole to take one of her-in-doors stainless dress making pins, she doesn’t know I “borrowed” one, but I also drilled and tapped a hole for 2-56 screw that would not only hold the underframe together but also attach it firmly to the body. Well there is no prize for guessing what happened to the screw when I applied the epoxy adhesive to the mating surfaces, suffice it to say that the body does not need attaching to the underframe with a screw. :oops:

The round roof hatches and detail were then removed, the roof shortened and glued together, again using the supermarket reinforcements, and the roof walk supports fitted. With a file I also thinned down the roof walk, subsequently I’ve settled on taking a .060” MDC roof walks down to approximately .035” as that is about the point my patience runs out which is just before I run the risk of turning it into a real pigs ear!

Now this photo clearly shows two things.
(1) When removing detail take care, the fact that the gouges were hidden by the hatches and in any case there is, if needs must, filler putty, is for me, a pitiful excuse.
(2) When a scratch building plan calls for scale 4x2, sorry I’ll “Americanise it”, 2x4 styrene strip (.023” x .046”) go buy some. As you will see my attempts at cutting some from .025” sheet is less than satisfactory, though it does stand scrutiny if I invoke the “Three Foot Rule”, and close one eye.

Cheers, the Bear.

"One difference between pessimists and optimists is that while pessimists are more often right, optimists have far more fun."


