Posts: 1,252
Threads: 20
Joined: Jun 2022
Heat wave means I'm inside this weekend, and working on my coal storage facility. The central elevator shaft has been built and I'm currently working on the roof shingles.
[attachment=43918][attachment=43919]
Posts: 1,252
Threads: 20
Joined: Jun 2022
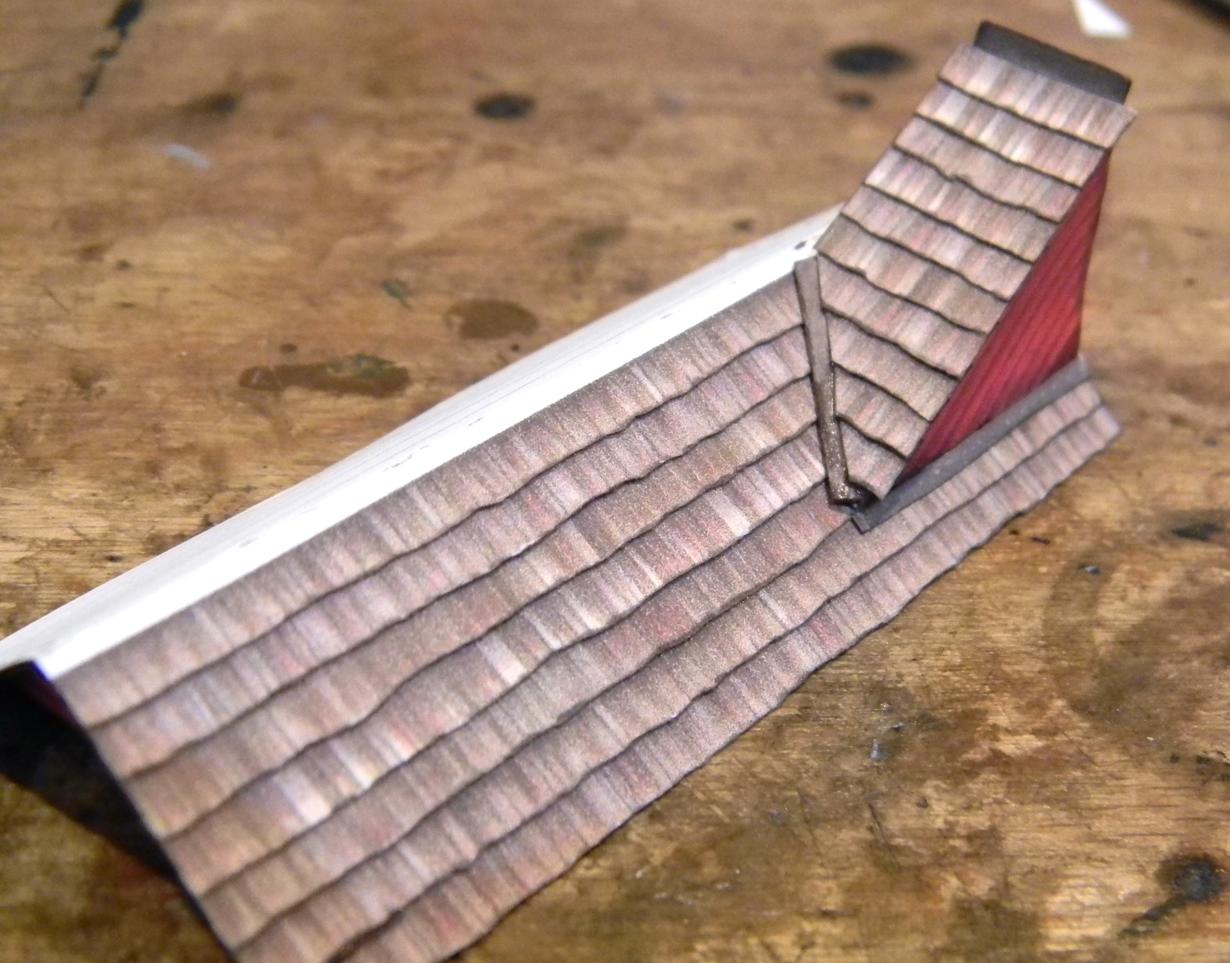
I'm starting to figure out the designer's statement about this kit on their website: "Even though this is a simple structure, I rate it as an advanced level kit. It will probably take a month of evenings to complete." I already groaned about the multitude of hoops around the silo, and now I'm in shingle hell... Here's the front half of one of the silo roofs. It's looking pretty cool, but it's testing my fortitude.
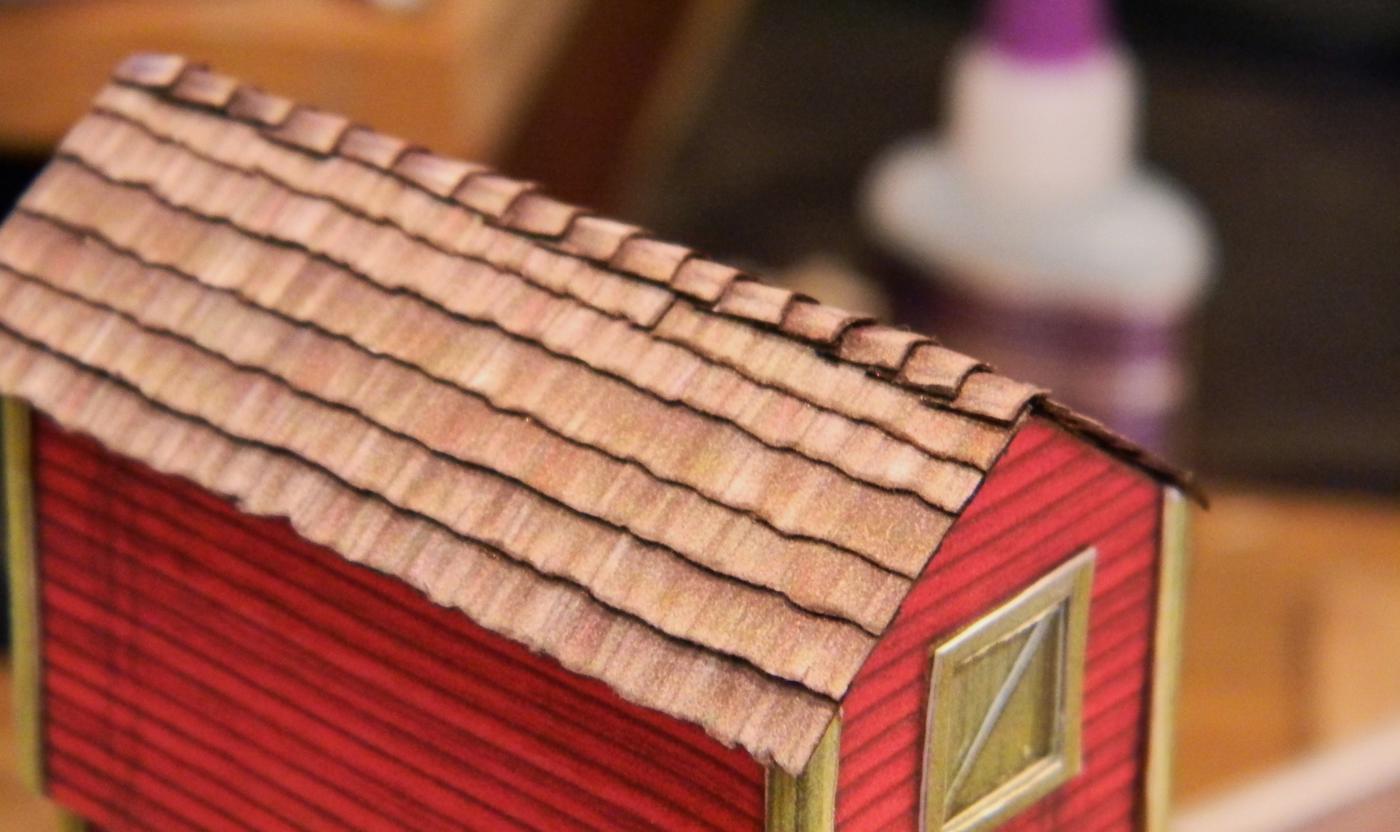
And each peak of the three roofs gets a cap of folded shingles which end up being quite small...
Posts: 1,252
Threads: 20
Joined: Jun 2022
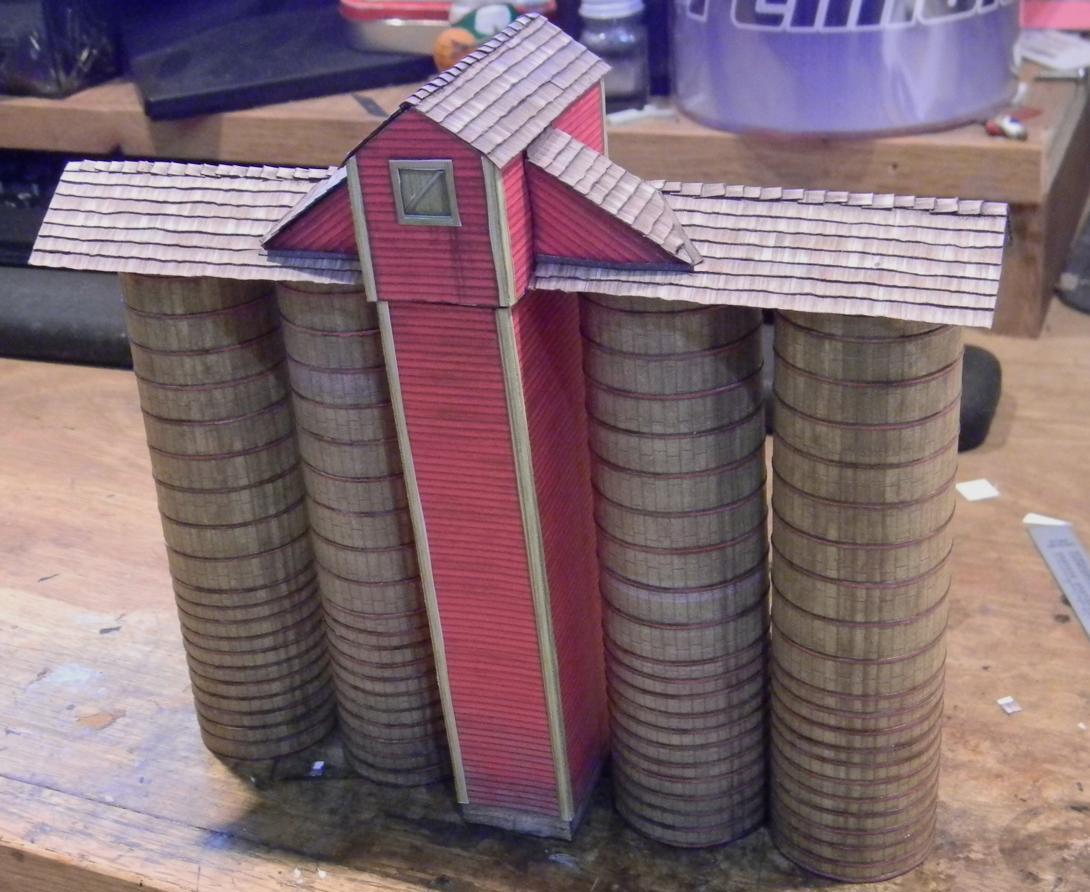
It's Sunday and I've ascended from shingle hell. Glued the roofs on the center portion of the elevator and dry fit the silos - ended up sanding down the tops and bottoms of the two tallest silos (by the slightest of margins), and there are still some tweaks needed to get everything sitting level and square. There is an entry shed that still has to be constructed (it's supposed to go at the back of the structure, but I will probably move it to the front since no one will probably see it in the back) and then each one of the silos gets the aforementioned coal chute for loading trucks, but the major structural items are finished.
Posts: 2,595
Threads: 52
Joined: Dec 2008
Todd, great job. It turned out fantastic. I jealous of the work you are getting done.
Posts: 1,252
Threads: 20
Joined: Jun 2022
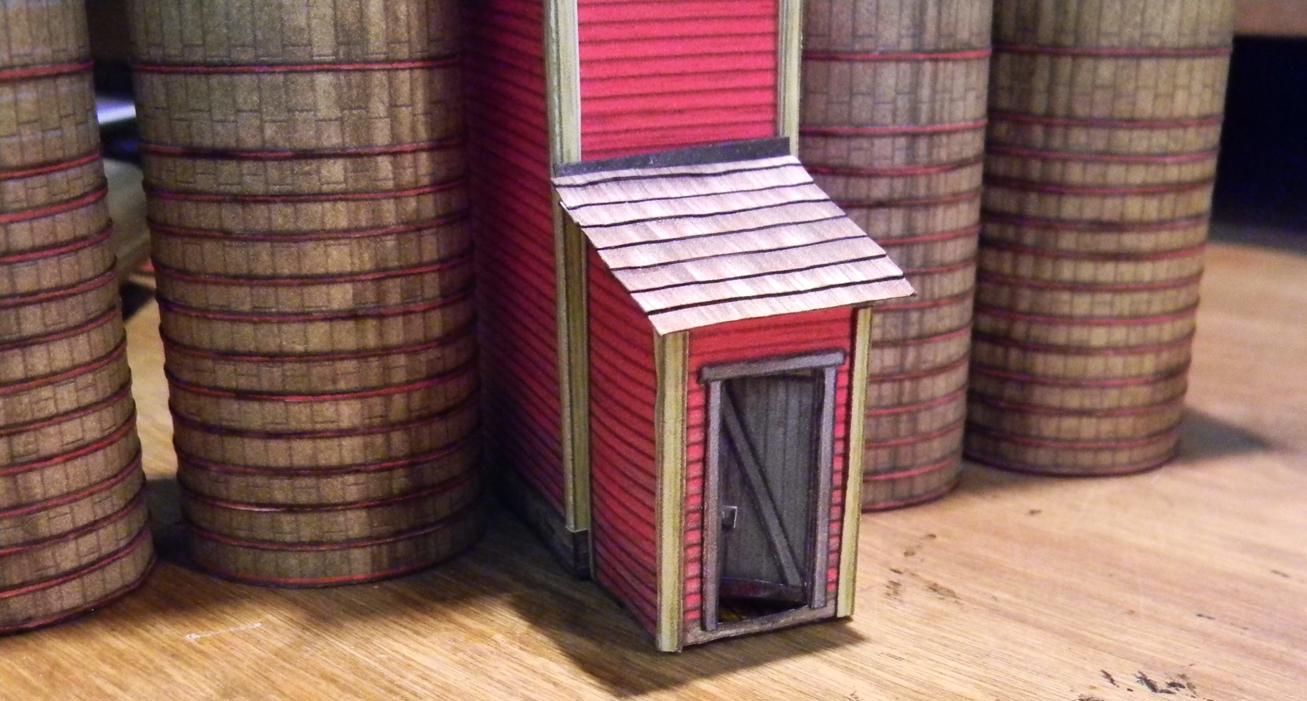
Thanks Tom! All I can say is get crackin'! Every journey begins with the first step (hopefully forward...) The hoops were a great example of the power of perseverance - a little bit one night, a little bit the next and eventually it all gets done. The entrance shed is now complete and installed on the front face of the central elevator building. Next.... CHUTES! Based on the build photos, those are going to be a big challenge for Mr. Meat Hands.
Posts: 295
Threads: 18
Joined: Nov 2015
That is an incredibly well done structure TMo. Those cardstock kits are neat but you always seem to knock them out of the park.
————————————————————————————
Modeling the East Broad Top as it was between 1937-1942
~Amanda
Posts: 1,252
Threads: 20
Joined: Jun 2022
Thanks Amanda! As with anything, I think I get better with time and repetition, but there is always room to get better. That's one really critical difference in just buying plans over buying a kit with finite plastic parts - if I don't feel a previous build is up to snuff (say after I look at it for several years) I can just print the thing out again and start over and all it really costs me is cardstock, ink and time. I haven't actually resorted to a rebuild yet, but it's in the back of my mind for several of my early attempts.
One other advantage of these cardstock kits is that it's really easy to kitbash - I've been looking for prospective elevators between this structure and my coal breaker to give a direct link. My previous elevator to the top of the breaker from the mine is too big, but that doesn't mean I couldn't scale it down and print it out (and that's one of the options I'm mulling). There's also a really nice set of beams in the coal hopper dump option that comes along with this kit - I have a feeling I'm going to use them for something sometime soon.
I can't take any credit for the open doorway in this kit - I saw it in the photos and figured I'd have to do it too.
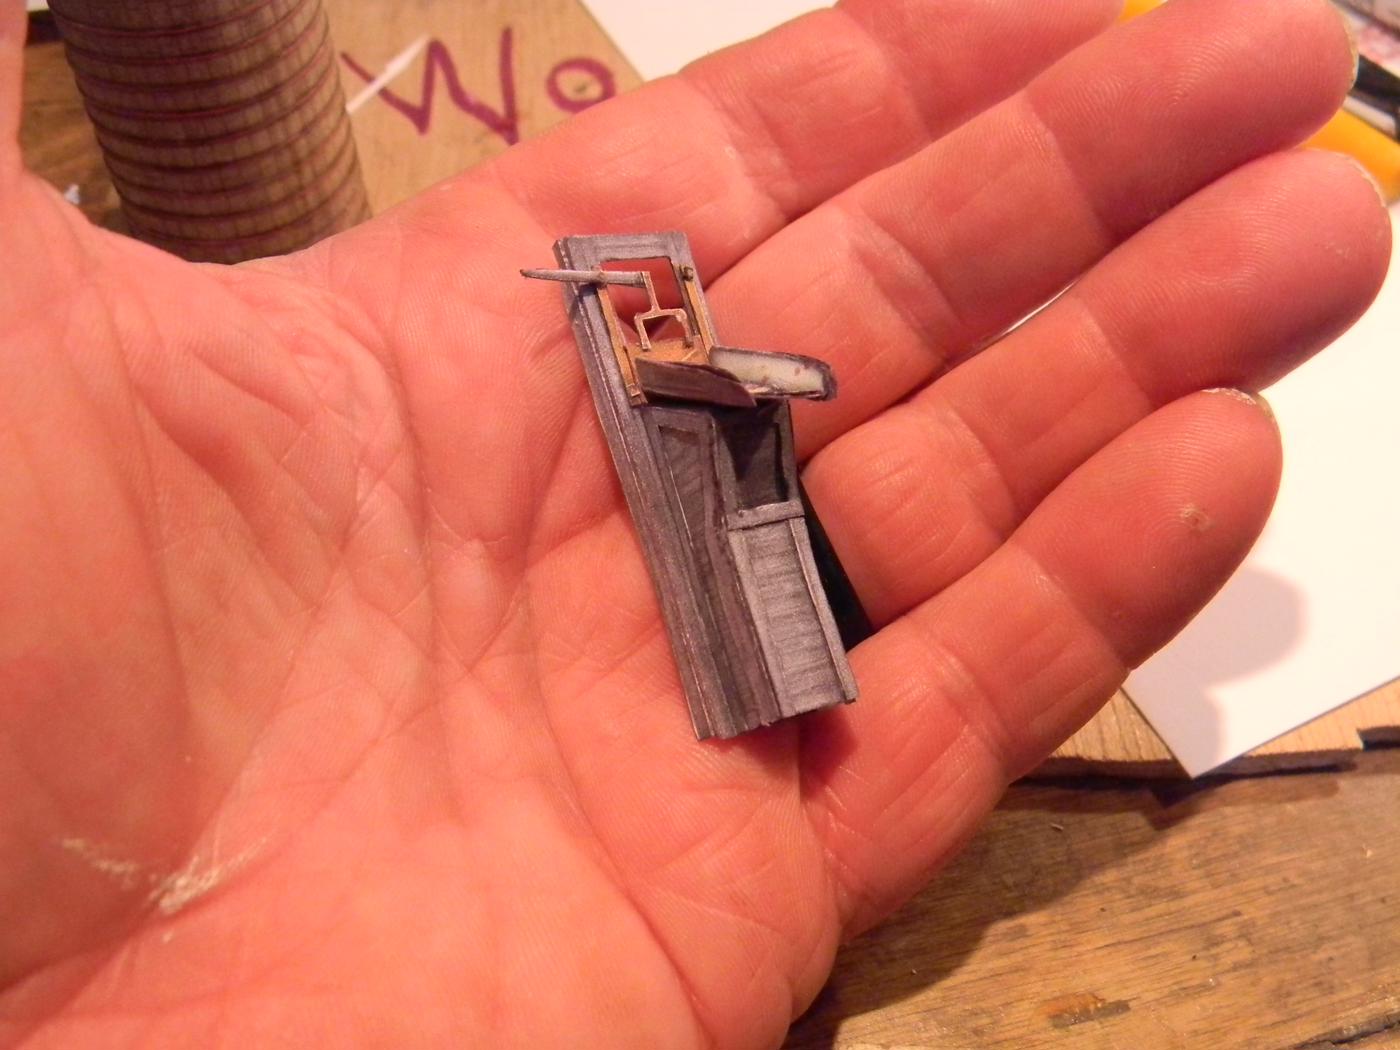
I've started on the coal chutes, and as I expected, they're pretty tricky and put a high demand on my patience. One of the four is now finished - the ridiculousness of the size and detail is best illustrated by the finished coal chute in my hand....
Posts: 1,252
Threads: 20
Joined: Jun 2022
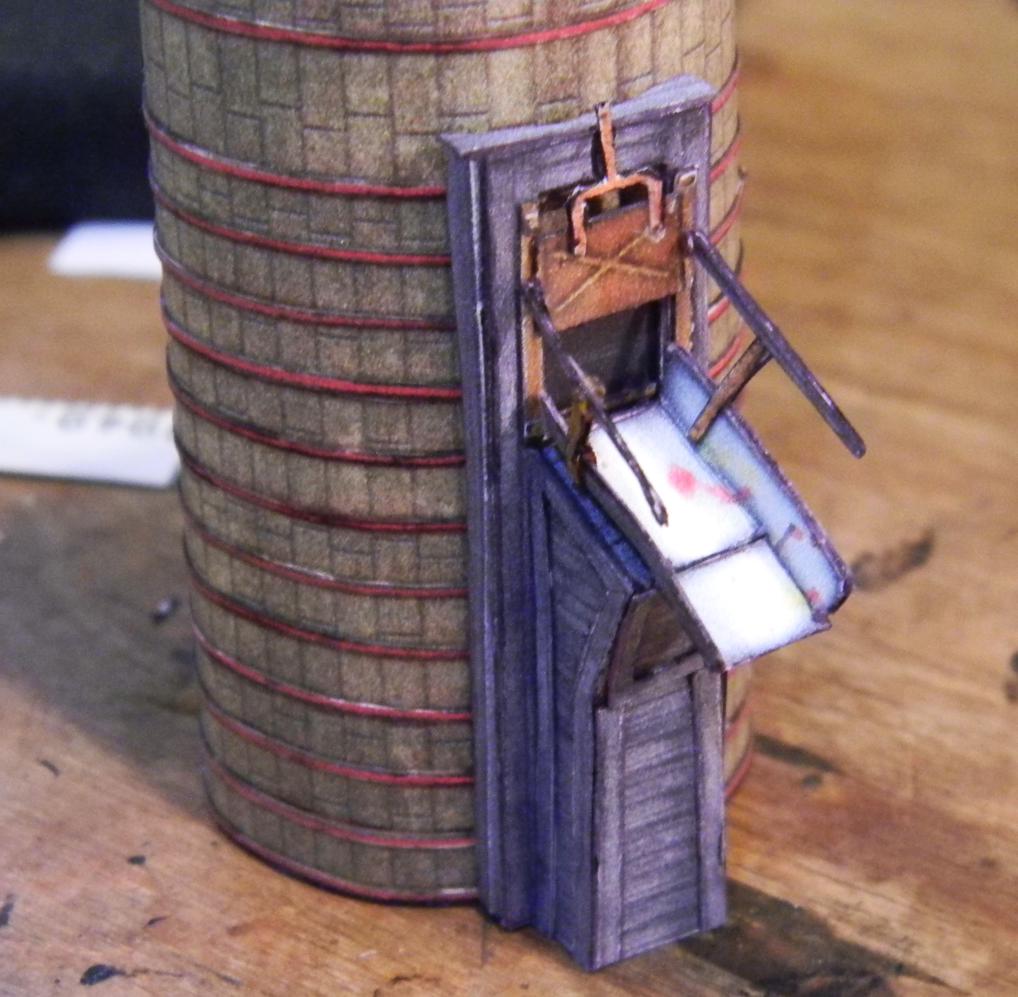
There are several different varieties of the coal chute in this kit - tonight I finished the dual-handle opener with an open door into the silo. One saving grace - the brand new dispensing nozzle on my cyanoacrylate glue bottle is hugely important for this tiny work - often I just need to see a little glisten of glue to establish the joint between two pieces of cardstock on these chute mechanisms. Here's the new chute placed against one of the silos.
Two more to go - I don't know whether they will be single handle or dual handle mechanisms. There's also a shorter model that I may put together.
Posts: 6,676
Threads: 1,136
Joined: Nov 2008
Posts: 295
Threads: 18
Joined: Nov 2015
I’m really amazed at how good that looks even so close up.
————————————————————————————
Modeling the East Broad Top as it was between 1937-1942
~Amanda
Posts: 1,252
Threads: 20
Joined: Jun 2022
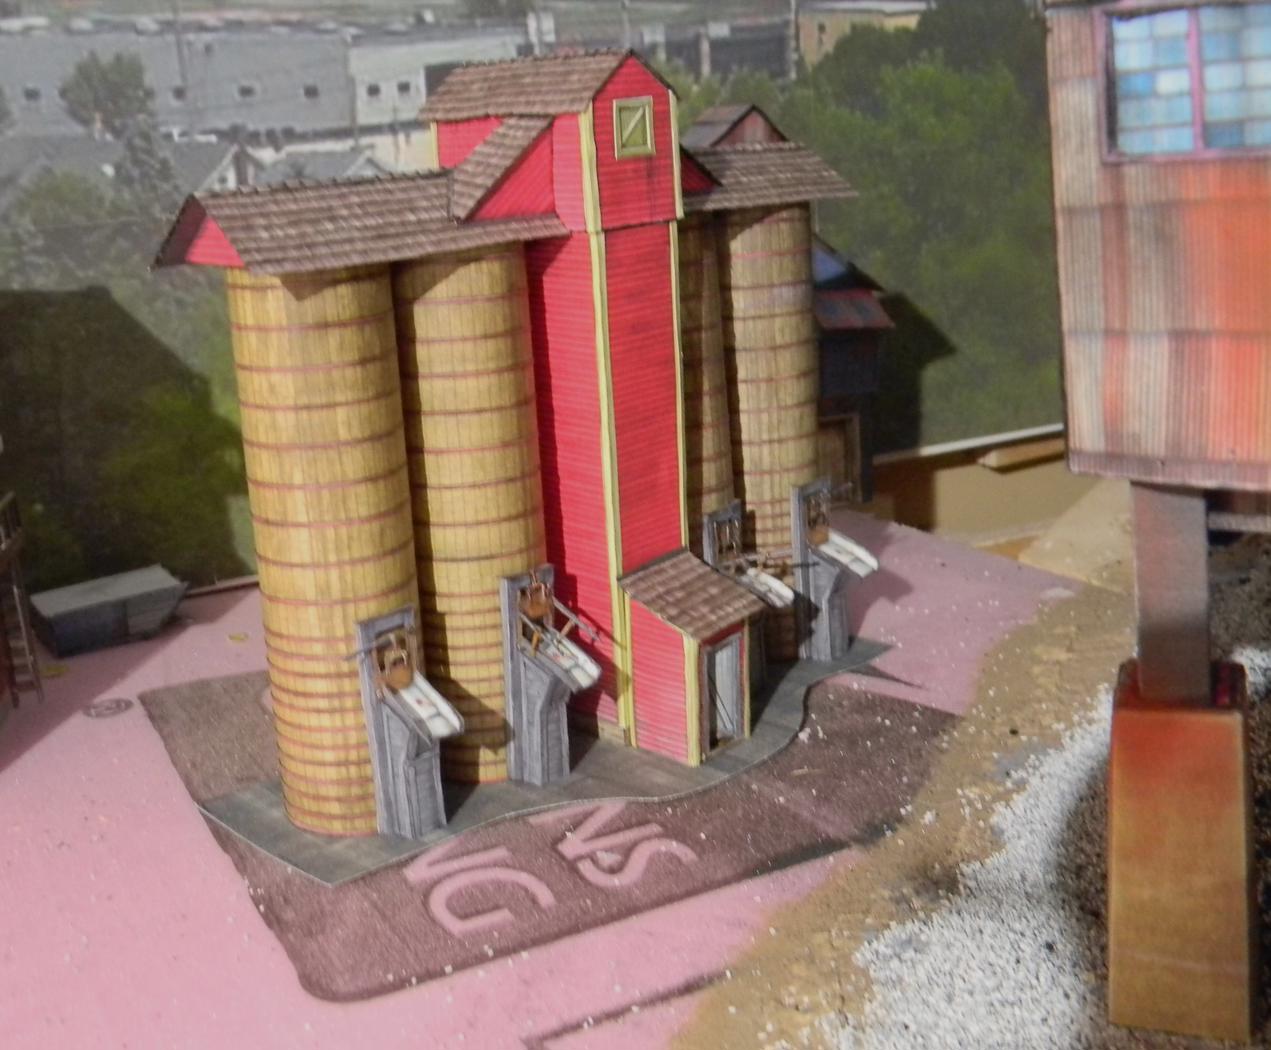
Glued all of the components of the standard kit together and mounted to a piece of cardstock from another kit's roof. Now it's time to integrate it with the breaker via elevator shaft from one to the other. I still need to weather the whole thing - I figure 50 to a hundred years of coal dust exposure is probably going to induce a much blacker structure. This kit simulates something that's about 50-60 ft tall, and I put it next to the breaker and it looks like a toy, and that's good with me.
Posts: 2,595
Threads: 52
Joined: Dec 2008
Posts: 1,252
Threads: 20
Joined: Jun 2022
Time to kitbash the elevator between the breaker and the storage silos. For reference, I'll be coming into the storage silo where the upper window exists currently. I want the elevator to take up just about as much width and be slightly higher than the window.
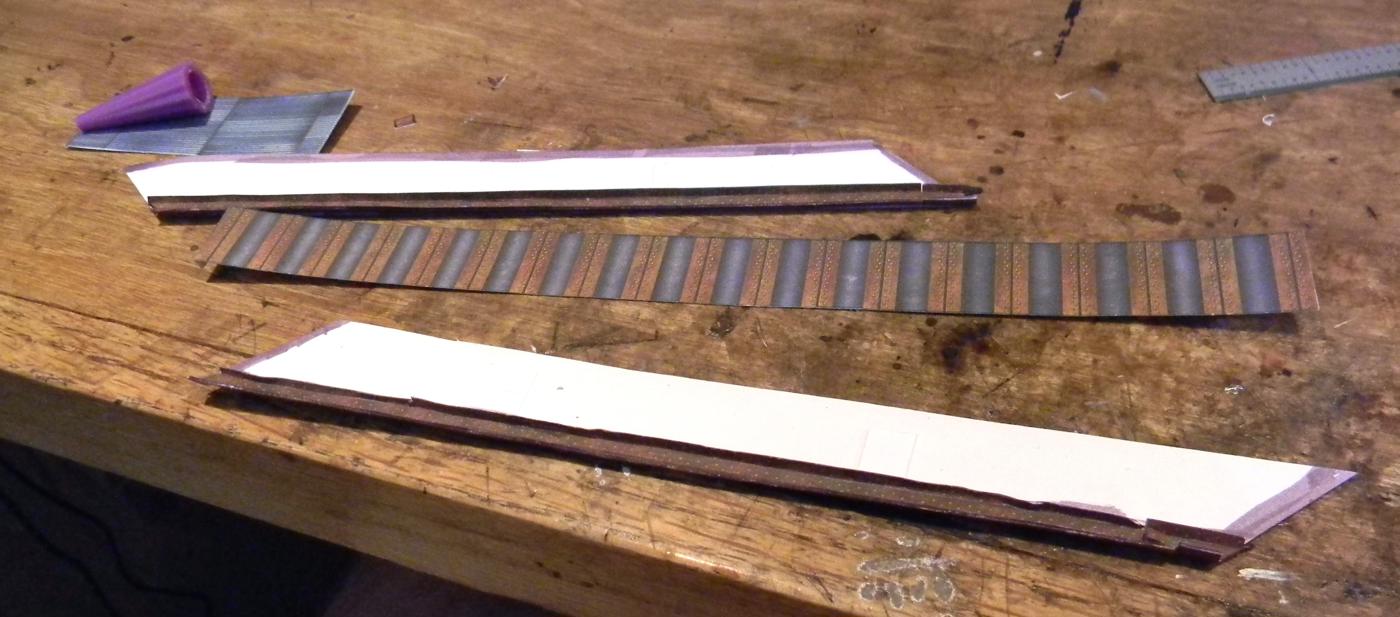
Pulled out all of my extra printouts of a variety of Clever kits and found just about enough stuff for components of this elevator shaft. Here are the basic raw materials:
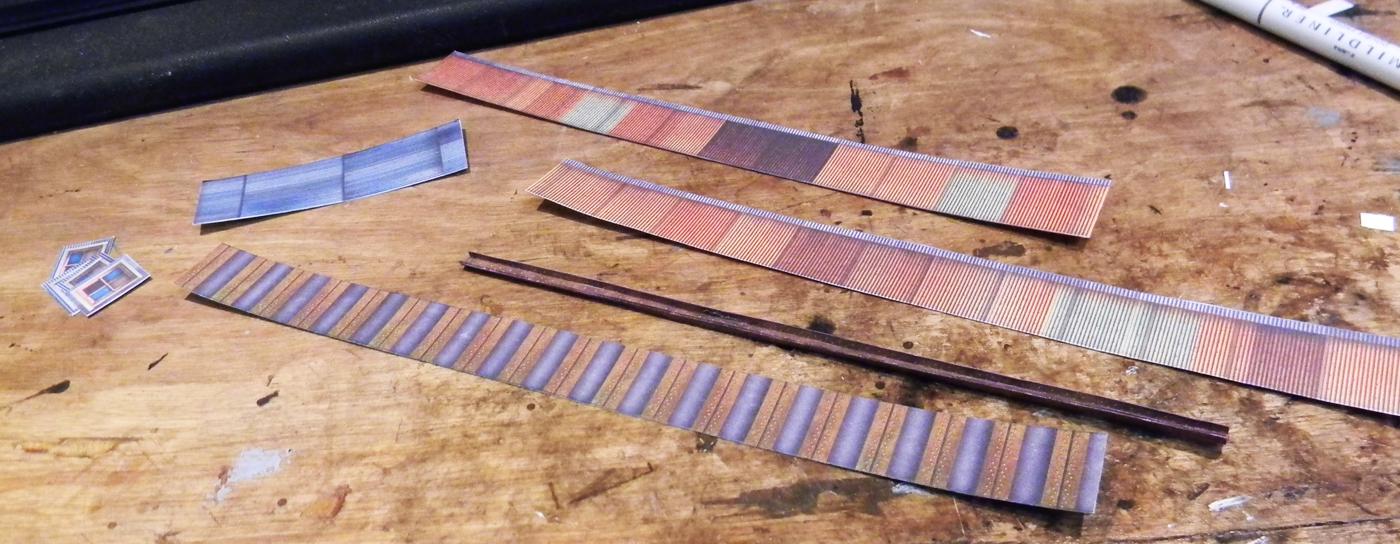
The strip on the bottom will become the floor that will be visible from under the elevator shaft. The "C" beam is actually a compendium of three glued up rusty "steel" flanges from an I-beam. I'll eventually probably build 3 total beams just like the first for this project. Both of those items came out of the girder bridge kit. The two sheet metal strips above that (from the Car Barn kit the are going to become the walls of the elevator shaft. The blue sheet metal layers are from the Silver City Mine flat and are going to be the roof. There are four windows on the left (also from Silver City), but they're scale is too large. So, I'll print out those windows at a reduced scale and use them in the walls.
Posts: 1,252
Threads: 20
Joined: Jun 2022
Assembly on the conveyor from the breaker to the coal storage silos is complete but uninstalled. I don't really have a good feel for exactly where I'll be placing the silos, so the final install can wait. Here are some pix from the assembly:
Underside view
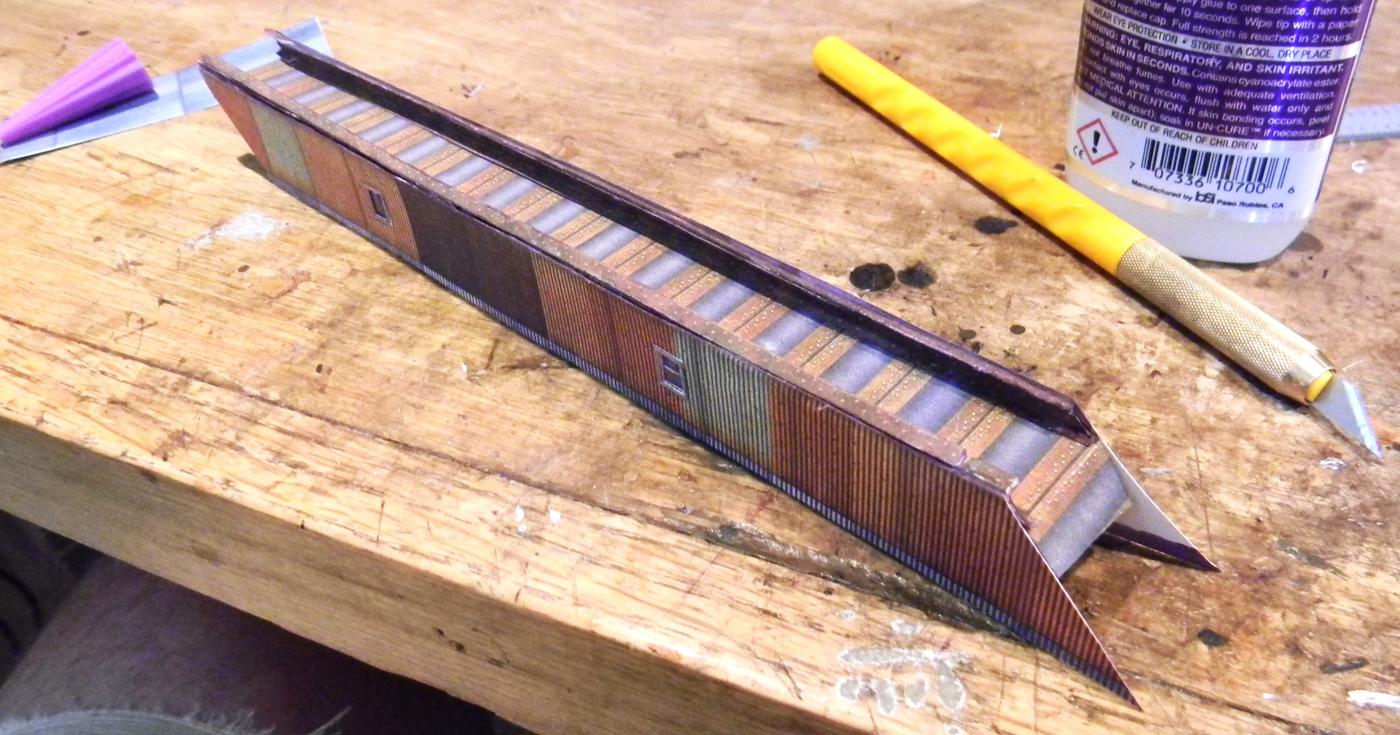
Top view minus the roof
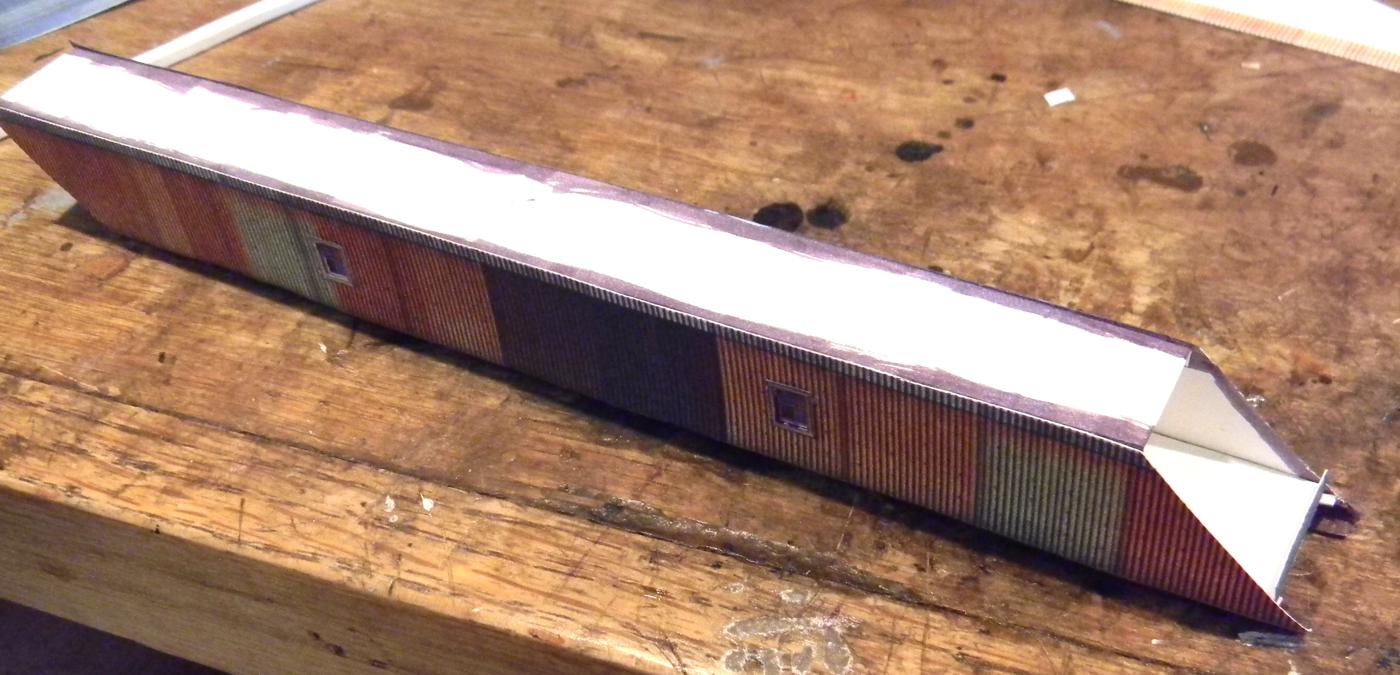
Waiting for install
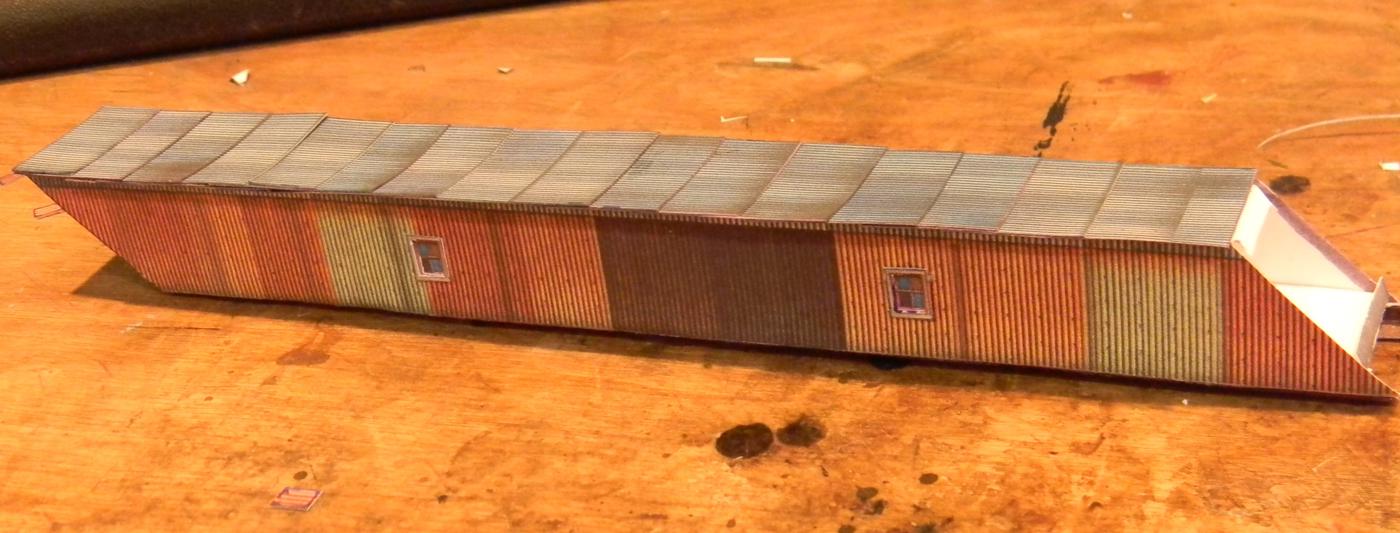
Posts: 1,252
Threads: 20
Joined: Jun 2022
Next thing to grind on. The backdrops come together back behind the breaker into a curved corner that's almost inaccessible at this point.
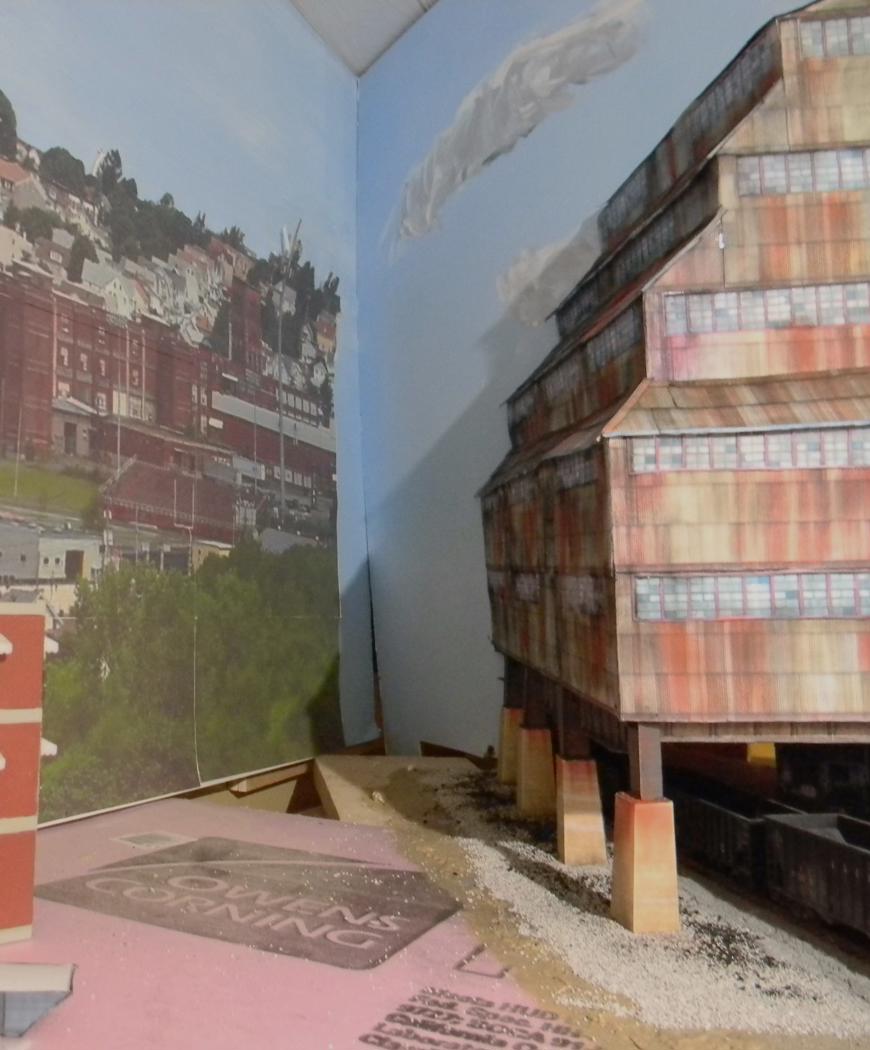
Someone's gotta go all the way to the corner to see around the breaker, but it's still possible, so it's one of the things that'll bother me if I don't do something about it. I could spend a few hours leaning into that corner to try to scenic it, but I'm thinking of another option. I want to build a "slide-in" module that fits into the corner. That way I can work on it in the comfort of my padded chair, which is a much better option than leaning into that corner, especially after straining my back yesterday trying (unsuccessfully) to put a large stone into my pickup.
The basic premise for the slide-in unit will be a combination of a flat hill and a 3-D heap of coal tailings that will cover up the gap in the backdrop and most of the corner. I do have some leftover foam board to work with to provide the initial structure, and I'll be fitting and forming it over the next few days.
|


