Posts: 1,196
Threads: 18
Joined: Jun 2022
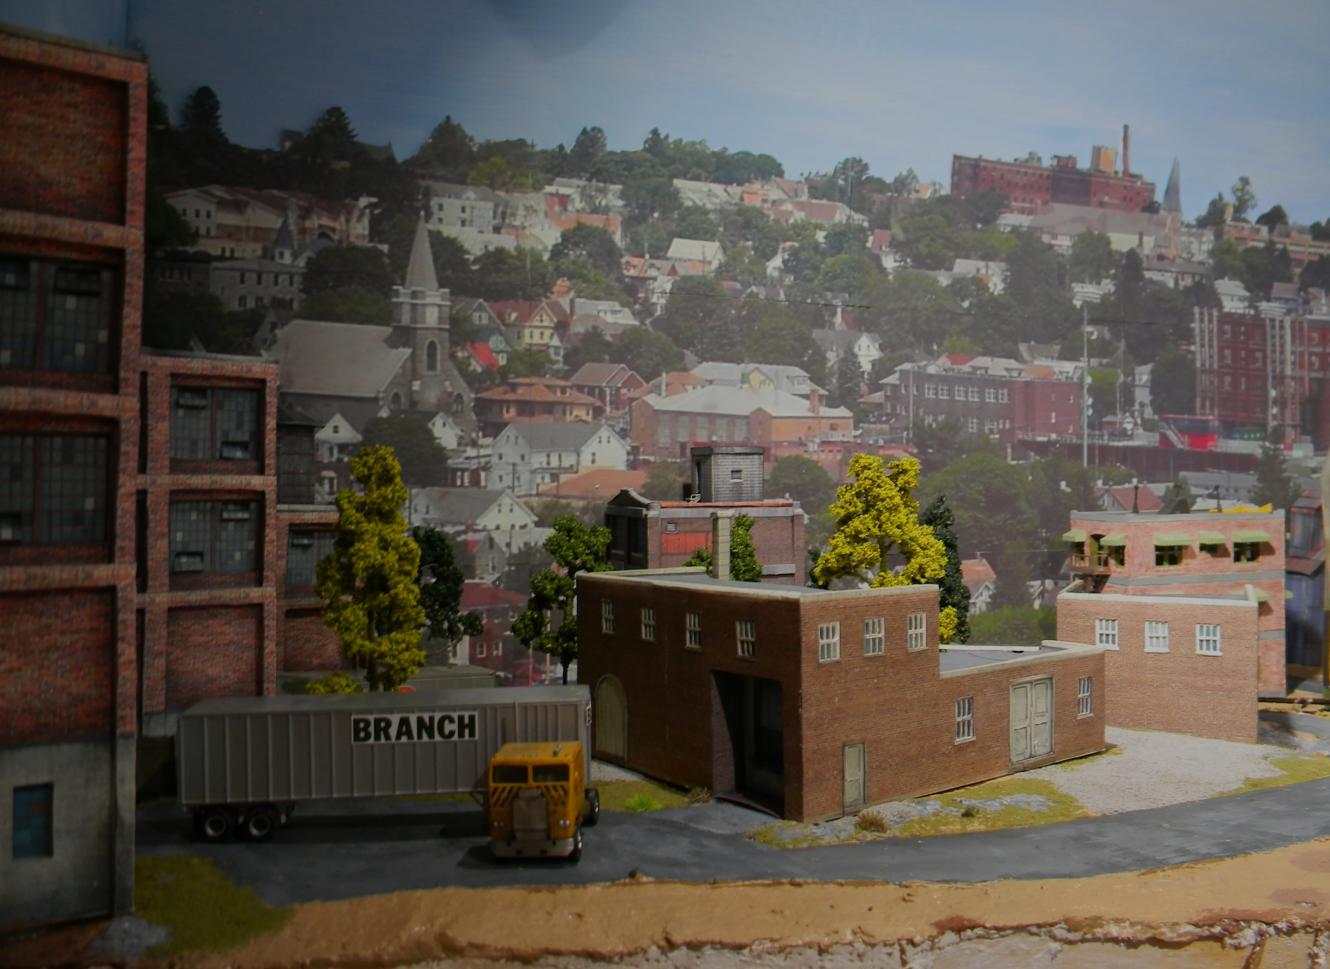
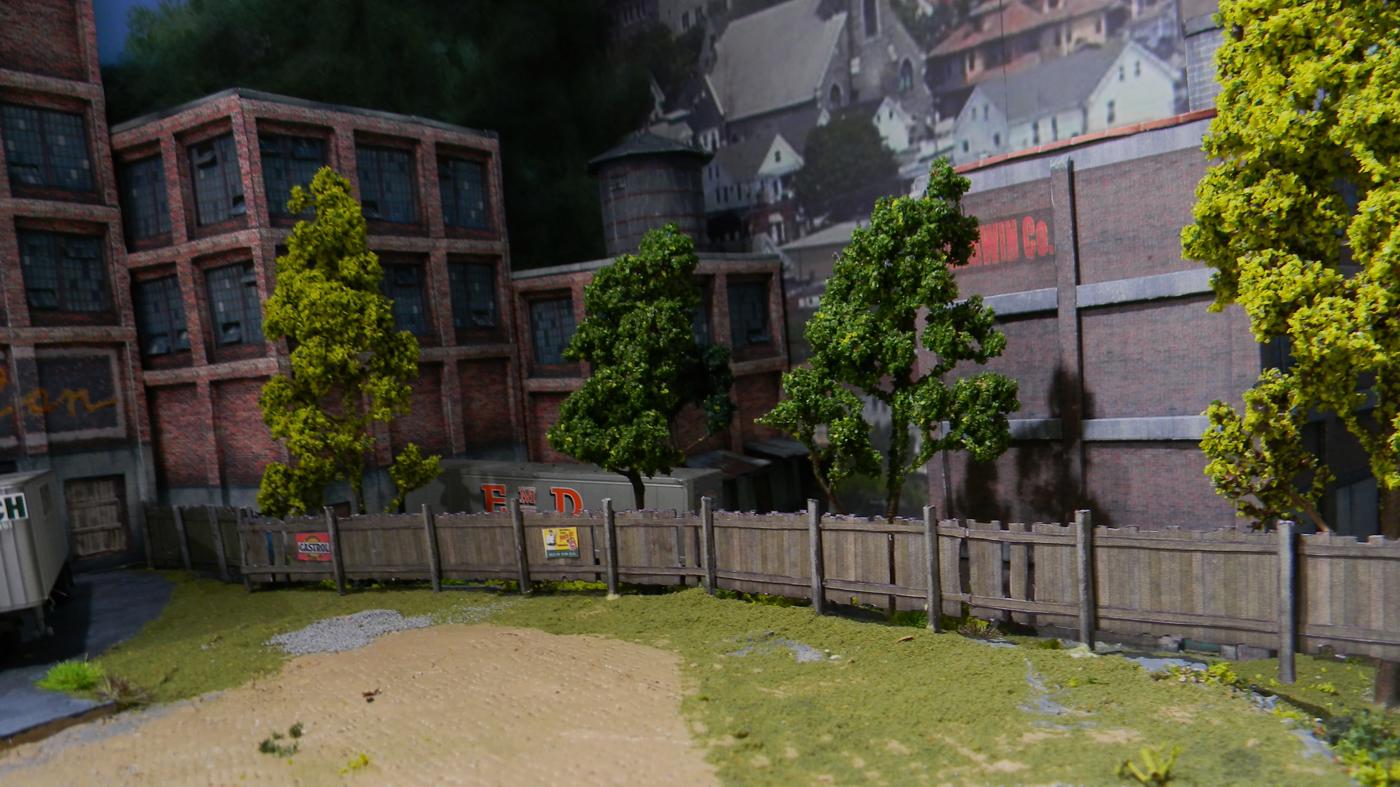
I've started some landscape layering in the left-rear corner, specifically on the approaches to the Duplan silk mill buildings. Got my bottles of turf and miscellaneous green and brown stuff, made a tree, formed up some more sections of fencing. It's a slow go - I apply one layer on top of glue and wait for things to dry, vacuum off the extra and work on the next layer. A couple of photos of slothlike progress follow:


Posts: 2,579
Threads: 52
Joined: Dec 2008
Amazing how a little bit of that green stuff makes a scene look so much better. Keep up the good work.
Posts: 1,196
Threads: 18
Joined: Jun 2022
Thanks for the encouragement, Tom, and I have been adding a little at a time over the last couple of days. More trees, more ground covers on the left-hand side of the available space. I'm planning on working the back section on the right over the next few days before working on the front section. However, we're in the home stretch of this project (at least insertion of the major scenic components). There are always tweaks and detail additions, but it's good that the plan in my head worked out again.
Posts: 295
Threads: 18
Joined: Nov 2015
Everything is coming along fantastically.
————————————————————————————
Modeling the East Broad Top as it was between 1937-1942
~Amanda
Posts: 1,196
Threads: 18
Joined: Jun 2022
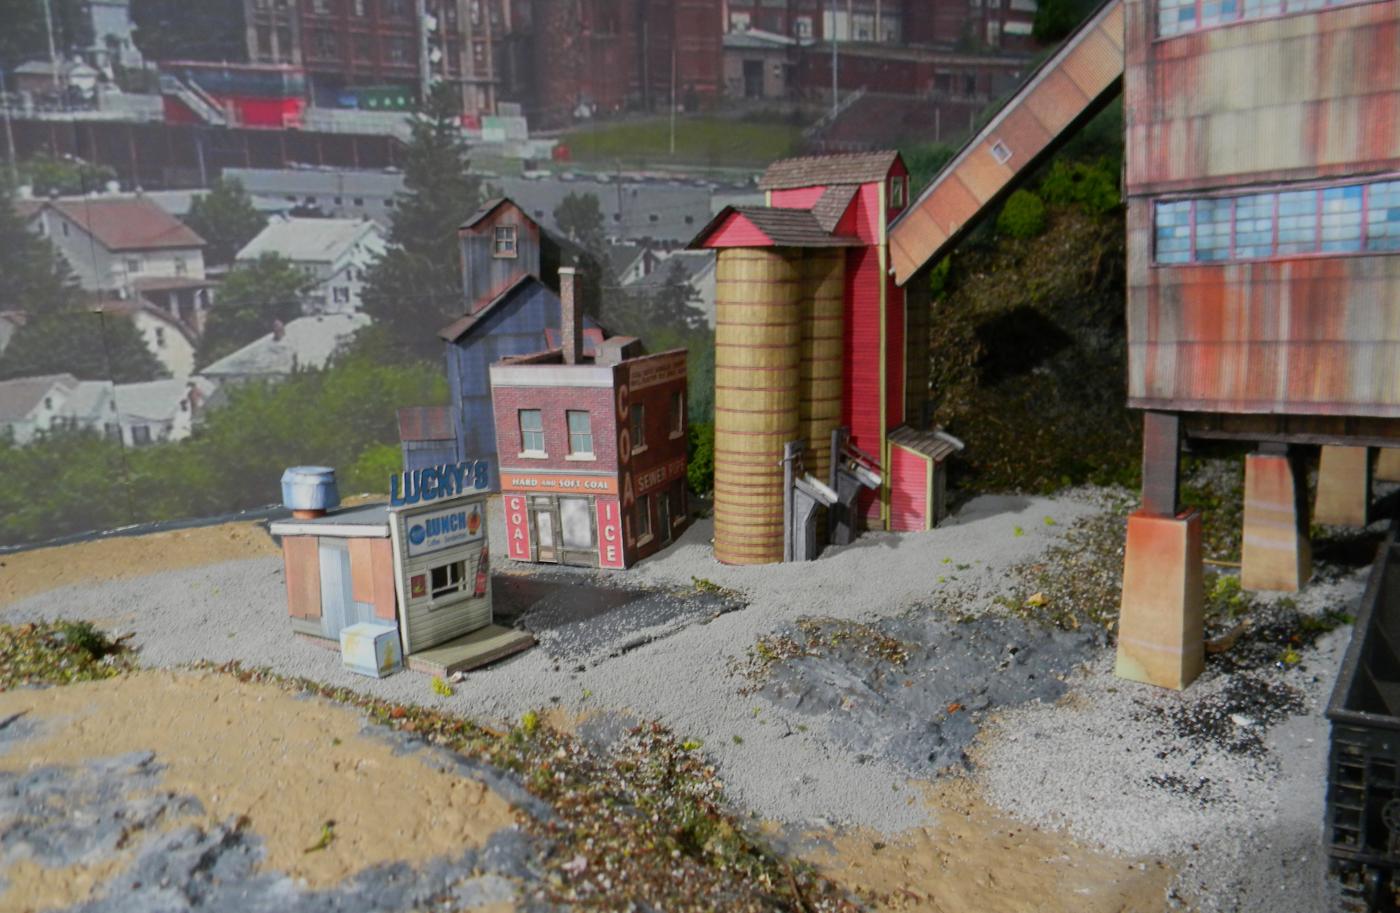
Headed right to scenic the structures closer to the breaker. Less green, more gravel, dirt and dust. A layer of fine ballast has been laid over some Titebond. I'll vacuum up the stuff that doesn't stick tomorrow morning before attempting to layer in some more stuff. Thanks for the encouragement Amanda! By golly my Challenge submission may only be late by 4 months!
Posts: 2,538
Threads: 63
Joined: Dec 2008
When the glue on my first layer sets, I spritz it with alcohol and add WS Scenic Cement with an eyedropper. My spritzer is a hair spray mister from my wife's hairdresser. The mist is less likely to displace loose grains.
This is repeated for any additional layers required.
David
Moderato ma non troppo
Perth & Exeter Railway Company
Esquesing & Chinguacousy Radial Railway
In model railroading, there are between six and two hundred ways of performing a given task.
Most modellers can get two of them to work.
Posts: 2,579
Threads: 52
Joined: Dec 2008
Looking at your work I sometimes forget the buildings are cardstock. Great job.
Posts: 1,196
Threads: 18
Joined: Jun 2022
Yep - aside from the hotel, they're all Clever kits or kitbash kits. The only plastic in the shot below are the hopper cars...
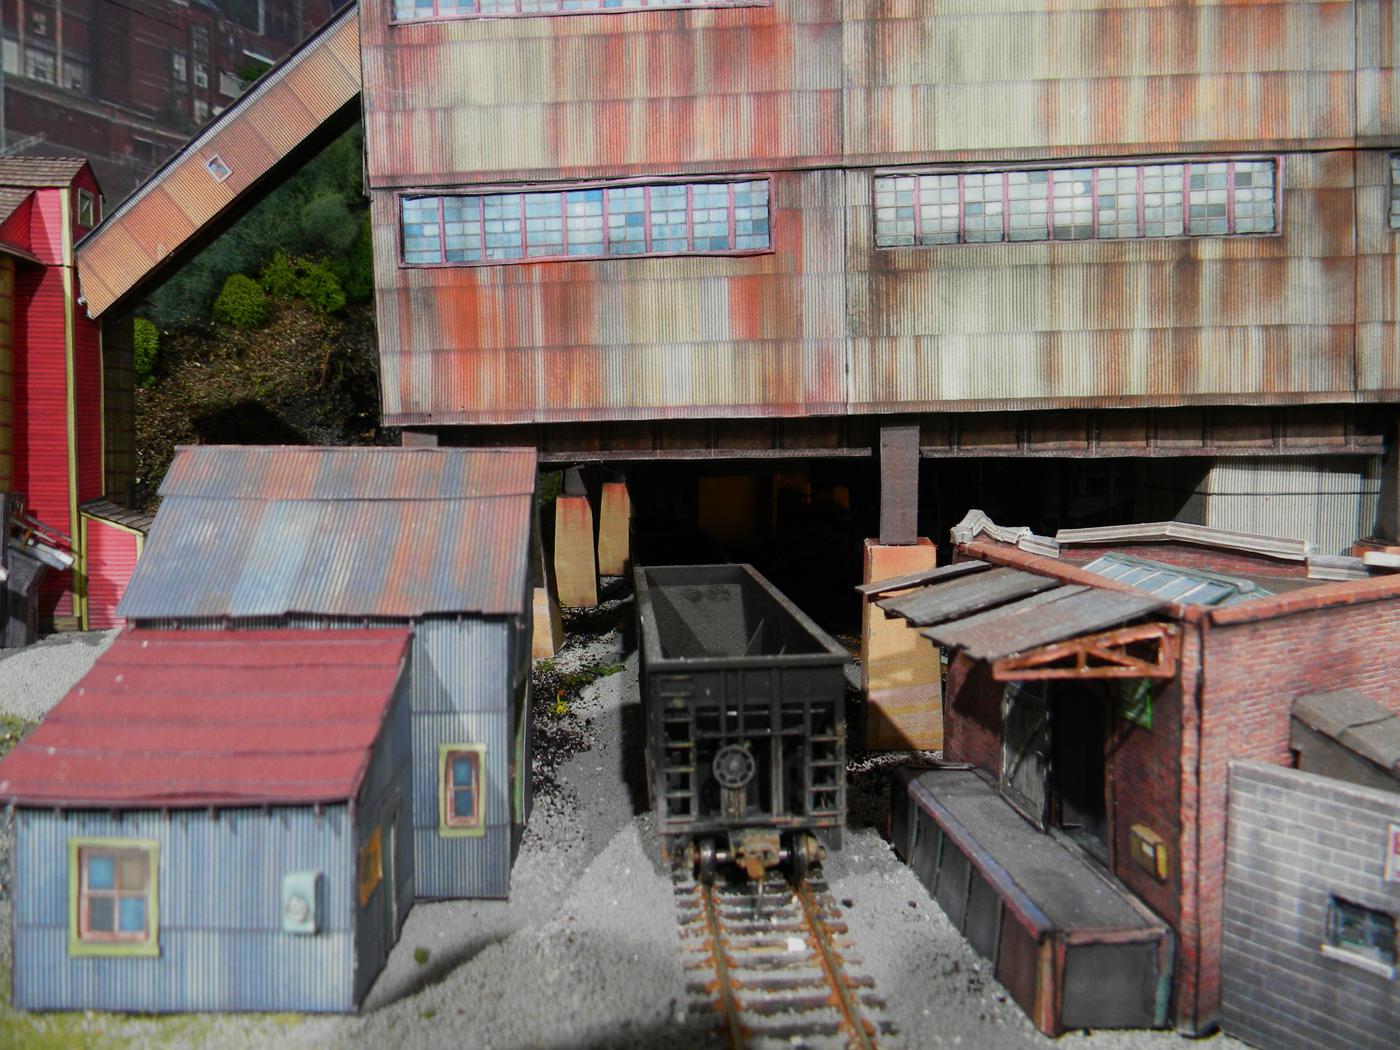
Great tip from David - we probably all ballast using that alcohol/glue trick, but it stands to reason that it should be used for scenery! Gonna give that a go in the next few days while we're hunkered down and home blowing snow.
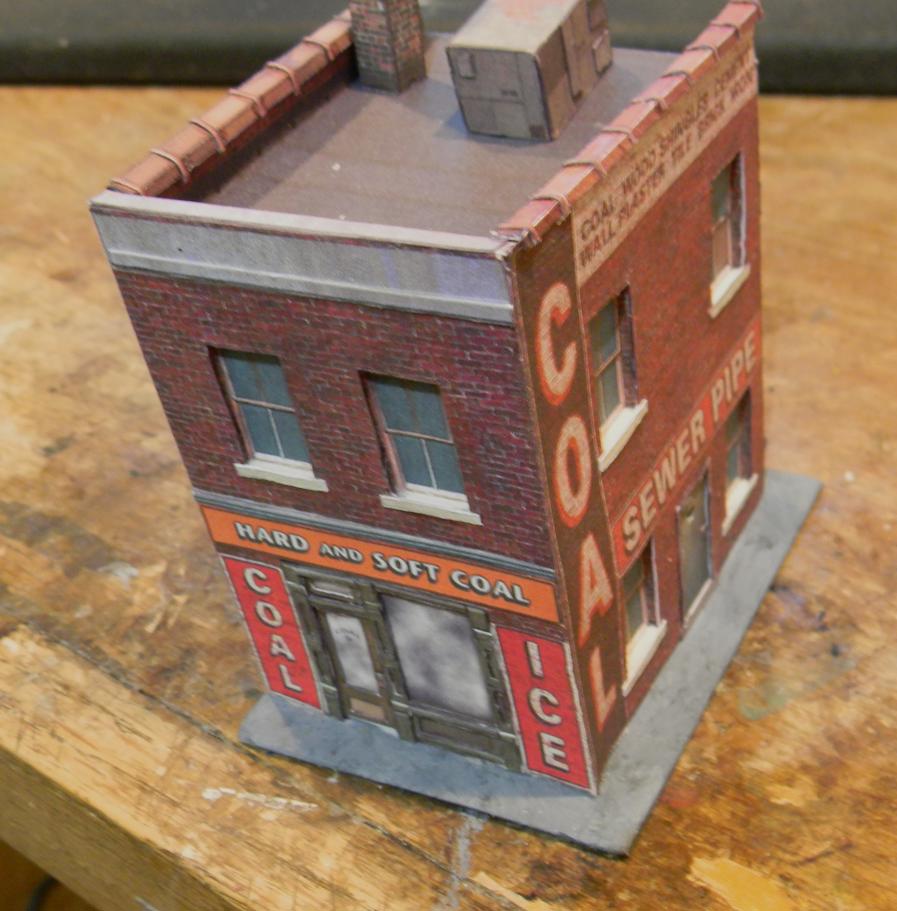
Speaking of bashing, I though I'd add a sidewalk on two sides of the Coal Dealer and remembered I had some old plastic sheeting with embedded blocks from an old plastic kit. Cut out a corner of it and glued the cardstock bottom to the painted plastic using some Tacky Glue. Makes a nice base.
Posts: 1,196
Threads: 18
Joined: Jun 2022
While some scenic elements are adhering, I did some detail and prep work on some other elements of the Hazleton space. Added window glazing on all of the hotel windows and doors - debated adding drapes, but I'm gonna try just windows for now.
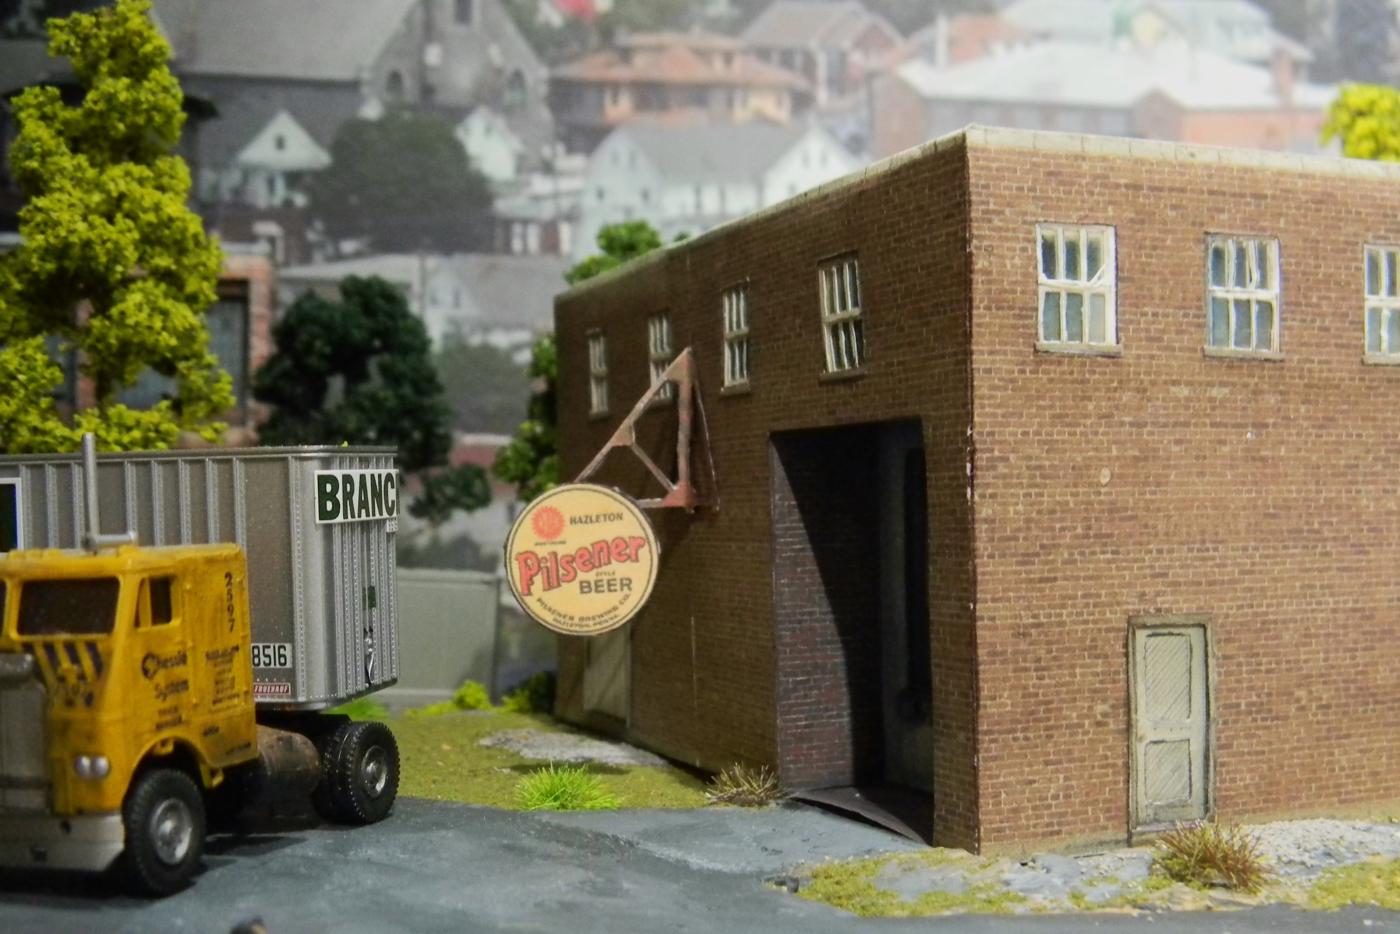
I still haven't rescaled the Pilsner billboard, but I did make use of the sign bracket that came with the Cream City kit and mounted a round sign back to back off of the bracket. It's too low, but the glue set up before I realized it. I'm not going to redo the whole building, so we'll live with it as a conversation piece.
Posts: 1,196
Threads: 18
Joined: Jun 2022
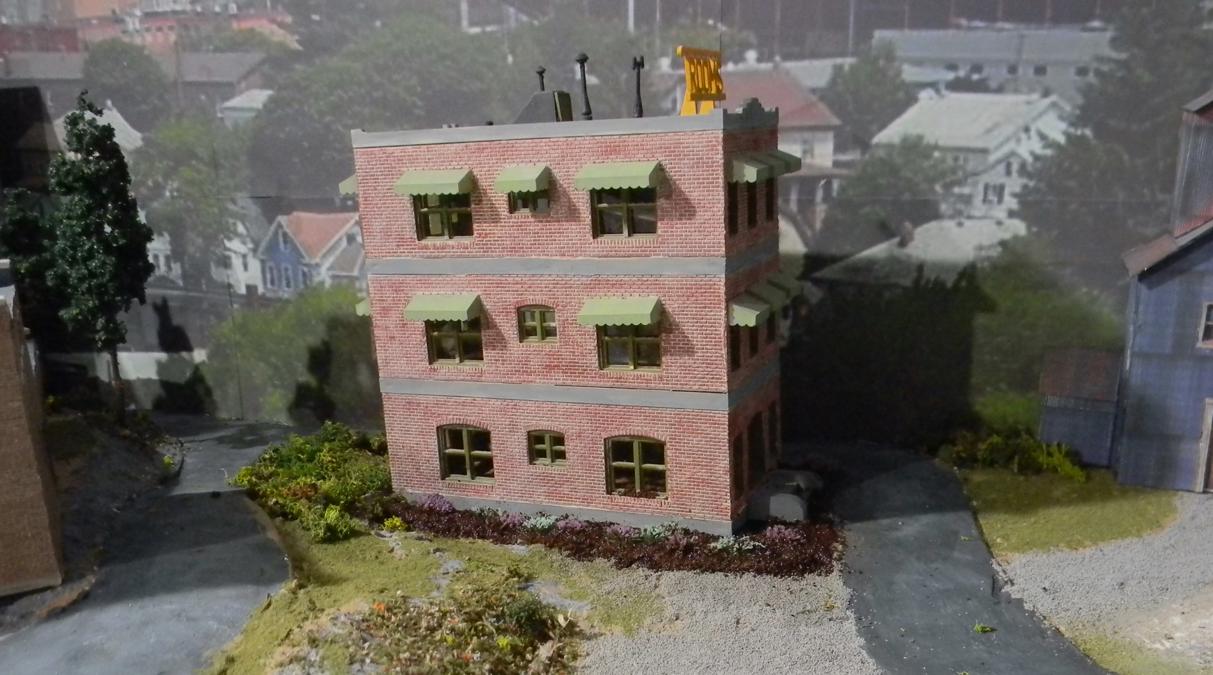
Added some mulch beds and flowers around the base of the hotel - used David's suggestion to anchor the mulch to the previous scenic base. I had to tone down the amount of alcohol I put down on the mulch because the mulch is nothing but decaffinated coffee grounds...
Posts: 2,579
Threads: 52
Joined: Dec 2008
Looking good! I really like how everything has that Pennsylvania coal country town grungy look.
Posts: 1,196
Threads: 18
Joined: Jun 2022
Grungy is certainly what we're after! Glad you like it.
Posts: 1,196
Threads: 18
Joined: Jun 2022
Added some more shubbery this morning and then embarked on a round of tree building. Got my trash bag of pyramidal hydrangea seed heads and my four different mixes of leaf flock in takeout plastic trays with lids from our local Chinese restaurant. The mixes range from bright green (for white birch) through deep blue (for blue spruce)). Also got out my Scotch spray adhesive and a sacrificial cardboard box (functions as a spray booth for the adhesive). Once I get set up, it's a really quick process to finish a tree and install it on the layout. Nothing like a tree to build depth in a scene and break up straight lines of vision to the backdrop. Once I get an area fairly close to finished at ground level, I add the trees. (It's tough to work around the trees once they're installed without dumping a good bit of flock on the ground level).
It's been a while since I showed a photo of the area back behind the breaker where I added the "drop-in" scenic module, but it's starting to look like everything belongs there. I can't easily remove the module anymore, but I don't intend to now that it's finished.

Posts: 1,196
Threads: 18
Joined: Jun 2022
Started installing the board fence between the two portions of the brewery - gluing down about four posts at a time and letting the glue setup.
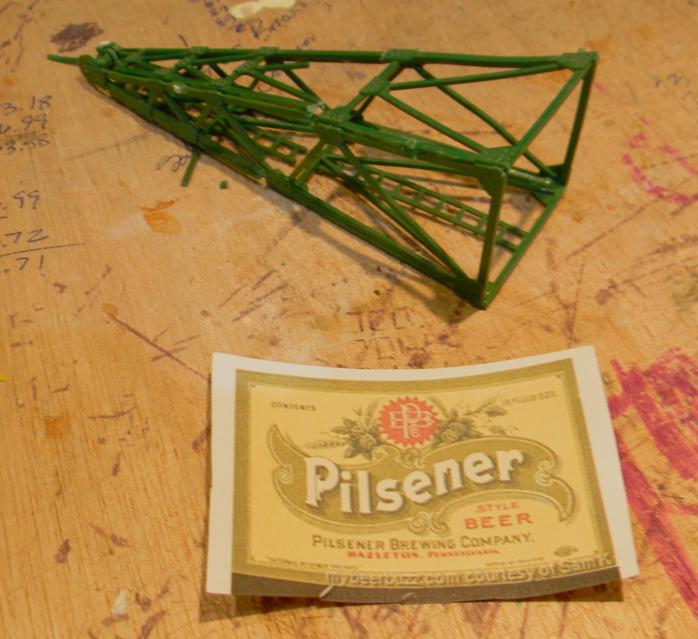
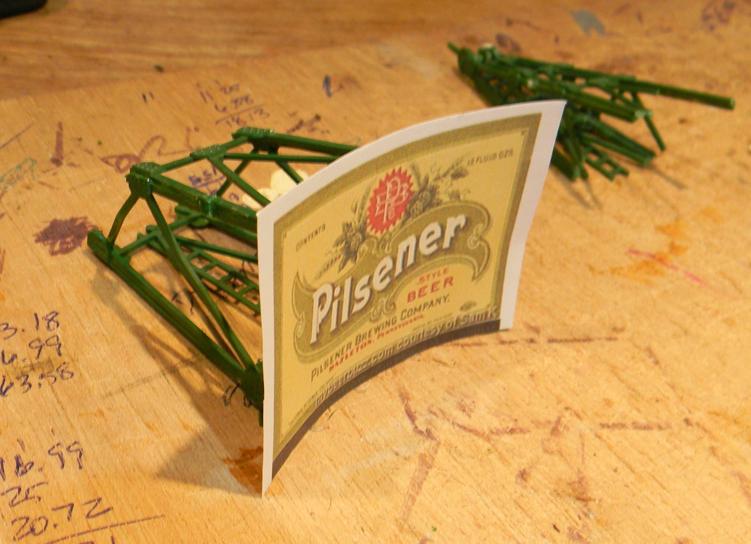
While waiting for it to dry, I thought I'd make a second attempt at a billboard to put on top of the lower of the two brewery buildings. The first attempt (if you remember) was too big in scale and was supported by a massive wood frame. I was looking for a lighter space frame type thing. I thought maybe I'd saved an overhead signal bridge in plastic from my early days in the hobby and maybe I could cut a section of that to support the sign, but it was not found after digging through a few boxes of old plastic assembled kits. I did find an old Tyco rolling crane with a broken truss assembly (that's the green triangular thing in the picture below). Thought if I used a portion of the larger truss assembly, that might make a reasonable support for the frame of the billboard. We're going to give it a shot. I'm spraybombing it black at the moment and I'll be printing the sign out to the right size on cardstock and building some rear support to give it some depth and thickness.
Posts: 1,196
Threads: 18
Joined: Jun 2022
Little details continue in wrapping up the Hazleton addition:
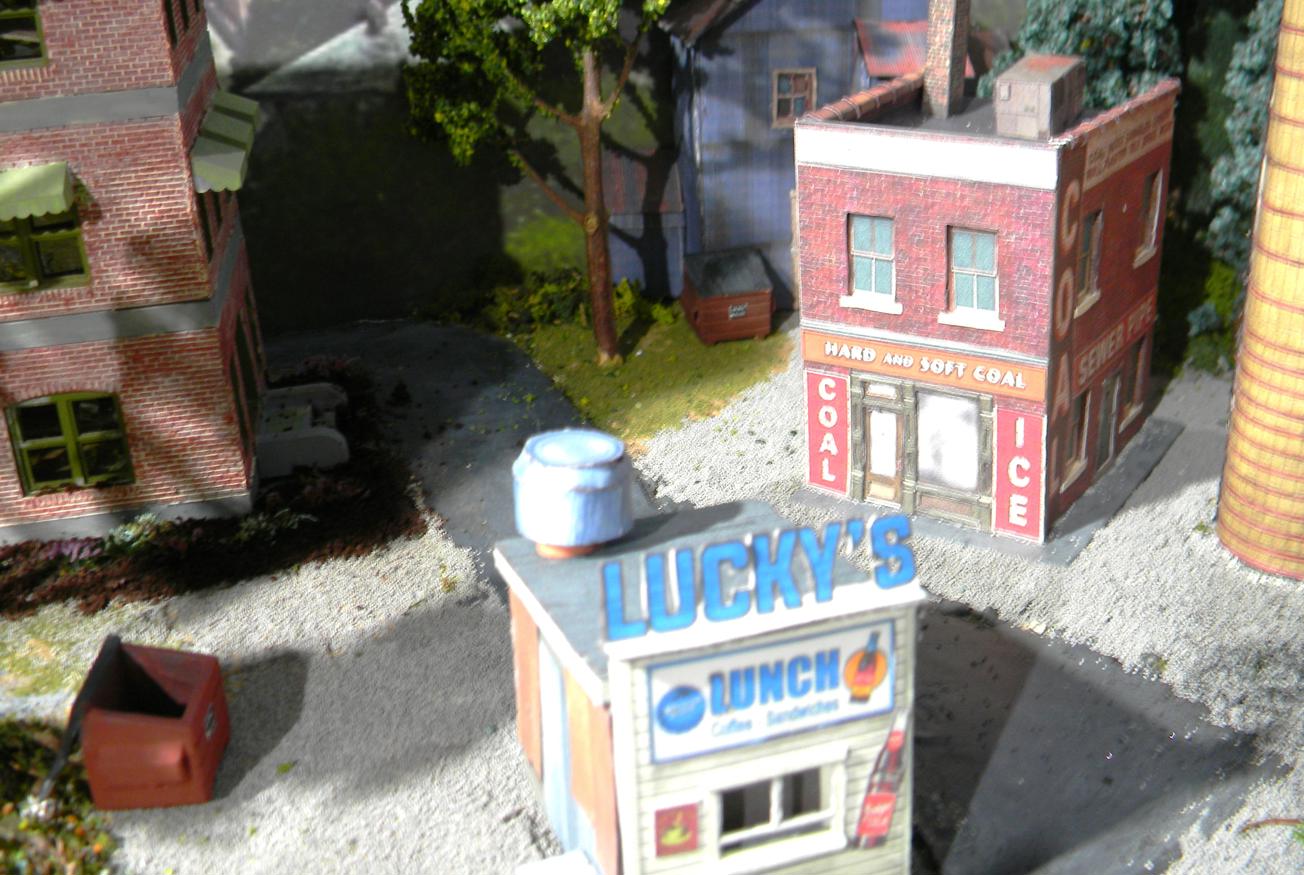
I remembered I wanted to include a couple of dumpsters. I'd bought six or eight of these 3d-printed dumpsters a couple of years ago. I'd gotten my money back on these from the seller because there were a variety of cracks in the plastic - I don't know whether was due to heat in storage or some manufacturing defect, but I did find that if I spackled the cracks and painted over the dumpsters, they came out all right. Hit them with a dark gray and then followed up with a primer red over the bases and added a "Nero Waste" sticker on the front of each. Installed them in back of Lucky's and behind the coal dealer near the blue shed. I'll be adding one near the brewery in the next couple of days as I get closer to the front of the addition.

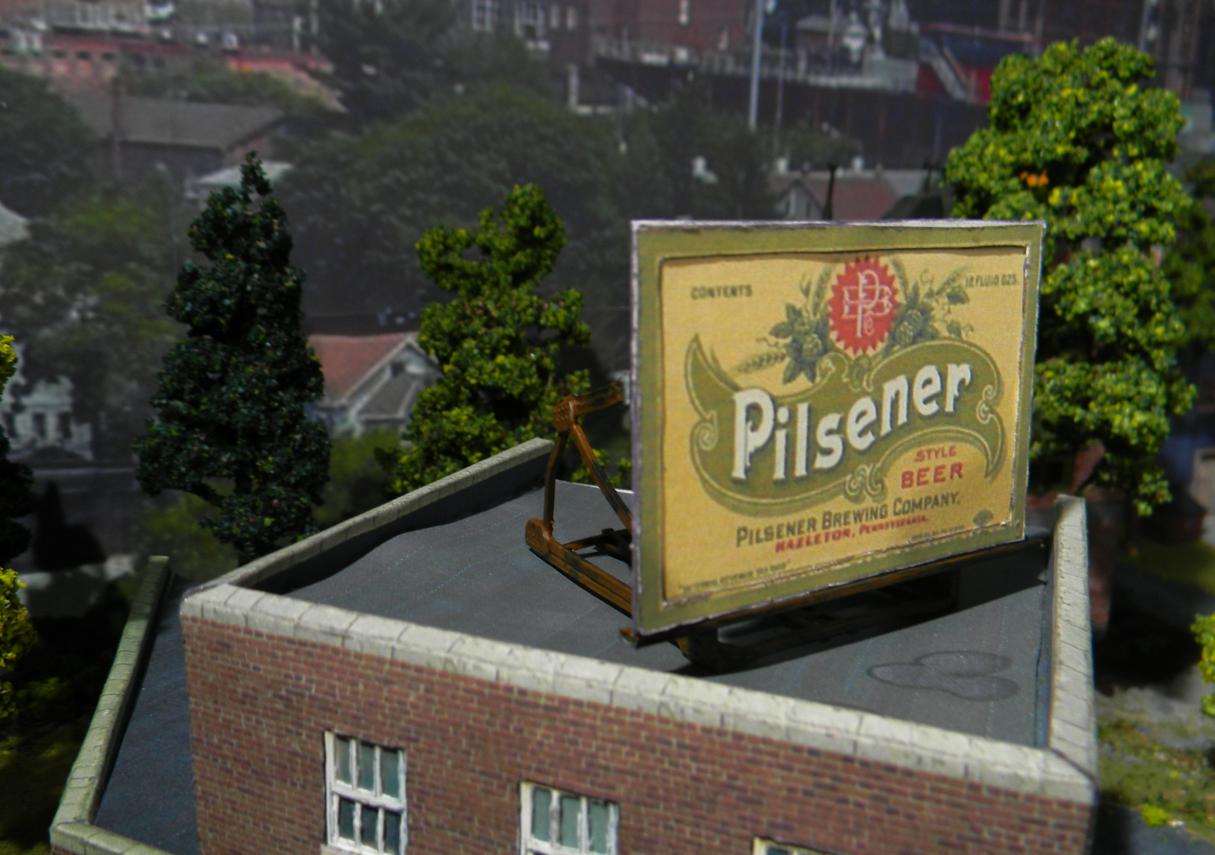
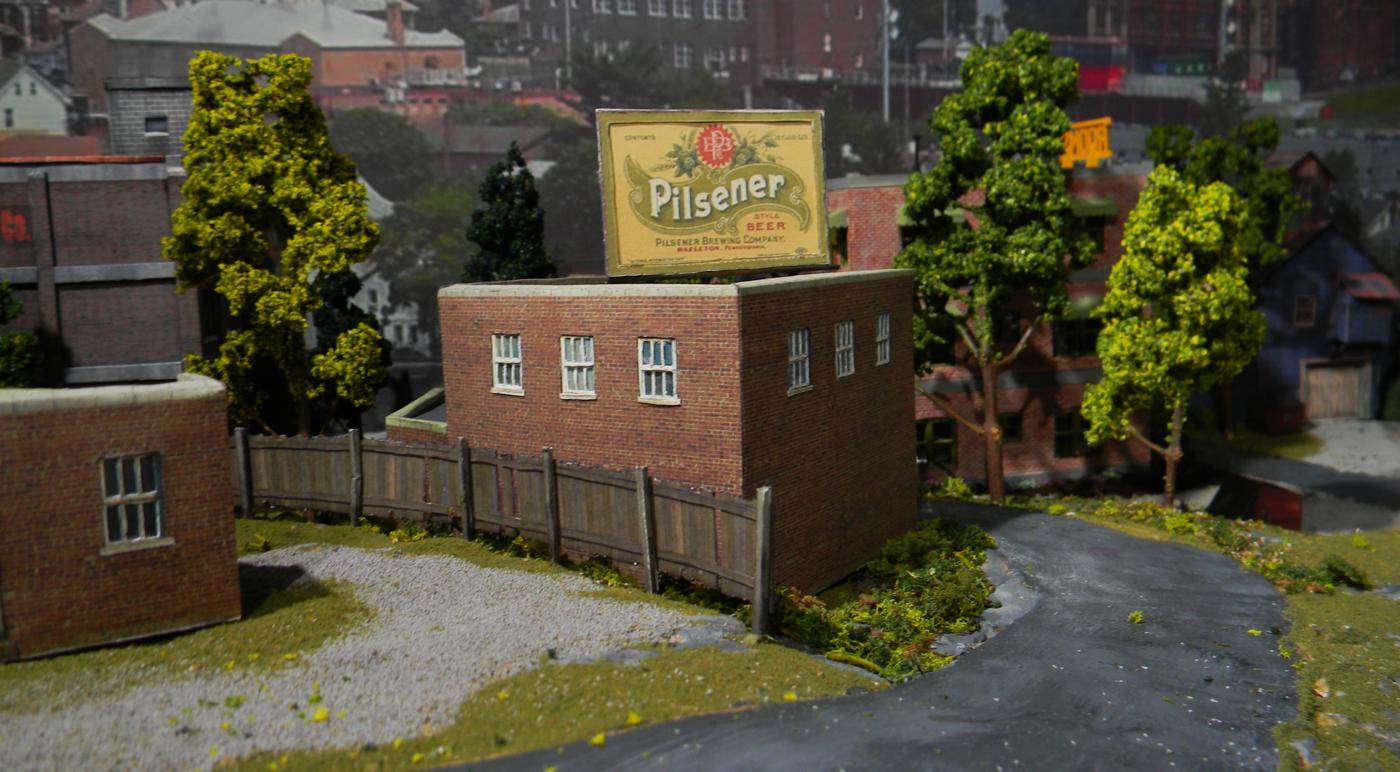
I also applied a coat of flat black and then some rust on the support for the billboard, created a mount for the sign, reinforced the layers of the sign and installed the finished product on the roof of the lower brewery building. I think the scale is much better than the first attempt and it looks about right. The face of the sign was a bottle label that someone had flattened out and scanned. How could I not use it?
|


