Posts: 1,196
Threads: 18
Joined: Jun 2022
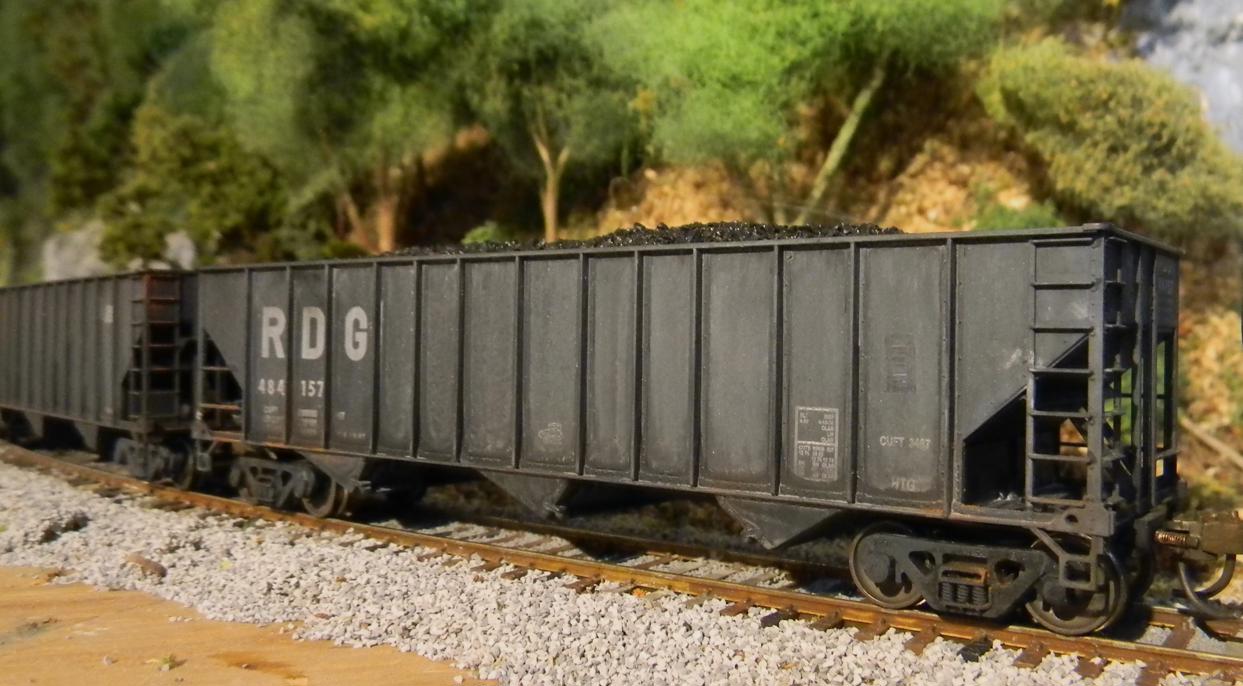
I received a surprise gift from a benefactor of mine earlier this week. Unexpected gifts like this lead me to believe that humanity is not lost, and there are good and caring people lurking around every corner. Included in the box were three Bowser 100-ton hopper cars, two assembled Reading units, weighted and complete with coal loads, and one mint-in-box Penn Central kit. In amongst scenery taskings in Hazleton, I've been adding Kartrak decals, assembling the kit and doing a little weathering. While I was at is, I put Kartraks on my other Reading 100-ton units and proceeded to weather one of my 70-ton PC hoppers. I like subtle differences between weathered cars, and there's nothing wrong with random in my world. For the 100-ton hoppers, the Reading company ordered their last hoppers in 1975, just prior to the Conrail merger, so the Reading units were weathered assuming there wouldn't be a whole lot of rust or grime, and in the case of my two new units, I decided to leave 1 just like the previous owner had weathered it - just ever so slightly around each panel of the hopper with a little road grime. The other one received a fairly uniform black wash that just seemed to me to the be perfect way to show sun fade on a black paint job. I liked that so much, that the two Penn Central hoppers got the same treatment, with a little rust on the 100-ton and more rust on the 70-ton hopper. All of the couplers got a rust treatment and the faces of the wheels got a uniform dark gray or gray/rust depending on the truck bearing type. Each car got some gray and brown road dust. These are going to be fine additions to my coal fleet. Photo bomb follows:



Posts: 1,196
Threads: 18
Joined: Jun 2022
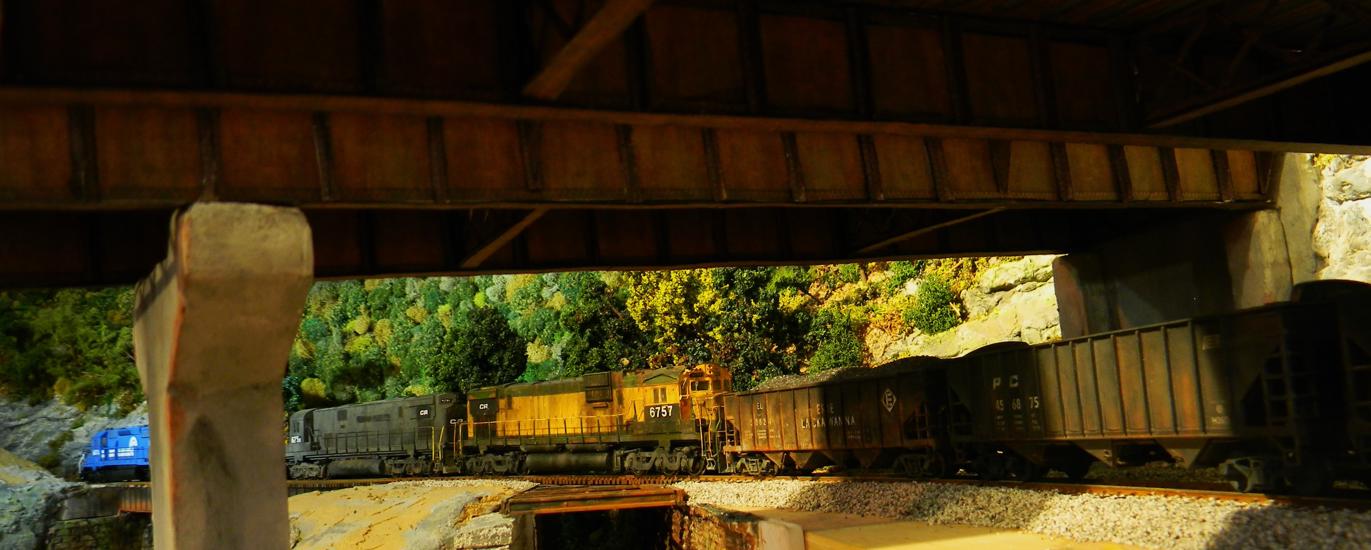
I took this shot to feature my most recent weathering project - PC 456875 is rolling under the shade of the westbound I-80 bridge, which is one of my favorite railfanning sites on my layout. However, by catching the front consist running over the railroad bridge, I thought this shot was one of the best I've captured in terms of putting the essence of what I'm trying to model in a single photograph. Yeah, it's been a lot of blood, sweat, tears and money since I started the effort in 2006, but sometimes there's just a "Yeah!" moment when it all seems worthwhile. If only I would finish the scenery to the left of the tracks, it might even be believable....
My wife's noticed that I've been spending a lot of time down here in my office while I'm "Working on the Railroad" during this winter break (I've spent less than 2 days out of the last 28 at work). Her question this week was "Don't you get bored?". Magic like this is not boring. Sometimes it's hard, sometimes it's frustrating, but sometimes it pays you off. I hope each of you gets to find that nirvana moment and it spurs you to find joy in this hobby.
Posts: 2,579
Threads: 52
Joined: Dec 2008
Todd
That is a great shot. It does capture to me what railfanning is; that one picture out of 50 or 100 that you aare going to enlarge and frame. I love the lighting and the way the shadows fall. It is like we are standing there in person. I will admit I am jealeous of your lighting. It is the one that is driving me crazy. Do you use any additional lighting or is all from you normal layout lights?
Posts: 1,196
Threads: 18
Joined: Jun 2022
Tom,
I think my success with lighting is probably built into having my track at about eye level - the lights from my ceiling track lights are then easy to soak the layout with an optimal amount of light. (Another advantage of the eye-level layout!) The shadowing in the picture above was unavoidable, but PERFECT for portraying reality. I love how a sliver of light hits the rust on that hopper and lights it up.
Some parts of the layout are great for lighting, others are problematic. Early in the process I installed some track lighting at the center of my office and I've expanded the track by installing 90-degree elbows and extra sections and put it all on a dimmer switch. I've found that the bigger track lighting heads are great for overall lighting and the smaller heads are useful for filling in the gaps. The nice thing about the track heads is that they swivel, so if you need to change the direction of the lighting for a shot, it's relatively easy to put some light on the subject. The trick is to get far enough away from the layout so the heads don't provide too much light. A few months ago I think I documented moving the lighting away from the Hazleton section to get better overall coverage.

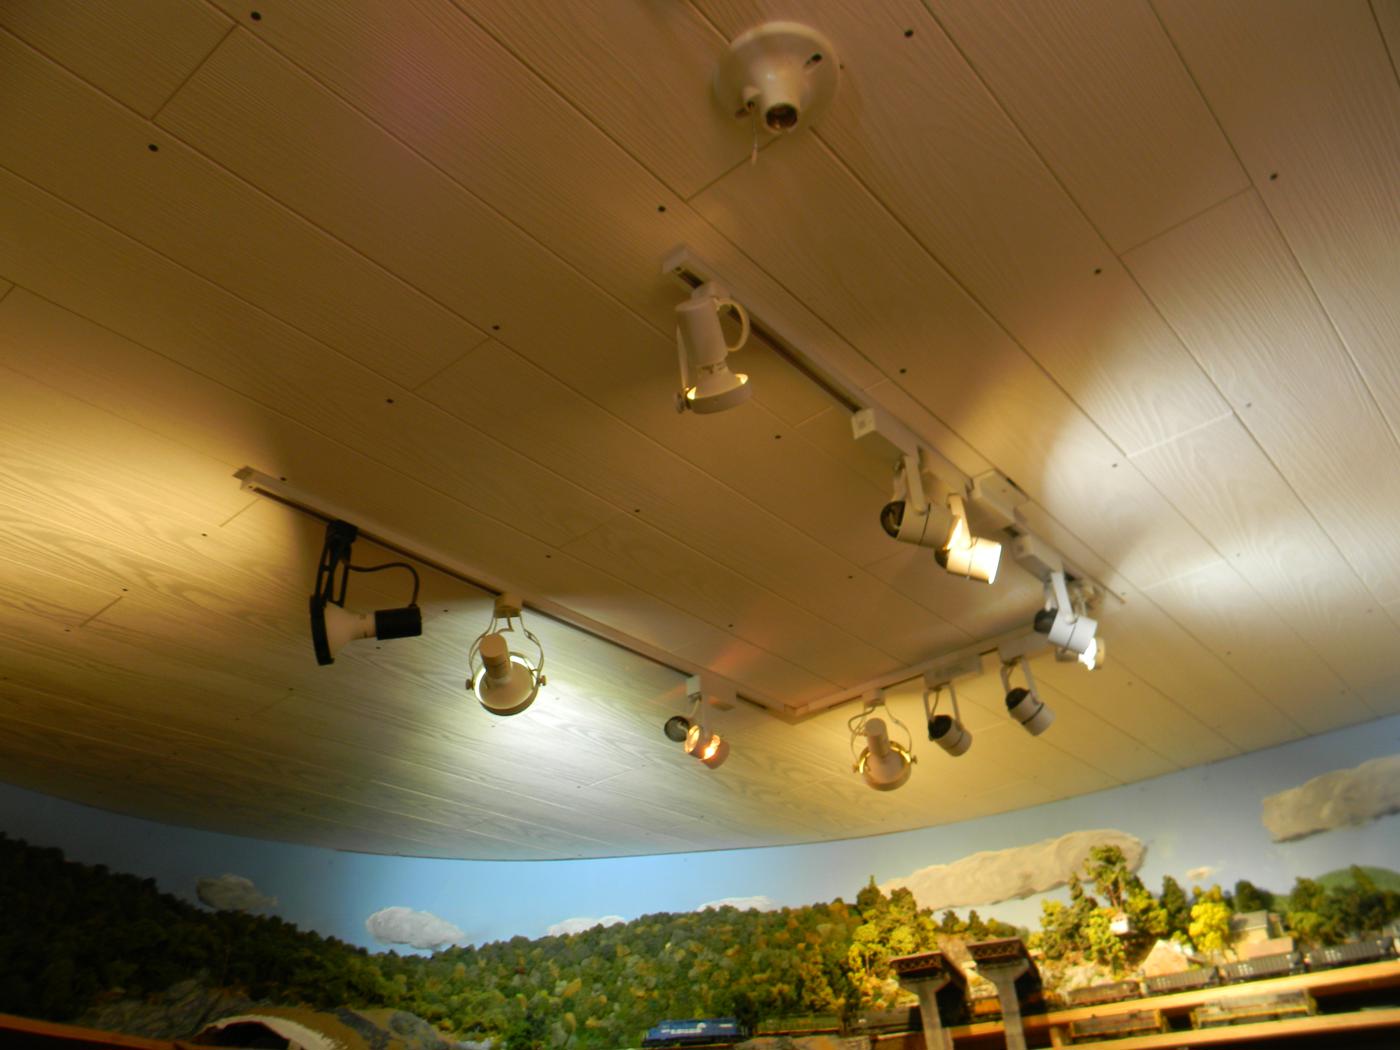
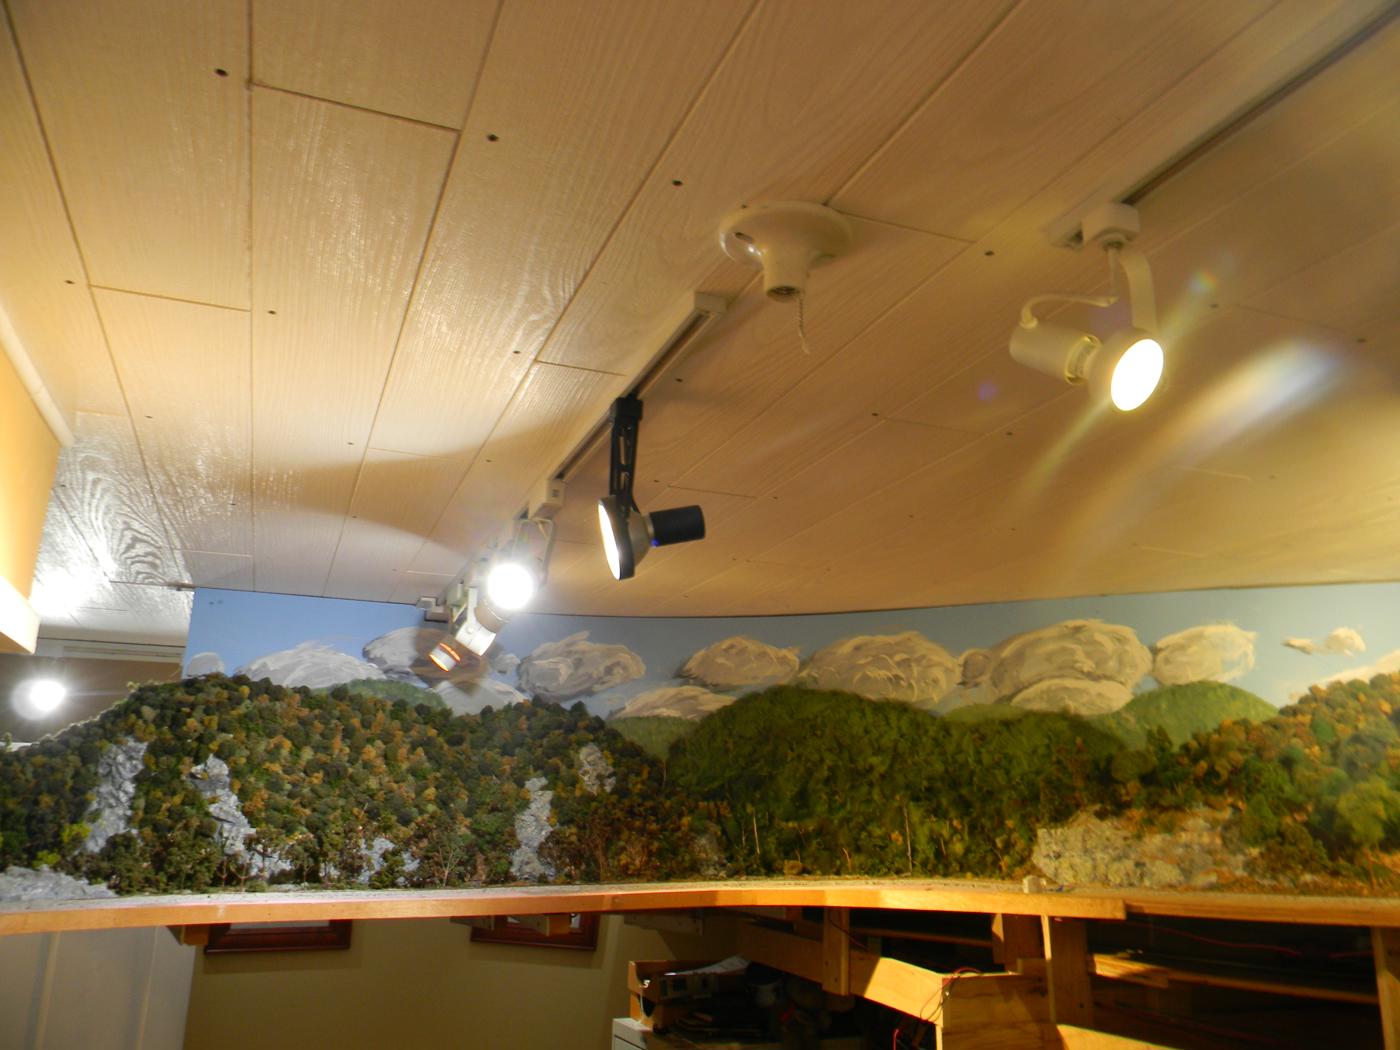
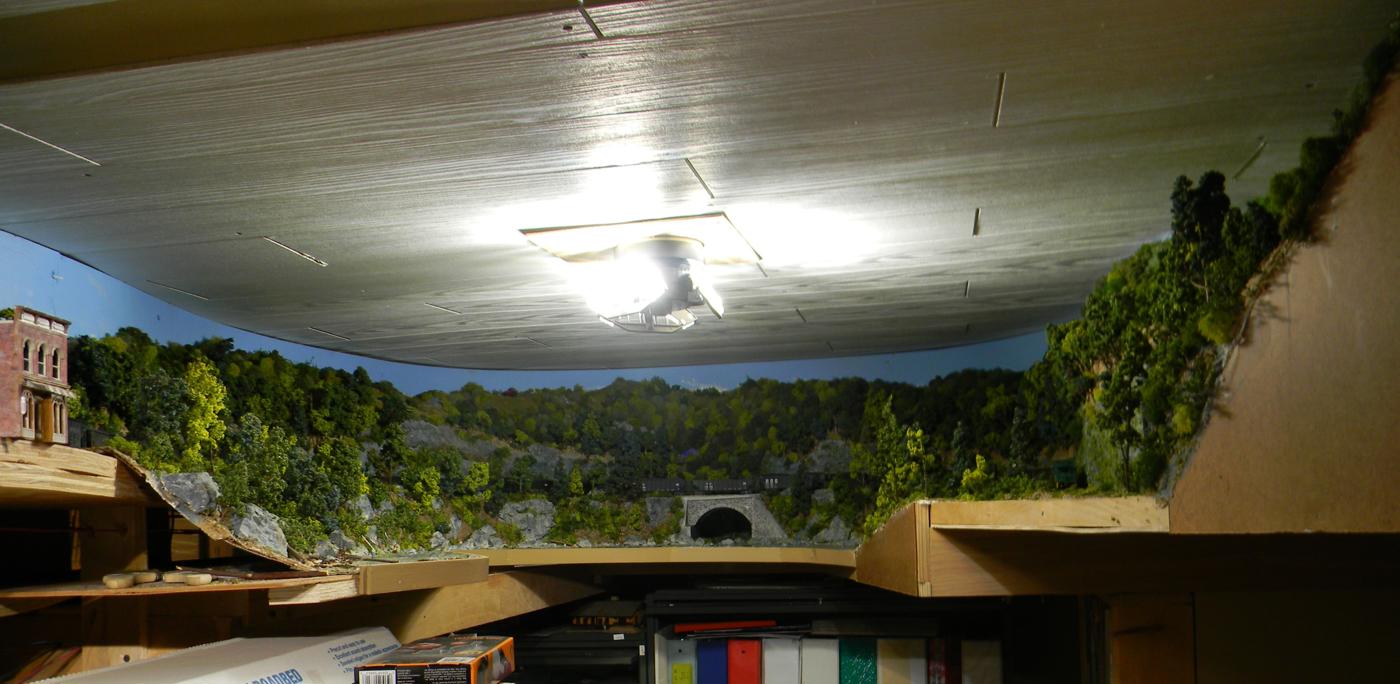
The Mud Run section of the layout has a much lower ceiling, so I had to go with a single LED head with 3 directional heads (like Home Depot sells for garage lighting). The head is tough to push out of photos of long shots of that section of the layout, but it does put enough light out there.
Posts: 1,196
Threads: 18
Joined: Jun 2022
Multi-tasking today. I decided to eliminate the last vestiges of pink foam board on the Black Creek to Hazleton area of the layout. Slathered on some Sculptamold that's going to spend the next couple of days drying at which time we'll get the brown paint out.

More trees and shrubbery are being added to Hazleton. Add some, let dry, add or subtract, ponder. The picture below is the beer distributor, which is the closest thing to the edge of the layout, meaning the home stretch of the Hazleton addition has officially been entered. Maybe by next weekend I'll get my static grass applicator out on it's maiden voyage to add some of that to the presentation. Hoping some of that looks as good as Charlie's efforts on his layout. If it does work well, I'm going to be working a bunch of that into the foreground areas between the edge of the layout and the track, which would seem to enable a bit more speed to the process.

I'm also weathering those remaining 8 coal hoppers to complete my 34-car coal drag. The last major train needing weathering would be my Delaware and Hudson Apollo intermodal but addressing that may be months away.
Posts: 1,196
Threads: 18
Joined: Jun 2022
My last day of this extended vacation. Back to the salt mines tomorrow morning and my railroad productivity is going to take a big hit. My wife reminded me that I was supposed to do something about her TPMS sensors in her car. My appointment at the tire shop was at 1 PM. Ended up being 3 of them out of 5 in a 12-year-old car, so I bit the bullet and had the tire place install all 5. What I thought was going to be an hour turned into 2 and a half after they snapped off one of my wheel studs. Kids and air tools.
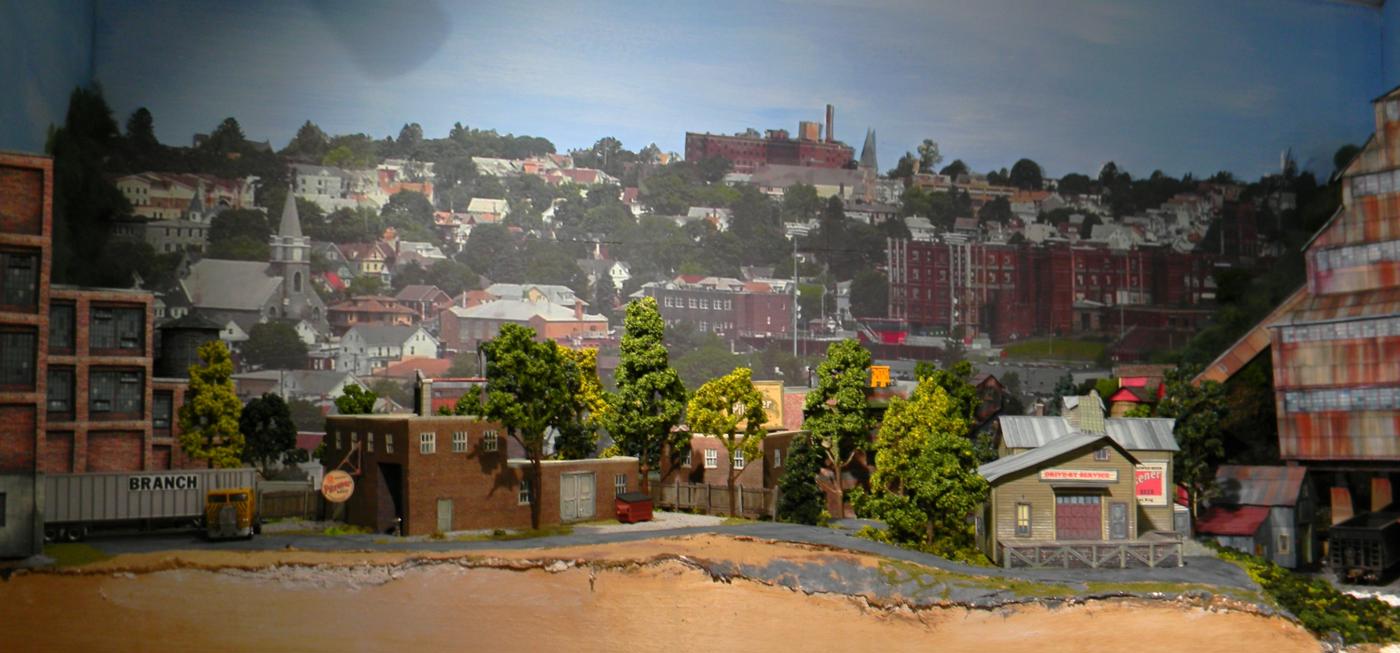
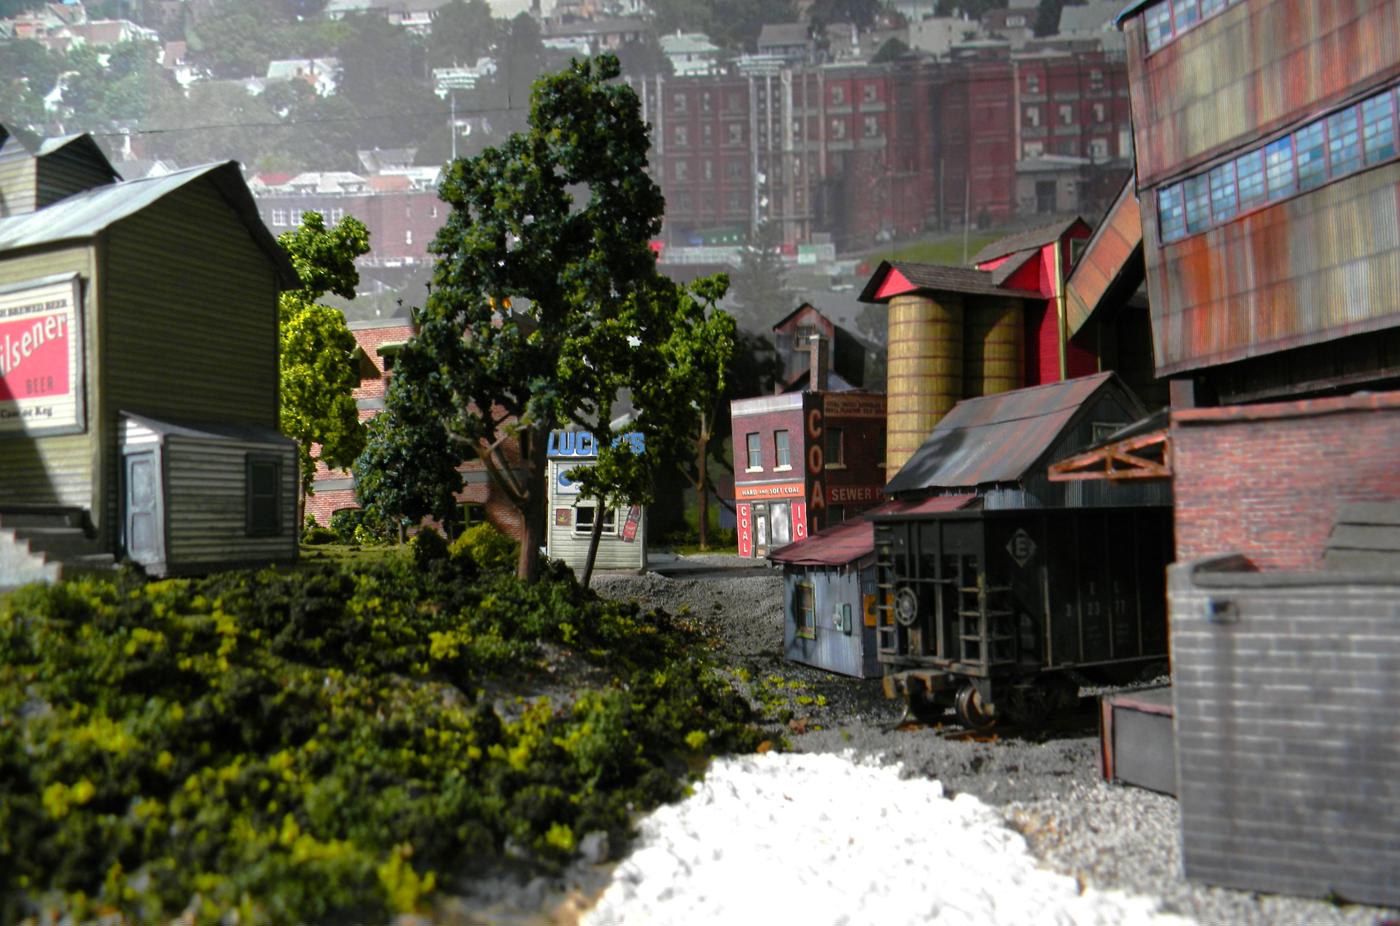
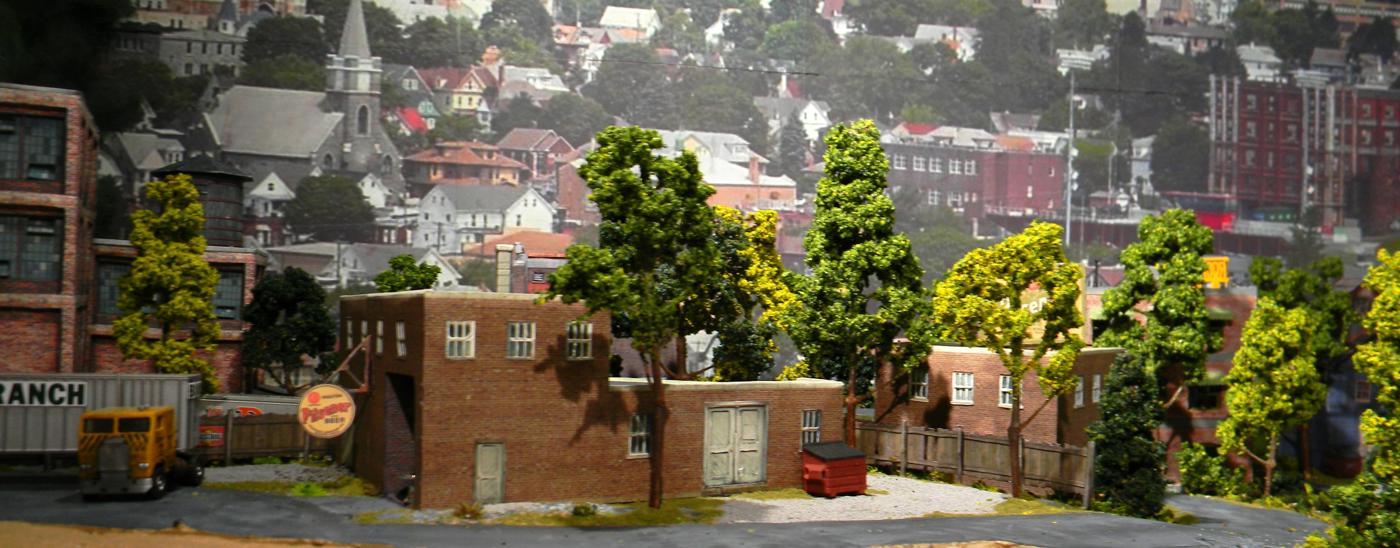
Despite not getting back until 4 PM, I did manage some time to get some trees built and installed and it's really starting to "fluff out" the depth of the Hazleton addition. You can still see around the trunks and foliage, but it takes some effort on the viewer's part to get all the way to the backdrop, which I think is one key to trick the viewer into a belief that there is more space and more depth to the area you have available. I also think the hill sloping away from the viewer makes the backdrop more convincing, and the Duplan Silk Mill complex of receding roofs as you get further away really sets the tone for convincing the viewer's eye. There are still a few trees to add into the edge of the foreground, but I'm going to save installation of those trees until all of the detail work is finished. I'm also belaying adding trees to the slope below the beer distributor since I have to paint the Sculptamold at the bottom of the hill and add ground covers. A couple of closeups follow to prove my points on viewer's perspective. Yet another advantage of an eye-level layout is that you can easily get these kind of shots without having to stoop over... When you're over 50 (as most of us know), it's a blessing.
Posts: 2,579
Threads: 52
Joined: Dec 2008
Wow! Amazing what some greenery will do to a scene. Great job.
You are making me want to go do scenery on my layout.
Posts: 1,196
Threads: 18
Joined: Jun 2022
Tom,
If I can provide some source of inspiration, it's a good day. My scenic guidelines:
1) Try something. The worst that can happen is that you toss it or paint over it and start over.
1A) Don't assume you have to be Van Gogh. Reread guideline #1....
2) Nature is random. (In other words, just about anything is possible). A beer while you work on an organic scenery project can be highly influential because you care less and your subconscious can take over (I swear that's where artistic talents (if they exist) are buried).
3) Nothing in nature is uniform. (There are many shades of green and every shade is represented in just about any tree, shrub or plant. Take a look at a mountain - from a long way away the colors are fairly uniform, but as you get closer to it, there are all kinds of different trees with different shapes and different colors). Caring less while you have that beer is going to be beneficial in an environment with few rules.
4) Anything made by man is not random and tends toward uniformity. A beer while you work on something manmade (a structure, vehicle, or a model) is discouraged because you have to care more.
5) Take frequent breaks and look at your project from a different perspective as you work (view it from a different angle, a different distance, different lighting).
6) Have a plan, but keep it loose. Sometimes your best ideas are inspired while you work.
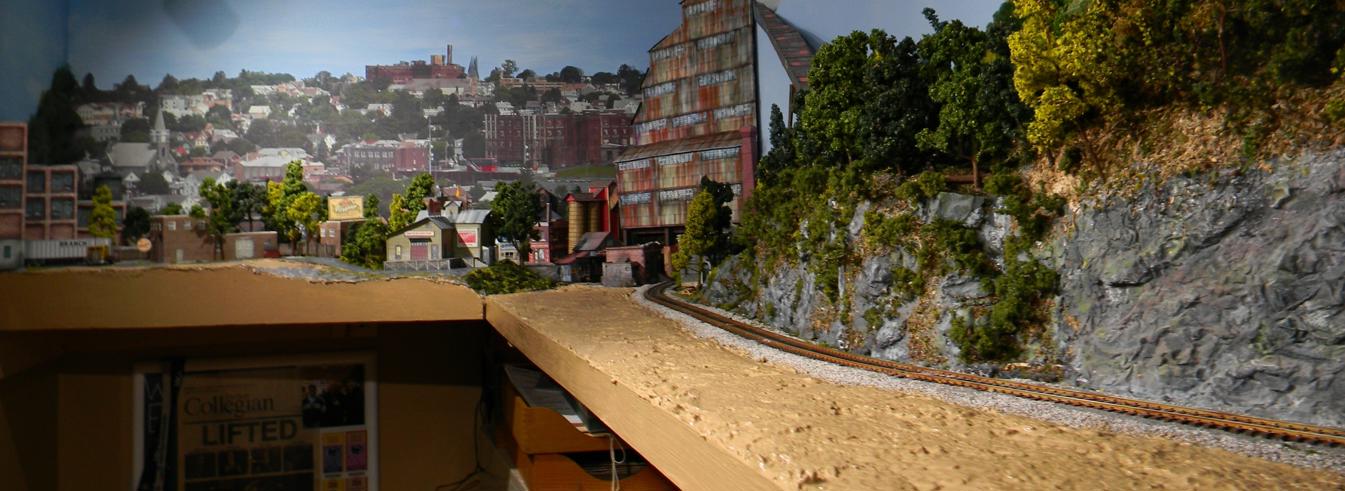
Slathered some paint tonight as a base coat for the edge scenery on the Black Creek/Hazleton section of the layout. Getting into that home stretch on this section feels pretty good.
Posts: 1,196
Threads: 18
Joined: Jun 2022
Ground cover going in - I have some extra ballast which I'm using as stray gravel around the Car Barn. I've had this sitting on the layout for at least 3 years but haven't found an ideal area to place it. I figure in my case, it's a former engine house for a local locomotive to move cars around the breaker. Now that business has slowed for anthracite, Conrail has to pick up and move cars occasionally, but not daily. I figure the track and turnout were pulled up, but the building's still there. It's another tall structure that helps disguise the entry into my storage level which now resides deep under the coal breaker. Sometimes I have to remember that the origin for the construction of the breaker and the placement of the structures around the breaker was to hide that entry. I'm pleased to report that it now takes a very dedicated eye to see into the storage level, so that goal has certainly be met.
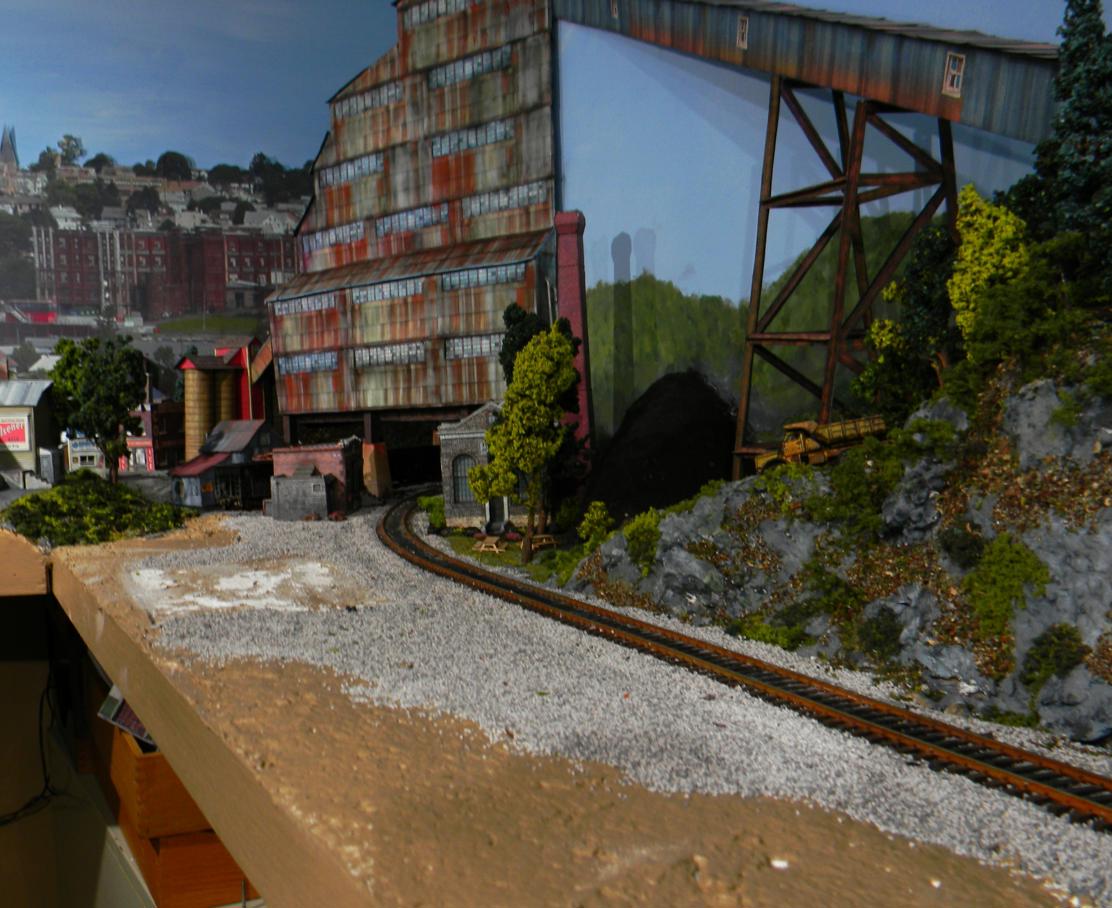
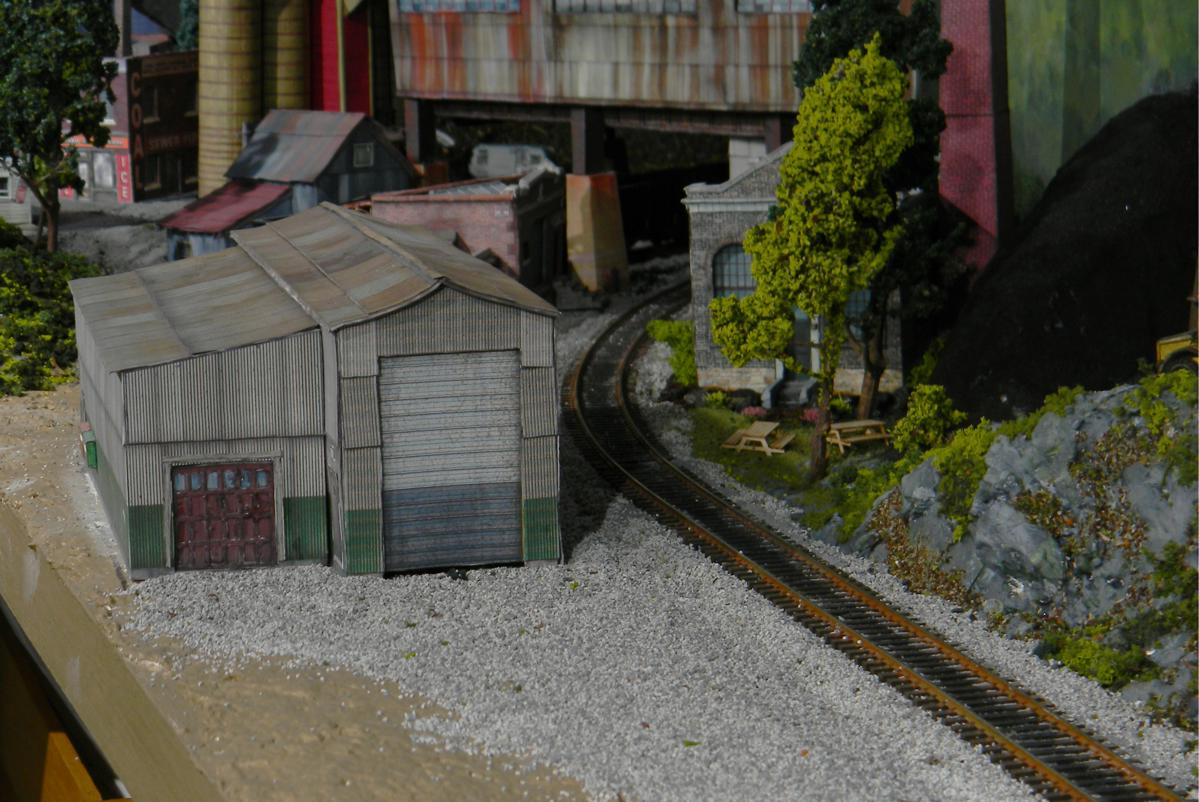
Once the gravel firms up, I'll be able to add the peripheral scenery from back near the breaker to the front of the engine house, but that's for another day.
Posts: 1,196
Threads: 18
Joined: Jun 2022
I was kicking around some ideas on finishing this area at the edge of the layout and decided it is time to install some static grass. Charlie inspired me to pick up an applicator, and this thing's been in the box for a couple of months along with some bags of 5-mm grass. The applicator came with some bright green grass, but I picked up 3 other different colors, and I'll try using each one (I hope) tonight.
I've been doing a little research to get some tips, and it appears good-old diluted white glue is a good choice laid onto the subsurface, but for layering the grass, it looks like maybe a spray applicator might be a good idea.
I wanted to give my base layer a bit some stone features, although the plan is to cover over a lot of the stone with the wispy grasses. Active word: plan. Got the paintbrush out along with black, white, brown and blue paints and went to town on the available space. When it all dried, it was time to apply the diluted glue and turn on the applicator, which I loaded up with the bright green grass to start.
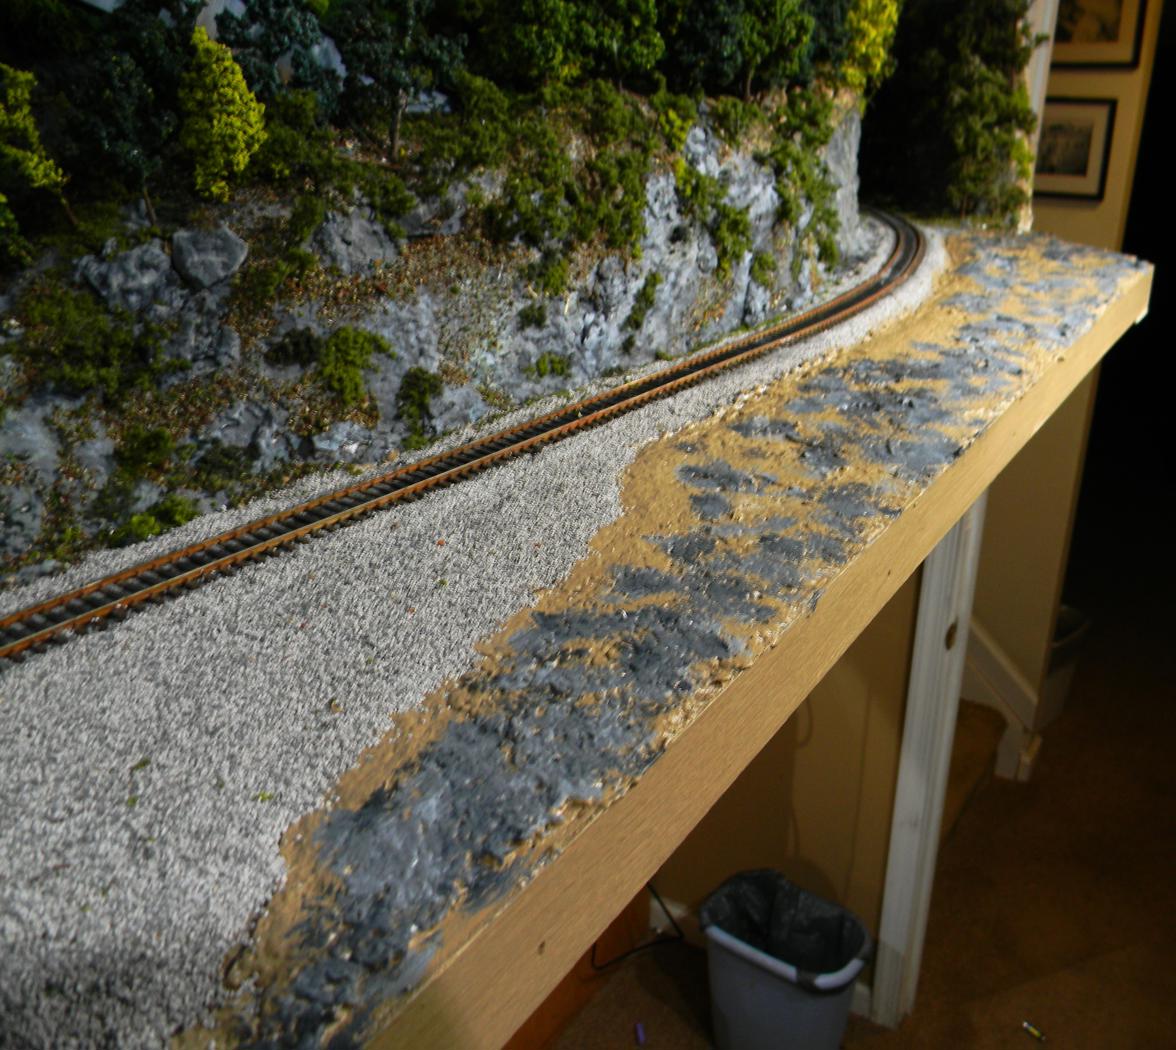
The bright green was (as expected) way to bright and I pretty quickly switched to a grass with a good bit more brown fibers in it.
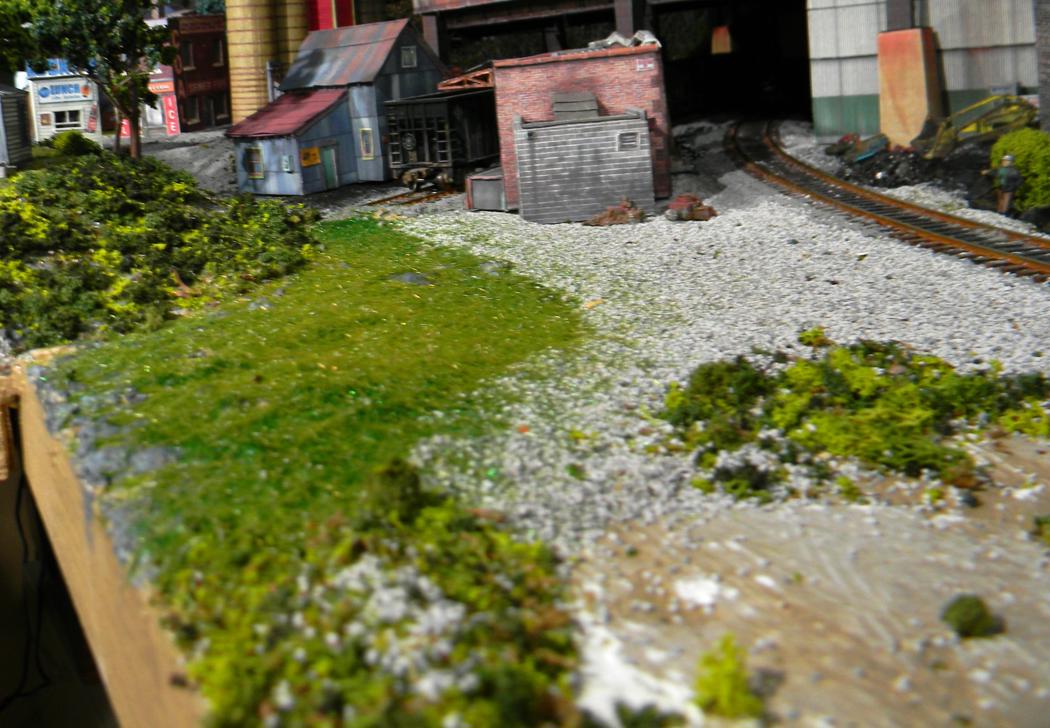
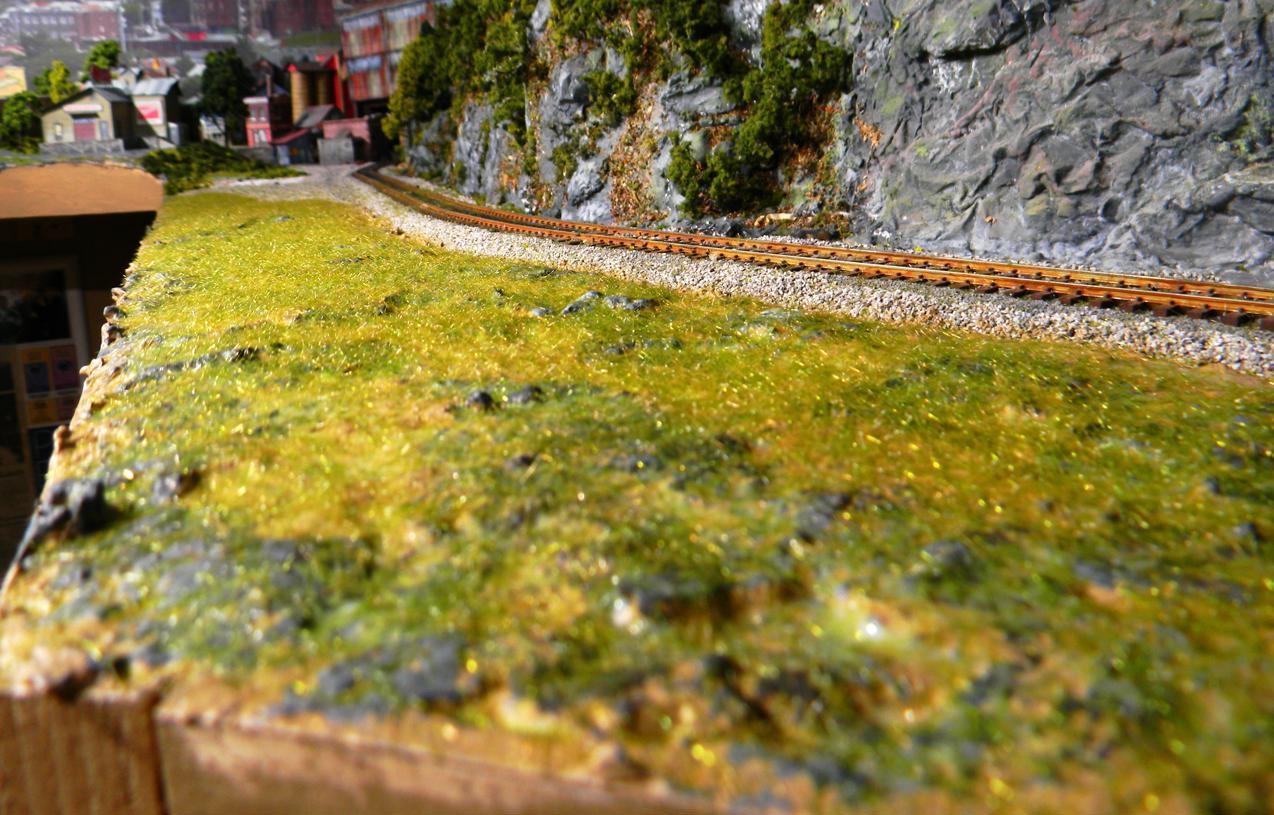
Putting the grass down is fairly quick, even with the tight screen that came with my applicator. Shaking while I had the thing energized helped expel the fibers, but shaking also meant that a lot of fibers ended up outside of the glued areas. I guess I applied glue to a 6" x 2' section, applied the grass and repeated until finished.
I'm going to let things firm and dry up tonight before adding another layer tomorrow night. I have heard there are some suppliers that have fibers that are duller - some of these wisps of grass look quite shiny. For a first try, not bad. I like the look of the rocks peaking out of the grass, that's quite typical of northeastern PA.
Posts: 1,196
Threads: 18
Joined: Jun 2022
01-17-2025, 06:54 PM
(This post was last modified: 01-17-2025, 06:55 PM by TMo.)
I'd like to explore layering of static grasses. I attempted to add some depth to what I put in last night, and for my added layer I experimented with spraying diluted white glue where I wanted to add the additional grass. I tried two sprayers - one a mist-type that had some eyeglass cleaning solution (tried that one first). First spray.... great. Second? a single small stream, which wasn't what I was after. Appears the glue gums up the diversity nozzle. The second candidate was a standard spay bottle (leftover spray cleaner bottle) set to "Spray". Again, the first few spritzes weren't bad, then the nozzle gummed up. Nonetheless, I was able to add a bit of depth to what was already glued down, but it made me think that there were probably some better ideas for layering adhesive application.
Looked for some advice on the internet and I came across some WSScenics static grass layering spray. Bingo. Doesn't appear to be PVA (white glue), and as you can tell from the title, seems to be tailored to layering. While I was at it, I purchased some of the WSScenics Summer and Patchy grass products - which from the videos I've seen have a lot less sheen on the fibers than the bags I bought previously. All of it's coming from the UK, so I think I'll stall on working any static grass into the layout for now. Plenty to work on in the meantime!
Posts: 1,196
Threads: 18
Joined: Jun 2022
Speaking of stuff to work on in the meantime, details....
Amongst the gift box I received a couple of weeks ago were a Scale Scenics forklift and two Magnuson Models trucks (a Ford and a Mack that fit in perfectly with the timeframe I'm modeling). All three were a complete surprise to me and I didn't know were coming - just floored by the generosity. This morning I decided I'd get the forklift kit underway - all of the components (aside from two plastic pallets) were cast metal. I decided to paint the main body yellow and the forks, lift mechanism, seat and controls a uniform black. Here it is assembled and installed in front of the Duplan building.
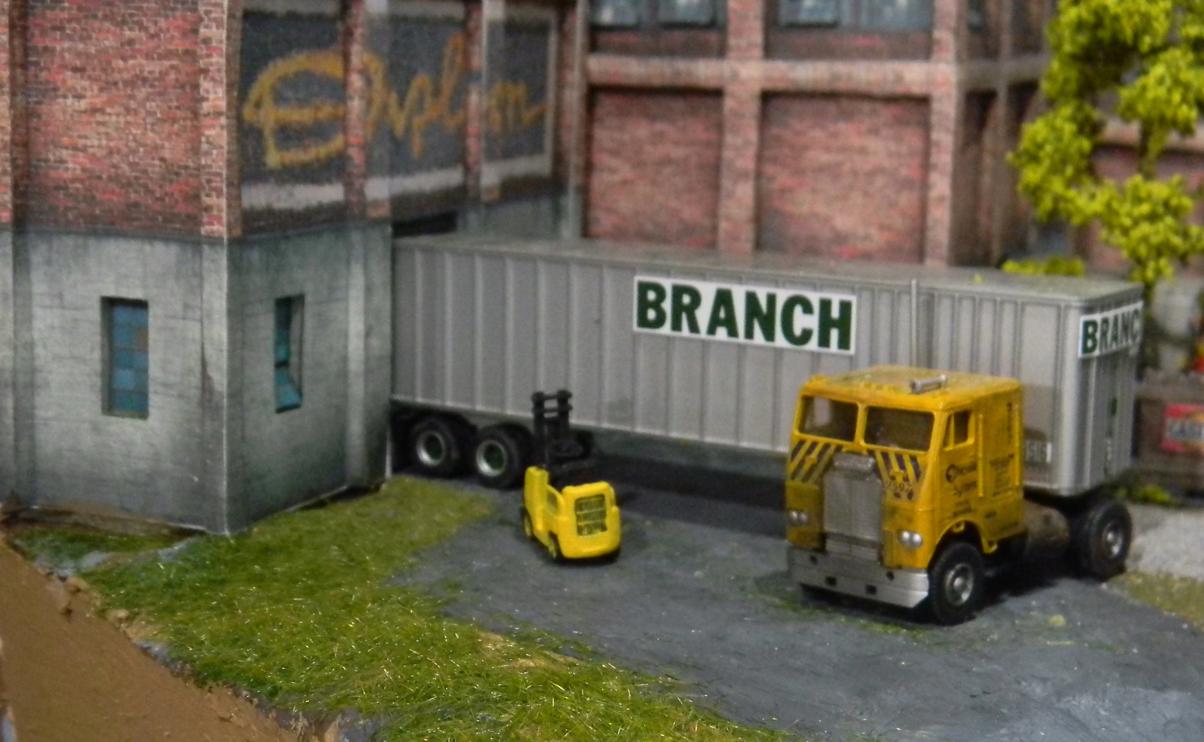
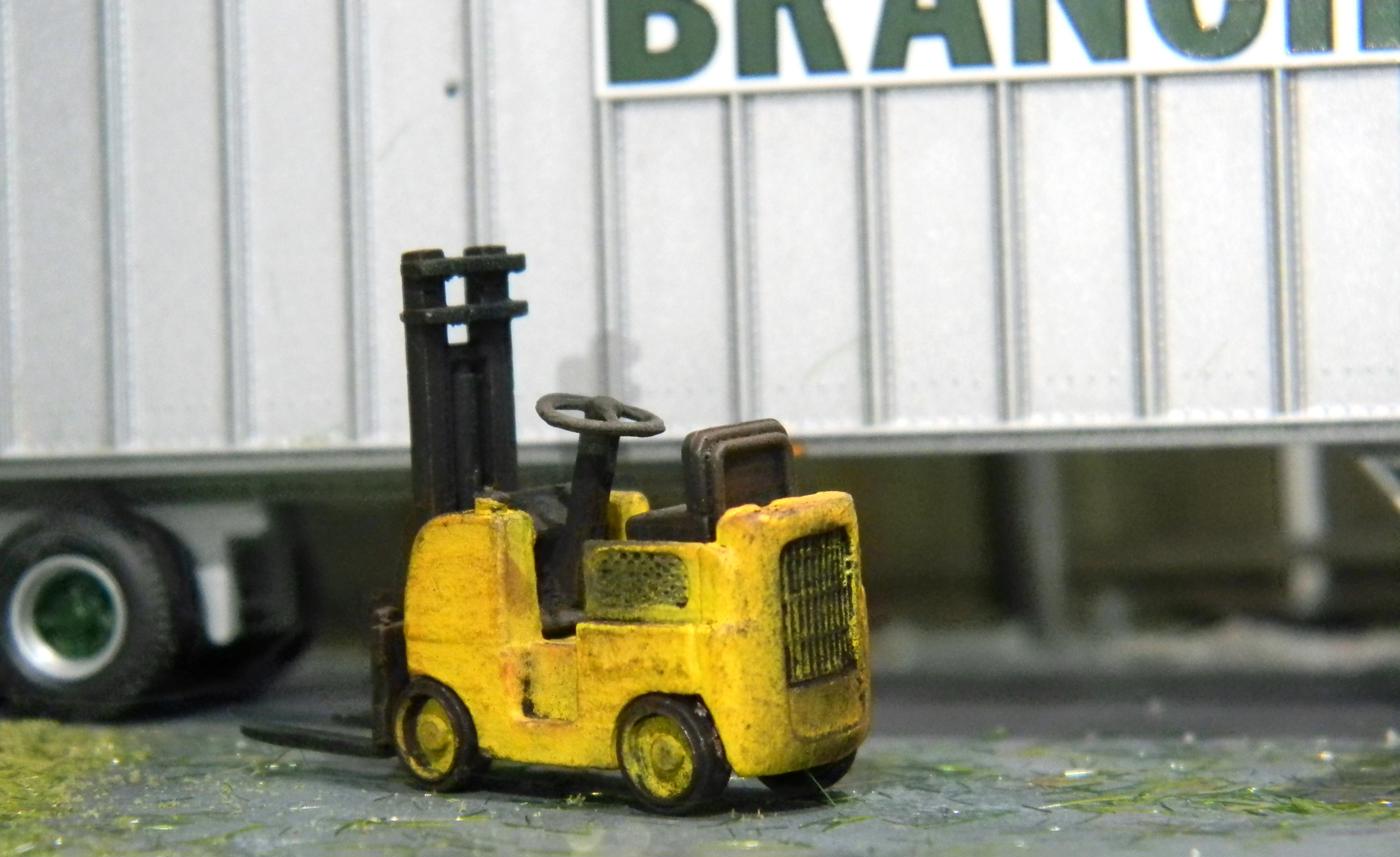
However, one glaring deficiency was that the forklift looked too new and unabused, and on my layout? That just won't work. Here it is after a little distressing:
I hope to get to the two trucks sometime soon.
Posts: 1,196
Threads: 18
Joined: Jun 2022
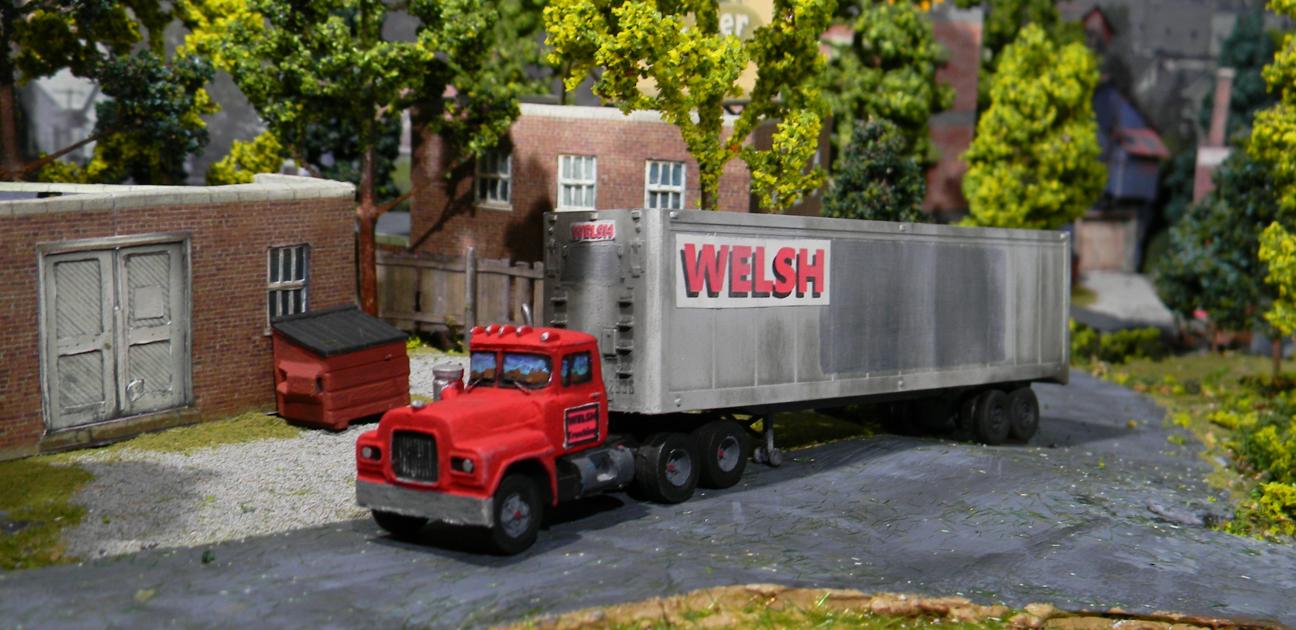
Turns out our own Bruce Welsh has a tie to Hazleton - his grandfather and uncle were coal miners and lived in town along with Bruce's dad. Sadly, as with more than a few miners, Bruce's grandfather succumbed to black lung by virtue of working in the deep black. Anyway, I figured the Welsh name had to be part of the Hazleton addition. One of the joys in that recent box I received was a Magnuson Models Mack tractor which I put together and painted. But it needed something.... A Welsh trucking logo on it and on a semitrailer which I took out of my fleet of trailers I use for the Apollo. I painted out the "Delta Motor Lines" logo and added a Welsh sticker on each side along with some trailer numbers and then weathered it. Here's the combination headed up the hill on the Hazleton edition.
Posts: 1,196
Threads: 18
Joined: Jun 2022
I finished painting the last of the vehicle kits - this one is a Ford stake body that I figured also should be a Welsh Trucking asset. It's headed out of Luzerne County on Interstate 80.

Posts: 1,196
Threads: 18
Joined: Jun 2022
Still waiting for my new static grass supplies, but that just means my effort can be expended in other areas.
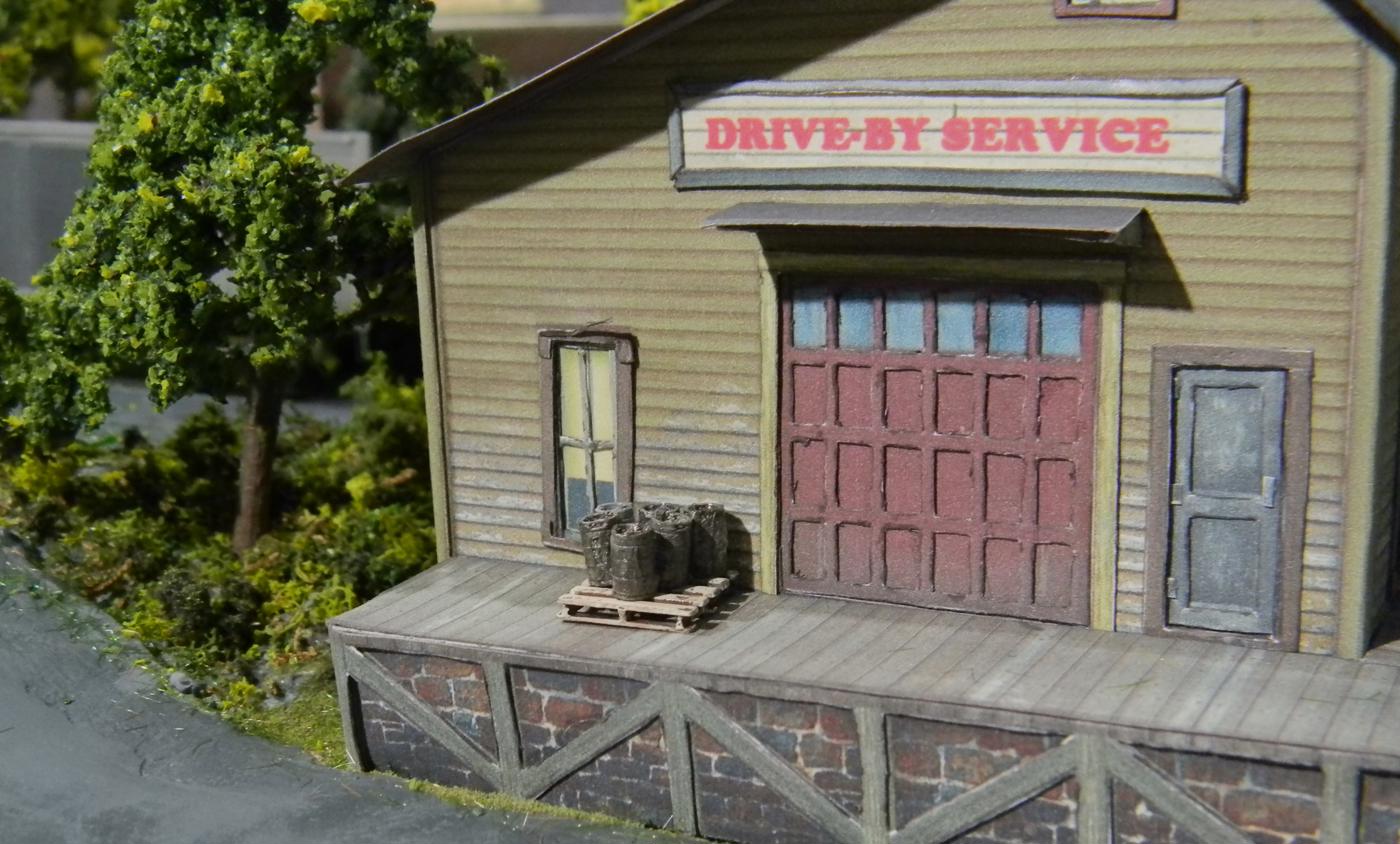
Added some beer kegs to the distributor's loading dock:
....and finished weathering the last of my coal hoppers - these 4 were H5 rebuilds of ancient H21A's by the Penn Central, but I figured in 5 years of use, these big uglies would be returning to their rusted and abused selves with varying states of hopelessness. All four got the black wash treatment and then I experimented with various degrees of rush wash followed by PanPastels (rust, black, light gray and brown) until I was happy.

|


