Posts: 2,595
Threads: 52
Joined: Dec 2008
I love the hoppers going by the houses. Looks so Pennsylvania mountain territory.
Posts: 1,250
Threads: 20
Joined: Jun 2022
Glad you enjoyed that shot. And someday..... I'll have finished the rest of White Haven in the foreground. I'm looking forward to that since the downhill side is the business half of town. I have about 20 feet of foreground to finishe before I get there, but maybe by this time next year (crossing fingers) I'll be working in town.
Posts: 1,250
Threads: 20
Joined: Jun 2022
On to.... foreground construction.
There's a portion of my layout where I'm trying to convince the viewer that we're on the near side of the river and the track is fairly high above the water level. As a matter of fact, I didn't even attempt to build the river down there - I just put enough green stuff in the way that the viewer just gets the hint that there's something down there. I always wanted a portion of my layout to show both sides of the gorge and give the viewer just a little snippet of how it feels to be down inside the gorge riding the rails.

So, because we're on the near side of the river inside the gorge, the terrain must ascend up and away from the track toward the viewing aisle (toward the right of the picture above). Before tonight, there was no way to build that terrain away from the track. There's also the issue of hiding my storage level. Because the viewing level is at eye height, the storage level is at about shoulder height. Although less than ideal, I can duck under the layout frame and reach most areas of the storage level from under the viewing level.

It was time to do something about both issues. Bought a sheet of 1/8" Masonite (very strong and flexible, easy to cut, and one side has a very smooth texture that can easily be painted) at HD this afternoon and rough cut it to run along the bottom of the space frame that supports the layout with a section near the right side that rises up over the existing track deck and then declines as you head to the left. It will allow me to build terrain between the Masonite and the track as well as hide the storage level in that section.

I tacked it in place with several screws and then measured up for the sheet to integrate into the left side layout banding that was already in place.
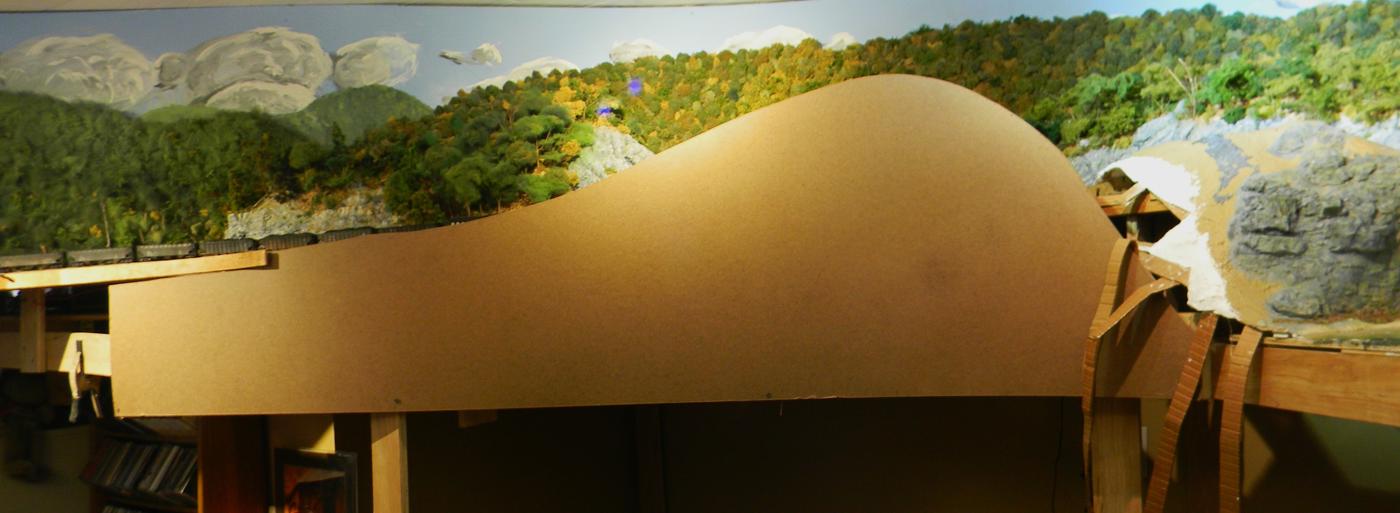
Lastly, I cut a removable piece of Masonite to cover the extreme left which runs right under my coal breaker and hides a turnout just inside the storage level. As such, if I have a derailment, it's often right there at the switch and I need to have a way to quickly access that portion of the storage level. I plan on securing the Masonite with some magnets placed on the backside of the Masonite.
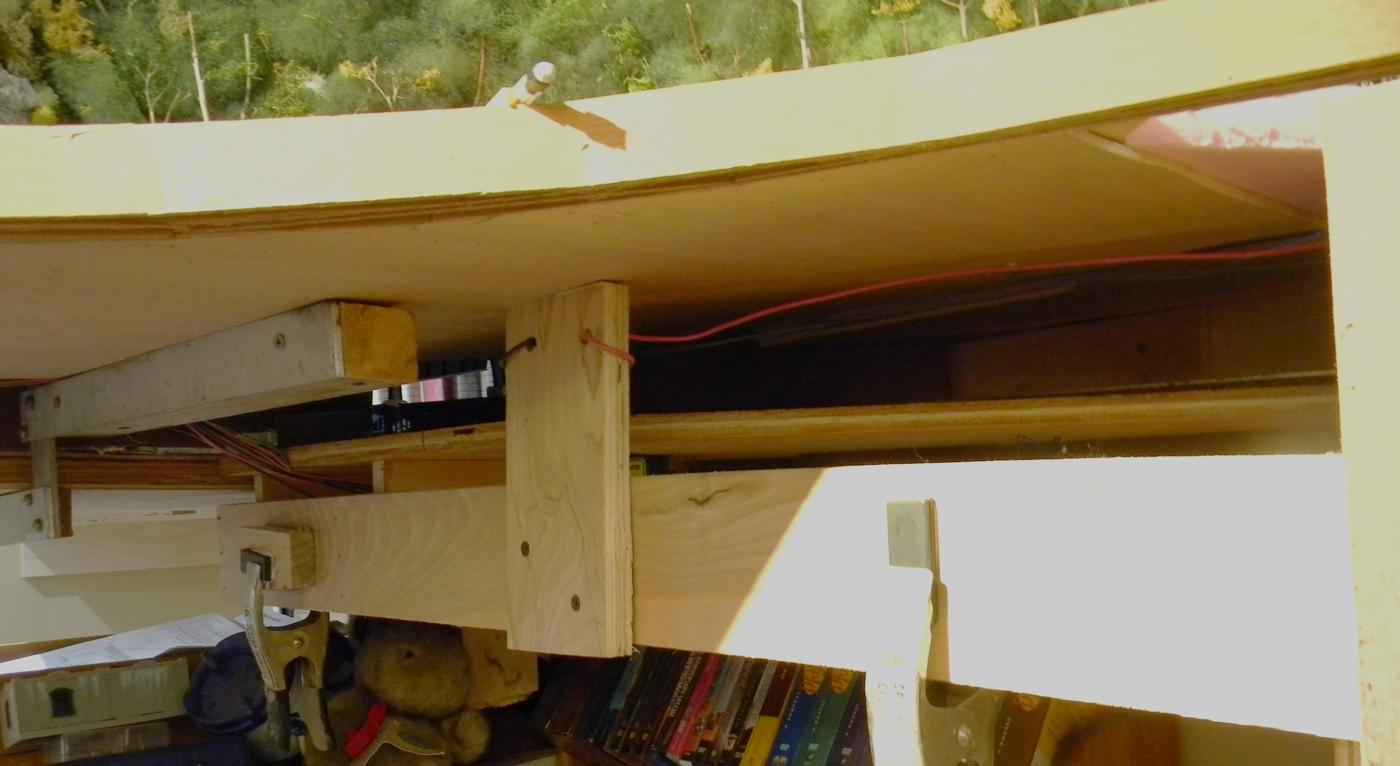

Although it'll be a while until I get to scenic this section of the layout, I thought it was a good time to knock out some of the last major framing-type construction before I did a lot of foreground scenery. Mission accomplished.
Posts: 6,676
Threads: 1,136
Joined: Nov 2008
It's really great watching your progress. Great work!!
Posts: 1,250
Threads: 20
Joined: Jun 2022
Thanks, Mikey!
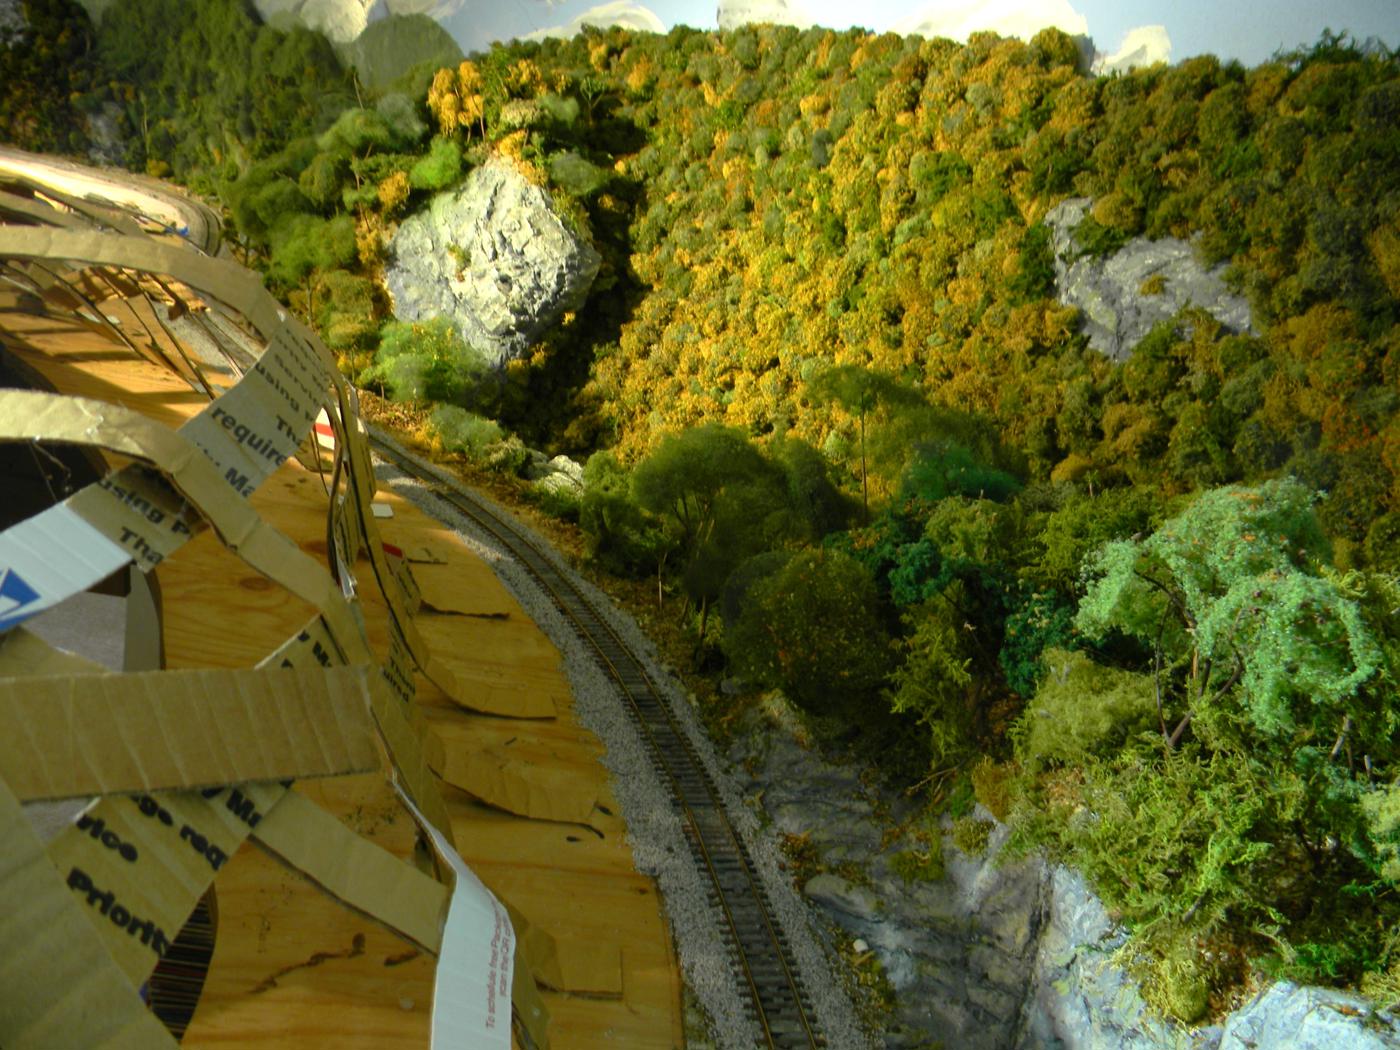
I thought I was going to hold off on any scenery around the new Masonite, but.... got to thinking that the next step for me was to start laying plaster cloth in the section of the layout adjacent, so I went ahead and got my cardboard strips and my glue gun out while I was watching football yesterday afternoon. Once the glue gets hot, construction goes really quickly. I'm going for that gorge/canyon railway feel for this section. I don't have enough plaster cloth to cover all of this, but I did get a gift certificate for Christmas that needs to get spent on something. Here are two views:

Posts: 1,250
Threads: 20
Joined: Jun 2022
Slapped on the remaining plaster cloth I had in inventory and managed to cover all of the remaining pink foam on the layout. There's nothing realistic about a photo that includes a pink surface, and it's been showing since at least 2008.

The duckunder (the area between the room's doorway and the center of the room where I took this picture) is a bit of an engineering marvel (at least for me), and one of the design elements that makes this 2-layer layout possible at eye level. On the Hazleton side of the duckunder (hidden by the backdrop in the picture) the track is descending from Penn Haven Junction (a turnout just to the left of the girder bridge on the left side of the picture) into the storage level, and on the near side the track is ascending at an equal grade so the tracks can eventually cross over the hidden storage level at the right of the picture.
Here's a shot of it back in 2008 without the backdrop (and all of that scenery!) and an incomplete viewing level. The supports (vertical elements) are pieces of 1/4" aluminum joined to some stripped 2x4's. The aluminum is bent at the top and lag bolts run into the floor joist in the ceiling. The vertical supports then end up being the support for each side of the backdrop and (at the bottom) horizontal supports bolt into the verticals on both portions of the duckunder. The decking (made to be light) is nothing but pink foam glued to a 1/4" plywood underlayment. If you look carefully on the right edge of the photo, you can see the furrow I had to cut into the pink foam to get enough clearance to get one train under the viewing level.

I can remember the days back when I was designing and building the layout and wondering:
1) Will this ever work dependably?
2) Will I ever build any scenery?
3) Is this all a boondoggle?
To be near the finish line of major construction (even if it is 16 years later) feels pretty good.
Posts: 2,543
Threads: 63
Joined: Dec 2008
One thing I did with my duckunders was cover the sticks underneath with foam. I used the foam insulation for plumbing pipes -- the kind with a slit along it (and maybe tape).
This sometimes could be opened up enough to go over a 1" wide board or might have to be cut apart. This keeps the sharp corners from doing as much damage to your head (or your guests' heads).
Too bad the hole inside is round.
David
Moderato ma non troppo
Perth & Exeter Railway Company
Esquesing & Chinguacousy Radial Railway
In model railroading, there are between six and two hundred ways of performing a given task.
Most modellers can get two of them to work.
Posts: 1,250
Threads: 20
Joined: Jun 2022
Yep, "Duckunder" should probably be renamed "Headbanger". 99.9% of the time I do duck down enough for long enough, but there are situations and occasions when there are mental lapses. I like the idea of the pipe insulation! On my next trip to HD I might pick some up.
Posts: 1,250
Threads: 20
Joined: Jun 2022
Posts: 1,250
Threads: 20
Joined: Jun 2022
As promised, I added some more trees to the scenes in and around Hazleton and Black Creek to finish up that portion of the layout this afternoon. Already showed off some overall pictures on the challenge entry page as a wrapup for the project. Thought I'd toss in a few detail photos in here as well.
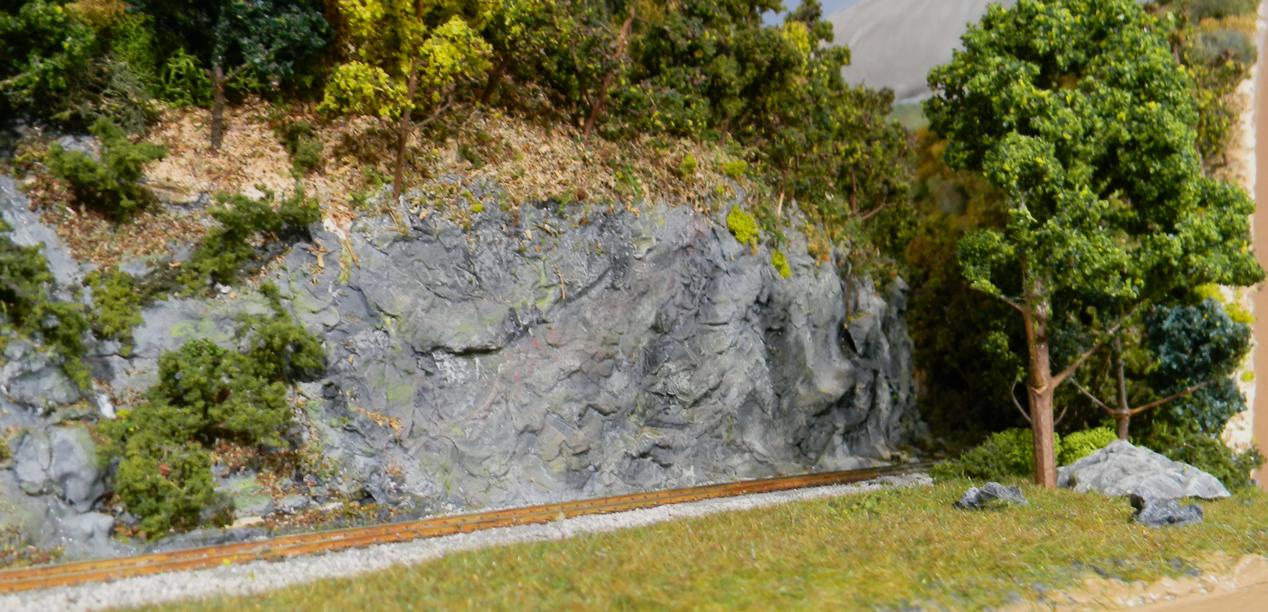


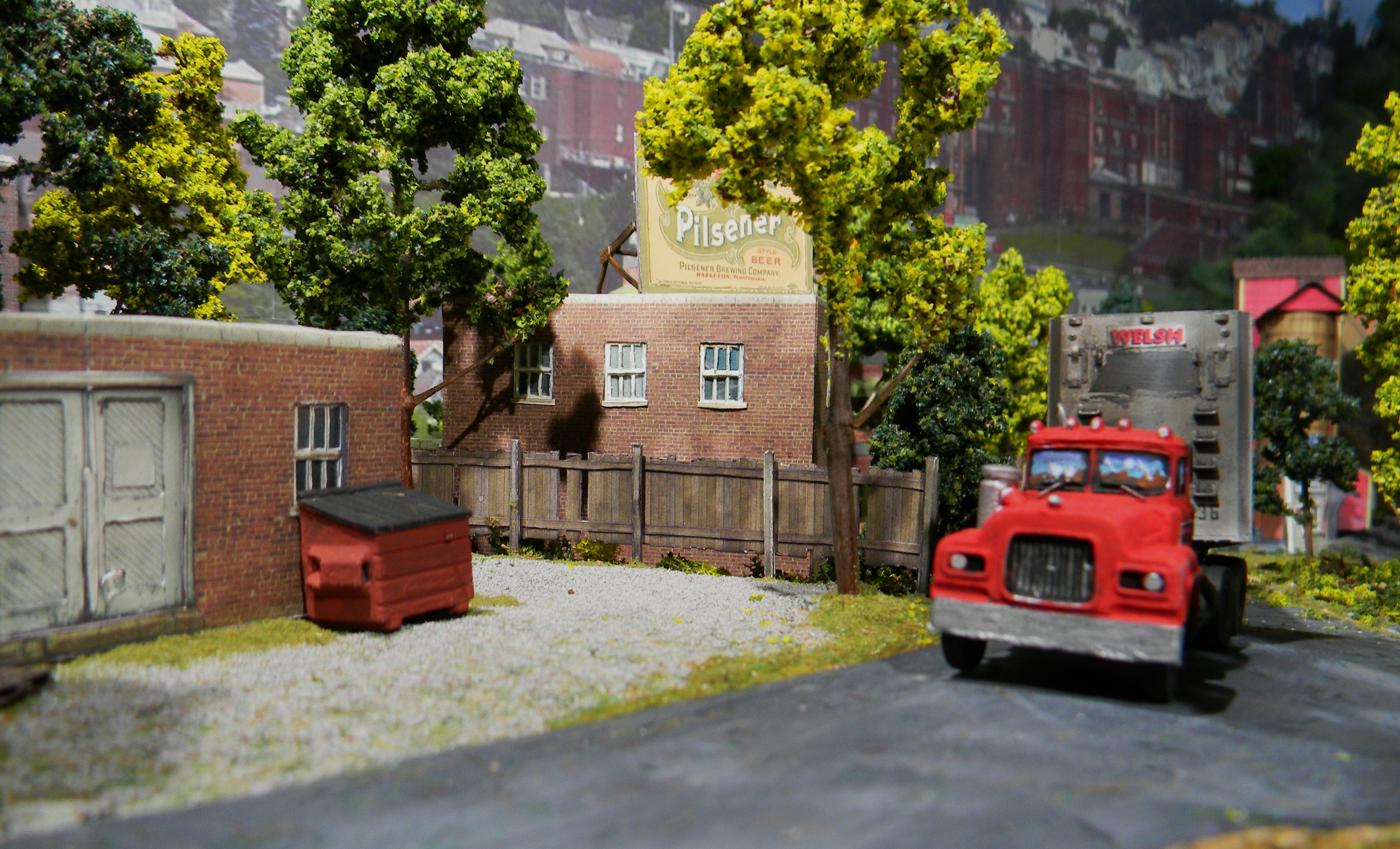

Overall, I'm really happy with the way this worked out for that side of the layout. I had just a really vague idea about what I wanted to do with what was really just a spur line off of the old LVRR mainline that ran from Penn Haven Junction over the Hazleton, and for years it was just a way to get trains down to or up from the storage level of my layout. Now it's a real town with a great transition between the gorge created by Black Creek to the city of Hazleton. And, by virtue of running the spur under the breaker, I hid the entry to the storage level in a way that seems logical. I built a ton of cardstock structures, integrated it all together, rehabbed an old plastic model, added some cool details, gave the whole thing some local flavor, and had fun doing it all.
Posts: 2,595
Threads: 52
Joined: Dec 2008
Great job overall. The trees help to make the scene.
Posts: 1,250
Threads: 20
Joined: Jun 2022
Plaster cloth was laid tonight. Still a couple of small areas to cover and tuck in, but the majority of the space is covered. The next couple of nights are probably going to be spent mixing and applying Sculptamold. I got a heck of a deal a few years ago on a 20-lb box that still has probably 10 pounds in it. It's going to be a bit messy I think getting up over the mountainous regions to install the scenic elements, so I'm going to have to engage the low patient gear for a lot of that work.

Posts: 6,676
Threads: 1,136
Joined: Nov 2008
Looks great!!!
Glad you have the patience for all those trees  
Posts: 1,250
Threads: 20
Joined: Jun 2022
It's been a multi-year labor of love, Mikey. The picture below was circa 2015...
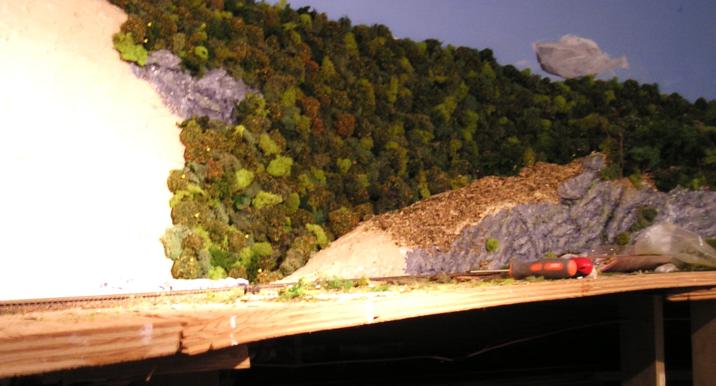
I made my first puffball tree (those you see in the background), and I reckon that last one was installed last year near the coal breaker in Hazleton. I think I made every one using the same bag of white polyfill I purchased at Walmart using the technique in Dave Frary's "How to Build Model Railroad Scenery". Whenever I made a batch of them, I filled up a cardboard box and pulled out what I needed for each individual project until the box was about empty before making some more. I mixed those in with torn pieces of different color mosses as I installed the background trees, which is something I'd certainly suggest - from far away a mountain looks like all of the trees are the same color, but up close, there are quite a number of different textures and colors to trees, especially late in the summer/early fall which I model.
Most of the foreground trees really don't require a whole lot of patience once I get all of my materials out, but they are the product of a few years of experimentation, so I guess that requires some patience. Patience is a thing that pays off though once you've created a whole hill or mountain by mixing them all together.
Posts: 1,250
Threads: 20
Joined: Jun 2022
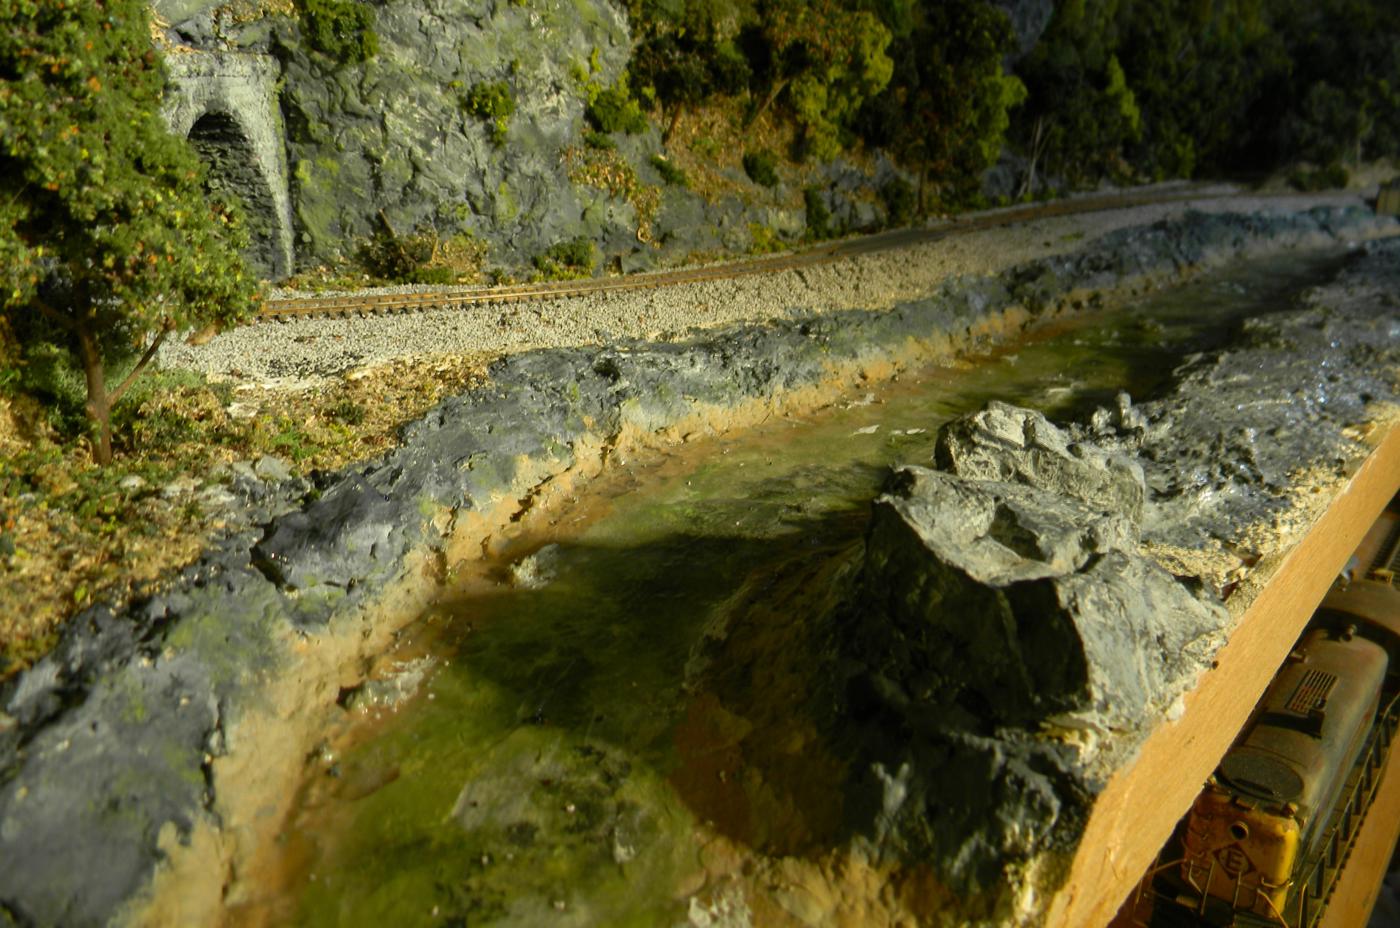
While plaster is drying, I got the paintbrushes and paint out and worked the banks of the river between the Rockport tunnel and the bridge over the Lehigh at Penn Haven Junction. I'd put a little paint on these banks when I'd painted the riverbed prior to pouring the water, but I needed to get the banks finished. Grays and blacks on rocks, brown on the water's edge, some greens on the rock faces. Hit both sides of the river in preparation for foreground treatments this weekend.
|


