Charlie b's layout
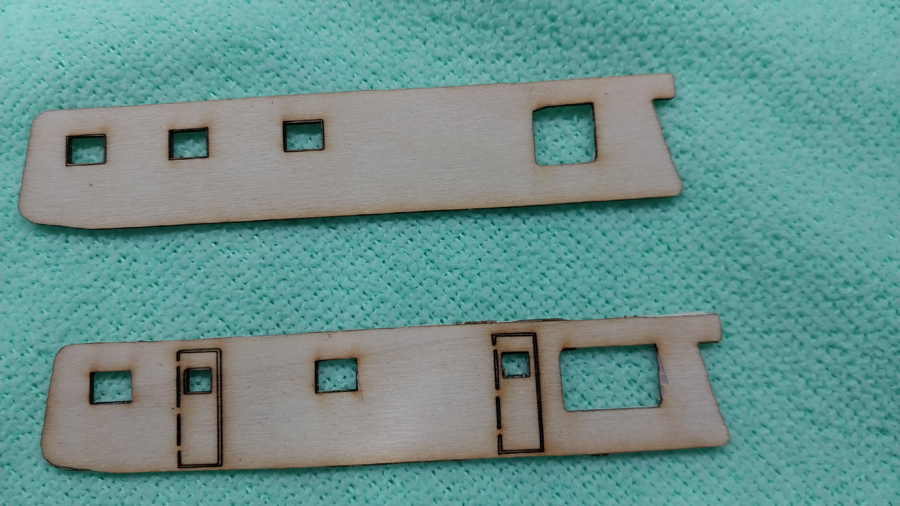
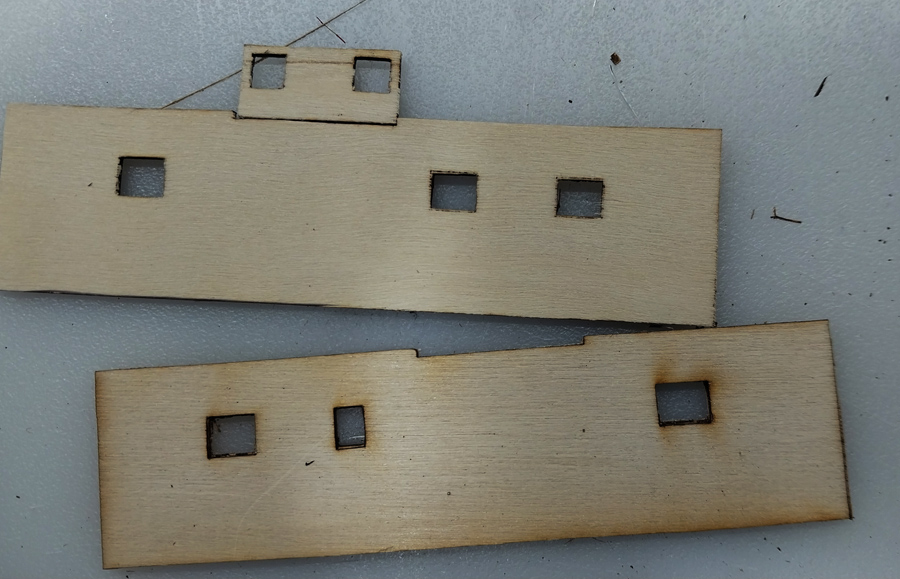
I took the time last night to punch out a couple parts and did a glue test with the UV epoxy. It works well         

I did do a little cutting with my exacto knife to make sure they came clean and still managed to rip a little of the outer layer in one place that will have to be fixed. It's called learning the hard way.  

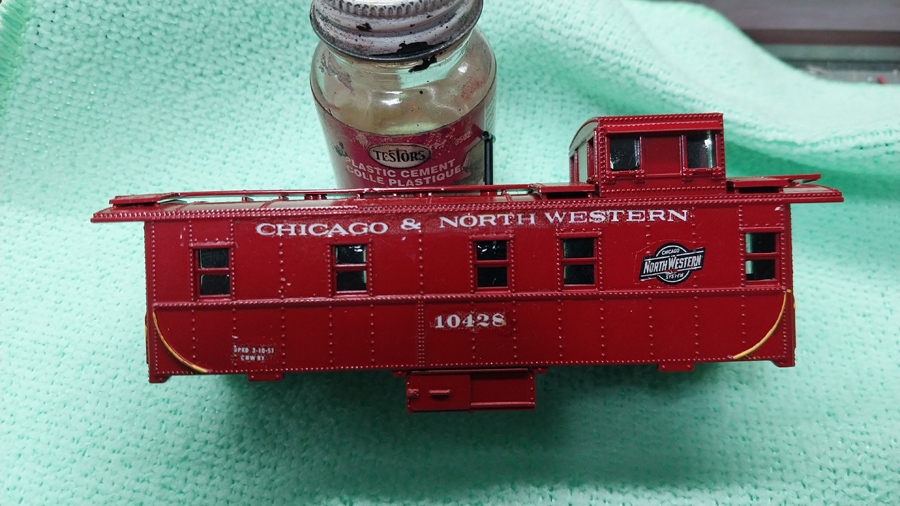
I also finished the stripes on the other cruiser and installed glazing in the CNW caboose.      

More to come
Charlie
Reply
That woodwork is great!!! Hope to see it all assembled Smile
~~ Mikey KB3VBR (Admin)
~~ Baldwin Eddystone Unofficial Website

~~ I wonder what that would look like in 1:20.3???
Reply
Hello friends. 

     I am sorry but I am just not taking many photos of my work in progress. A lot of things I used to do easily I struggle with now and don't even think about a photo until it is too late.  I took a few when I started this decoder install but didn't keep at it like I should have. I found time to finish a sound decoder install on a brass BP20 from Alco products. A used ebay purchase.  The powered unit had had a NWSL motor installed so it was fairly easy to isolate the motor.  I drilled holes under the rear drive shaft and installed the speaker there. I built a platform over the driveshaft so I could put the decoder and current keeper away from the moving parts. I held them in place with UV epoxy and used some of the same to hold the wires away from the shafts.  I used a 3mm warm white LED with a 1000 ohm resistor for the headlight. I used the epoxy to hold it in too. The stuff is great because it is hands free in about 10 seconds with the UV light and cures hard in a minute or less.  

     The rear drive shaft universal to the flywheel was the wrong one but I hat the right one in my spare parts as well as the proper universal joint so I fixed that and gave the gears and bearings oil and grease where needed. 

     The current keeper just plugs into the decoder and the locomotive will run at least 10 seconds after the power is turned off so it does not have a problem picking up juice. 

     Here are a couple quick photos.             

Time for bed. 
Charlie
Reply
An "Alco" brass production! I recognize the gear towers. Makes me think about my brass RS2 that I gave up on and made into a dummy. Someday I may try making that one work again. Love the sharks, Charlie!
Check out my "Rainbows in the Gorge" website: http://morristhemoosetm.wixsite.com/rainbows
Reply
(07-27-2026, 11:56 PM)Charlie B Wrote: Hello friends. 

     I am sorry but I am just not taking many photos of my work in progress. A lot of things I used to do easily I struggle with now and don't even think about a photo until it is too late.  I took a few when I started this decoder install but didn't keep at it like I should have. I found time to finish a sound decoder install on a brass BP20 from Alco products. A used ebay purchase.  The powered unit had had a NWSL motor installed so it was fairly easy to isolate the motor.  I drilled holes under the rear drive shaft and installed the speaker there. I built a platform over the driveshaft so I could put the decoder and current keeper away from the moving parts. I held them in place with UV epoxy and used some of the same to hold the wires away from the shafts.  I used a 3mm warm white LED with a 1000 ohm resistor for the headlight. I used the epoxy to hold it in too. The stuff is great because it is hands free in about 10 seconds with the UV light and cures hard in a minute or less.  

     The rear drive shaft universal to the flywheel was the wrong one but I hat the right one in my spare parts as well as the proper universal joint so I fixed that and gave the gears and bearings oil and grease where needed. 

     The current keeper just plugs into the decoder and the locomotive will run at least 10 seconds after the power is turned off so it does not have a problem picking up juice. 
....

Charlie,
I am impressed with your skill and your willingness to just dive in.
Those sharks are look great!
--Hillyard
Willamette City Belt Line: WCBL
Exchanging shipments via this:   Virtual Interchange 
Reply
Good late evening.  
     It's almost tomorrow here. I worked on a couple of Athearn Blue Box 86 foot flat cars that I had put together but they would not track well and stiff turning. I found some advise about cutting the bolster hooks off the draw bar co the couplers and trucks could work independently. that was step one. I reamed the axle bearing holes with the axle reamer tool I got from some place a long time ago and changed the wheel sets to 33 inch. Then I found out the socket in the side bearing/frame cover was too small to fit the male part of the flat car so I used a moto tool and reamed it to fit. Then I discovered the side bearing/frame cover was too long toward the center frame so I had to notch it to fit. Now the trucks went on and swivel properly and the couple drawbar works fine.     

     Next project was installing Kadee's on a tank car, 5 minute job so I reamed the axle bearings and changed the wheels on it too.  


Charlie
Reply
Hi Blue. 
     Cheap Chuck here tonight. 

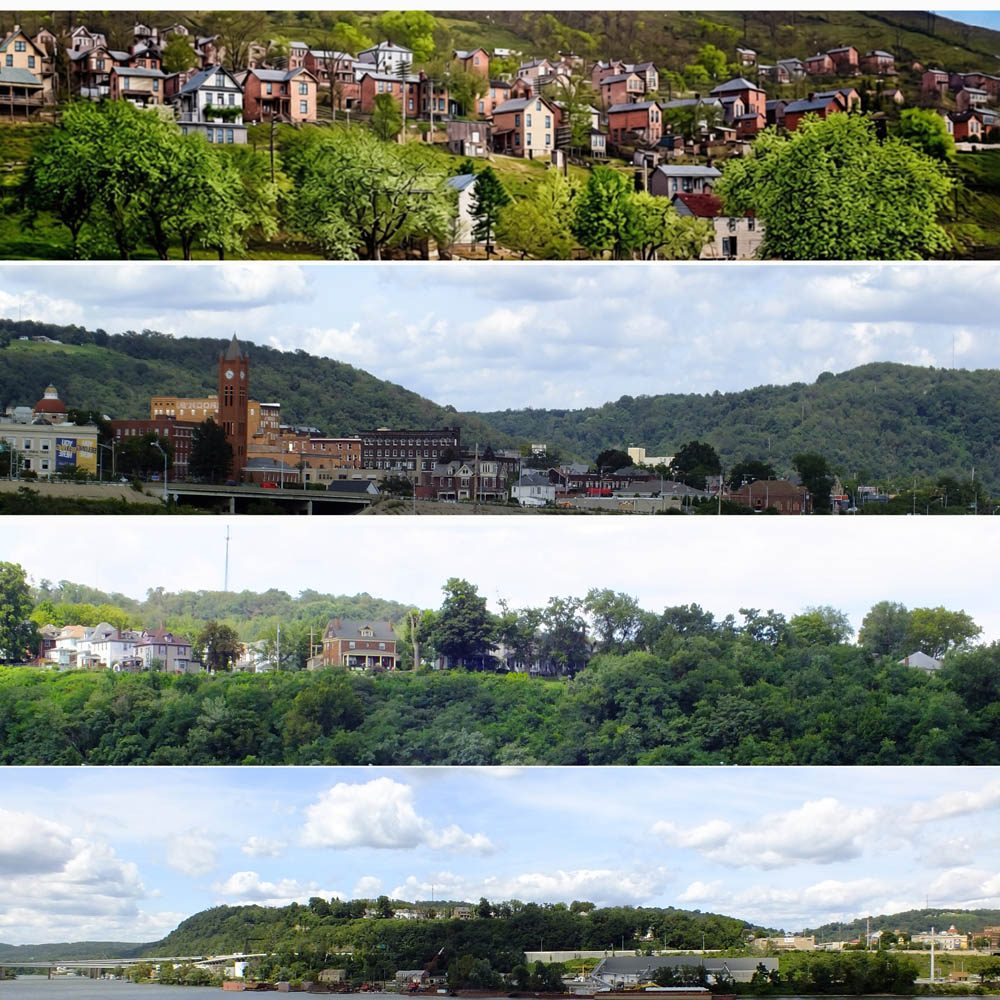
     I was looking for some reasonably priced backdrops for my layout but I just couldn't find anything that I thought was affordable for what I need. I thought about printing my own but they would have to have been printed on letter size paper and stitched together and the ink is not waterproof so they would have to be coated with dull coat so they could be put up. 

     My friend (railcop) bought some that were about 18 x 48 and he had a heck of a time gluing them up and they were paper. 

 Now, my wife has been buying a waterproof cloth shower curtain of various designs for less than 10 bucks for a 6x6 foot curtain. It came to me that perhaps you could have custom shower curtains made so I did a search and I found a seller on TEMU that offered them for around 10 bucks each. The wheels started spinning and I thought that with a little work in photo shop I could make my own backdrops and have them printed on waterproof shower curtain cloth.

     Last week I made one and ordered it from the company. This is what I ordered and it was around 12 bucks with shipping and sales tax     
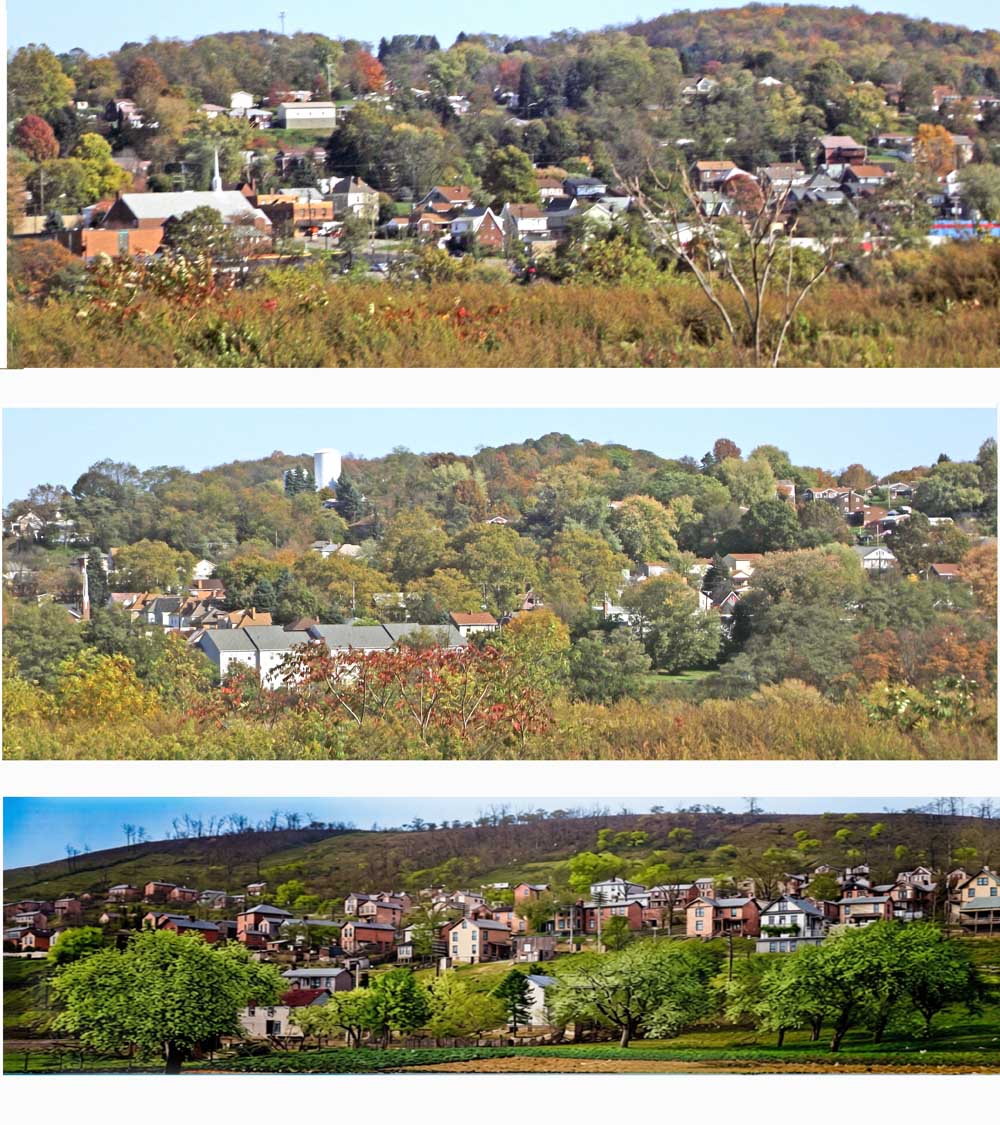
     I rushed it just to see what they could do.  It came today, beautiful job and will work great but I did not scale it right, it is too big. Not a loss though because my youngest son models "O" scale. He will be happy to have 18 foot of backdrop. 

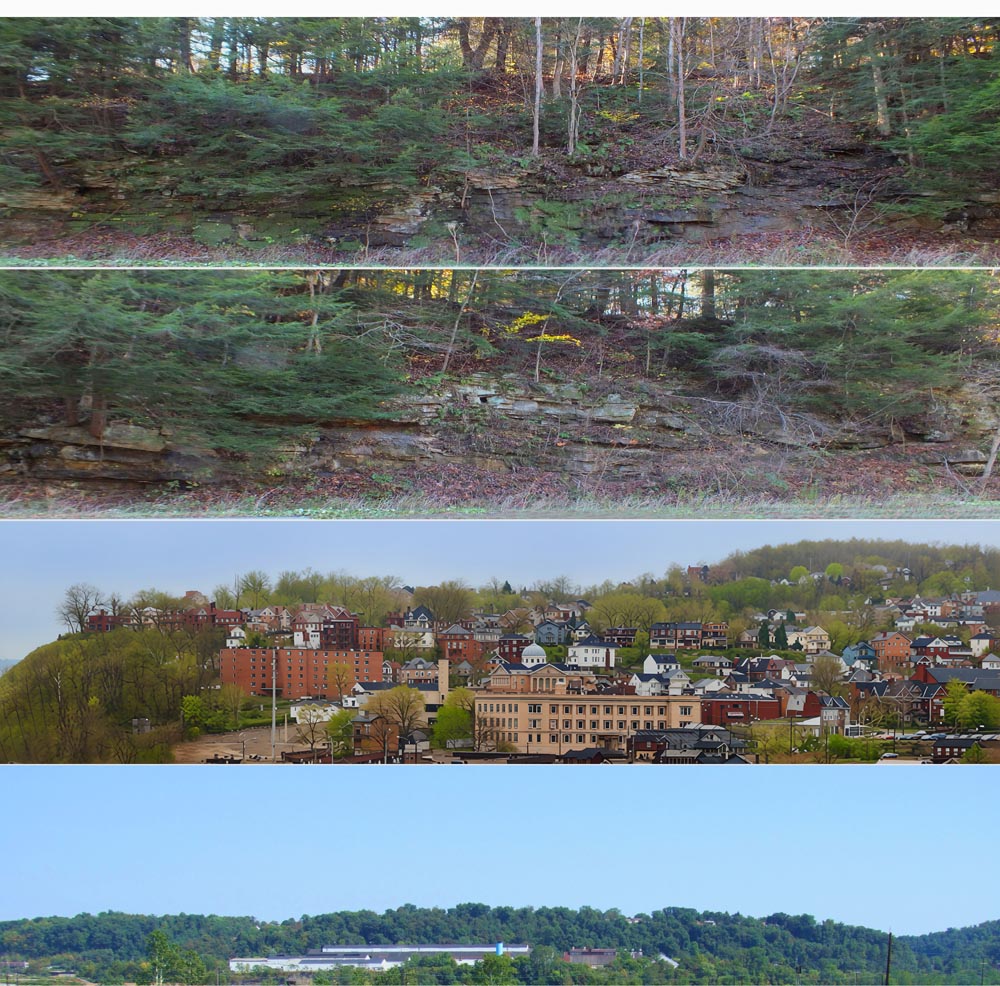
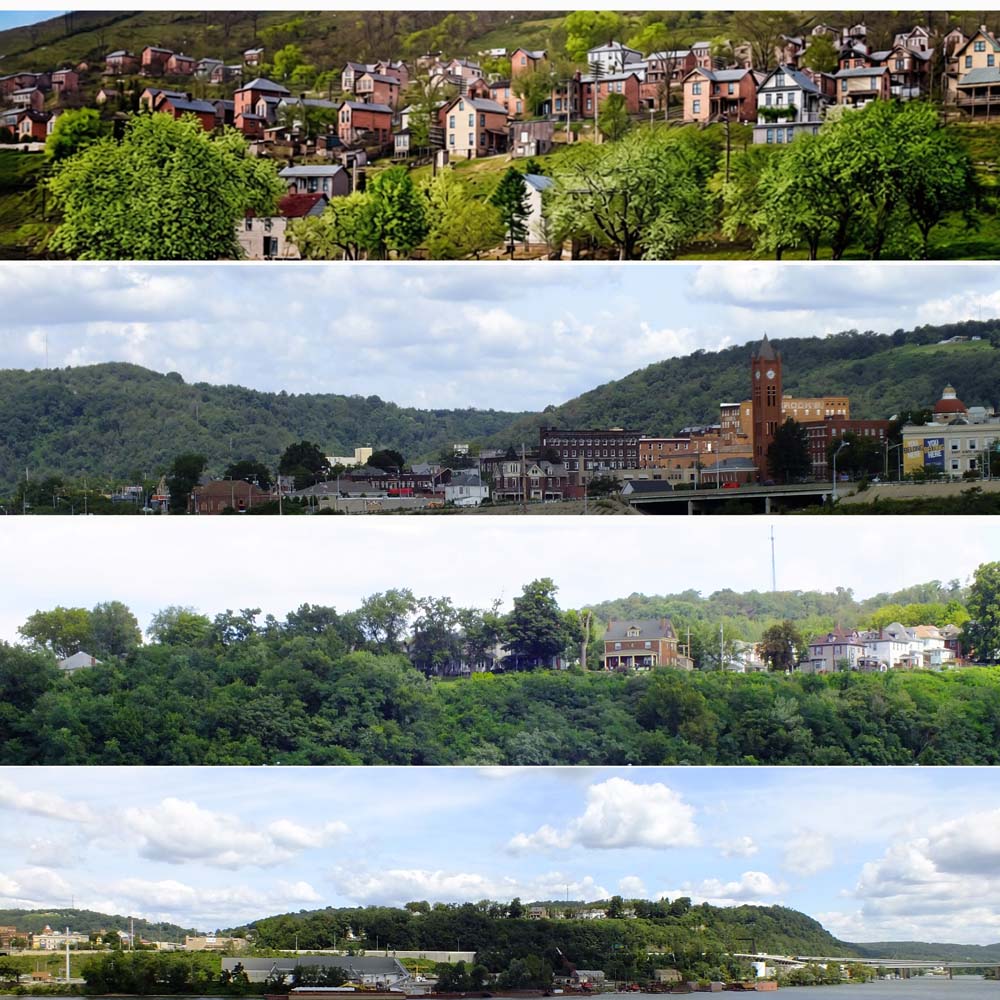
     Tonight I worked on 4 more and I hope I got the scale right.  I played with a picture and used one of my pictures I had taken and merged it into this shot, just a quick and dirty photo edit to see if I could make one work.    
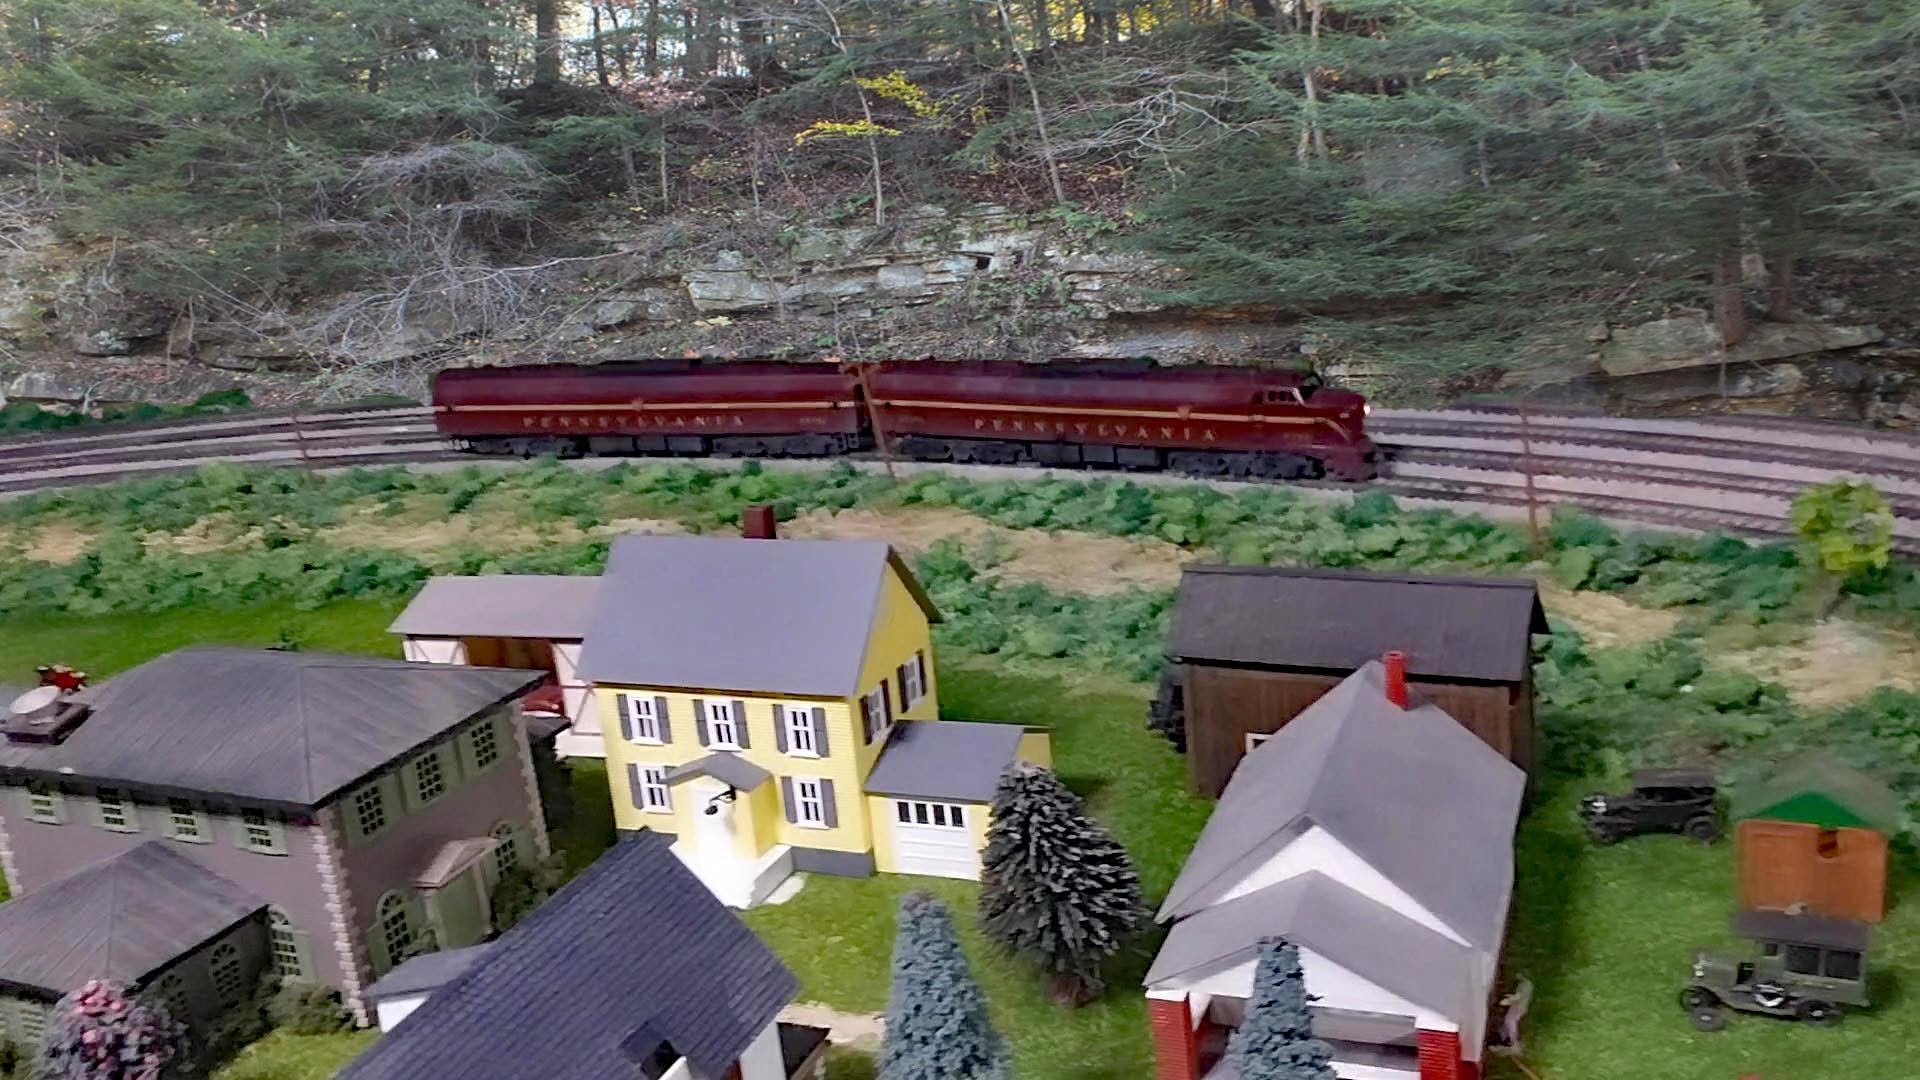
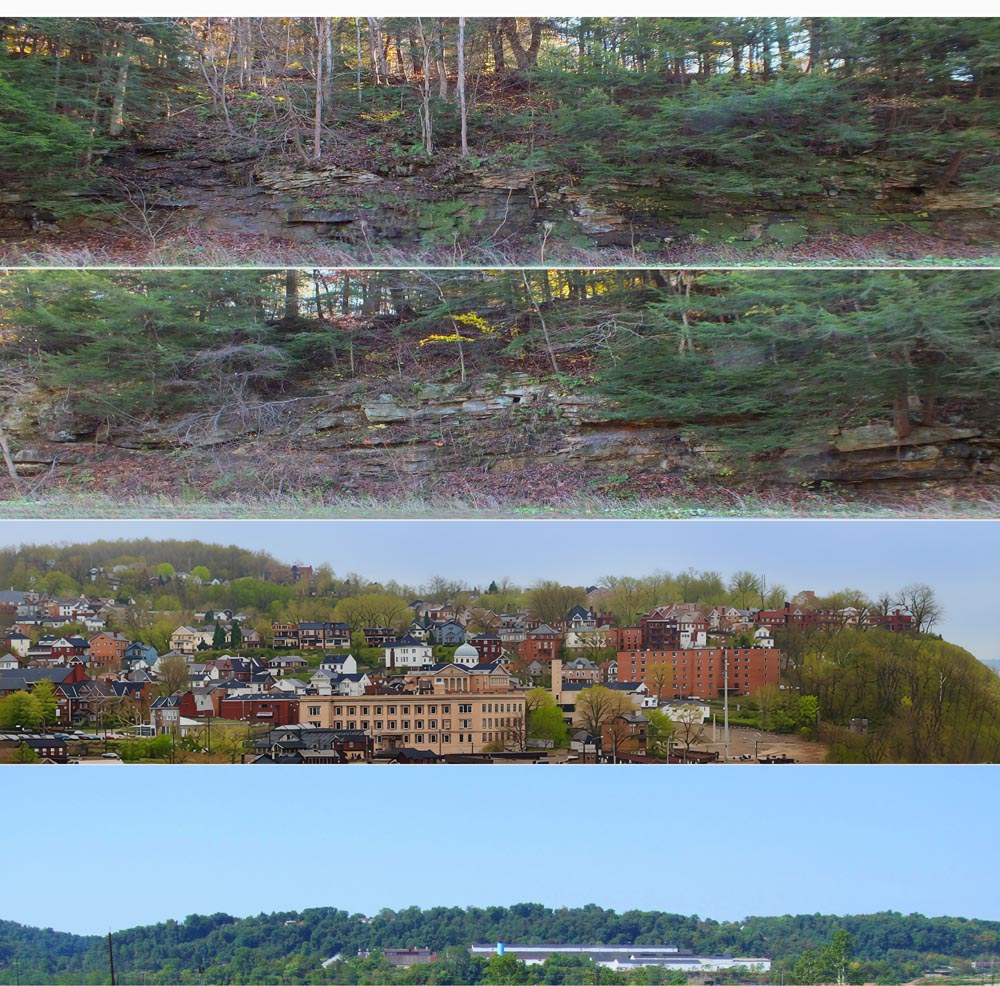
     I was pleased with what I got so that photo is one included in the order I sent today. I ordered 4 "curtains" and if all goes well I should have 16 6 foot x 18 inch high backdrops for $48.72 and shipping was free. . I used the same photos by flipping them horizontally and they will be on different sides of the layout so it should not be noticeable.  

     Here are the ones ordered and they will be here before the 10th or I get 5 bucks back. 
               

Charlie

Reply
Great idea!! They look perfect!
~~ Mikey KB3VBR (Admin)
~~ Baldwin Eddystone Unofficial Website

~~ I wonder what that would look like in 1:20.3???
Reply
Charlie,

what a great "aha! moment" story.
looking forward to seeing these incorporated with your layout.
I am guessing the resolution will be just slightly blurred enough to fade into the background, as it were.
--Hillyard
Willamette City Belt Line: WCBL
Exchanging shipments via this:   Virtual Interchange 
Reply
Where was that idea when I was stitching Hazleton together from inkjet-printed letter-sized prints about two years ago? Awesome idea, Charlie!

I'm also looking forward to seeing those in place...
Check out my "Rainbows in the Gorge" website: http://morristhemoosetm.wixsite.com/rainbows
Reply


Forum Jump:


Users browsing this thread: 3 Guest(s)