
08-30-2026, 01:12 PM
Right on cue!
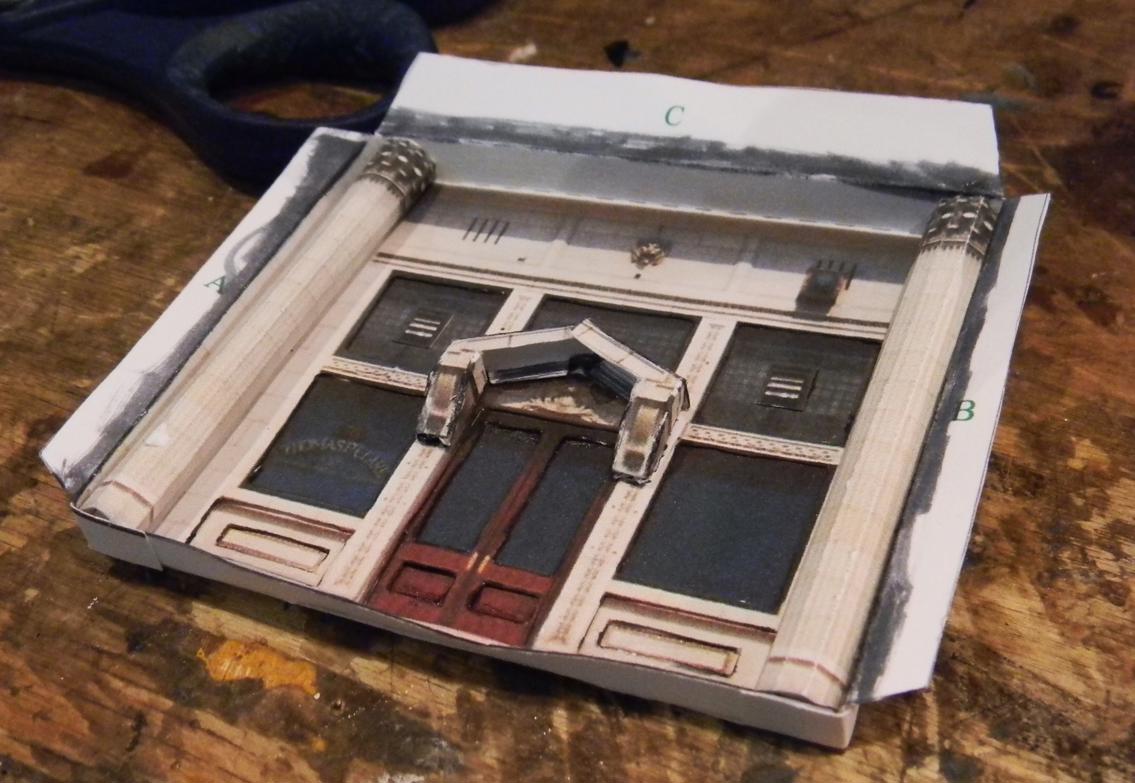
My granddaughter was taking a nap after the dog and I got back from our hike, so I took advantage to squeeze a little more work on the bank job. Folded up the center section (doors and windows) and added the fluted columns and the awning over the door with the supports, which are nice gothic architecture features. The awning had long supports that were meant to go through the cardstock to be secured on the backside, but I thought that was overkill and just glued to the doorframe. You'll notice in the picture that virtually every seam gets a liberal dose of gray marker to get rid of the white edges of the cardstock.
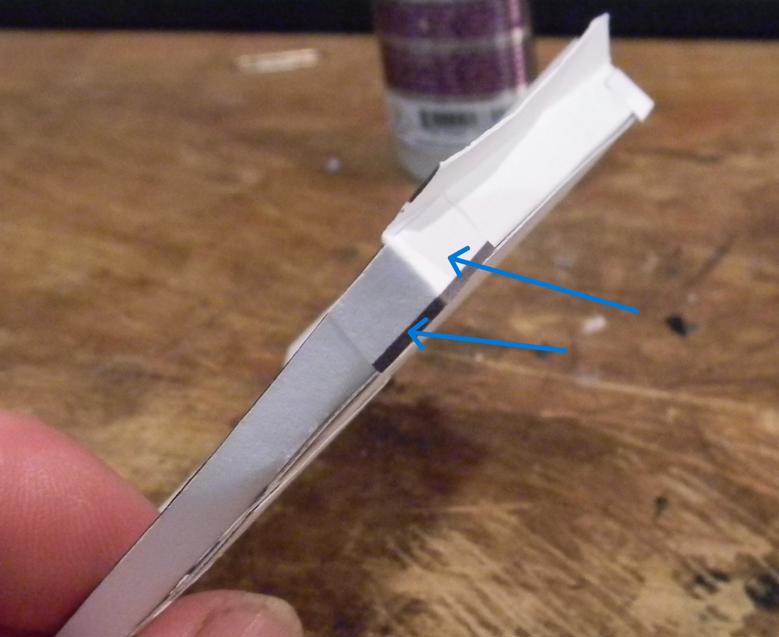
A couple of more tips and tricks. Once folded, some of the seams between 90-degree angles don't have any support - in this case I added corner support by cutting pieces of cardstock and gluing them to the corner to support the corner and get a nice 90-degee angle.
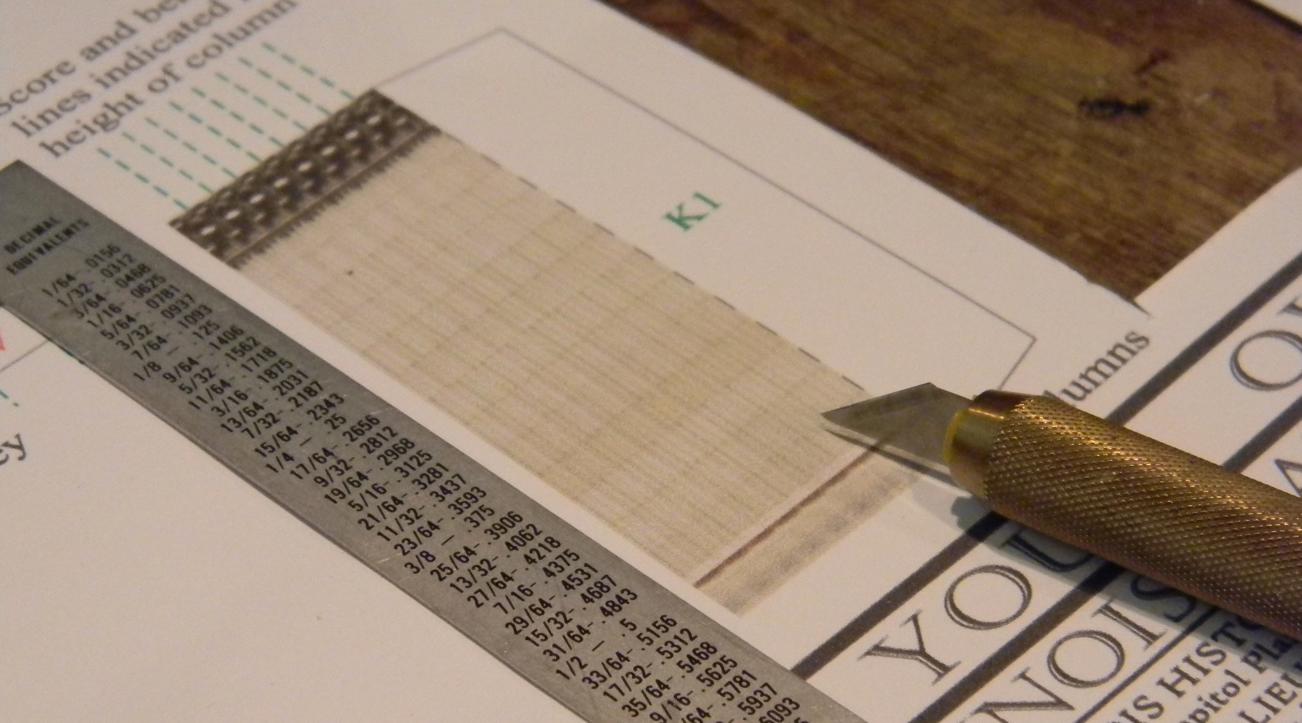
Also, the columns required multiple folds to get them into shape. I straightedge and a light scoring with the back edge of my knife did the trick.
My granddaughter was taking a nap after the dog and I got back from our hike, so I took advantage to squeeze a little more work on the bank job. Folded up the center section (doors and windows) and added the fluted columns and the awning over the door with the supports, which are nice gothic architecture features. The awning had long supports that were meant to go through the cardstock to be secured on the backside, but I thought that was overkill and just glued to the doorframe. You'll notice in the picture that virtually every seam gets a liberal dose of gray marker to get rid of the white edges of the cardstock.
A couple of more tips and tricks. Once folded, some of the seams between 90-degree angles don't have any support - in this case I added corner support by cutting pieces of cardstock and gluing them to the corner to support the corner and get a nice 90-degee angle.
Also, the columns required multiple folds to get them into shape. I straightedge and a light scoring with the back edge of my knife did the trick.
Check out my "Rainbows in the Gorge" website: http://morristhemoosetm.wixsite.com/rainbows