Posts: 2,724
Threads: 160
Joined: Dec 2008
I wanted to build A 2 hole out house as described on page 63 of Carstens "loco terminals & R.R. structures" but The kitbash is taking twice as long to complete as I expected. So, I will build something a little simpler.... A pair of HO scale operating train order signals.
they will be of the semaphore type with lighted aspects.
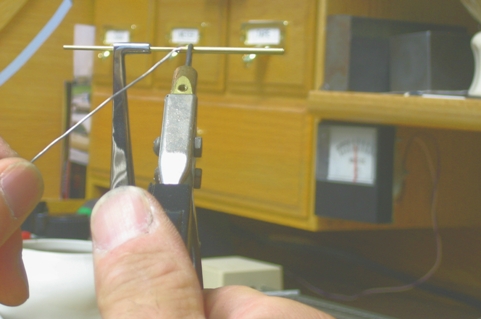
So here is the start.
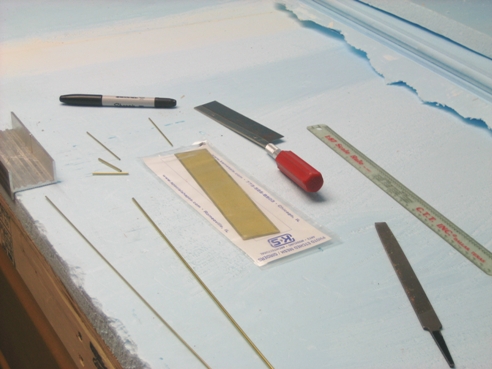
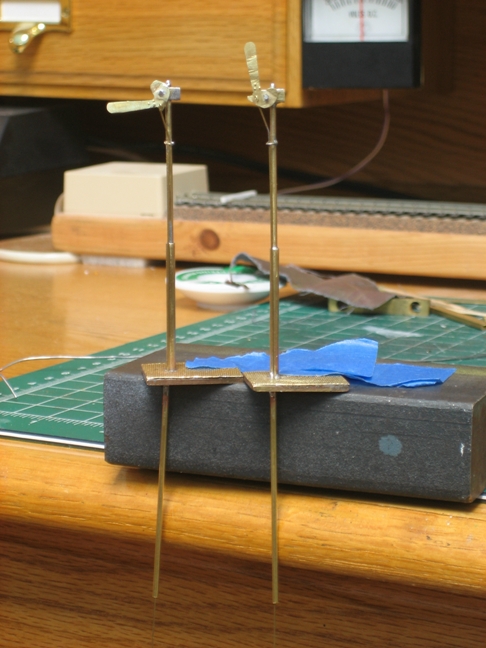
I'll start with the masts. I used some K&S engineering 1/16 and 3/32 brass tubing that I cut to 22 foot & 10 foot pieces. I chose these sizes because they fit inside each other tightly, and they looked like the right diameter for a scale mast. I slid them together added some flux and soldered the up.
More to come later.
My other car is a locomotive, ARHS restoration crew
Posts: 774
Threads: 24
Joined: Dec 2008
That sounds like an interesting project. I am looking forward to seeing you making progress.
Kurt
Posts: 2,724
Threads: 160
Joined: Dec 2008
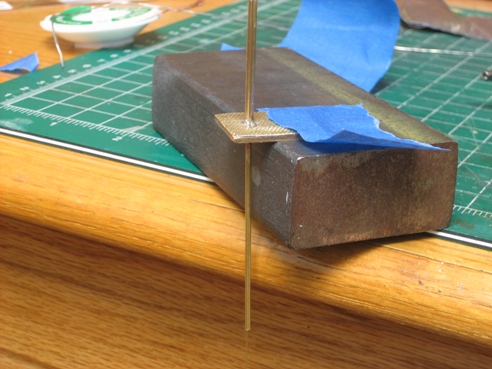
The next step was to mark and drill out the hole for the mast. Afterwards I soldered some diamond tread down to the base. Once soldered, I drilled the same hole through the diamond plate using the original hole as a Gide. With it soldered on to the base also made it easier to drill the thin brass with out the drill binding and tearing the diamond tread.
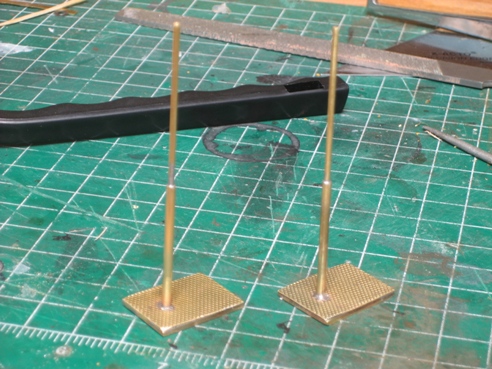
I then fitted the mast into the hole in the base and soldered it securely. I had to re drill the hole in the bottom of the mast ( it filled with solder ) for the wire that I will pass through later. That wire will be for the light . I will only need one conductor to go inside the mast I will use the brass shell of the signal as the other conductor.
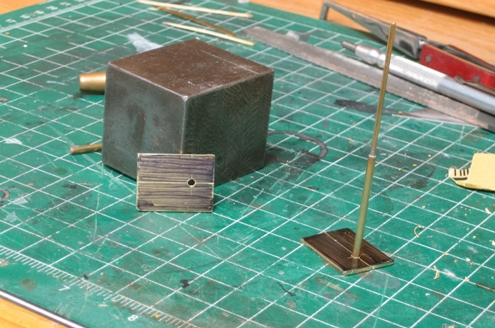
I got lucky because they ended up square on the first try.
My other car is a locomotive, ARHS restoration crew
Posts: 2,724
Threads: 160
Joined: Dec 2008
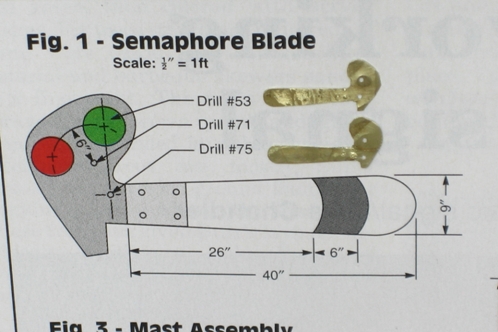
Today I shaped the semaphore blades. I got the dimensions from an RMC article from 1/08 page #60. I reduced them down to HO scale on a copper and used it as a template to cut them from some brass. This was not an easy task , I could not imagine doing this in N scale. I drilled the holes for the pivot and the rod that will operate the signal. I also punched some rivets in the arms. I'll drill the hole for the light later when I have a better idea of it's placement.
My other car is a locomotive, ARHS restoration crew
Posts: 2,458
Threads: 57
Joined: Dec 2008
E-Paw.....from what I've seen of both your projects, I can only conclude that you are among the lucky few blessed with "magic" fingers.....Looking real nice..!!!

Gus (LC&P).
Posts: 2,724
Threads: 160
Joined: Dec 2008
The next thing that I did was to mount the motor housing and the shaft for the semaphore to pivot on.
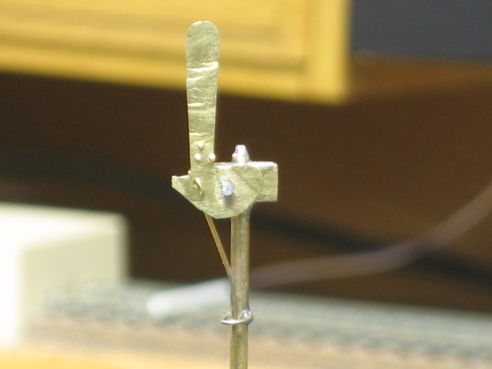
This was dun with a section of bar stock with a hole drilled through it and a piece of brass rod soldered to it.
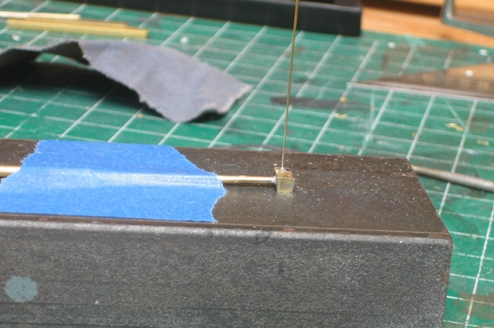
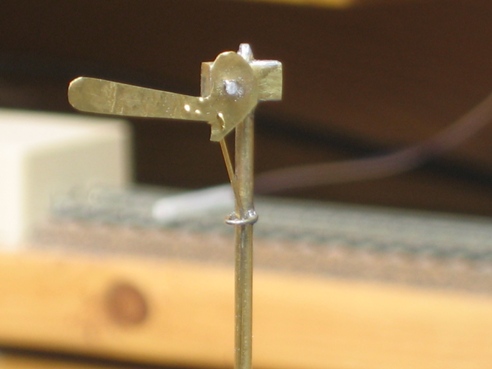
I then mounded the semaphore with half of a Kay Dee coupler spring under that was secured with a rivet of solder. Next I made a bracket of the same rod to keep the control rod in place, and tested them for clearance.
My other car is a locomotive, ARHS restoration crew
Posts: 3,021
Threads: 160
Joined: Dec 2008
very nice!
--
Kevin
Check out my Shapeways creations!
3-d printed items in HO/HOn3 and more!
<!-- m --><a class="postlink" href="https://www.shapeways.com/shops/kevin-s-model-train-detail-parts">https://www.shapeways.com/shops/kevin-s ... tail-parts</a><!-- m -->
Posts: 4,161
Threads: 174
Joined: Dec 2008
Fantastic craftsmanship! You have my admiration!


Ralph
Posts: 2,724
Threads: 160
Joined: Dec 2008
Here is the tube that protects the control rods as it passes through the layout.
Here are the 2 signals. Next I have to prep the aria they will be installed in so that I can work out how to power them. I decided to leave out the lighted part of the signal because I can't seam to find a LED small enough that is still Bi-colored (red/green) to fit in the motor housing. They still need a concrete base under them that I will make from plaster.
The permanent home of the signals, Saylors junction, at the foot of Blue Mountain just west of Wind Gap PA. Where the Anna lines crosses the LNE.
My other car is a locomotive, ARHS restoration crew
Posts: 437
Threads: 24
Joined: Dec 2008
Outstanding craftsmanship.
Loren
I got my first train when I was three,
put a hundred thousand miles on my knees.
Posts: 774
Threads: 24
Joined: Dec 2008
I concur with Loren, very well done

.
Kurt
Posts: 2,724
Threads: 160
Joined: Dec 2008
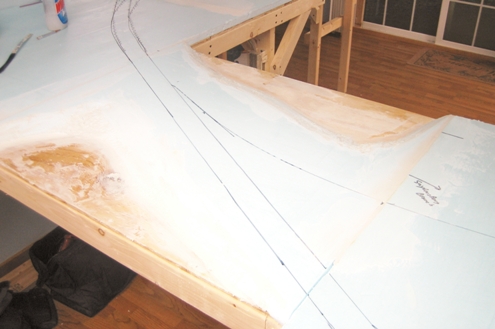
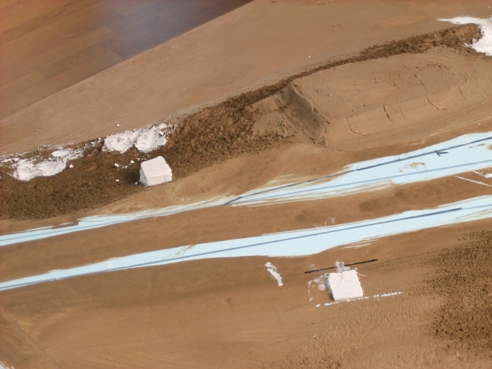
Well I painted the foam and plotted out the location for the signals. I needed to form some basses for the signals to rest on .I gave them a rough shaping out of some plaster , when it drys I'll sand and file them to there final shape.
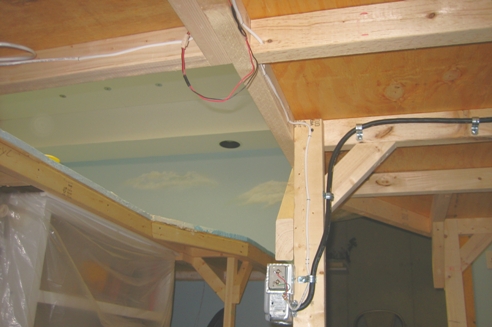
Now on to the the mechanical end. To power the switch machines ( I'm going to use the old Atlas type ) I used a 16 volt door bell X-former And wired it to a male\female connector that came from a battery back up exit light. This section of the layout will be removable so I will use a different type of connector for track power so they never get mixed up. I will also use some resistors on the switch machine to take some of the violence out of the solenoid so not damage the semaphore.
My other car is a locomotive, ARHS restoration crew
Posts: 2,724
Threads: 160
Joined: Dec 2008
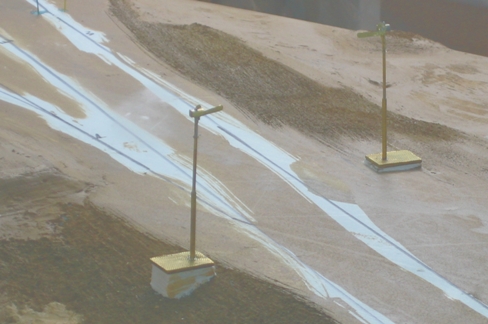
The pads have set so I gave them A good squaring up with a file and temporarily installed the signals to have a test fit.
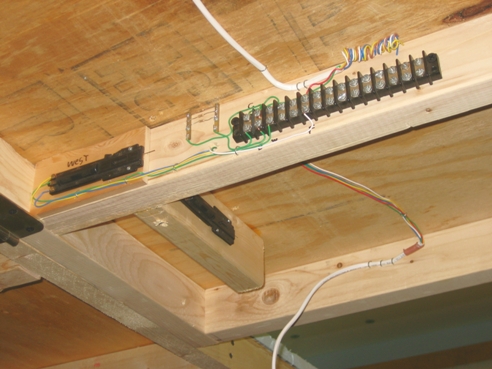
Then it was on to the control panel. I just drilled some holes in some scrap wood, stained it and wired in some momentary double through switches. One for the east bound side and one for the west.
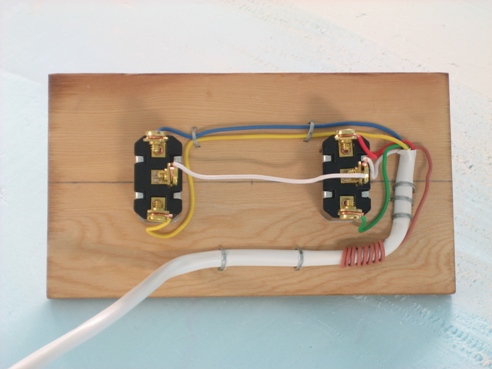
With the holes drilled to the underside of the layout I could then position the switch machines in there proper places and wire them in with a bank of resisters to soften the action of the switch machines.
My other car is a locomotive, ARHS restoration crew
Posts: 1,229
Threads: 23
Joined: Dec 2008
By 'soften the throw of the switch machines', do you mean they will still 'THUNK' when thrown, but just not THUNK as loudly? Or does it somehow slow it down?
Galen
I may not be a rivet counter, but I sure do like rivets!
Posts: 2,724
Threads: 160
Joined: Dec 2008
They still have a good whack to them, just not quite as loud.
My other car is a locomotive, ARHS restoration crew


