08-21-2011, 01:37 PM
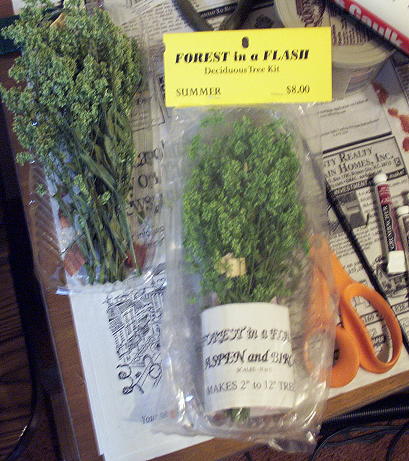
First off there will be more posts so please hold off on a response till it's done if you can. These are too large for N or Z, the smaller ones are O.K. for HO and the medium and large are excellent for S, O and G. These are not cheap ( by my standards ) :mrgreen:  hock: , I can here Pete or Mike or Vic saying that guy ain't never had no standards! :mrgreen: :cry: :mrgreen: . The cost is about $3 each when you get used to making em'. The main parts are "Forest in a Flash" and caulking (any kind that's not 100% silicone).

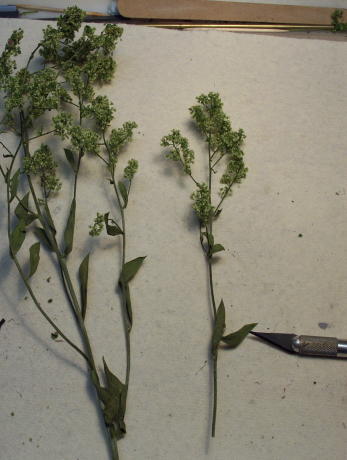
You are good for 3-5 trees outta that package, depending on what size you want, The next thing to do is to remove the regular leaves, be sure to get as many of the smaller ones on higher up as you can.

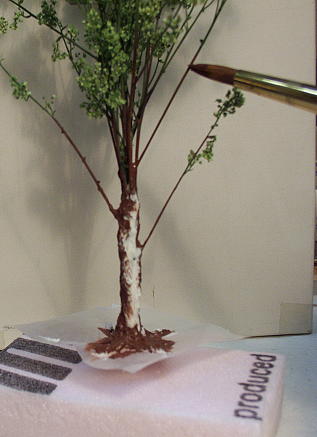
After you get a half dozen or so (depending on the size tree you want) cleaned, bunch em' together with a toothpick sticking down lower than the stalks and wire em' together with thin wire, thread or floral tape. Then take a caulking gun and apply up and down the trunk. Take a toothpick and do the final speading around. This will leave the caulking somewhat rough which is good cause it resembles bark somewhat. After it has cured for a few hours you can use the back of a exacto blade to carve on it some more if you want more bark detail.

BTW I stick the tree thru a small square of wax paper so I have a way to hold it without the paint or caulking getting all over me.

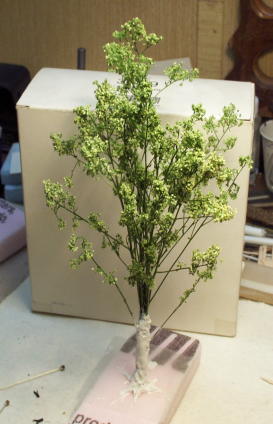
After it has cured overnite paint the base coat on it ( use water based paints as the other will attack the caulk ), making sure to also paint the branches that are the most noticeable. Let dry for at least 1 hour.

__________________
Nantahala Midland
"Route of the Noonday Sun"
NARA Member #54
 hock: , I can here Pete or Mike or Vic saying that guy ain't never had no standards! :mrgreen: :cry: :mrgreen: . The cost is about $3 each when you get used to making em'. The main parts are "Forest in a Flash" and caulking (any kind that's not 100% silicone).
You are good for 3-5 trees outta that package, depending on what size you want, The next thing to do is to remove the regular leaves, be sure to get as many of the smaller ones on higher up as you can.
After you get a half dozen or so (depending on the size tree you want) cleaned, bunch em' together with a toothpick sticking down lower than the stalks and wire em' together with thin wire, thread or floral tape. Then take a caulking gun and apply up and down the trunk. Take a toothpick and do the final speading around. This will leave the caulking somewhat rough which is good cause it resembles bark somewhat. After it has cured for a few hours you can use the back of a exacto blade to carve on it some more if you want more bark detail.
BTW I stick the tree thru a small square of wax paper so I have a way to hold it without the paint or caulking getting all over me.
After it has cured overnite paint the base coat on it ( use water based paints as the other will attack the caulk ), making sure to also paint the branches that are the most noticeable. Let dry for at least 1 hour.
__________________
Nantahala Midland
"Route of the Noonday Sun"
NARA Member #54
Mike
Sent from my pocket calculator using two tin cans and a string
Sent from my pocket calculator using two tin cans and a string


