Neon sign (scratch in N)
#1
FrankG posted this thread in our old Academy back in May, 2005. We thought that it rated a place here in our New Academy so we've recreated it. Some of the comments and remarks have are not part of this thread, but all the pertinent steps are.
#2
I'm in the process of scratchbuilding (if this counts -- I like to think it does) a neon sign to hang on the inside of a window.

After experimenting with a few different methods, I've found one with very realistic results...especially in N. Larger scales might not be as convincing. But I need some input.

The final method I'm using:

I designed the signage using neon fonts in 2 colors -- solid black and white. I've printed the sign on transparency paper. The black creates a solid field for light blocking and the white remains transparent.

Because the black is not opaque enough, I've found that I have to layer 3 of these print outs on top of each other.

Behind them, I've placed a piece of white piece of paper that I've colored with a red Sharpie and light blue highlighter.

When there is no light shining through the back, the design appears clear like unlit neon tube. When the light is on, I get a really nice neon effect. I'm shocked at how good this looks.

The only problem...and I can use some help here.... Since I'm laying 3 sheets of transparency, I need a way to glue them together. It has to be a glue that won't react with the clear plastic and has to have a long-enough set-up time so I can align the printed images. For now, I just have them scotch-taped around the edges for me test, but in the end application that would show.

I've thought about white glue...which I may have to wide up using, but just wondering if there might be a better method.

Once I get this done, I'll post photos of the steps and the final installation.
#3
I think I actually found a way to hide the tape. Left and right of the windows, I have very little clearance, so hiding tape is difficult there.

But since the structure I'm doing is a jazz lounge, I think I may cover the bottom half of the window with a cafe curtain. I think that would do the trick to cover tape along the bottom edge. There's also an awning over the windows, so unless you were below the surface-level looking UP at the window, you probably wouldn't see the tape along the top.

The ideal fix would be to figure out a way to print on the transparency dark enough so it doesn't need to be layered. I tired printing a sheet and running it through, but my printer gets it just a bit off each time.
#4
I've made some significant progress with the neon signs. And this time I have pictures!

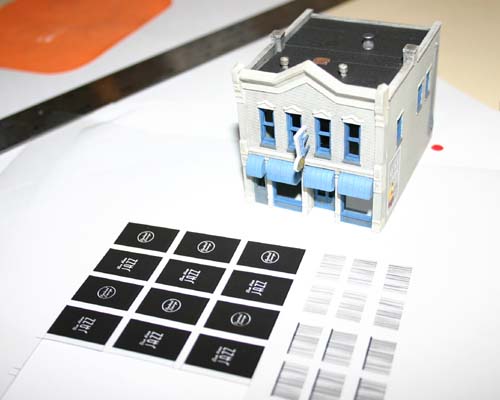
Photo 1. - I started with a sheet of printed windows on transparency paper. Printed multiple (just in case). The design was done in Photoshop at 600dpi using a neon-style font. I originally "broke" the lines of the letters to make it look more like prototypical neon tubing, but in N scale, you really couldn't see much of a difference, and it just made the words less readable. Also on the printed sheet are cafe curtains. In the background is the building these will be going in.
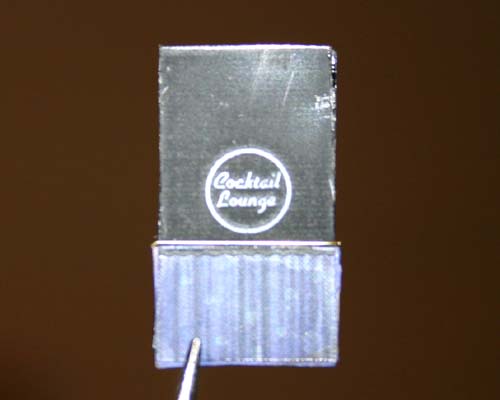
   

Photo 2. - The pieces are cut from the sheet. The pieces are layered to make the black more opaque -- 3 layers in all In this photo....2 of the layers have been glued together...one more to go. I used Testor's glue...the kind that's made to bond clear styrene. Can't remember the name of it. But it dries clear and even with backlighting this application, it's completely invisible.
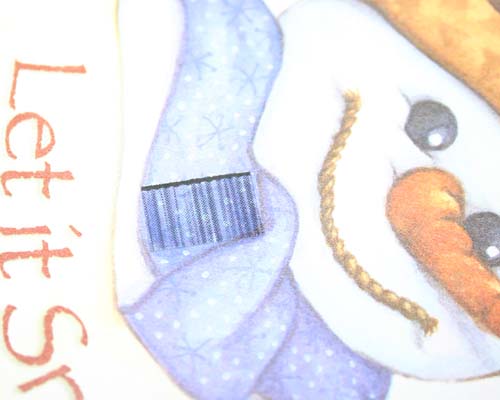
   

Photo 3. - This is a close up of the cafe curtains that will hang in the window. This is printed on transparency like the windows themselves. Note...this is an EXTREME closeup. This was printed on a laser printer at 600pdi. It's so close, you can actually see the dots! In real life, this is a smooth shadowed curtain.
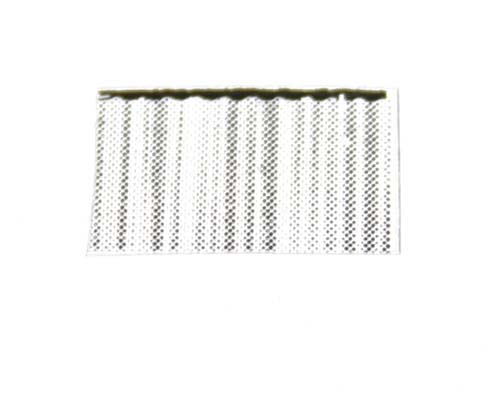
   

Photo 4. - To give the curtains the right texture and color, I used a winter-themed notepad featuring a snow man. The scarf was just the right color and has enough of a texture to appear like a pattern on the curtain. I glued the transparency to the snowman paper with Elmer's white glue.
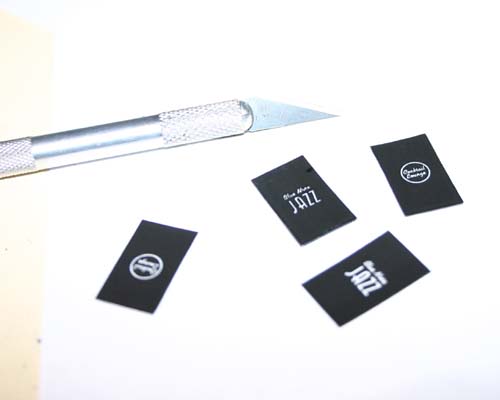
   

Photo 5. - This is the assembled window, with neon sign, curtain and curtain rod.This photo does NOT do it justice. Again...extremely close up. In real life, the black is completely solid and doesn't appear "scuffed". The flash on the camera made this look really bad. But anyway...The Cocktail Lounge portion is completely transparent. The curtain was glued to the front of the window piece with Elmers. The curtain rod is a very tiny brass wire glued on with CA glue.
   

More to come. Adding the back piece that defines the color; installed in the structure; lit.
#5
Some more progess. Sorry I didn't take photos of the color installation. It's really just a red Sharpie and light blue highlighter on plain white paper glued to the back of the window.

These shots are with some pretty bad lighting conditions -- didn't have a handy small light to fit inside the structure. But I made do.

Also, the rest of the interior will be detailed, so ignore that for now.

Photo 1 - Cocktail Lounge from right window. In the upper left side is the real-life size of the design (provider you're viewing at 72ppi -- which most of you are).


Photo 2 - Blue Note Jazz from left window. Sorry it's a little blurry.


Photo 3 - Same Jazz sign with a bit more external light.

   
#6
Thanks for the comments.

I've now been experimenting with what I'm calling "Neon - Phase II" My wife thinks I'm crazy. I think "obsessed" was the word she used.

But anyway... The method I posted above obviously has one draw back. The entire window is essentially "blacked out". Maybe ok for a jazz club that would probably be dark inside anyway....but I think I have an idea on how to do this but still keep the remainder of the window open.

I saw this on my drive home from work tonight -- a convenience store with a neon sign in the window, but the rest of the interior was lit and viewable behind it. I'm going to try to do something similar in the next structure. If it works, I might be tearing this one out and rebuild it.

Also, these signs (regardless of the method) look best with a strong light source. The brighter the light, the better the sign looks.

So I'm experimenting with angling a mirror inside the structure so I can place a high-intesity bulb (maybe halogen) below the benchwork and have it light the signs without shooting the overbearing, unrealistic light into the rest of the structure. The mirror would act as a block for the rest of the interior.

Actually...my point about the mirror wasn't really to block light leaks. What I was trying to say is that I could use a high-intensity bulb and reflect it to the signs and not melt the structure! For light leaks...I use hobby clay. It's very easy to mold into a small "roll" and jam into a seam. Because most a meant to be baked...any small amount of heat from bulbs doesn't have a negative effect. And it's very forgiving.


Forum Jump:


Users browsing this thread: 1 Guest(s)