12-10-2011, 05:06 AM
G'day All,
Over the years I have collected a variety of almost `junk box' quality and `pre-loved' N scale freight cars that have come in E-Bay `LOTS'. They languish in boxes and drawers until I get itchy fingers or some left over decals that need using up before they reach the end of their useful storage lives.
So here is the tale of two Atlas 50 foot double door boxcars that have spent their time in paint remover and have been betrothed to a set of ROUTE ROCK decals from the clearance box at my not so local hobby shop. Much to their horror they were also to go through the trauma of being `modernized' by the removal of their roof-walks and some of their end ladders!
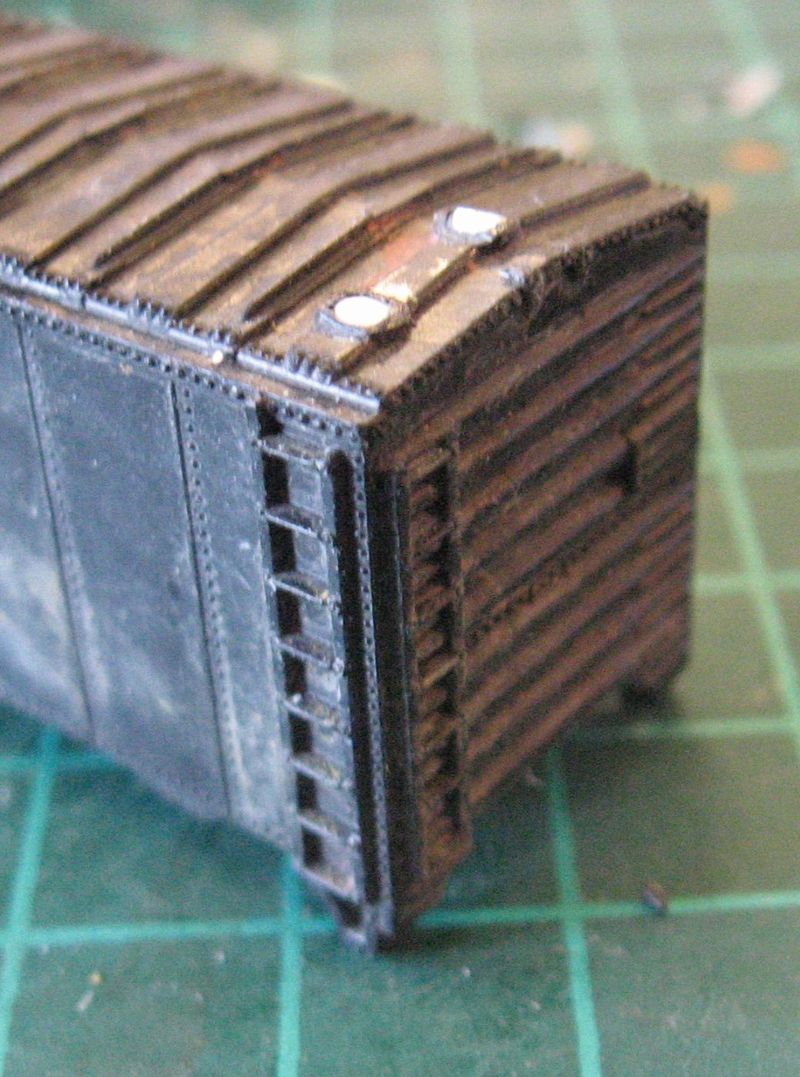
After a good bath in warm soapy water to remove the last traces of paint stripper I removed the roof walks and plugged the holes with 5mm lengths of 1/16th diameter Evergreen Styrene rod. This is slightly under sized for Atlas cars but it does the job and was all that I had on hand. A dollop of `liquid styrene cement' type glue, which comes in a tube and is fairly viscous was used on the inside of the roof to hold the short lengths of rod in place. Next time I'm at a hobby shop I'll try to get some 0.080" diameter rod and see if that fits better.
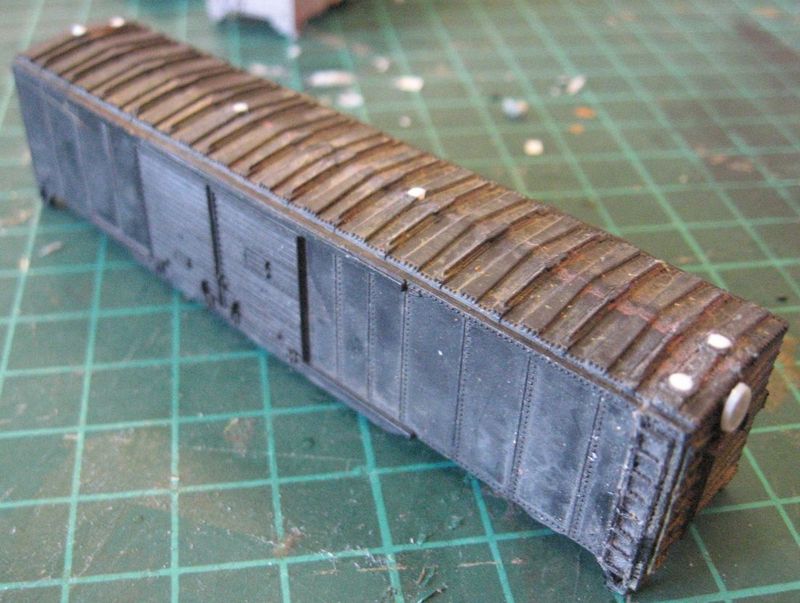
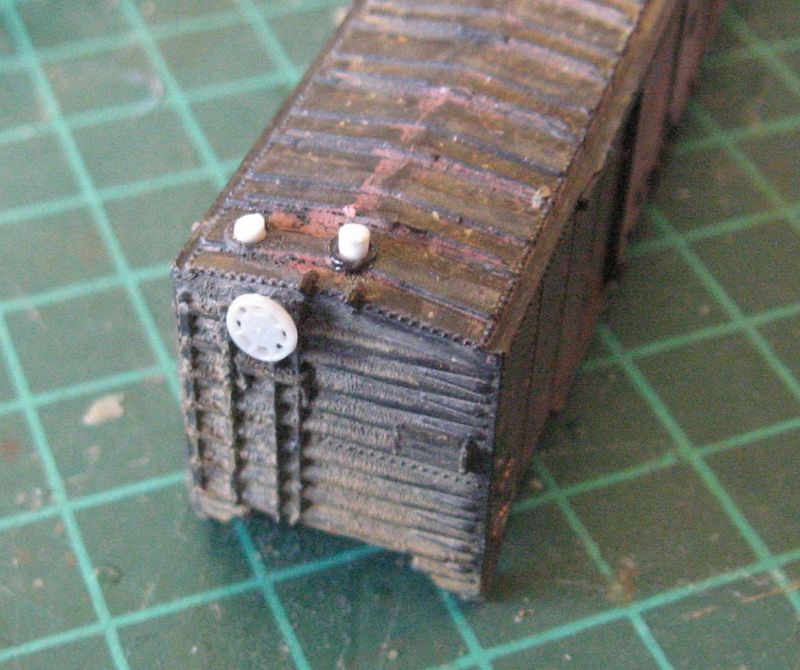
The black boxcar was missing a brake wheel and I fitted a new one from a set of spares purchased from Atlas spare parts E-Bay dealer "That Train Place" at:
<!-- m --><a class="postlink" href="http://stores.ebay.com.au/That-Train-Place?_trksid=p4340.l2563">http://stores.ebay.com.au/That-Train-Pl ... 4340.l2563</a><!-- m -->
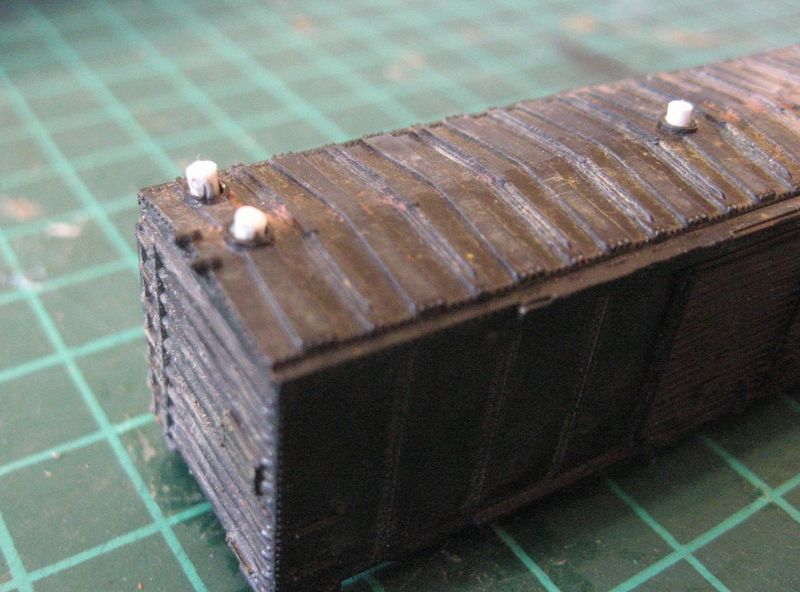
When the glue had thoroughly dried I carefully cut away at the protruding rod with a craft knife and followed that up by sanding away with an Emery Board, such as certain folks use on their finger nails. The emery board has a degree of flex in it that allows it to be bent to follow the angles of the ribs on the roof.
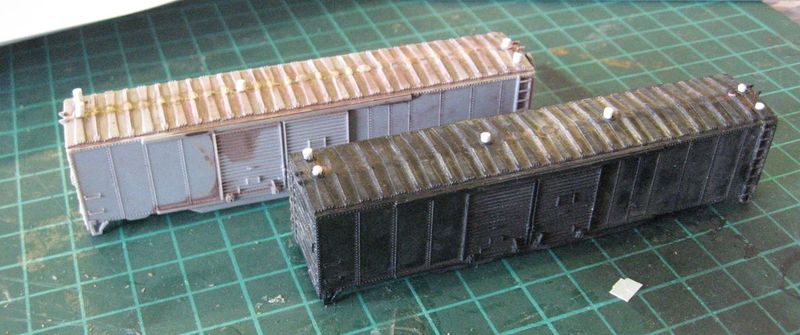
As you can see in this photo there was still some knife work to do to remove some of the plastic `ring' that surround the roof-walk mounting holes.
The next post will deal with the end ladders.
Regards, Andrew G.
Always learning, from both wins and losses.
My Model Railway blog: <!-- m --><a class="postlink" href="http://ttrakandrew.wordpress.com/">http://ttrakandrew.wordpress.com/</a><!-- m -->
Over the years I have collected a variety of almost `junk box' quality and `pre-loved' N scale freight cars that have come in E-Bay `LOTS'. They languish in boxes and drawers until I get itchy fingers or some left over decals that need using up before they reach the end of their useful storage lives.
So here is the tale of two Atlas 50 foot double door boxcars that have spent their time in paint remover and have been betrothed to a set of ROUTE ROCK decals from the clearance box at my not so local hobby shop. Much to their horror they were also to go through the trauma of being `modernized' by the removal of their roof-walks and some of their end ladders!
After a good bath in warm soapy water to remove the last traces of paint stripper I removed the roof walks and plugged the holes with 5mm lengths of 1/16th diameter Evergreen Styrene rod. This is slightly under sized for Atlas cars but it does the job and was all that I had on hand. A dollop of `liquid styrene cement' type glue, which comes in a tube and is fairly viscous was used on the inside of the roof to hold the short lengths of rod in place. Next time I'm at a hobby shop I'll try to get some 0.080" diameter rod and see if that fits better.
The black boxcar was missing a brake wheel and I fitted a new one from a set of spares purchased from Atlas spare parts E-Bay dealer "That Train Place" at:
<!-- m --><a class="postlink" href="http://stores.ebay.com.au/That-Train-Place?_trksid=p4340.l2563">http://stores.ebay.com.au/That-Train-Pl ... 4340.l2563</a><!-- m -->
When the glue had thoroughly dried I carefully cut away at the protruding rod with a craft knife and followed that up by sanding away with an Emery Board, such as certain folks use on their finger nails. The emery board has a degree of flex in it that allows it to be bent to follow the angles of the ribs on the roof.
As you can see in this photo there was still some knife work to do to remove some of the plastic `ring' that surround the roof-walk mounting holes.
The next post will deal with the end ladders.
Regards, Andrew G.
Always learning, from both wins and losses.
My Model Railway blog: <!-- m --><a class="postlink" href="http://ttrakandrew.wordpress.com/">http://ttrakandrew.wordpress.com/</a><!-- m -->
Always learning, from both wins and losses.
My Model Railway blog: <!-- m --><a class="postlink" href="http://ttrakandrew.wordpress.com/">http://ttrakandrew.wordpress.com/</a><!-- m -->
My FlickR Photostream: <!-- m --><a class="postlink" href="http://www.flickr.com/photos/85896932@N07/">http://www.flickr.com/photos/85896932@N07/</a><!-- m -->


