04-10-2016, 03:02 PM
This is one of two projects that I started working on yesterday. The other on being a USRA 2-10-2, in the background. These are smaller jobs that will hopefully not take that long,,I need a break after my almost two year build of a CNJ Backtrack Mike.
I am looking for something like this in the end.
<!-- m --><a class="postlink" href="http://www.northeast.railfan.net/images/tr_dlw603.jpg">http://www.northeast.railfan.net/images/tr_dlw603.jpg</a><!-- m -->
<!-- m --><a class="postlink" href="http://el-list.railfan.net/new/dlw604.jpg">http://el-list.railfan.net/new/dlw604.jpg</a><!-- m -->
I have to find out what date the headlight visor, in one of the photos, and the black roof paint was applied to see if in fits into my era.
It's an ABA set consisting of one undecorated, two headlight, A units and a former NYC A & B, that I have already striped the paint from. All three are Stewart models. The two "A's" are powered and the "B" is a dummy.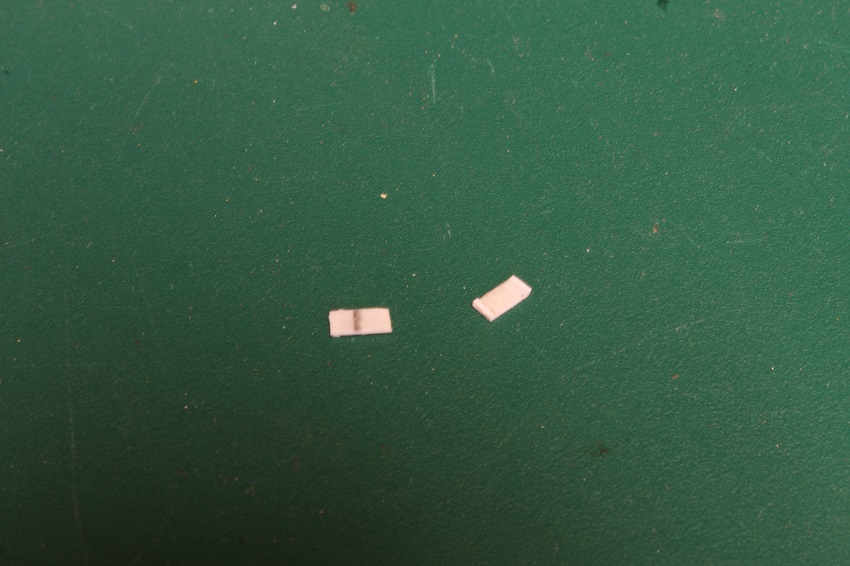
In the above photo you can see I added the supports visible in the porthole windows.
The end steps have been removed as pre Lackawanna practices and the extra headlight filled in on the undecorated model.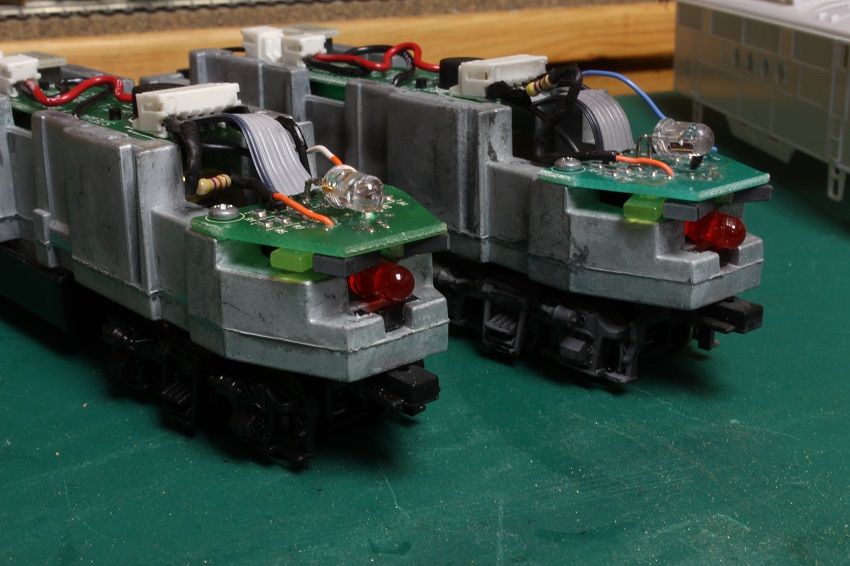
I had to reposition the headlight LED on the dual headlight unit as well and in it's place wire in a red LED that only comes on in reverse.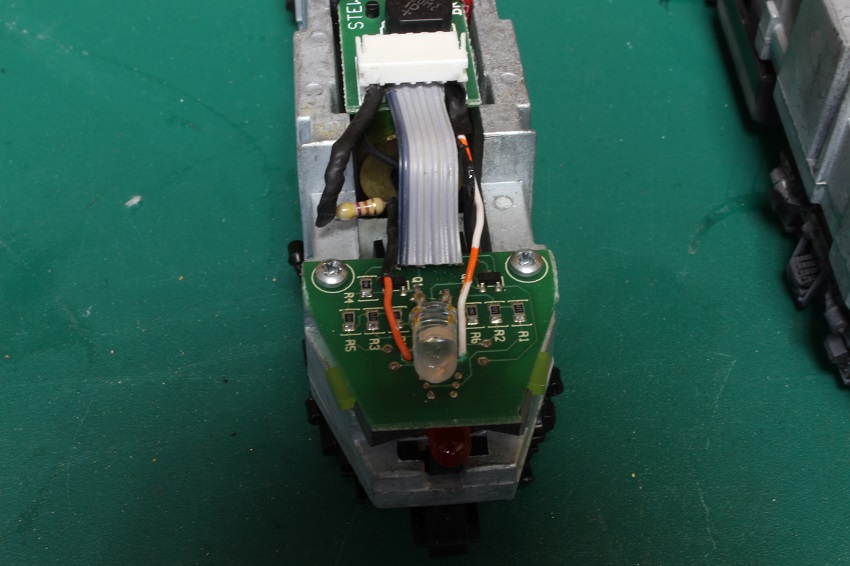
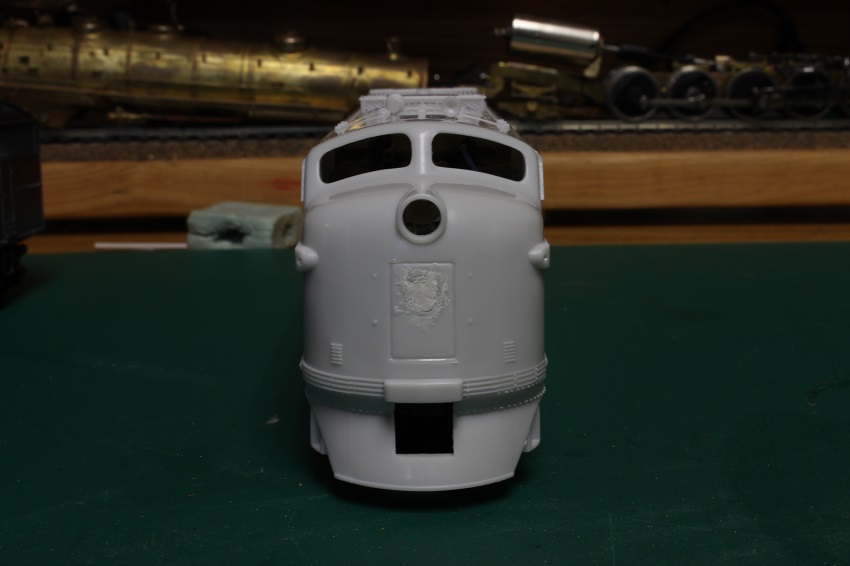
Using a set of drawings that my historical society owns. I built a set of number boards for under the nose. I had posted them here once before under this thread.
<!-- l --><a class="postlink-local" href="http://www.bigbluetrains.com/forum/viewtopic.php?f=22&t=8791">viewtopic.php?f=22&t=8791</a><!-- l -->
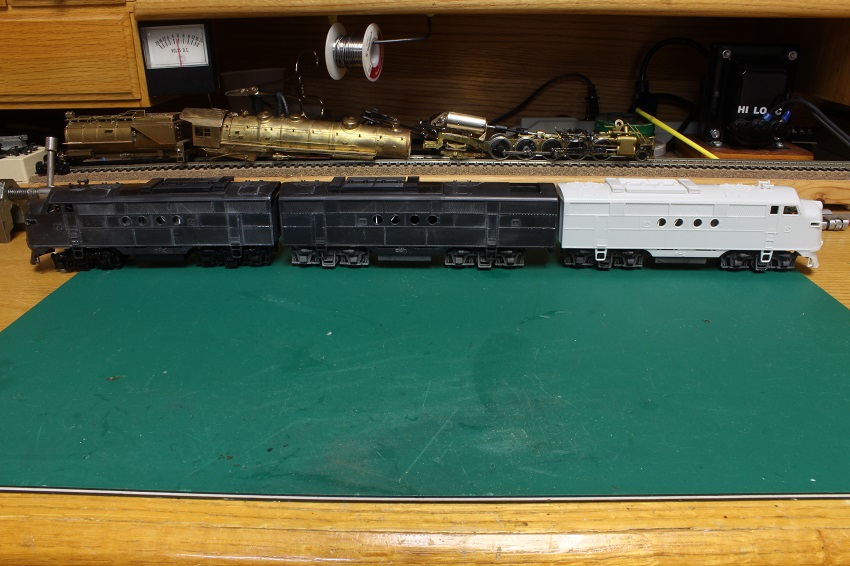
The DL&W B-units were what EMC called a FTSB, or FT short booster. These lacked the steam generators found in passenger units and were a few feet shorter then the others. Stewart only offers the longer version, so some body work is in order.
I am looking for something like this in the end.
<!-- m --><a class="postlink" href="http://www.northeast.railfan.net/images/tr_dlw603.jpg">http://www.northeast.railfan.net/images/tr_dlw603.jpg</a><!-- m -->
<!-- m --><a class="postlink" href="http://el-list.railfan.net/new/dlw604.jpg">http://el-list.railfan.net/new/dlw604.jpg</a><!-- m -->
I have to find out what date the headlight visor, in one of the photos, and the black roof paint was applied to see if in fits into my era.
It's an ABA set consisting of one undecorated, two headlight, A units and a former NYC A & B, that I have already striped the paint from. All three are Stewart models. The two "A's" are powered and the "B" is a dummy.
In the above photo you can see I added the supports visible in the porthole windows.
The end steps have been removed as pre Lackawanna practices and the extra headlight filled in on the undecorated model.
I had to reposition the headlight LED on the dual headlight unit as well and in it's place wire in a red LED that only comes on in reverse.
Using a set of drawings that my historical society owns. I built a set of number boards for under the nose. I had posted them here once before under this thread.
<!-- l --><a class="postlink-local" href="http://www.bigbluetrains.com/forum/viewtopic.php?f=22&t=8791">viewtopic.php?f=22&t=8791</a><!-- l -->
The DL&W B-units were what EMC called a FTSB, or FT short booster. These lacked the steam generators found in passenger units and were a few feet shorter then the others. Stewart only offers the longer version, so some body work is in order.
My other car is a locomotive, ARHS restoration crew


