Posts: 2,724
Threads: 160
Joined: Dec 2008
I have been watching the other threads in the challenge and see some very nice work, I've enjoyed participating in this one. Thanks to all involved.
Now,,,,,Time to post some more progress 
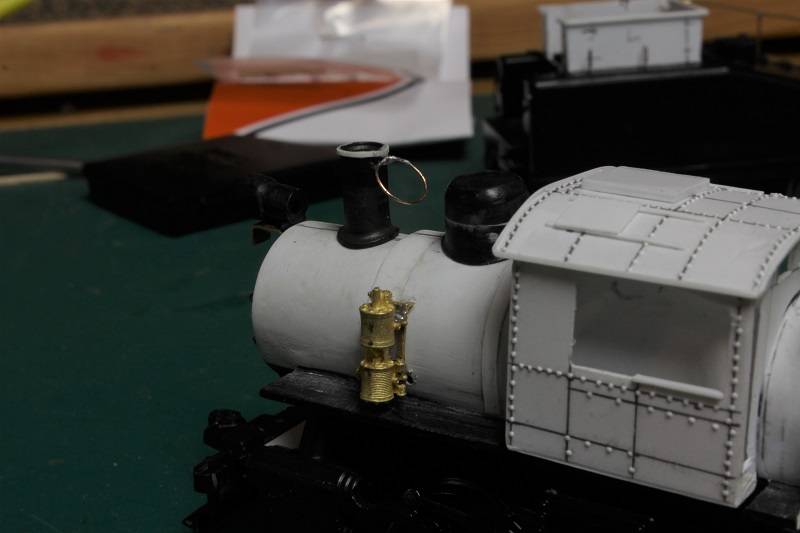
I have the sand dome reassembled and mounted in the next two pics. Also I have added the frame for the spark arrestor to the stack. I will add the mesh screening to it when the model is ready for paint.
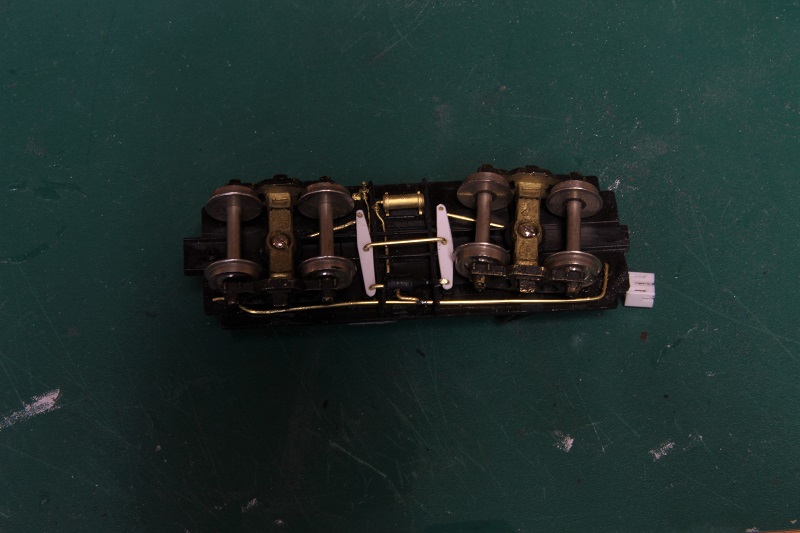
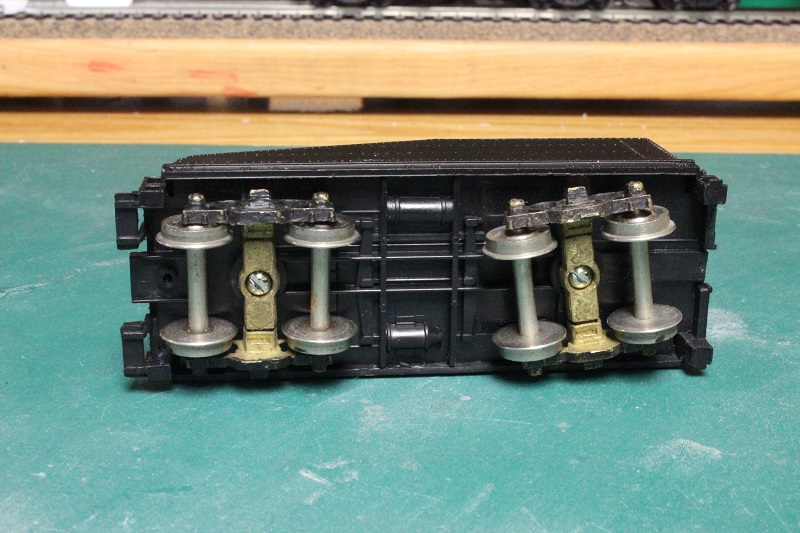
When you look at this old pic from the beginning of the thread, you can see the molded on brake detail. It looks terrible and just won't do.
I used the old brake rigging as a guide and scratched up some nicer stuff. I did decide to leave off the independent bail pipe for the #6 brake, as it interfered with the motion of the tenders front truck.
My other car is a locomotive, ARHS restoration crew
Posts: 2,724
Threads: 160
Joined: Dec 2008
I also started to work on the smaller details of the tender.
A #2 scoop and clinker hoe were scratched up from some brass. I soldered up an extra handle that will be placed into the coal pile after the engine is painted and weathered.
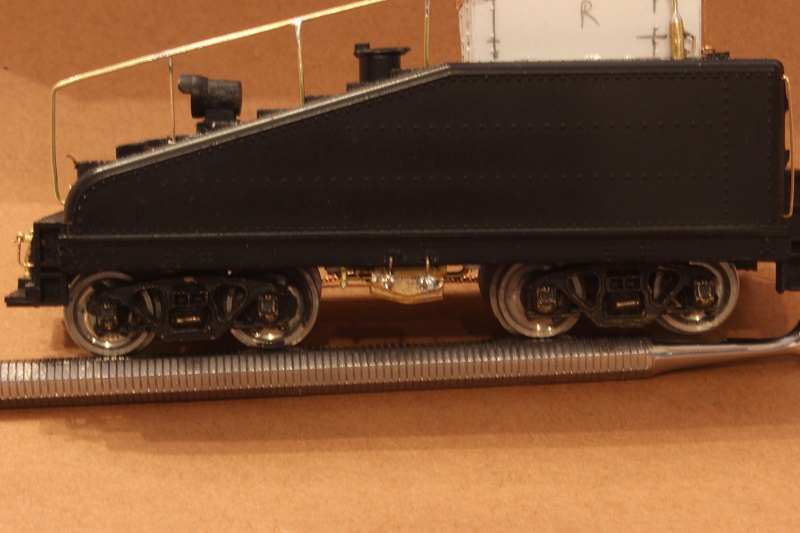
I also soldered up an oil can from some brass tube and wire.
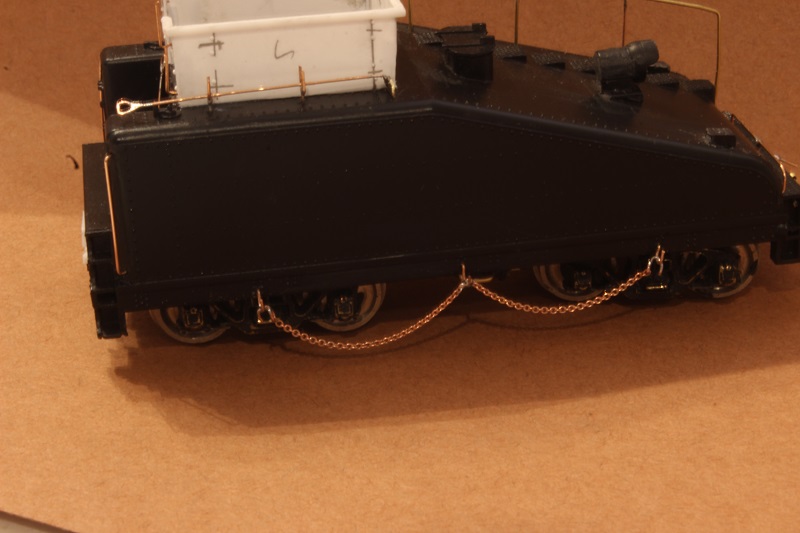
On the fireman's side of the tender I added a few hooks and hung a chain ( with hooks on the end ) off of it. It was all soldered together so I don't have to worry about it falling off.
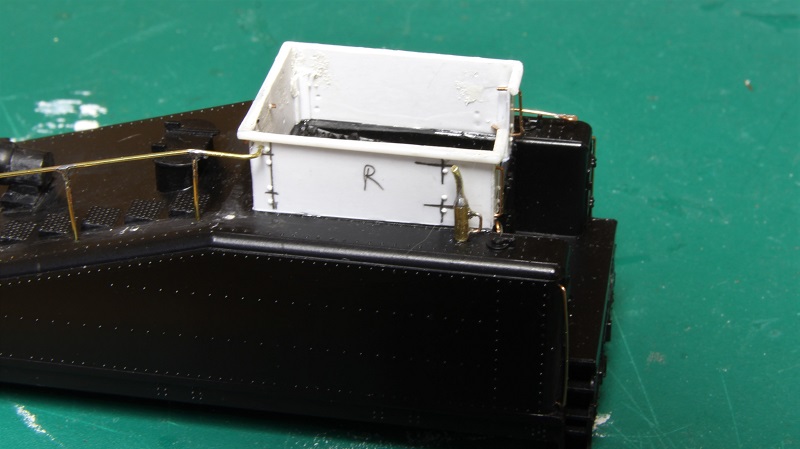
The engineers side received a set of hooks and a rerailing frog.

I was a little behind on my post with this project but with these pics I am all caught up.
My other car is a locomotive, ARHS restoration crew
Posts: 5,859
Threads: 175
Joined: Dec 2008
All of those little details really add to the over-all effect...very nice!  
Wayne
Posts: 2,724
Threads: 160
Joined: Dec 2008
Messed around with the cab this weekend, fitted some doors and windows along with a few other things.
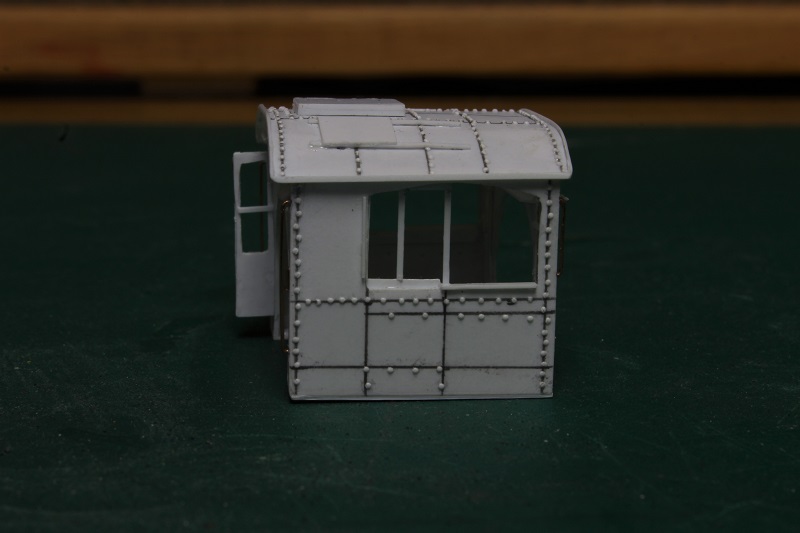
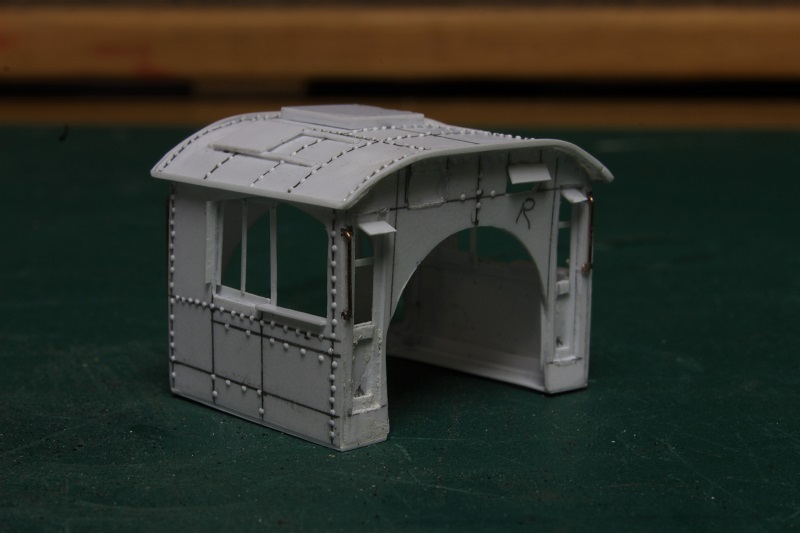
Sun shades and grabs were also a must with this cab.
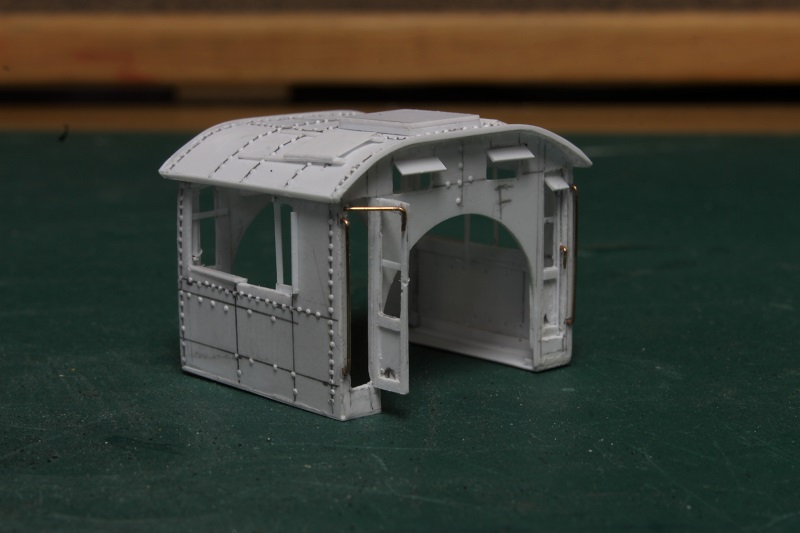
I had to blank over one of the smaller windows on the rear of the cab as it is also the location where the air lines enter the cab from the air tanks.
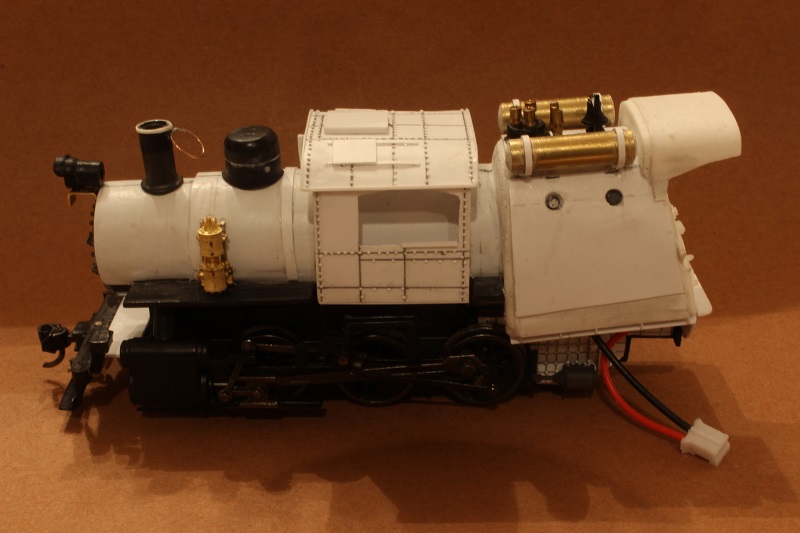
The window slider on the brakeman's cab is now in also.
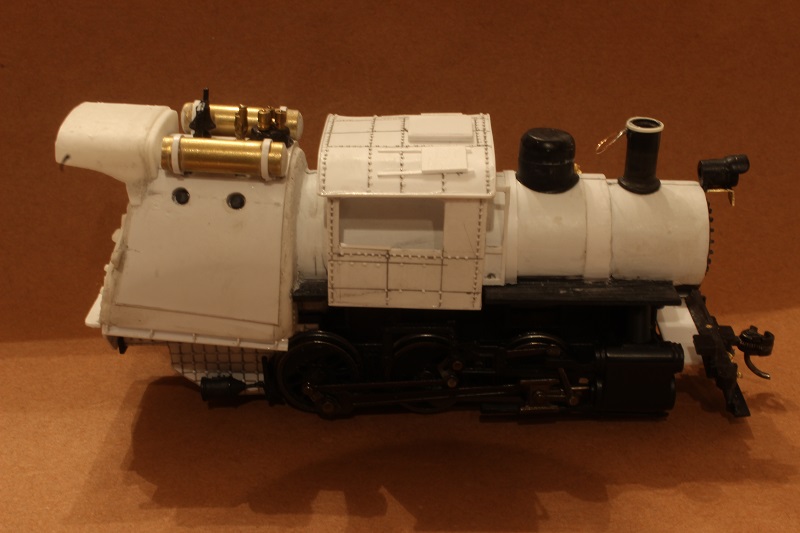
My other car is a locomotive, ARHS restoration crew
Posts: 2,724
Threads: 160
Joined: Dec 2008
As I wait for the cab details to set up so that I can do some sanding and filling, I went to work on the pilot.
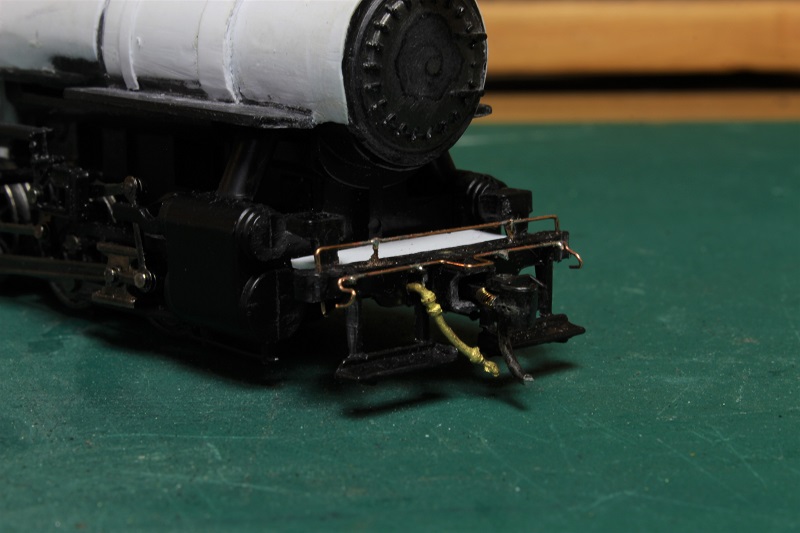
I added the grab across the beam and the cut lever. Both were bent and soldered from some .015 brass wire.
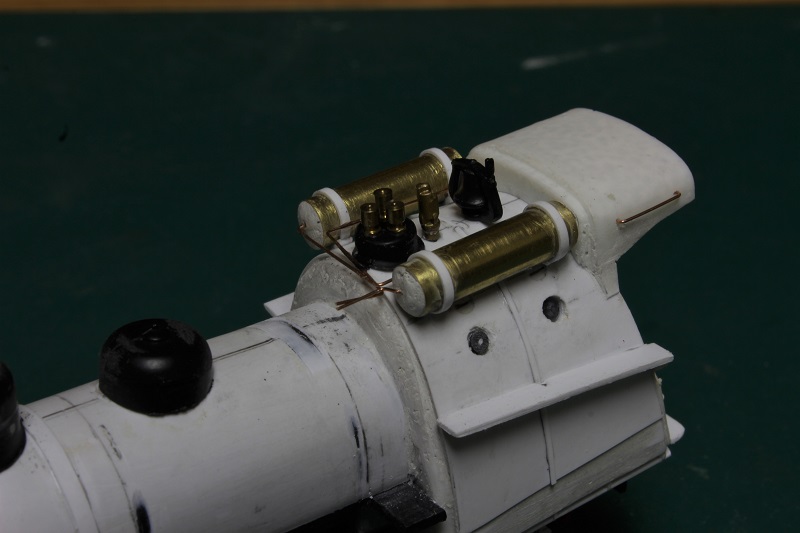
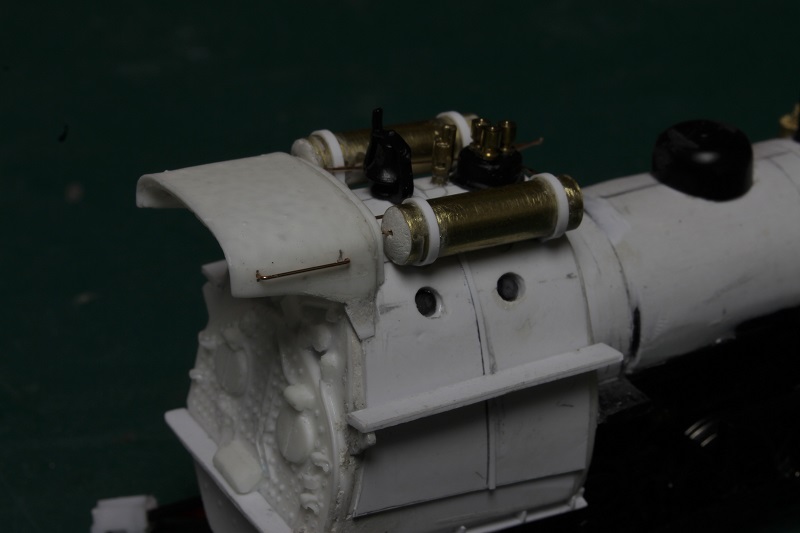
The firebox walkways were hung, and air lines installed for the tanks. You will also notice the grabs on the fireman's shelter. A boiler band running between the clean-out plugs was also a necessity. I'll have to get a shot of the underside of the firebox to show the supports for the walkways. Along with the other new details I have also added the steam dome which is located inside the center cab. This was another time when my Russian decapods came to the rescue by donating a steam dome for the cause.
My other car is a locomotive, ARHS restoration crew
Posts: 5,859
Threads: 175
Joined: Dec 2008
Very nice work, Steve.  
That open cab door is a nice touch, and will be well-appreciated by the engineer on those hot summer days.
Wayne
Posts: 1,123
Threads: 85
Joined: Nov 2010
A very nice and creative work. 
Cheers Lutz
Posts: 3,731
Threads: 44
Joined: Dec 2008
Mike
Sent from my pocket calculator using two tin cans and a string
Posts: 2,724
Threads: 160
Joined: Dec 2008
Quote:That open cab door is a nice touch, and will be well-appreciated by the engineer on those hot summer days.
Well Doc, In the winter the fireman froze and in the summer the engineer roasted. That was life on the Anthracite roads. To escape the heat, most camel drivers would sit on the cab window armrest.
A couple of pic of where she is at now.
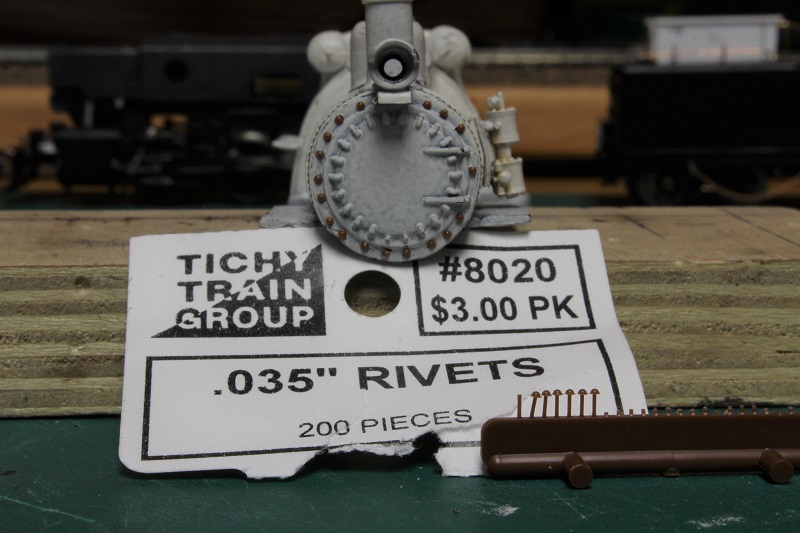
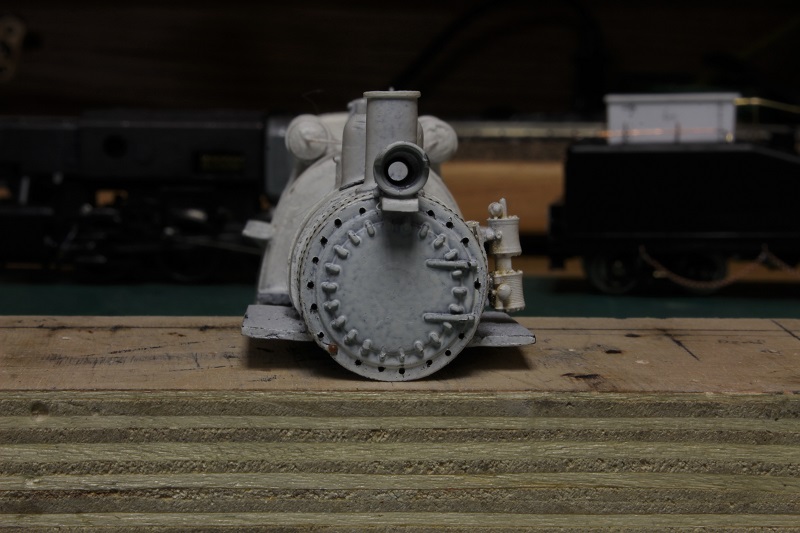
I gave the boiler a shot of primer. This will serve two purposes, It will show any areas where the sanding of filling needs some touch ups, and will give my rivet decals a better surface to stick to. I learned about the last one when I built my super mike's tender.
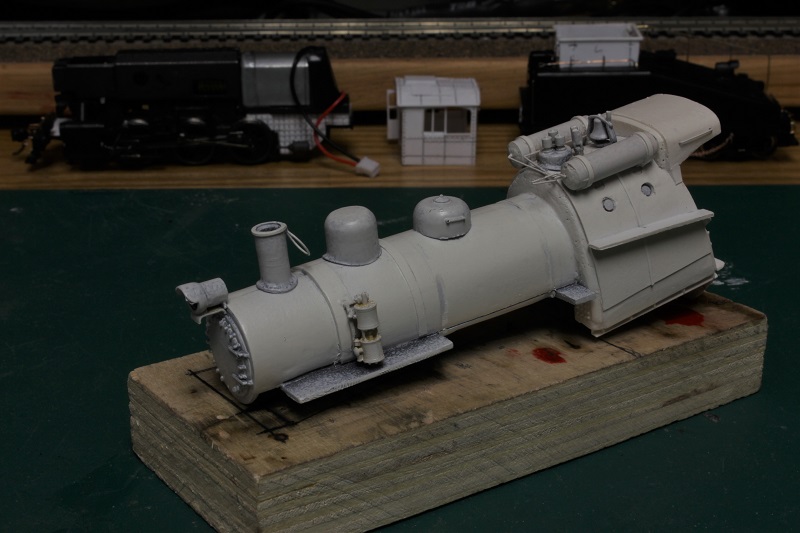
On the boiler front The rivet decals just won't work. The decals are too stiff to curve around the perimeter of the boiler front door. So I went with plastic rivet details. I drilled a series of holes and glued them in one at a time. 
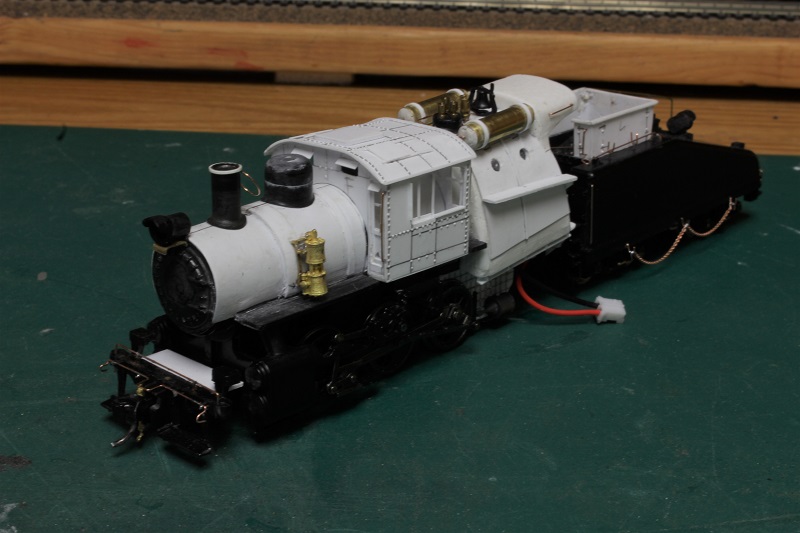

My other car is a locomotive, ARHS restoration crew
Posts: 2,724
Threads: 160
Joined: Dec 2008
Now the smoke box has a few courses of rivets.
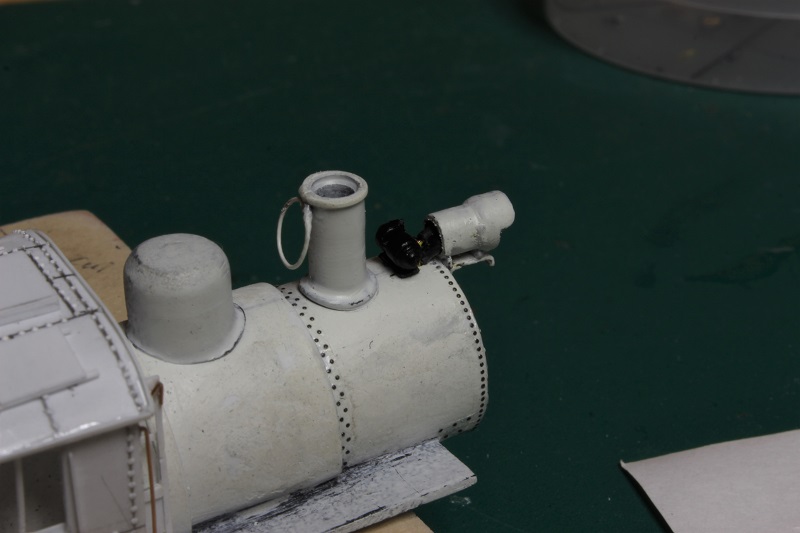
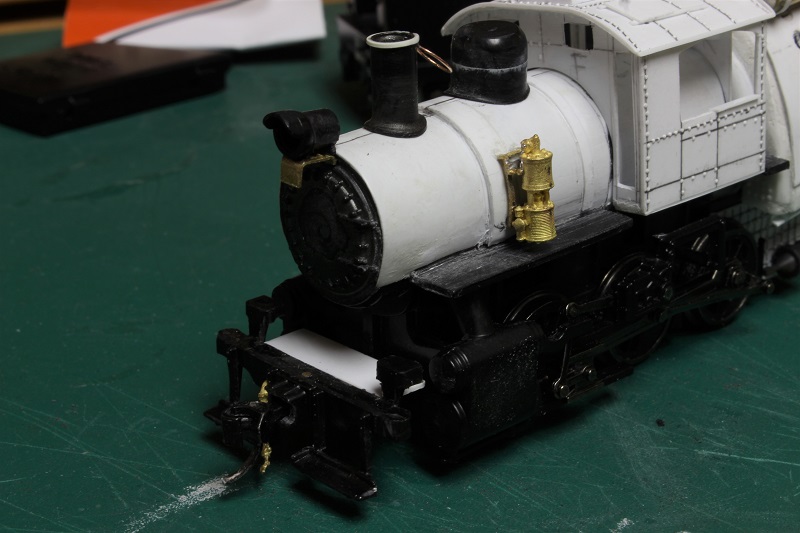
After a quick trip to the lhs to pick up some more LED's, I got to work on installing the front headlight. I removed this models smoke unit at the very beginning of this thread. The resulting open spot in the models frame gave me a nice bit of room to place the resistor for the LED. I drilled and tapped two holes in the frame, tightened down a set of 2-56 screws, and ground down the heads to clear the boiler. This gives me a spot to solder to and still use the frame as a power source.
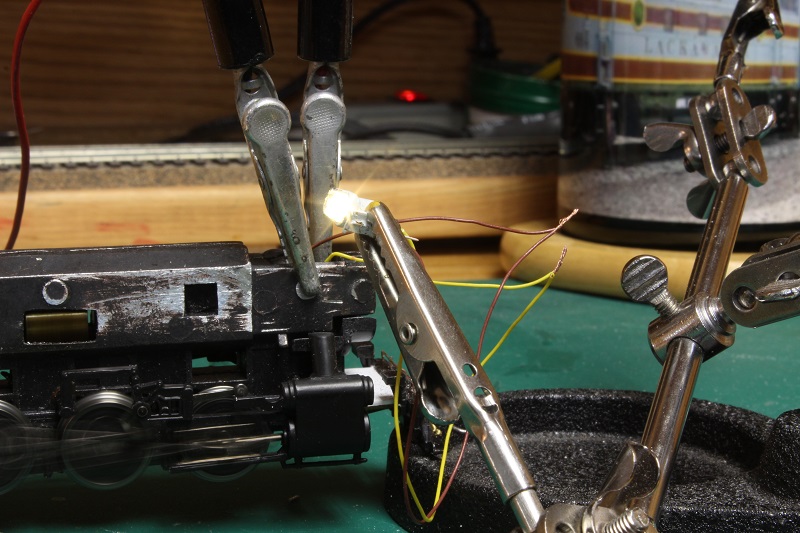
Even 3 mm LED's are too big for HO headlights, I had to file the ridge at the back of the LED to get it to fit into the Casting.
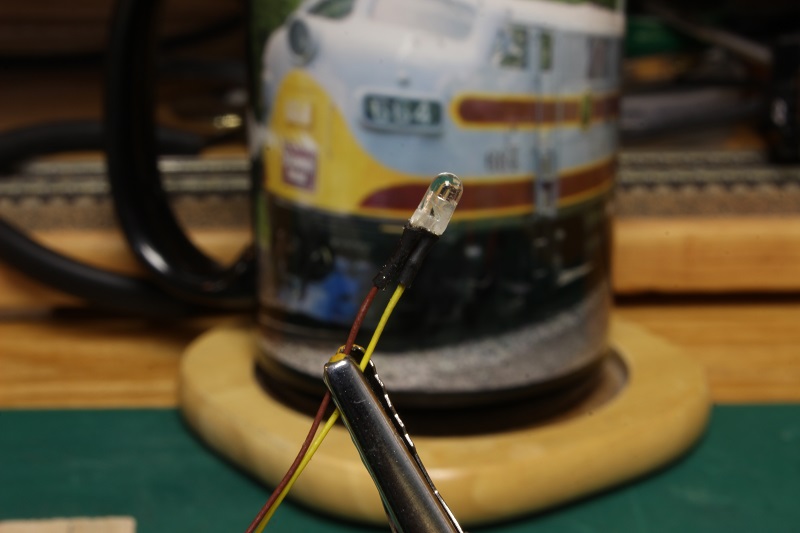
A quick test to see if it works.

and then it was reinstalled and the generator glued into place.

My other car is a locomotive, ARHS restoration crew
Posts: 305
Threads: 13
Joined: Sep 2013
e-paw Wrote:I have been watching the other threads in the challenge and see some very nice work,
Yeah, and I'm seeing some here! 
Cheers, the chain dragging Bear. 
"One difference between pessimists and optimists is that while pessimists are more often right, optimists have far more fun."
Posts: 2,724
Threads: 160
Joined: Dec 2008
Had a little time after work today so I started on the rear walkway access. Each railroad did things a little different when it came to how to get from the center cab to the rear deck. I went with what is probably the most common. A single step was added to the firebox front and an altered step ladder on the back end of the walkway.
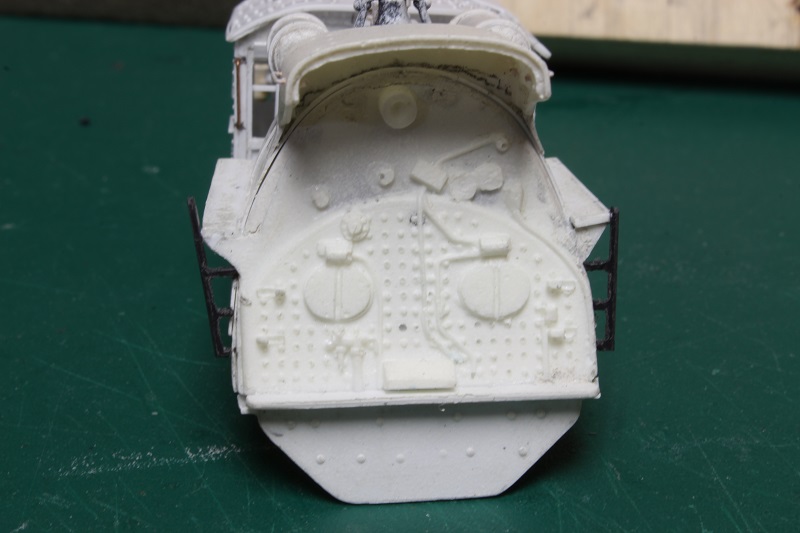

A little more trimming and fitting and I will be happy here, then it will be time to start the railings.
My other car is a locomotive, ARHS restoration crew
Posts: 2,724
Threads: 160
Joined: Dec 2008
My other car is a locomotive, ARHS restoration crew
Posts: 2,724
Threads: 160
Joined: Dec 2008
I've been working on the plumbing the last day or so.. The tender water feeds are in, fireman's injector and sight glass have been mounted, Aux air tanks are hung, Check valve installed, Compressor piping completed, and the sand lines mounted.

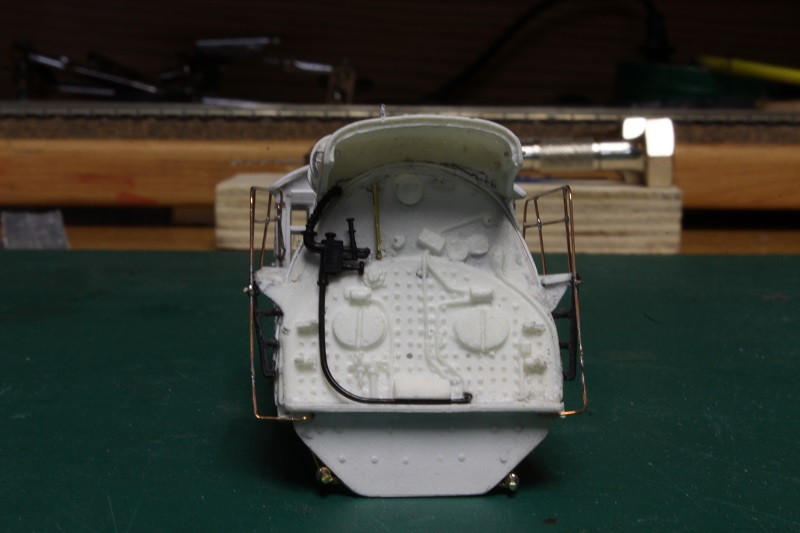
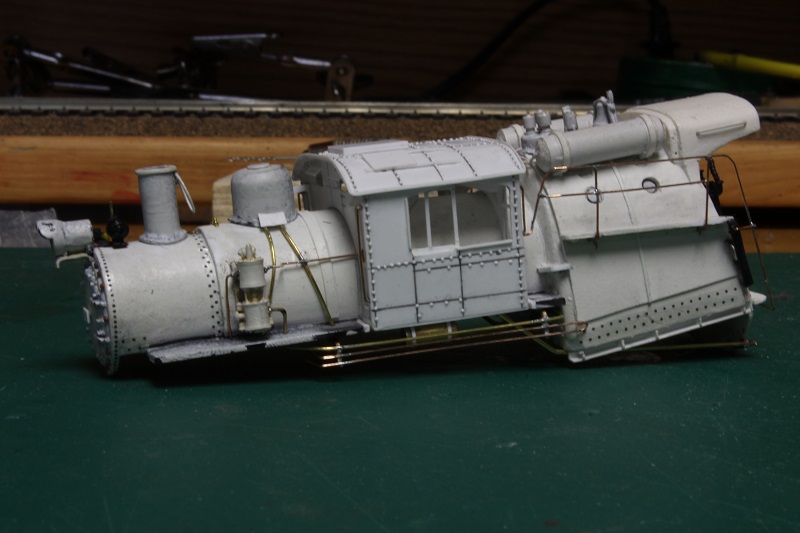
I also wanted to add a detail that is common to the two prototypes I am using as a guide. Under the brakeman's cab a small box containing a firehose is hung. I had built a box similar to this a few years back and made a mold of it, so out came the casting resin. hopefully it will be set later tonight and it can then be mounted also.
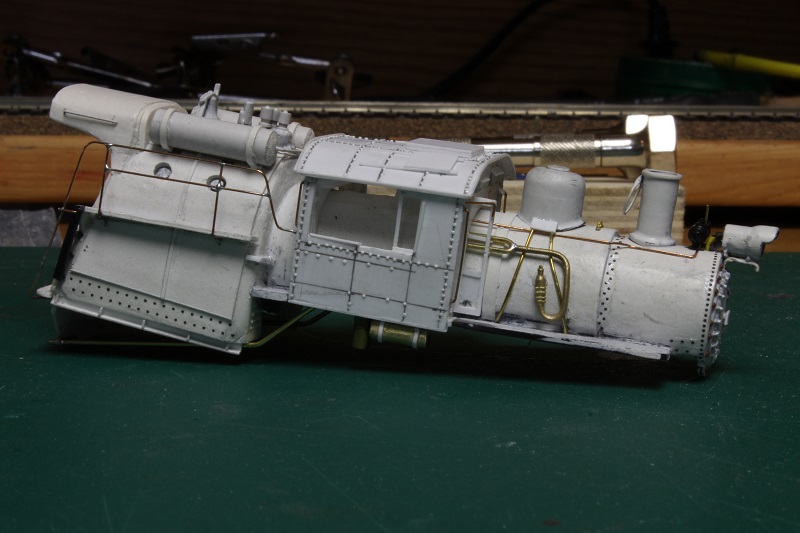
Still have lots to do, I'm trying to do a little every day when time permits.
My other car is a locomotive, ARHS restoration crew
Posts: 5,859
Threads: 175
Joined: Dec 2008
That's really coming along nicely, Steve....can't wait to see her in paint.  
Wayne
|


