Posts: 5,859
Threads: 175
Joined: Dec 2008
...where I hope to finish my to-do list of passenger and head-end cars, with some for me and a few for a couple of friends, too. Some will be kitbashes and/or upgrades to existing cars, while others will be scratchbuilds, using commercially available parts.
Wayne
Posts: 5,859
Threads: 175
Joined: Dec 2008
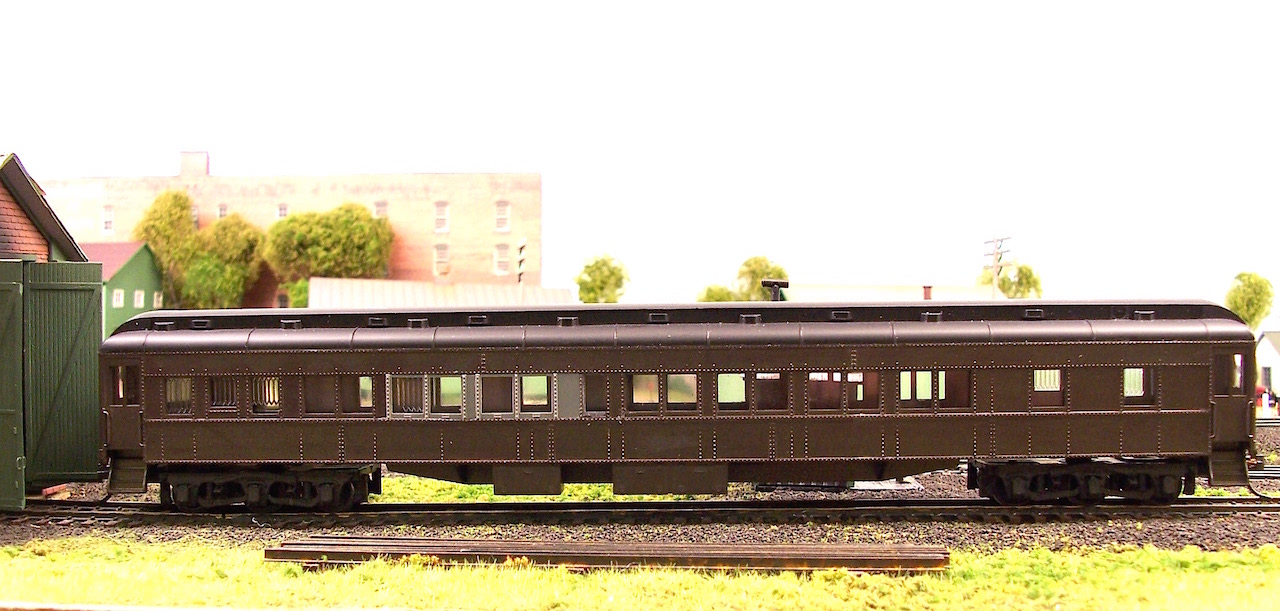
Here's some of the stuff on which I'll be working......a couple of Rivarossi 12-1 Pullman cars which were being converted into 8-1-2 cars. I used some New England Rail Services parts made specifically for these cars, but have run out of parts, so will scratchbuild or improvise to finish them...
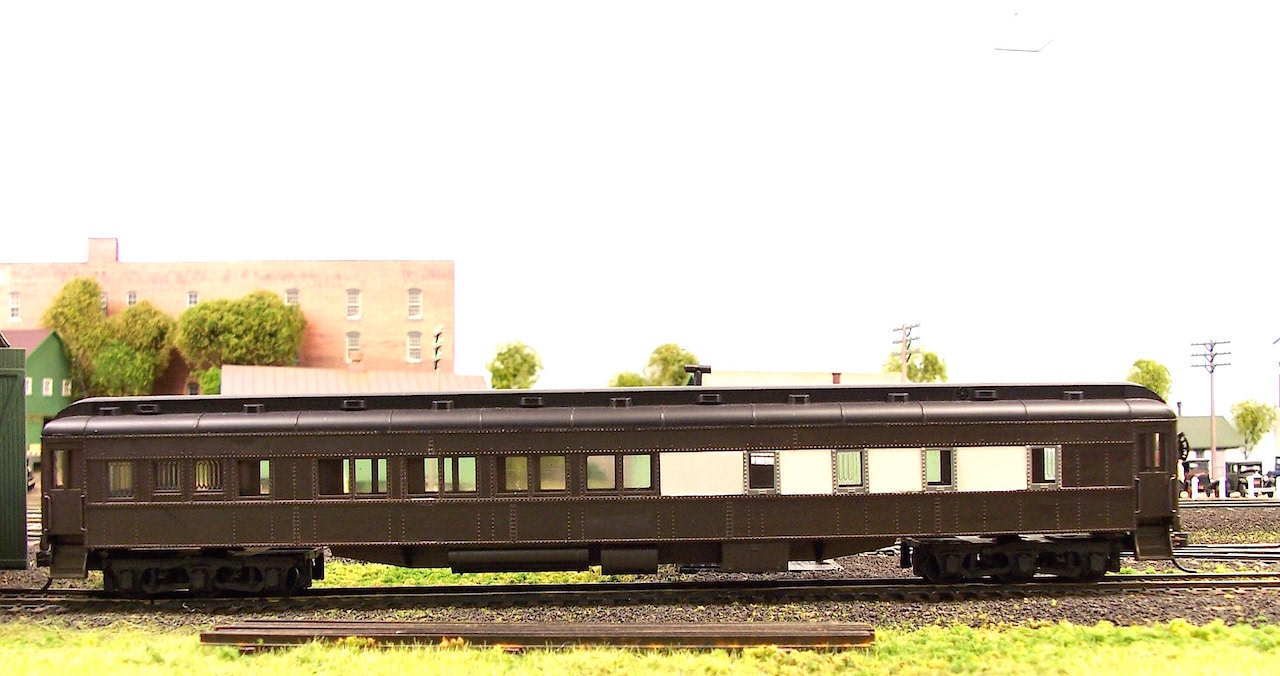
I had solicited parts and/or cars from a couple of friends, to aide in this project, as both had contributed a few extra parts that would prove useful to achieve my goals. Here's one, an Athearn postal/baggage car - I'd already decided to keep it for my own layout, and replace it with something else for the original owner, but I did shorten it...

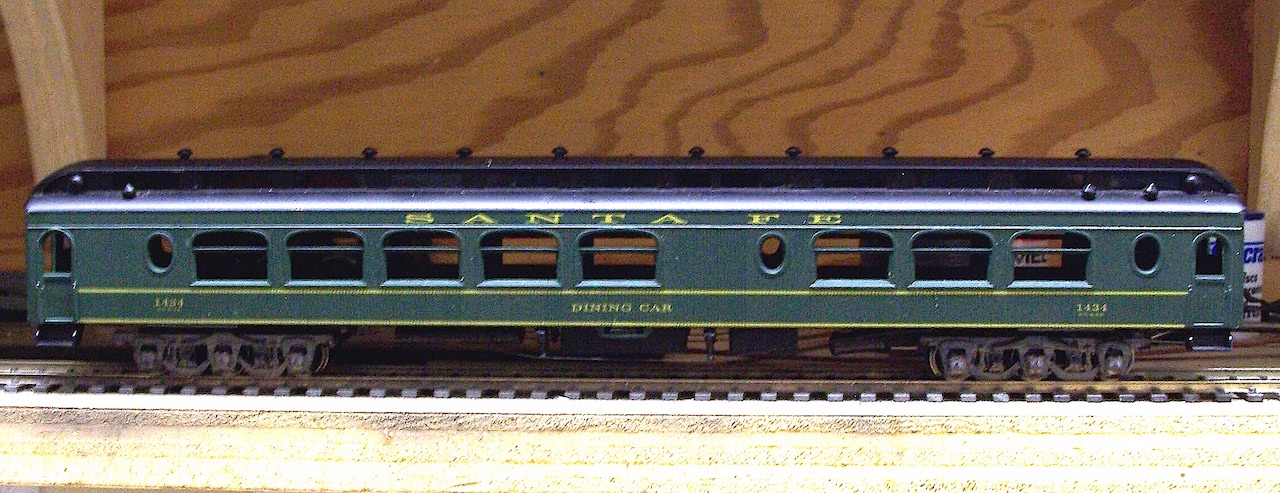
Here are some Model Die Casting Pullman Palace cars, given to me by another good friend...
....a dining car...
...and a Pullman Sleeper car...

...and an observation car...
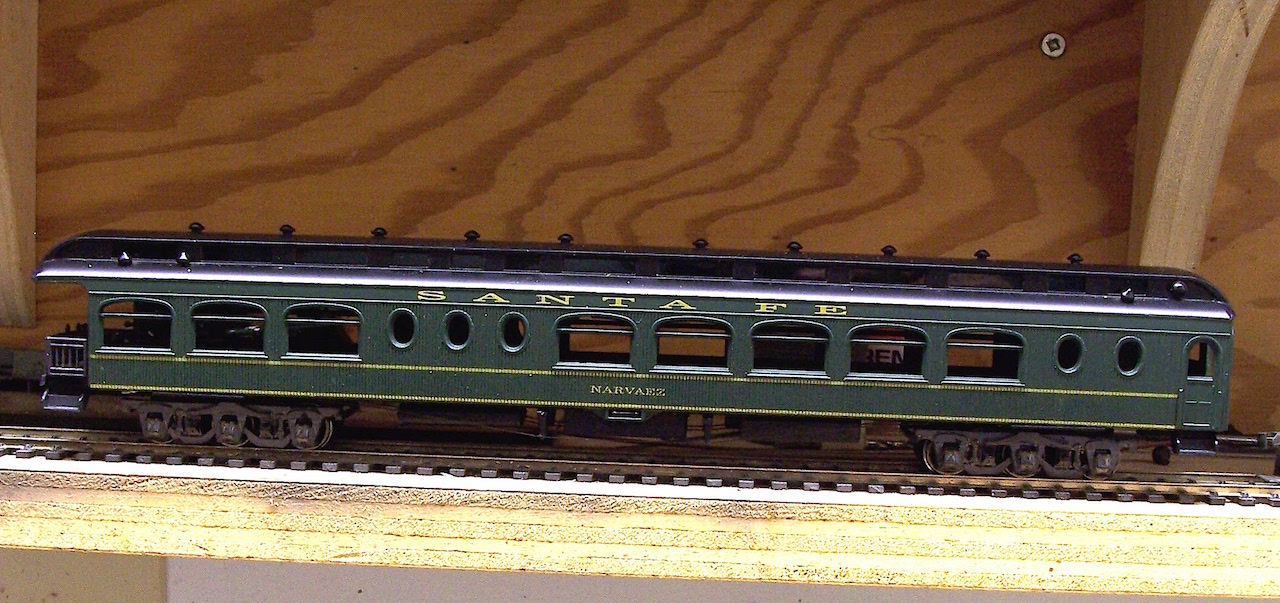
I have plans for the first two cars, which I'll reveal later, and am mulling-over what I want to do with the observation car.
Here's some more stuff for my Challenge, four Model Die Casting roofs for their old-time 50' passenger cars...

...I have a few ideas on what I want to do with them, along with these three roofs, from Nickel Plate Products...
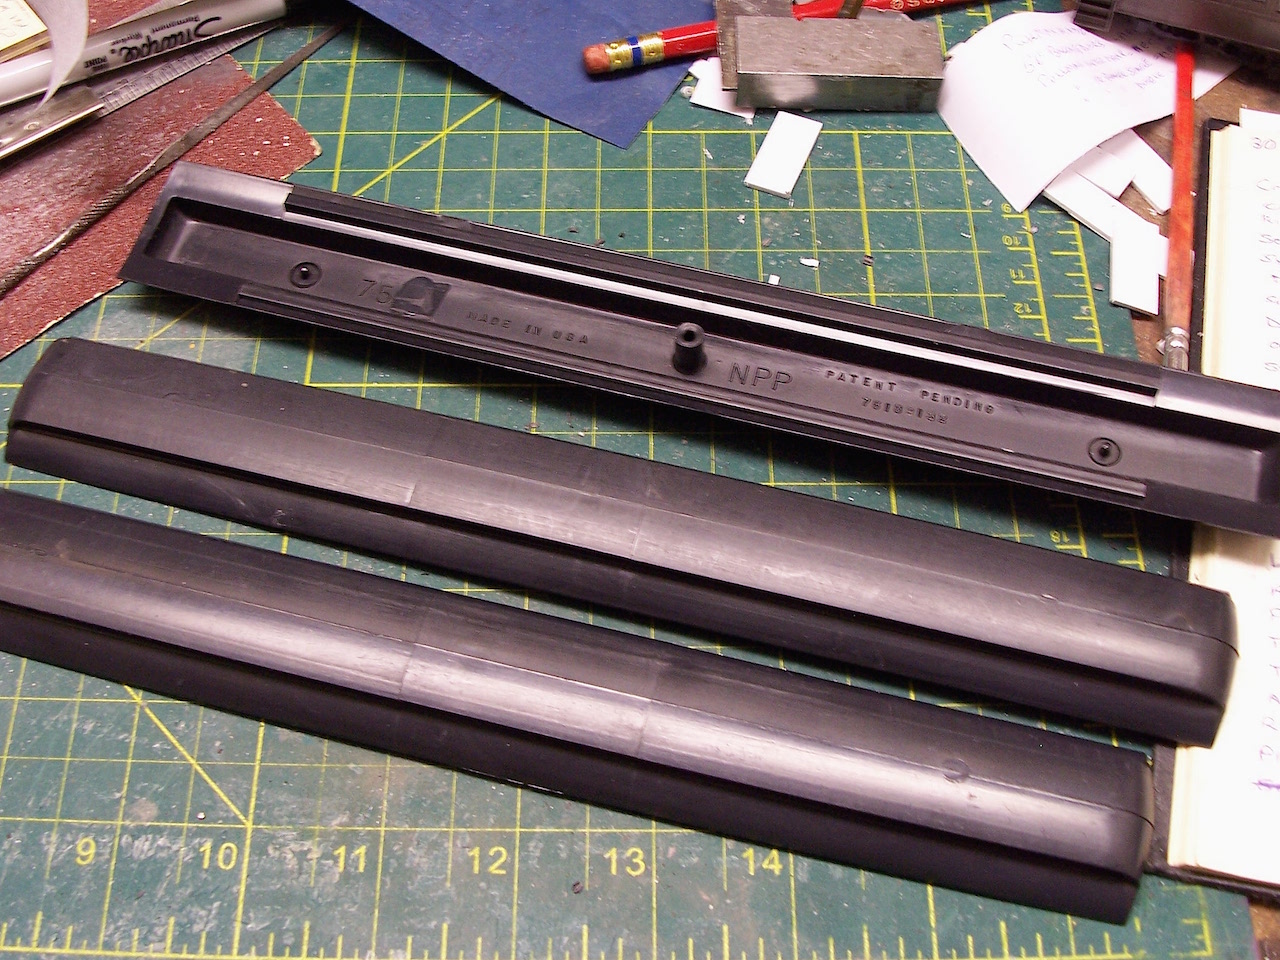
I plan to shorten the three roofs above, then scratchbuild three models of the car in this photo...

...one for each of the contributors, and one for myself.
There are a few more cars that I hope to finish, and will add photos of them later.
Wayne
Posts: 3,021
Threads: 160
Joined: Dec 2008
Ambitious project Wayne! Looks like you have a good collection of materials to work with.
--
Kevin
Check out my Shapeways creations!
3-d printed items in HO/HOn3 and more!
<!-- m --><a class="postlink" href="https://www.shapeways.com/shops/kevin-s-model-train-detail-parts">https://www.shapeways.com/shops/kevin-s ... tail-parts</a><!-- m -->
Posts: 2,595
Threads: 52
Joined: Dec 2008
That is quite a few cars. It will be interesting to see the final products.
Posts: 5,859
Threads: 175
Joined: Dec 2008
A few more photos of most of the other stuff on my to-do list...
This one was a Rivarossi diner, donated by one of the two friends...
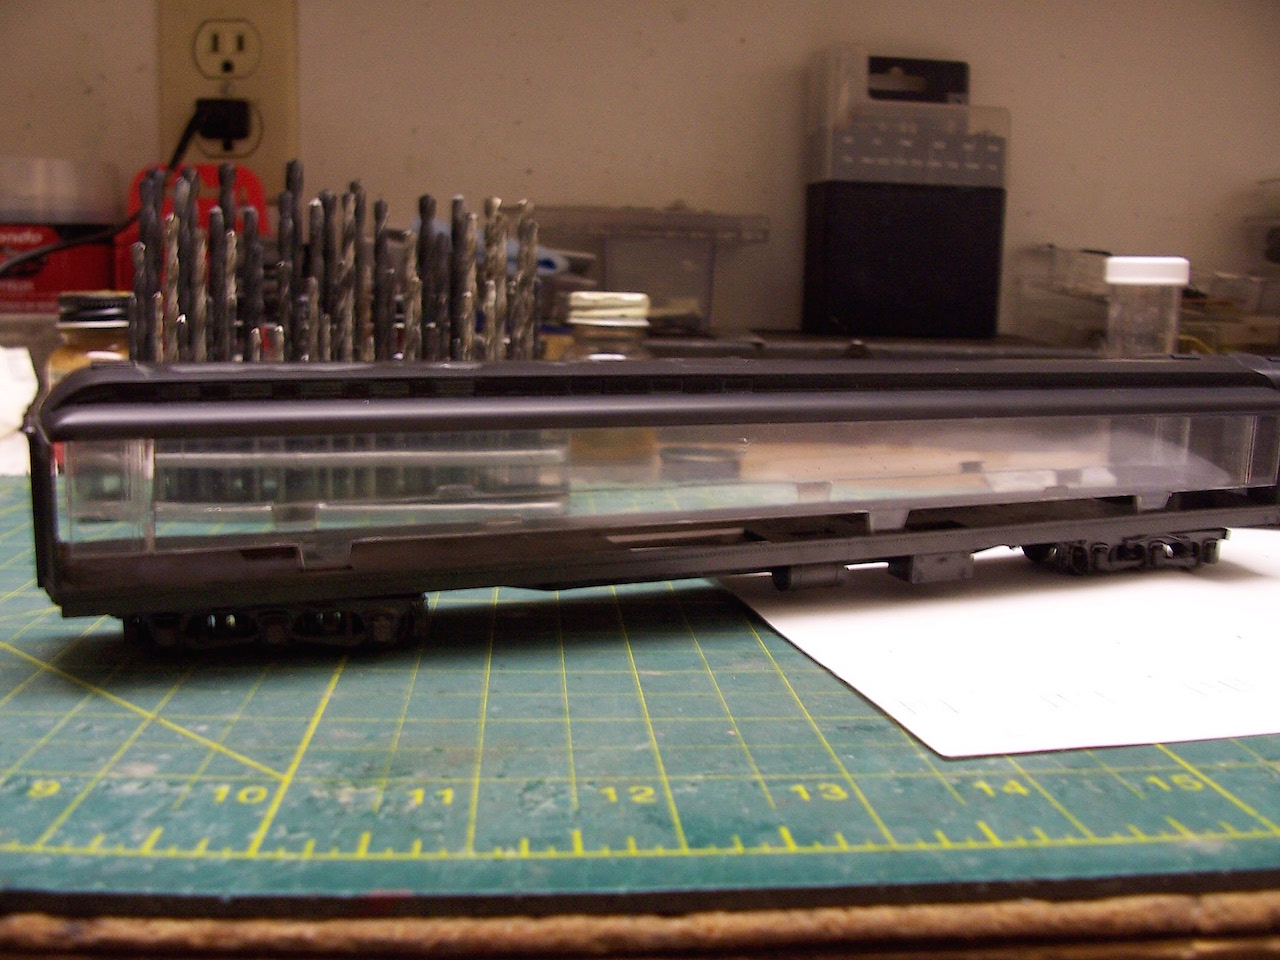
I've removed the sides, and will shorten the car to about 72', then turn it into a wood-sheathed baggage car. It'll be returned to its owner.
This one is a Rivarossi duplex sleeper, one of two which were cannibalised to create a coach of sorts: Some years ago, I used the aisle-side wall from this car's body, to replace the duplex side on the other car. I did, however, keep the duplex side of that car, and have grafted it onto the remainder of this one....
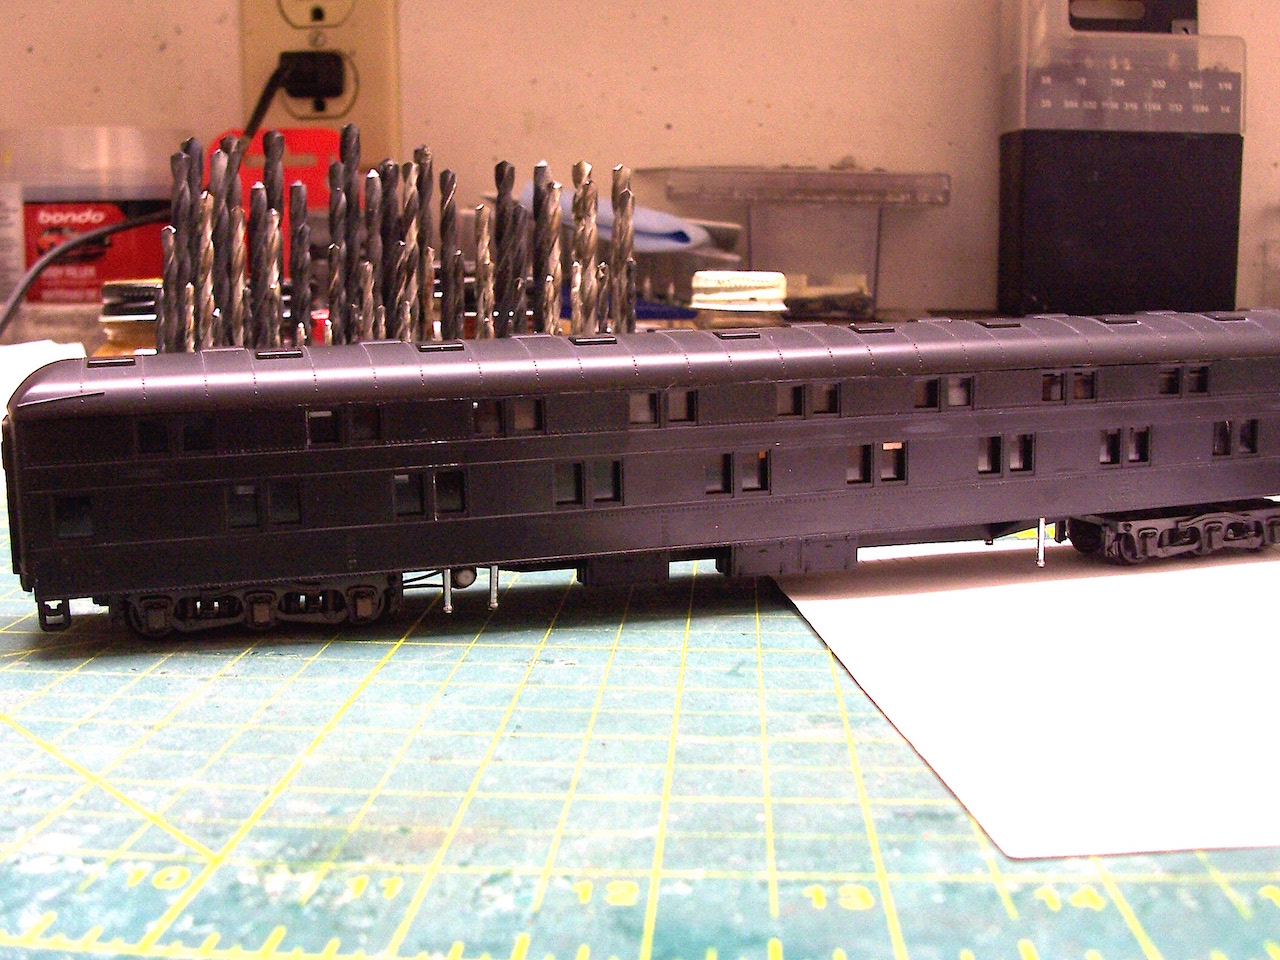
...it's not likely that this car has a prototype, but this will be economy sleeper-class for the masses...the other side of the car is a duplicate of the side shown.
I have plans for these three Rivarossi coaches, too: all three will become 61' wooden baggage cars (head-end cars are my favourites)....

...but rather than waste the cars' sides, I'm going to use the door and window portions, along with some scribed siding, to replace the sides on two of the MDC Palace cars shown earlier. I'll also shorten the Palace cars from 80'-ers to the prototypical 70' length of two similar TH&B prototypes. Here's the MDC Palace cars again...

This one was an experiment done more years ago than I can remember....
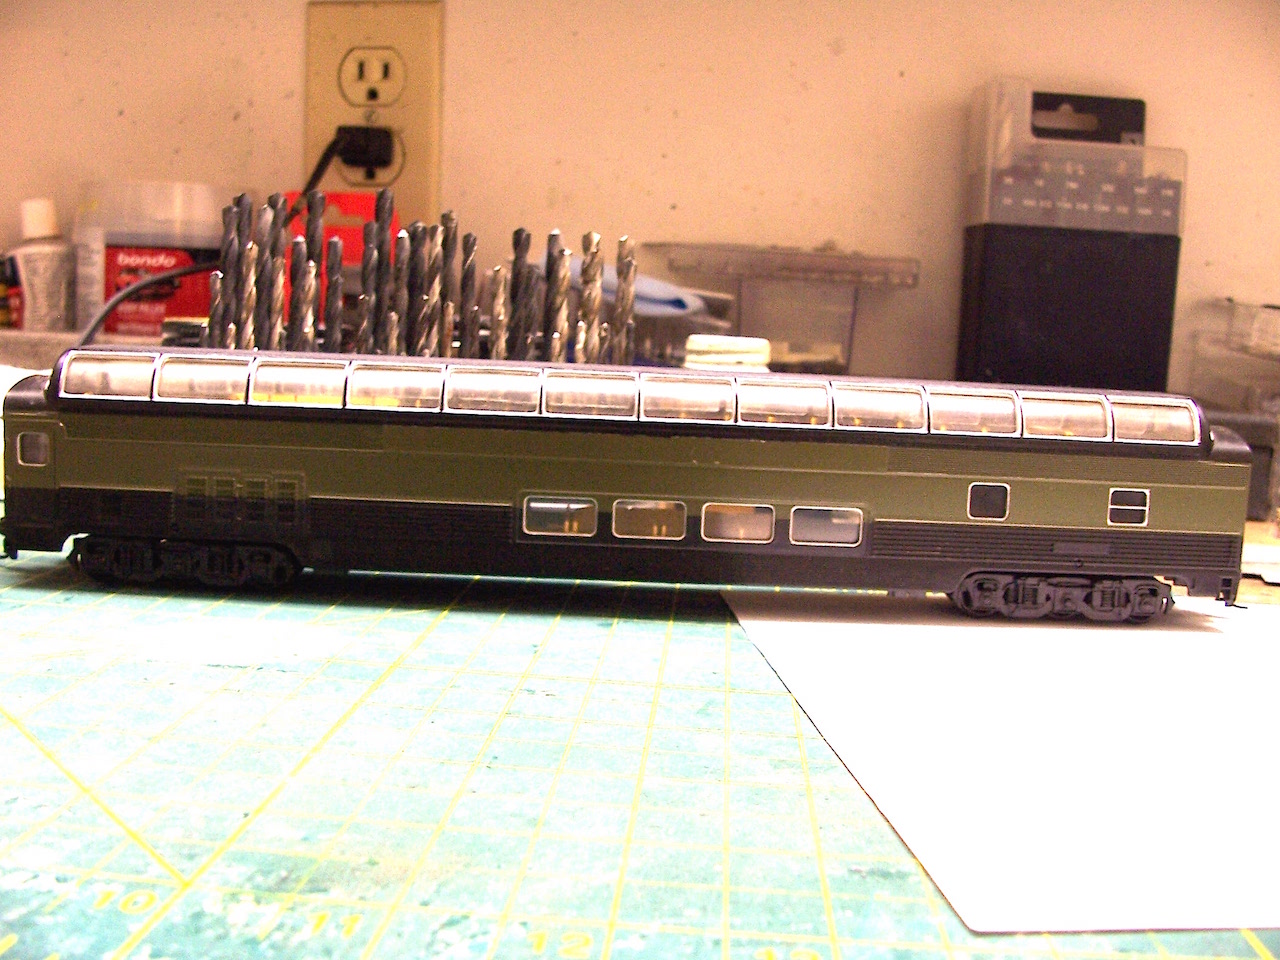
...and I'm hoping to repair the lettering issues on the side of the car not shown, as the striping there was messed-up due to the corrugated sides of the car. If I can put it in a better state, it will be returned to its owner.
That should be the total of what needs to be done...unless something else shows up in the meantime.
Time to get to work.
Wayne
Posts: 5,263
Threads: 101
Joined: Dec 2008
Looks like lots of over-time hours for the dedicated and hard working crew down at the EG&E car shops.
Posts: 3,021
Threads: 160
Joined: Dec 2008
This thread is going to be a great resource for the future!
--
Kevin
Check out my Shapeways creations!
3-d printed items in HO/HOn3 and more!
<!-- m --><a class="postlink" href="https://www.shapeways.com/shops/kevin-s-model-train-detail-parts">https://www.shapeways.com/shops/kevin-s ... tail-parts</a><!-- m -->
Posts: 2,595
Threads: 52
Joined: Dec 2008
I am still in awe how you can image the final product coming from the cars you have to work with.
Posts: 5,859
Threads: 175
Joined: Dec 2008
I did manage to make a start on a couple of cars. The first one was a car not even on my list, but while I was picking-out cars done some time ago, in order to match details on the current batch, I discovered several that lack some fairly basic stuff....I don't have the parts needed for doing them, but will order some when the current health situation returns to a more "normal" status.
Here's the car, originally a Rivarossi coach, which has been shortened by about 7'(HO), now as a wood-sided baggage car....

...which was lacking basic brake gear (the original moulded-on brake gear was there, but not really visible from trackside.
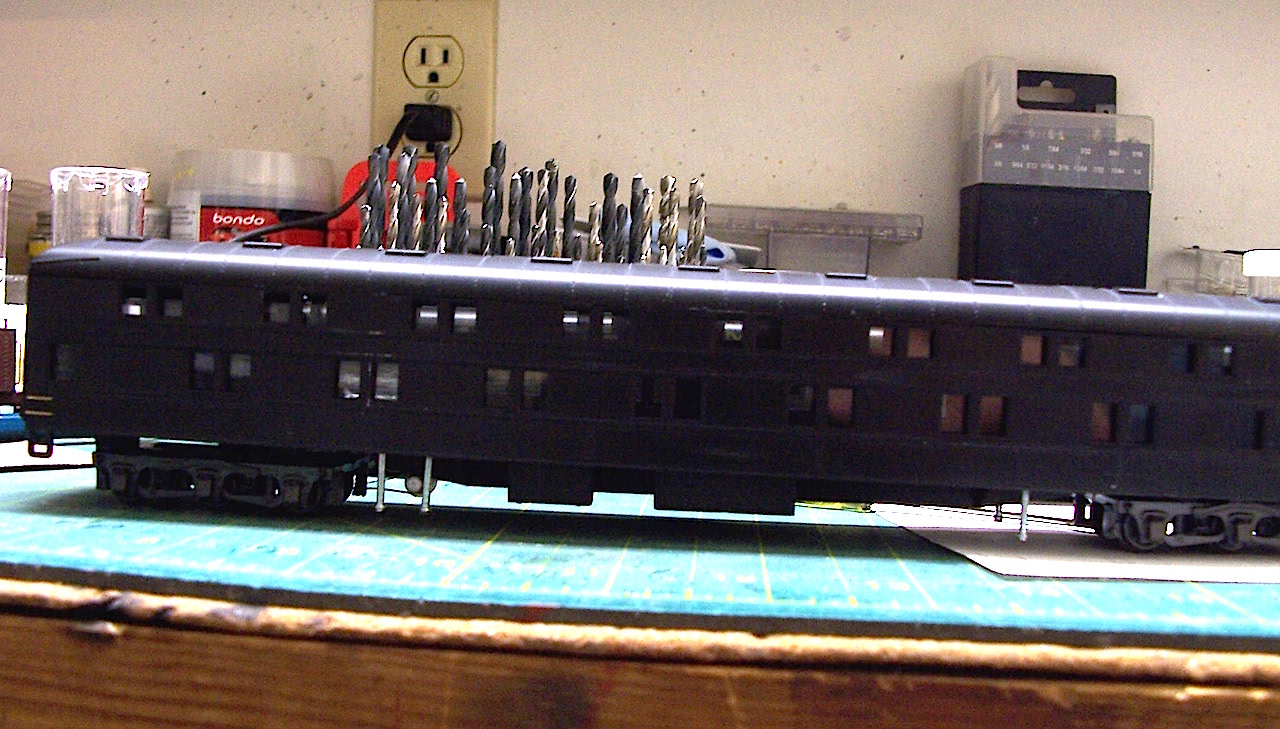
Here's a couple views of what I added to upgrade it a bit....

...and as seen from the side

This is the duplex sleeper, which has fairly deep sidesills. That would make most underbody detail visible only when the car derails and rolls-over. Because of that, added detail is minimal. Here's the main addition, a belt-driven generator, which, on the real cars runs the lighting and other electrical-operated amenities, in addition to keeping the underbody batteries fully charged...important when the car is not in motion.
The generator, on a real car, runs via a belt from the closest wheelset's axle, or, in some cases, via a driveshaft geared off the axle or near the journal box.
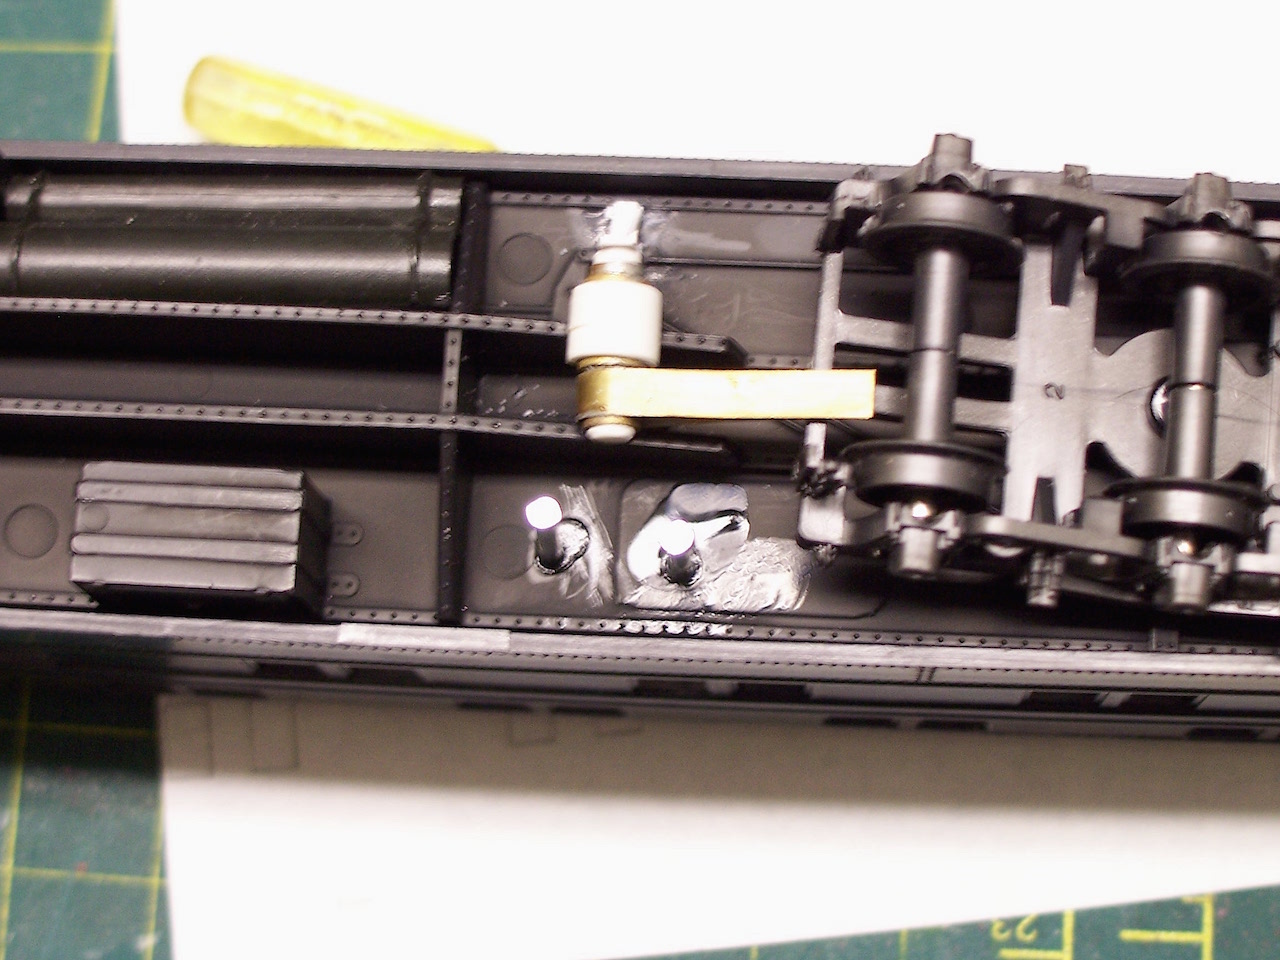
In addition to the generator (I mass-produced 15 or 20 of them some time ago), I added some vapour regulators (often called steam traps) made from suitably-sized finishing nails, and a couple of grabirons at the non-door sides near the ends of the car.
I hope to get a couple more cars to a point where they can at least get a coat of primer. However, I don't plan on doing paint jobs and lettering until all cars are completed.
Wayne
Posts: 3,755
Threads: 44
Joined: Dec 2008
Mike
Sent from my pocket calculator using two tin cans and a string
Posts: 1,127
Threads: 86
Joined: Nov 2010
Wayne,
a very excellent solution for the generator belt! 
Das muß ich mir merken (This i have to keep in mind.)
Lutz
Posts: 5,859
Threads: 175
Joined: Dec 2008
Thanks for the support, guys. 
Wayne
Posts: 996
Threads: 64
Joined: Mar 2015
Wayne, I love the looks of that CN mail express prototype.
Posts: 5,859
Threads: 175
Joined: Dec 2008
(04-03-2021, 10:38 PM)cnrglen Wrote: Wayne, I love the looks of that CN mail express prototype.
Yeah, it's a neat looking car. One of the friends who have donated cars and parts for this Challenge bought the photo at a train show, and asked me if I could build a model of it. I agreed to do so, but explained that I had a lot of other stuff (not all model railroading stuff) that would take priority. That was several years ago, and I figure this is an opportunity to finally get it done. I like that car so much that I'm going to make three of them...one for the requestee, one for the other friend who has donated stuff, and one for me.
I was curious about the car's history (the photo seller who provided the picture noted that it was difficult to read the car's number, but he wrote on the back that it was likely 7866).
I had borrowed the Lepkey/West book on CNR Passenger Equipment 1867-1992 from the other friend in the triumverate (I think that qualifies us as the 2021 version of the three stooges), so searched for that car number.
It turns out that there was never a CNR 7866. However, there was a 7666, formerly-owned by the Grand Trunk Pacific, which was folded into the CNR when it was formed in 1923. It's listed as a 60' mail/express car, originally numbered 108. The picture, by the way, was taken in 1954, and the car retired in December of 1961.
It originally had a full truss-rod underframe, but the CNR put a fishbelly underframe under it in 1925, leaving the outboard truss rods in-place.
Note, too, the Pintsch-gas tanks under the car, for in-car lights. I'm guessing that the one nearest the underframe is likely lower than the other in order to accommodate the brake rigging, so that's likely how I'll model it....I also suppose that a few days after the three models are finished and in their owners' hands, someone will provide proof of why that tank is lower, and it won't be what I was thinking. 
And....while still browsing through the book, I came across photos of two other GTP postal cars, 102 and 110. Both have fishbelly underframes and Pintsch gas tanks, and it looks like I'm sorta right and sorta wrong on the tanks' placement...it's likely lower in-part, to clear the brake gear, but it's also lower because the cross-bearers on a car with a fishbelly underframe are almost as deep, where they connect to the main frame, as the fishbelly portion, hence the lower position of that other tank. DOH!!   
Wayne
Posts: 5,859
Threads: 175
Joined: Dec 2008
Finally, something to show.
Here's that shortened Athearn postal car, with some underbody detail...

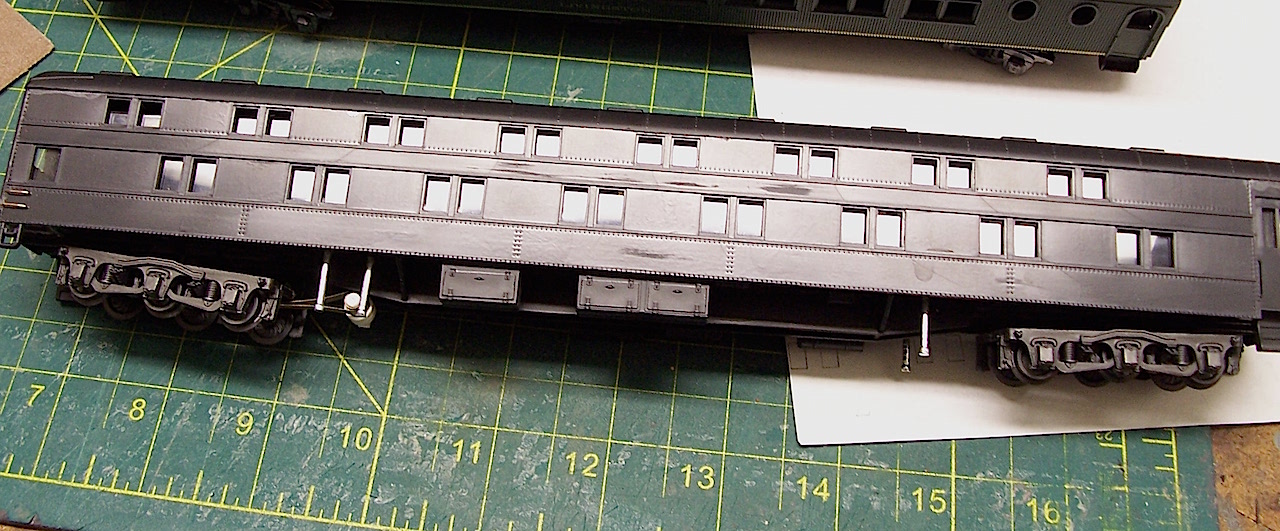
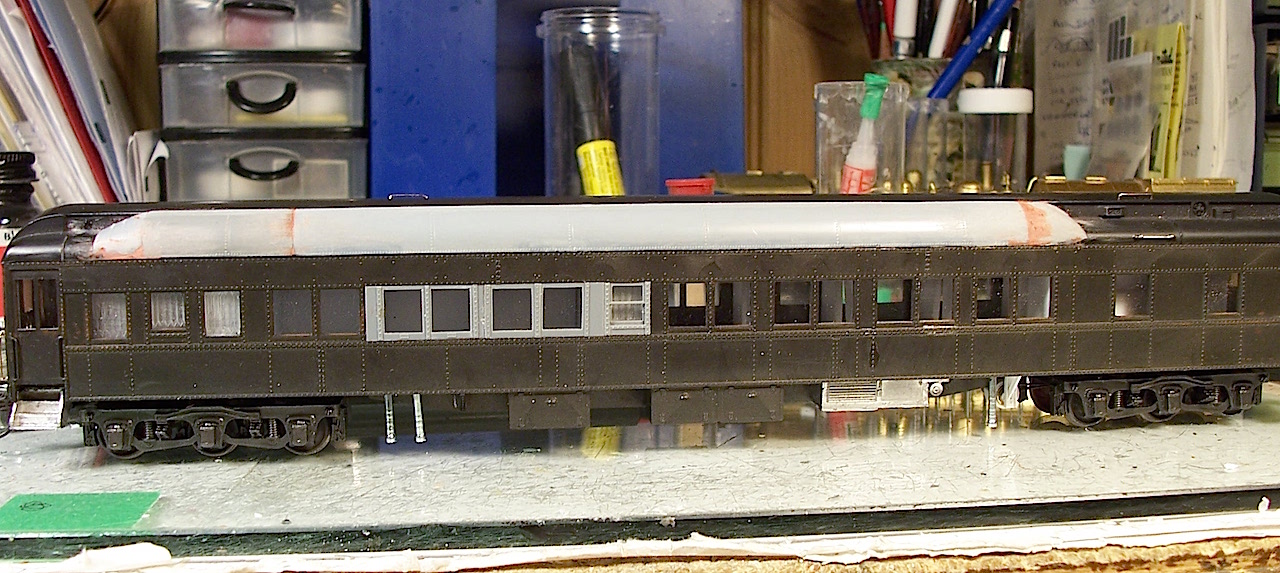
...and one of the two Rivarossi 12-1 Pullmans, converted into an 8-1-2 configuration (8 sections, 1 drawing room, and 2 compartments). Both cars are the same, although some of the components are different colours. Here's a view of the aisle side ...
...and the compartment side....
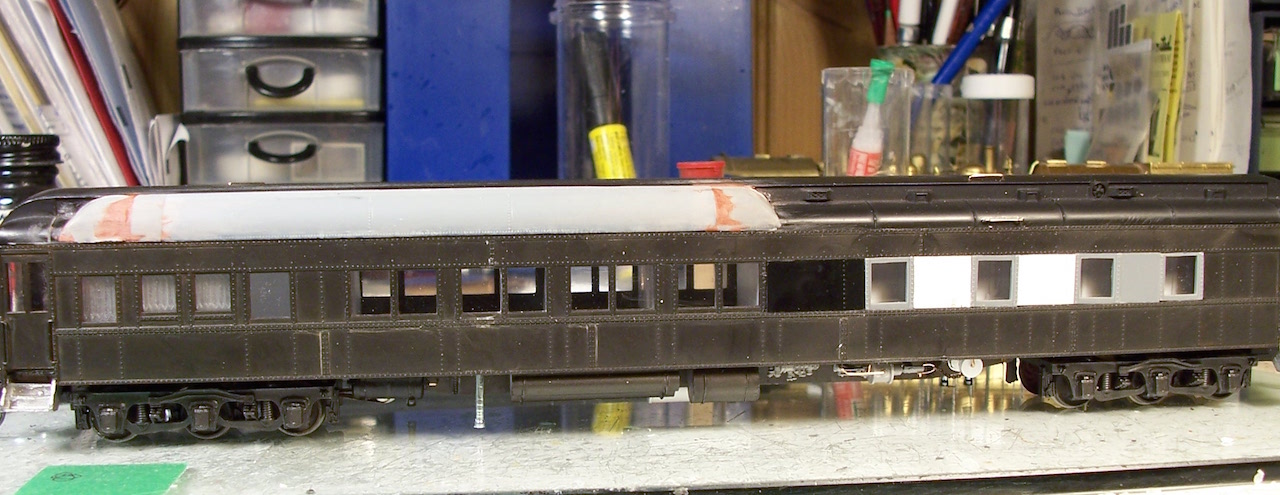
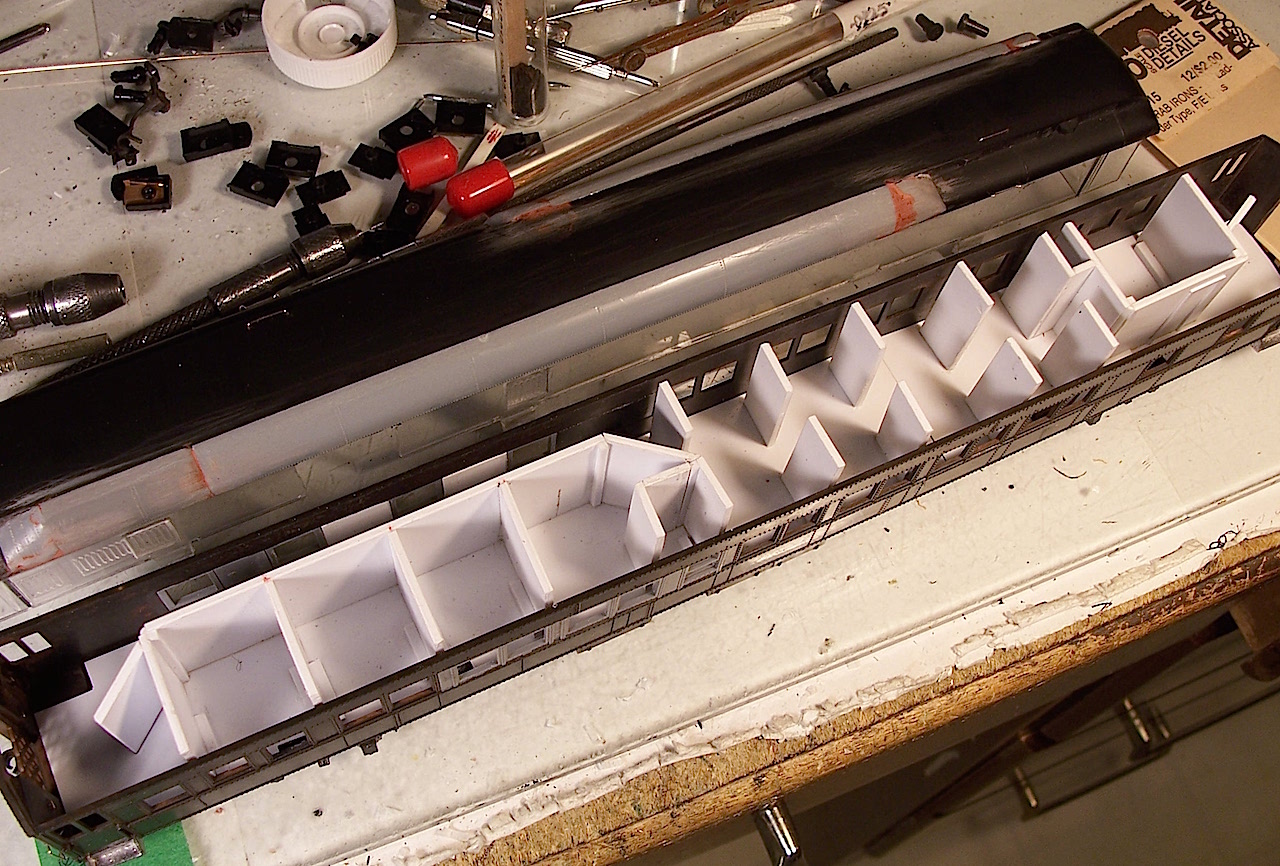
Here's a view of the rudimentary interior....both cars will eventually get seating in the sections, but I won't bother with details in the rooms
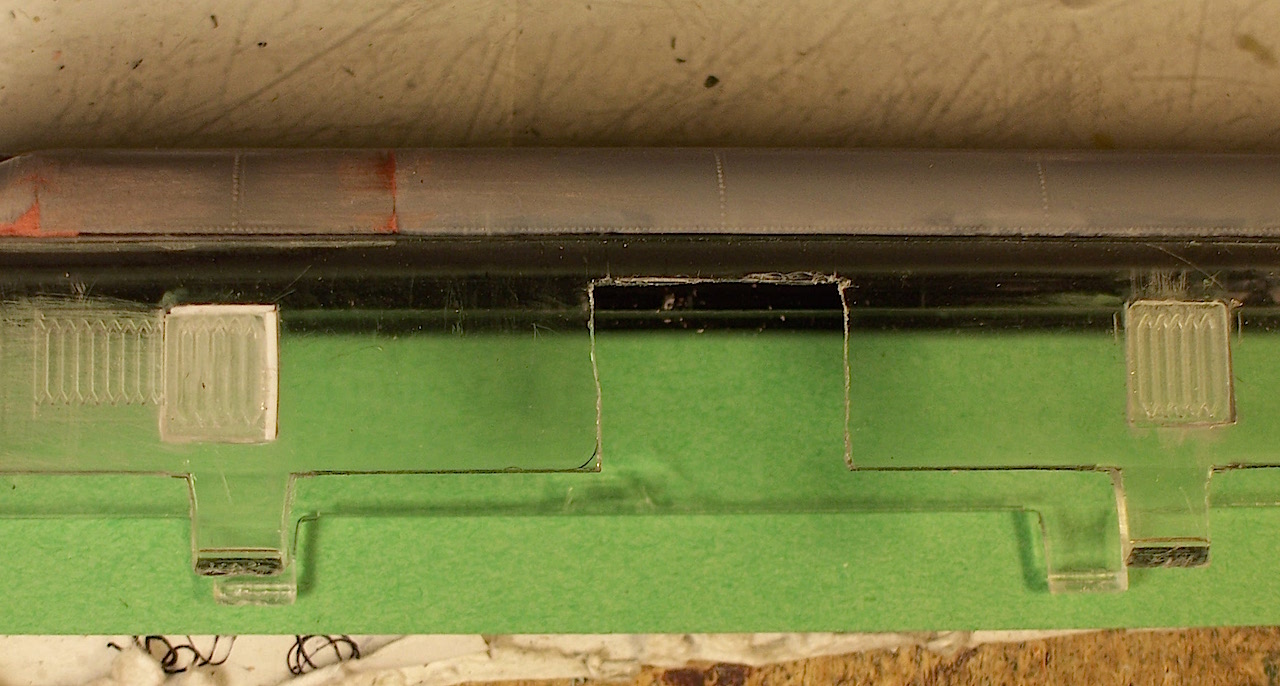
This view shows a couple of washroom windows (salvaged from other Rivarossi passenger cars) that were grafted into the window-portion of the Rivarossi roofs, due to the different interior layout - the one on the left is for the ladies washroom/lounge, the one on the right for the private washroom in the drawing room. The missing window segment had flaws and will be added separately, directly to the inside of the car, after the car is painted and lettered.
This is the underbody of one of the 8-1-2 cars...
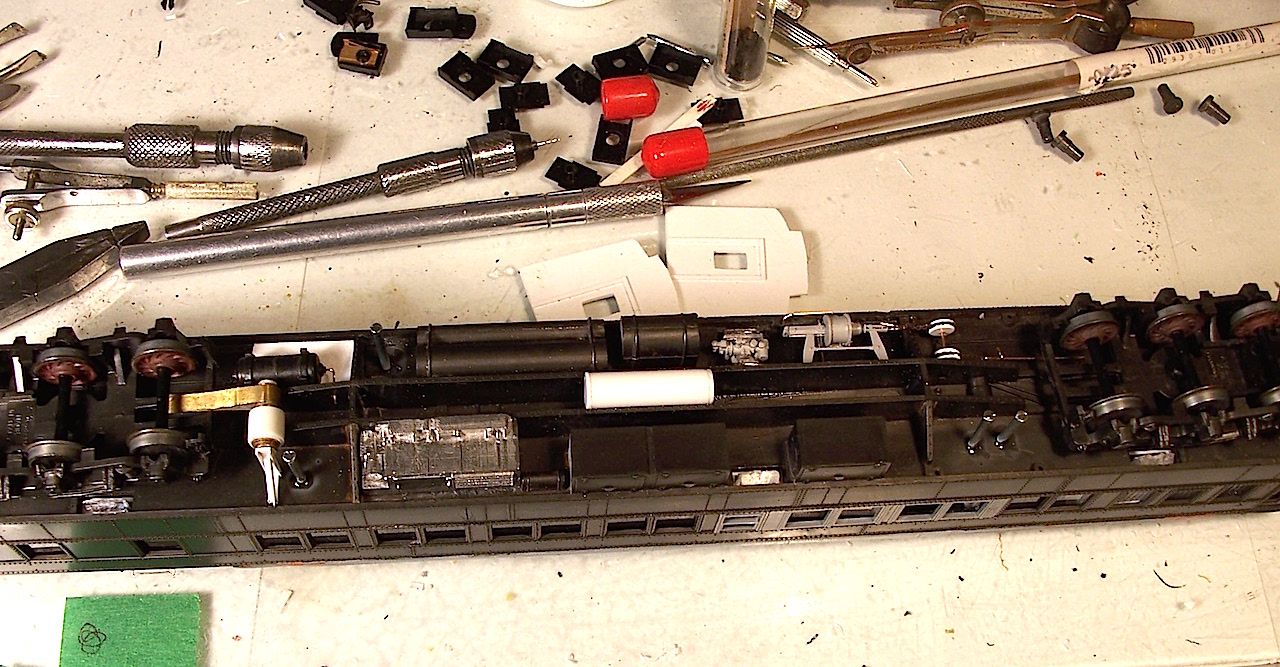
The two 8-1-2 cars, plus the duplex sleeper, and the postal car are ready for a coat of primer, and the baggage car which lacked underbody brake gear, will likely get those details painted with a brush.
But wait!...there's more...here's that 80' diner that was shown in an earlier post....I've cut the floor into 7 pieces (it's temporarily re-assembled to show the cuts...the 7th piece is only partially shown at right)...
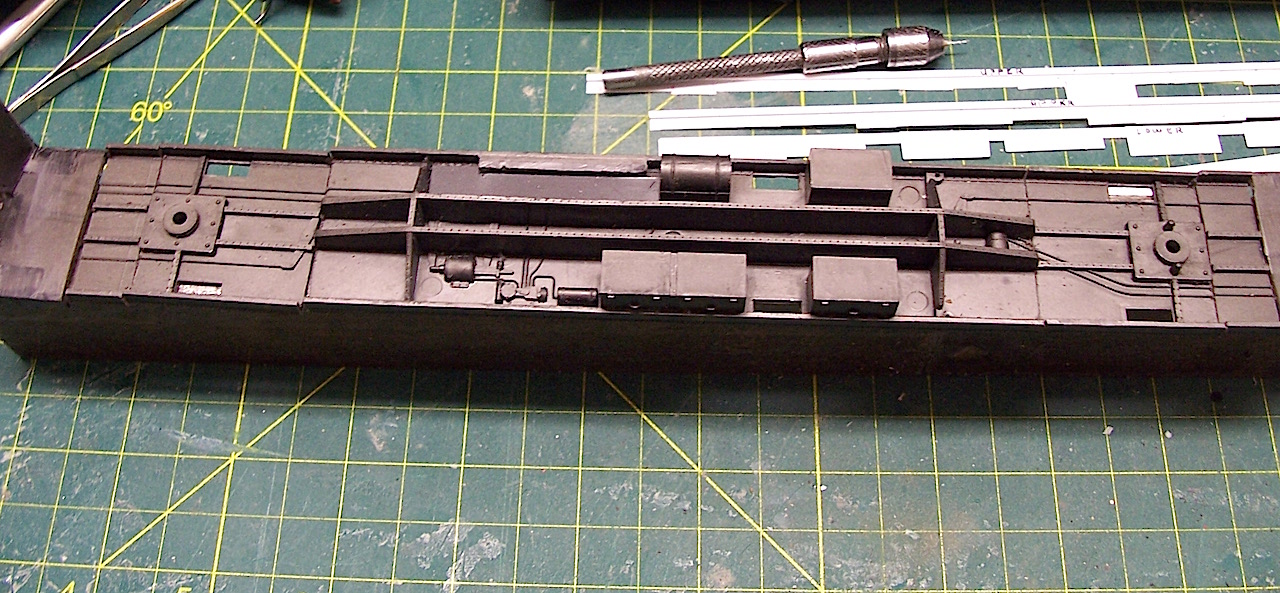
...and here's two of the pieces removed in order to shorten the 80' car into what will eventually be a 72' wooden baggage car...

Here's the floor cemented together, with two .060"x3'(HO) strips of styrene to stiffen the multi-piece floor...(the lead weights are there only to hold the stiffeners vertical while the glue sets, although I will be adding permanent lead weights before the car returns to its owner.
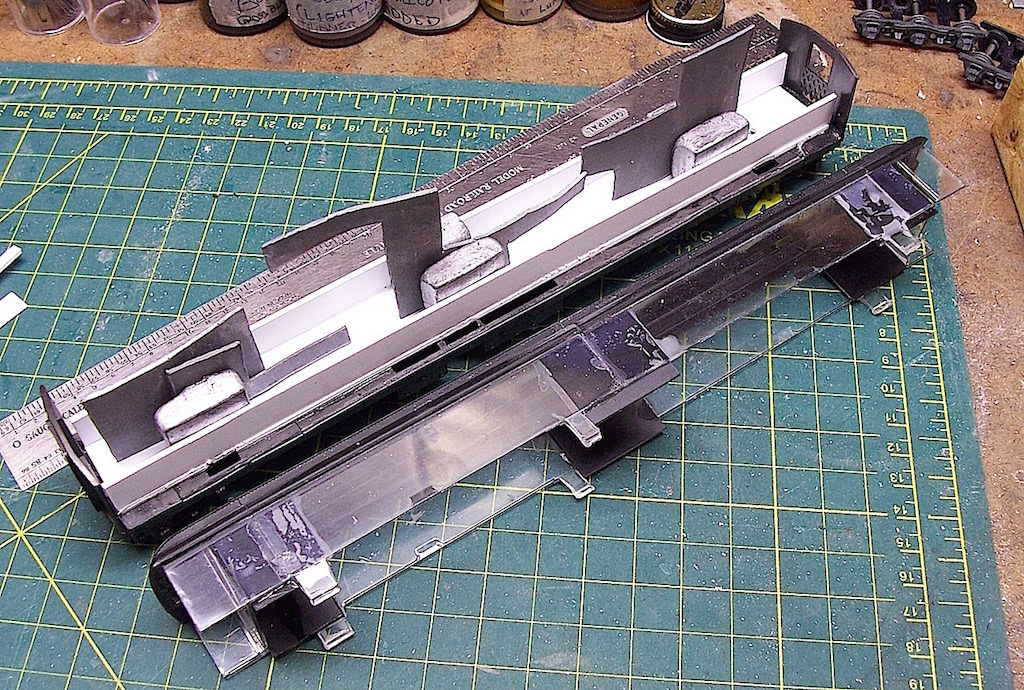
Note too, the four-piece re-assembled roof - I cut it into the segments as-shown, in order to allow the roof retaining tabs to fit properly into the original, but re-located, slots in the floor....this will help to strengthen the car, too....
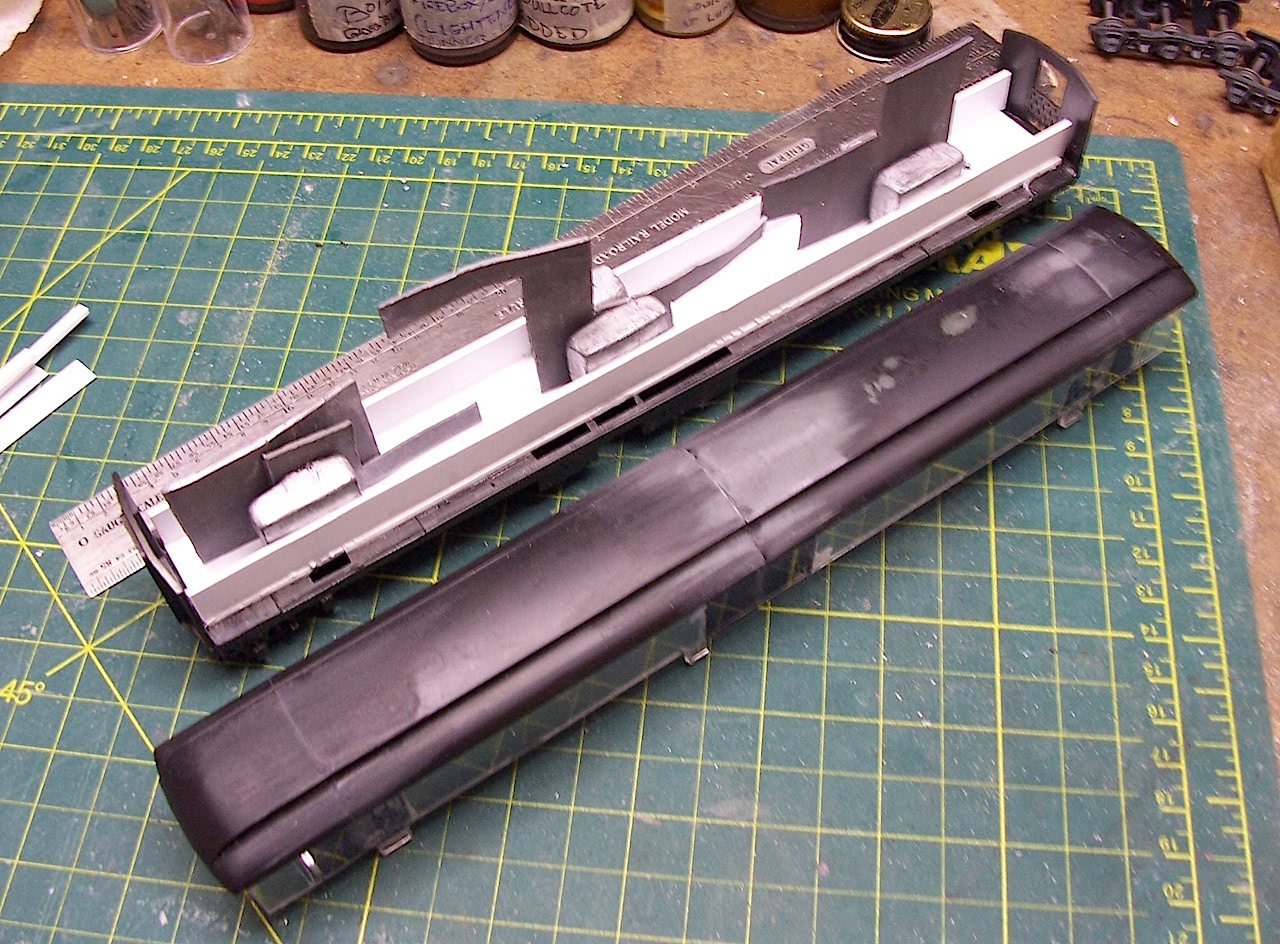
Here's another view...
That's all for today, folks.
Wayne
|


