01-23-2023, 07:50 PM
(Editor's note: A lot of the information below was gathered by watching some good videos on Athearn Blue Box DCC installs on YouTube. Don't think I'm reinventing the wheel here...)
PART I: Mechanical disassembly and alteration.
First tasker was to get the shell off the locomotive. These Athearn units do that easily if you lightly squeeze the middle of the long hood while holding the fuel tank.
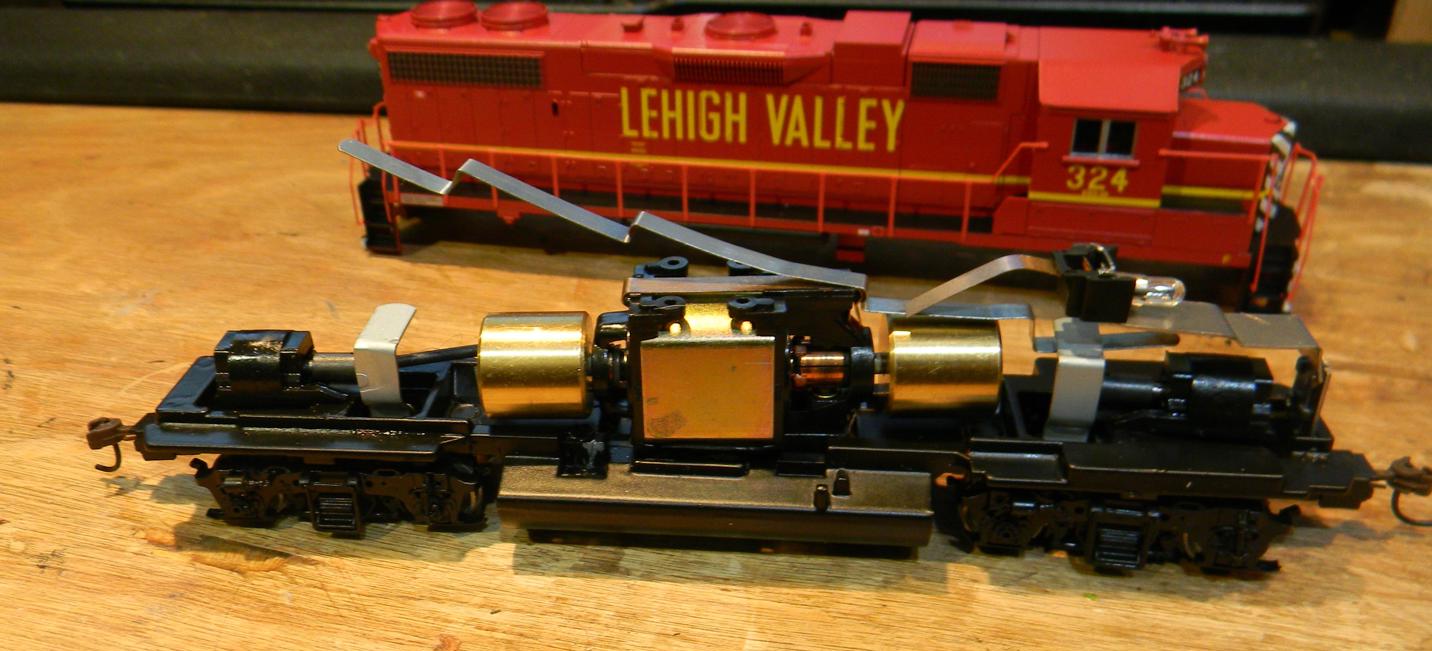
The Athearn design back to the blue box units has been roughly the same for a long time. Voltage is picked up on each side of the trucks and transferred to the frame (low side) through the left wheels, and to the bus bar (high side) from the right wheels. The "bus bar" is a piece of spring steel which connects the posts on the right side of each truck and passes right over the motor which has a copper contact up there to pick up the voltage (a blue arrow points to it in the photo). Note: The motor and bus bar are loosely engaged in this photo since I forgot to take a picture before some disassembly. The motor is also in there upside down for those keeping score at home.

The front light in the photo is an incandescent which will be replaced, and is connected on the high side to the bus bar, and to the low side by the mount on the very front of the locomotive.
First thing I did is remove the bus bar by lightly pushing down on the bus bar at each end to free it from the truck connections.
I next removed the motor by pushing on all four plastic motor mounts under the fuel tank. Take care to push evenly on these mount studs (push a little on one, then move on the the next until you pry the motor upward.
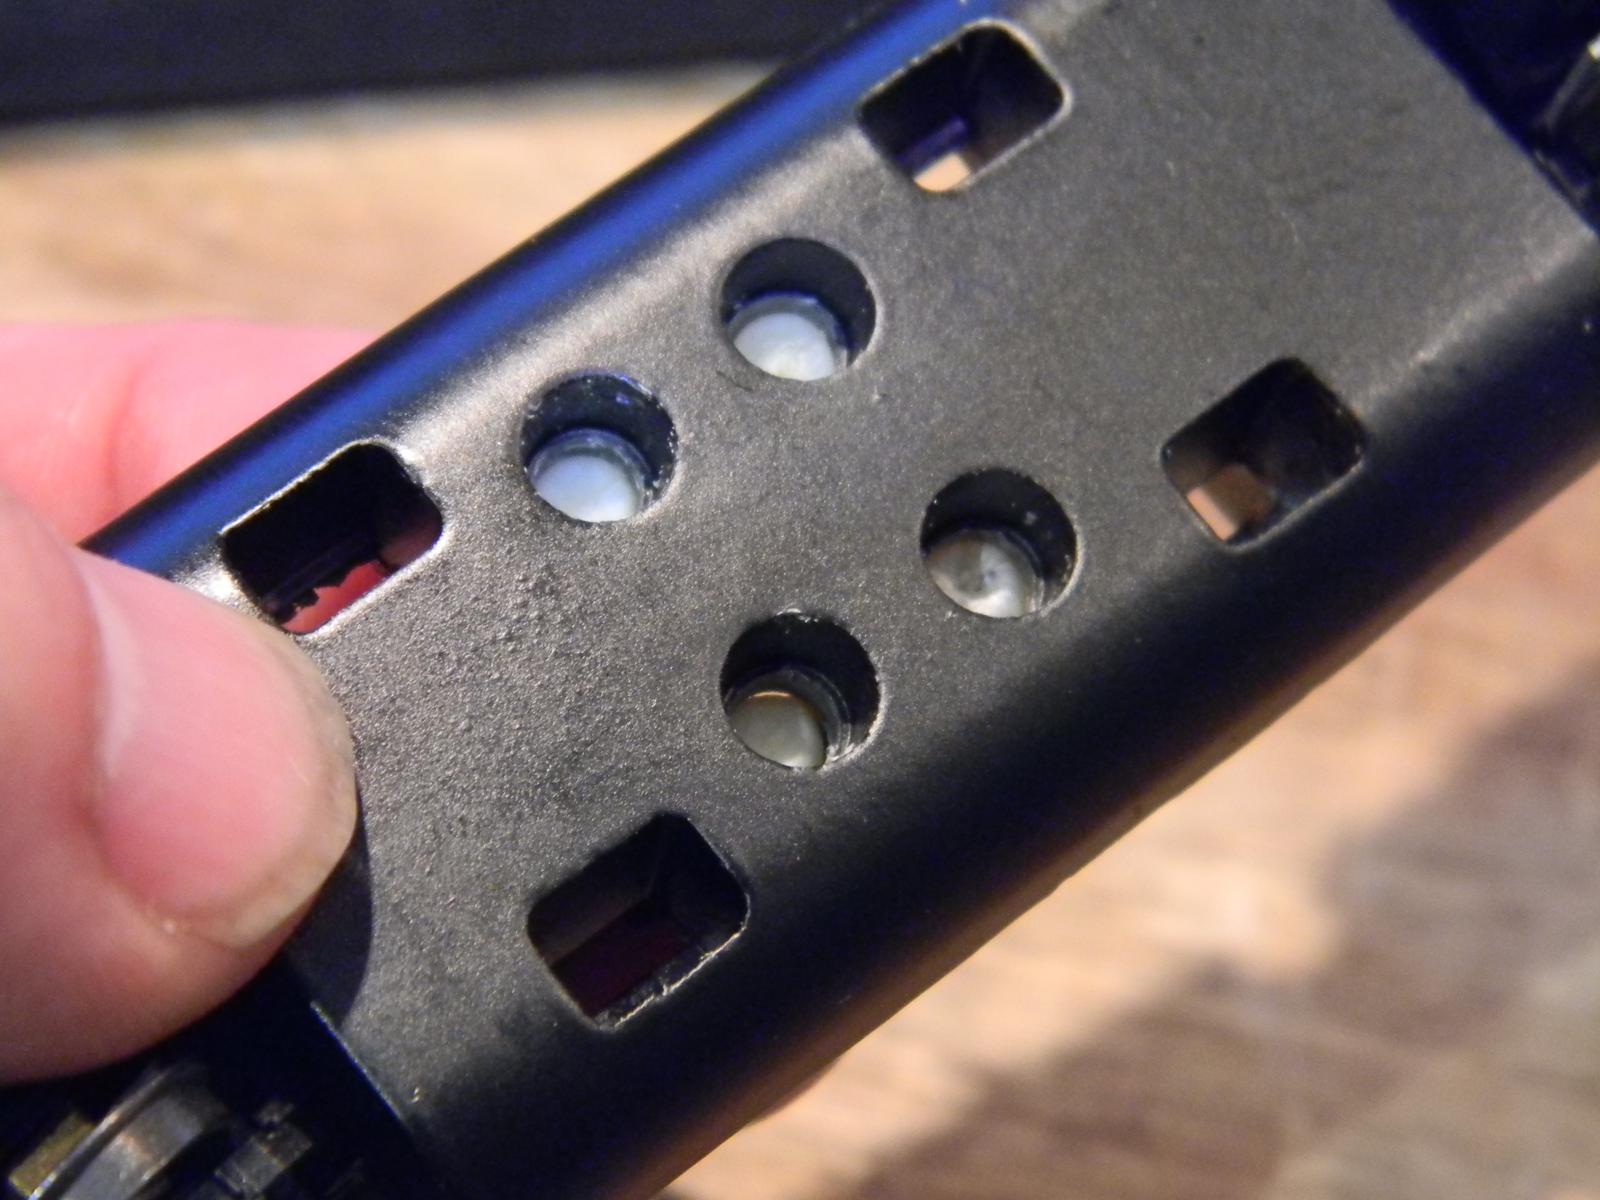
Note: When you do this, the shafts between the motor and trucks will also start to separate from the motor or trucks and will fall out. Reassembly will be exactly opposite of removal, trying to align the shafts as the motor descends.
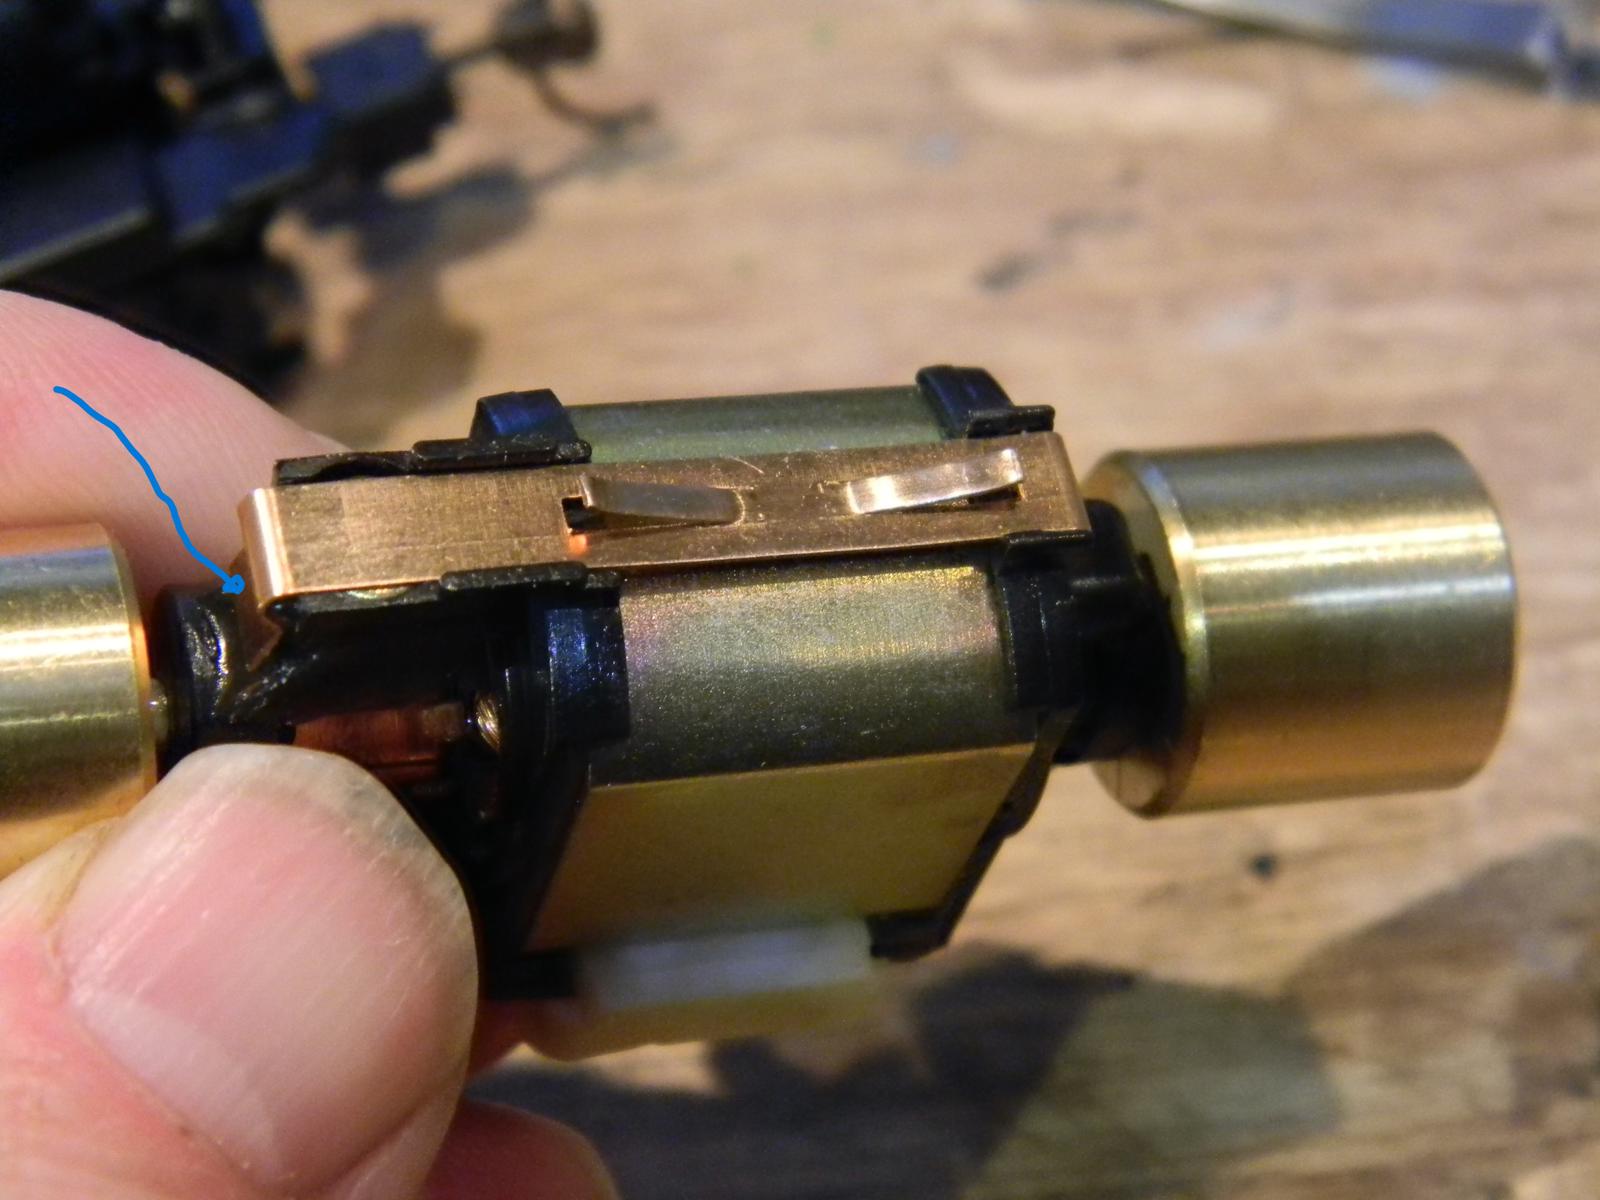
The bottom of the motor mount has another copper strip with two flexible nubs that contact the frame at the base of the motor mount. For DCC operation, we want power going to the decoder, and all components (motor and lights) must be isolated from one another and the frame (since the frame is always one side of the circuit by design). SO, we have to remove the connection between the frame and the lower motor mount. I did that by switching the bottom and top motor pickups (flexible copper strips that disengage from the motor by lightly pulling up on a tab on their end (see the blue line in the photo below pointing to the tab - the pickup is the one now on the bottom of the motor that was previously on the top of the motor). WATCH OUT! There is a spring for the motor brushes just underneath each pickup that will fly to the hereafter if you aren't cautious. The pickup strip from the bottom of the motor is now at the top and vice versa.
The picture below shows the modified motor with the pickups reversed.
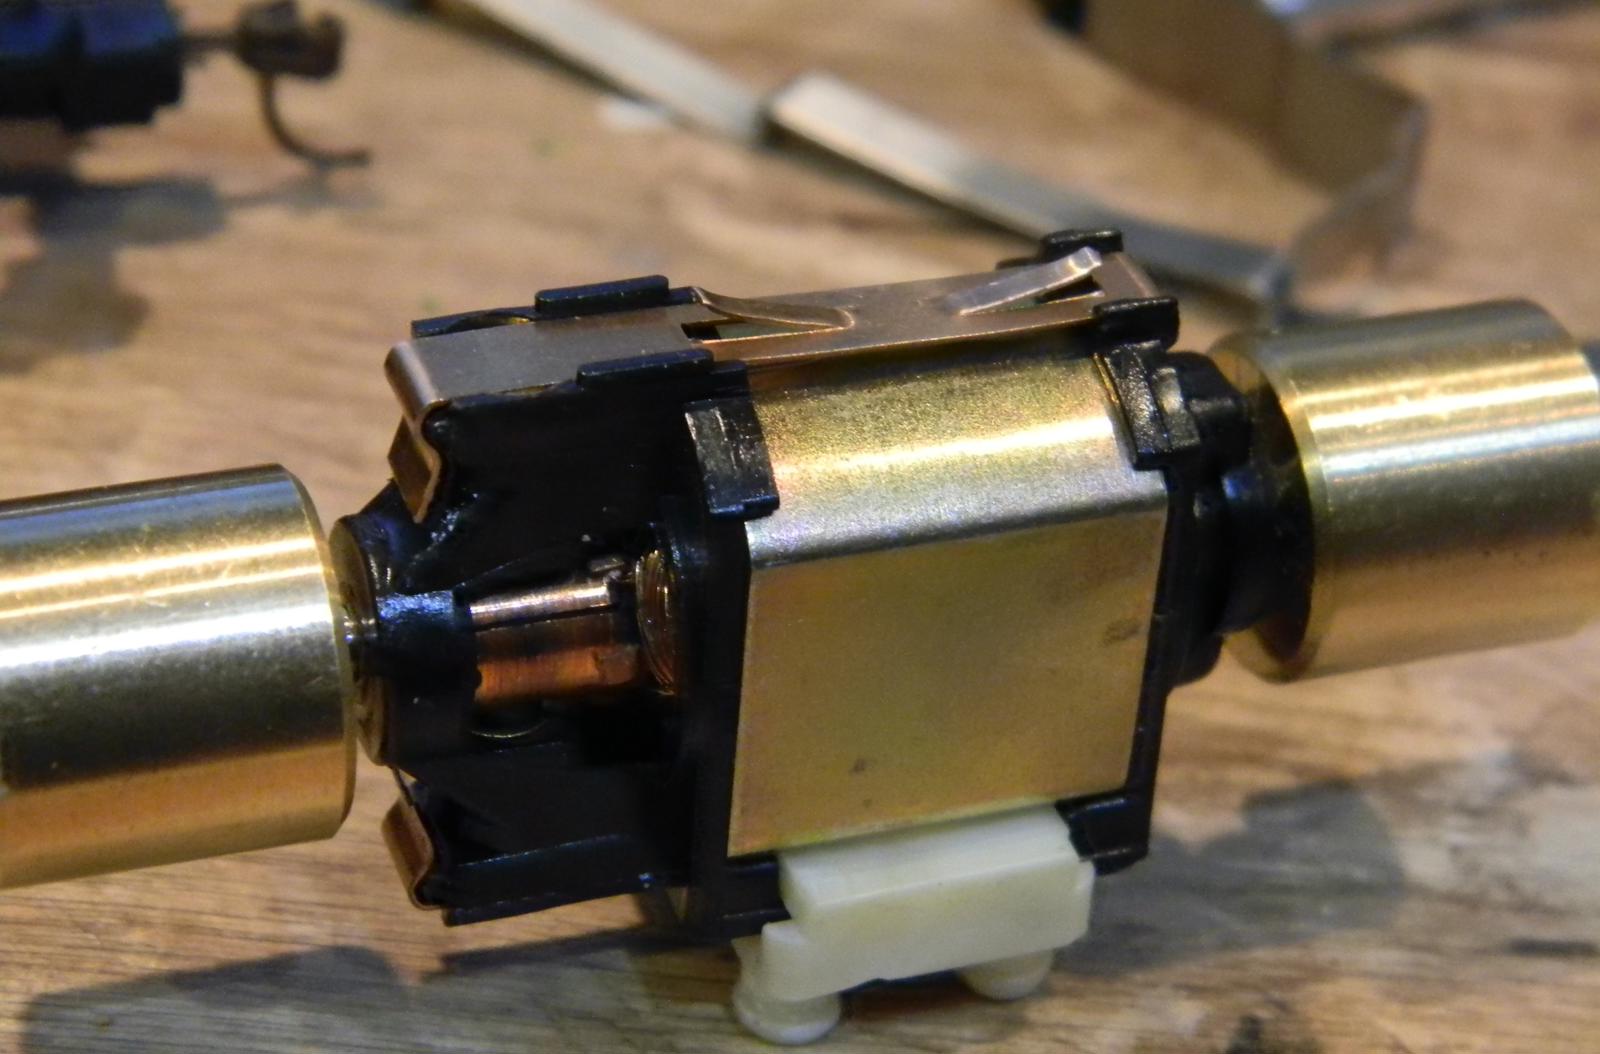
To make sure to isolate the bottom of the motor, I also installed a strip of electrical tape over the bare metal recess that accepts the pickup nubs. The rest of the lower portion of the motor sits on the two plastic motor mounts.
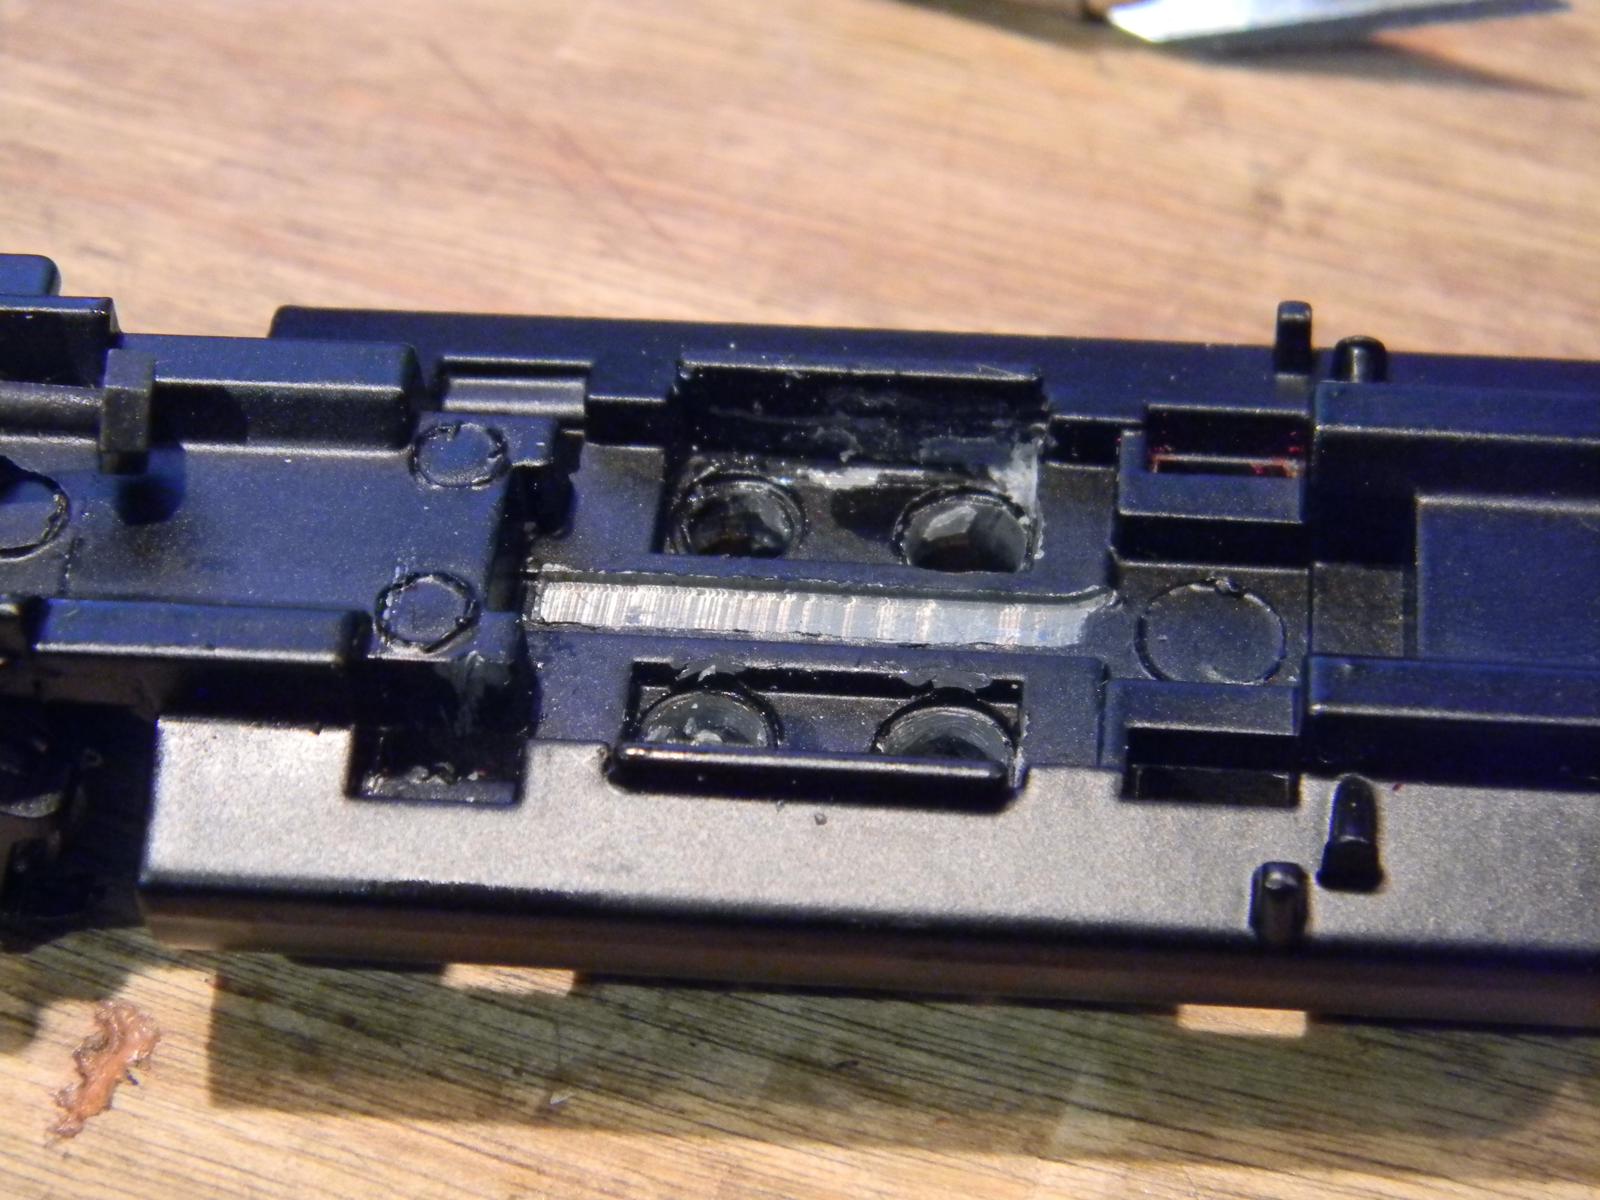

Next task was to remove the incandescent light and the mount that attaches to the front of the frame. By prying the two metal pieces apart, you should be able to slide the mount for the light out of the front of the frame.

Next installment will be considering where to mount the decoder and route the wiring harness....
PART I: Mechanical disassembly and alteration.
First tasker was to get the shell off the locomotive. These Athearn units do that easily if you lightly squeeze the middle of the long hood while holding the fuel tank.
The Athearn design back to the blue box units has been roughly the same for a long time. Voltage is picked up on each side of the trucks and transferred to the frame (low side) through the left wheels, and to the bus bar (high side) from the right wheels. The "bus bar" is a piece of spring steel which connects the posts on the right side of each truck and passes right over the motor which has a copper contact up there to pick up the voltage (a blue arrow points to it in the photo). Note: The motor and bus bar are loosely engaged in this photo since I forgot to take a picture before some disassembly. The motor is also in there upside down for those keeping score at home.
The front light in the photo is an incandescent which will be replaced, and is connected on the high side to the bus bar, and to the low side by the mount on the very front of the locomotive.
First thing I did is remove the bus bar by lightly pushing down on the bus bar at each end to free it from the truck connections.
I next removed the motor by pushing on all four plastic motor mounts under the fuel tank. Take care to push evenly on these mount studs (push a little on one, then move on the the next until you pry the motor upward.
Note: When you do this, the shafts between the motor and trucks will also start to separate from the motor or trucks and will fall out. Reassembly will be exactly opposite of removal, trying to align the shafts as the motor descends.
The bottom of the motor mount has another copper strip with two flexible nubs that contact the frame at the base of the motor mount. For DCC operation, we want power going to the decoder, and all components (motor and lights) must be isolated from one another and the frame (since the frame is always one side of the circuit by design). SO, we have to remove the connection between the frame and the lower motor mount. I did that by switching the bottom and top motor pickups (flexible copper strips that disengage from the motor by lightly pulling up on a tab on their end (see the blue line in the photo below pointing to the tab - the pickup is the one now on the bottom of the motor that was previously on the top of the motor). WATCH OUT! There is a spring for the motor brushes just underneath each pickup that will fly to the hereafter if you aren't cautious. The pickup strip from the bottom of the motor is now at the top and vice versa.
The picture below shows the modified motor with the pickups reversed.
To make sure to isolate the bottom of the motor, I also installed a strip of electrical tape over the bare metal recess that accepts the pickup nubs. The rest of the lower portion of the motor sits on the two plastic motor mounts.
Next task was to remove the incandescent light and the mount that attaches to the front of the frame. By prying the two metal pieces apart, you should be able to slide the mount for the light out of the front of the frame.
Next installment will be considering where to mount the decoder and route the wiring harness....
Check out my "Rainbows in the Gorge" website: http://morristhemoosetm.wixsite.com/rainbows


