01-28-2023, 01:05 PM
Part VII - We Plow On!
And down the stretch we come. Detail work that we'll discuss here, and then weathering. By the end of the weekend, this lumbering behemoth will be running with my Apollo train.
Speaking of details, while decals were setting up I decided to add some LV flavor to the steps and handrails, which for the Cornell Red scheme are orange from the bottom of the handrail up to the first stanchion on each corner. The edges of each step should also be orange.
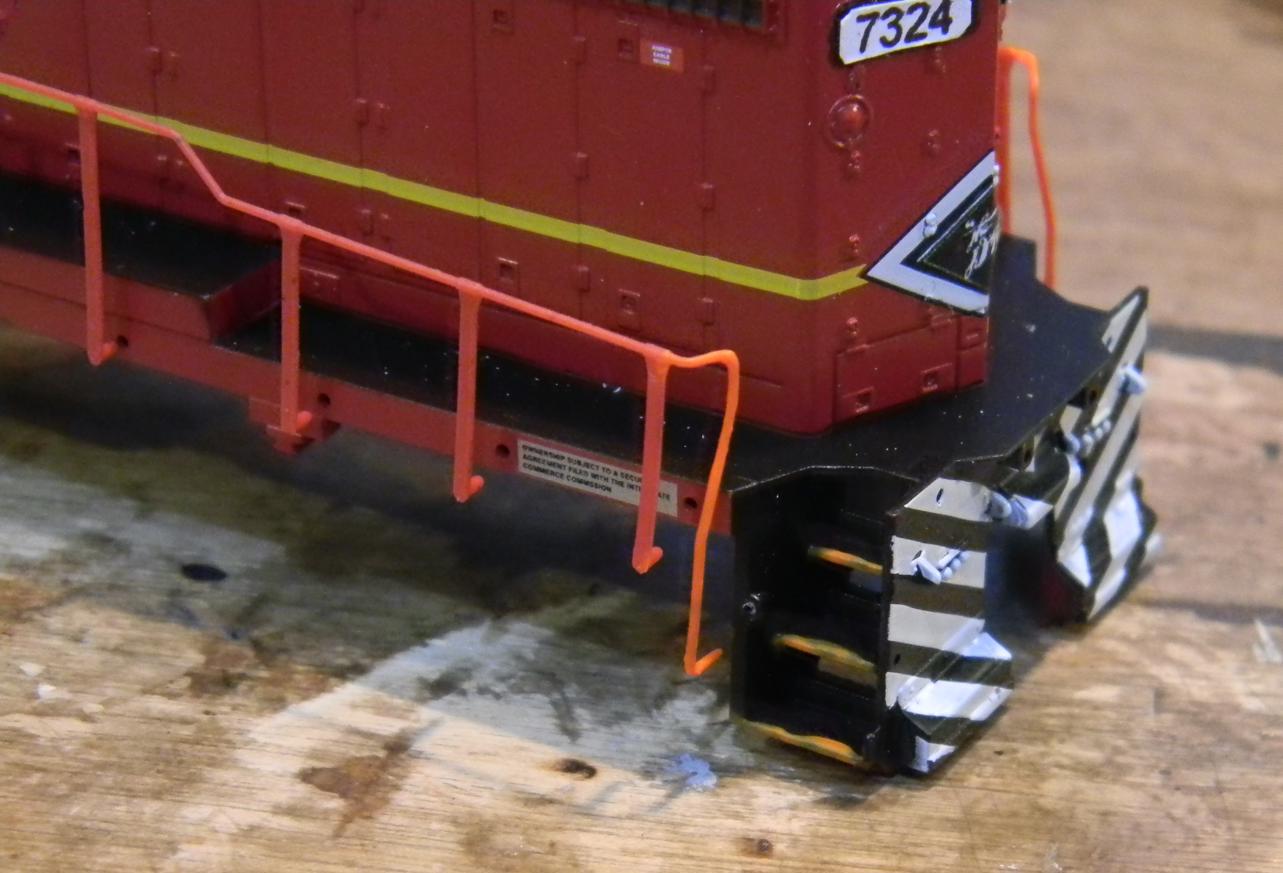
I figure this is an early 2000's Athearn product, probably the last group they made that weren't DCC-ready. Another quirk with the old design are the coupler pockets and mounting nub. The coupler and mounting nub need to be applied from the top, and the shell goes over them after they are in place. Today's Athearn products allow for the coupler to be slid in after the shell is on and a screw mounts the coupler in the pocket from below. The result for this unit is that it has a gap in the front fascia, and NO PLOW. My prototype has a plow, and it's actually tiger striped white and black like the front nose of the locomotive. My decal sheet has a plow decal, so I decided that that ought to go on as well prior to weathering most of it out.
I'd bought a PL-256 plow (Details West) from Midwest a few months ago before deciding they offered a better model for my Reading SD-45. I was going to sell the first plow but held on to it, so this is the perfect opportunity to use it, even though it also might not be the prototypical plow. Painted it black with a brush.
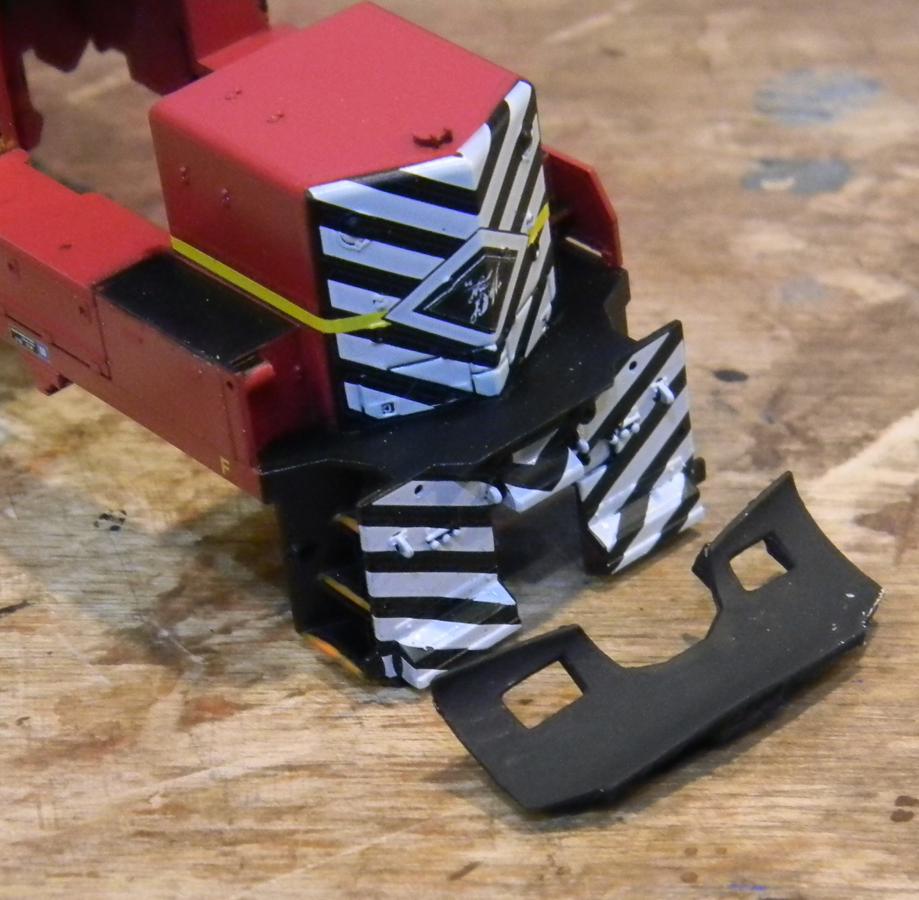
All of the Details West plow mount to a flat face on the nose of the locomotive. This Athearn unit had front steps at the bottom of the nose, so those had to be removed. Fired up the cutting wheel on my Dremel and got most of those steps off, and followed it up with a sanding disk attachment to get it close to flat.

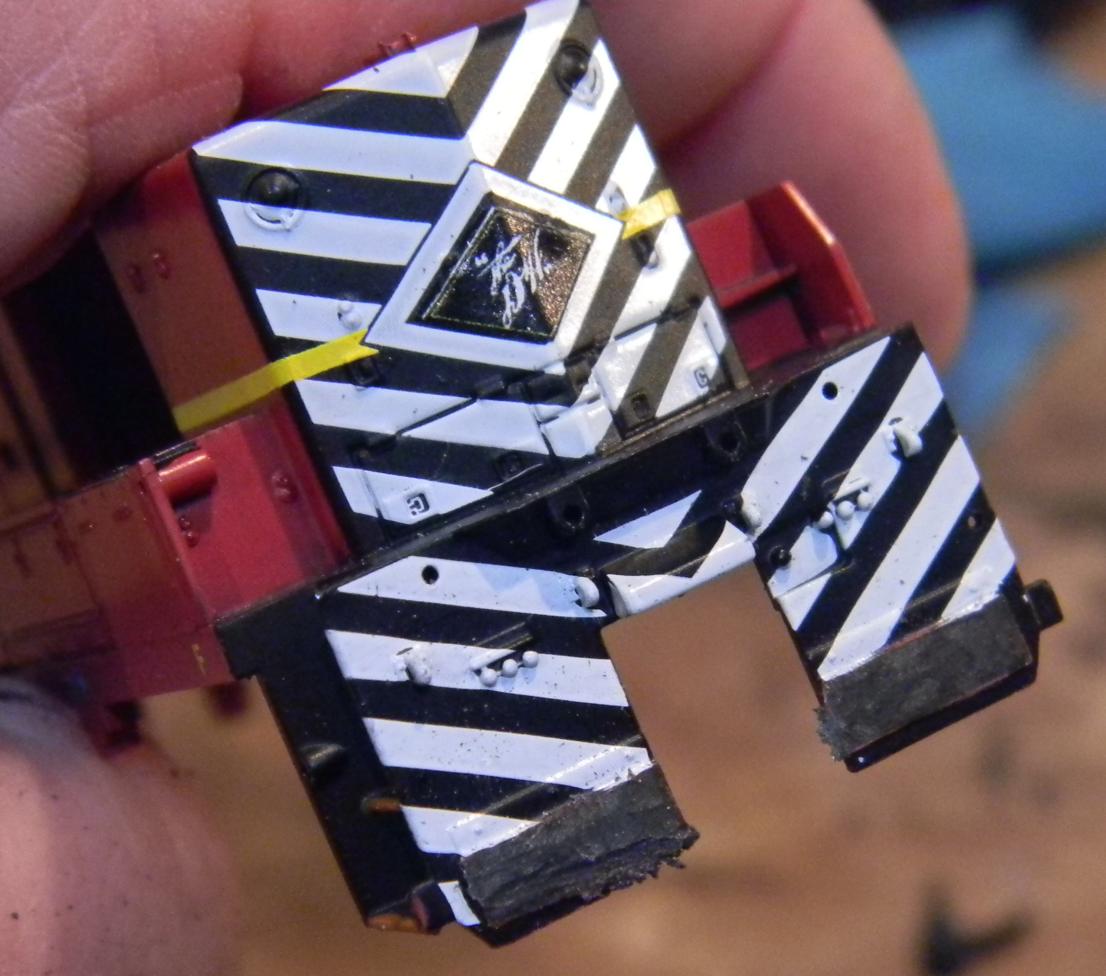
I then got my pin vise out, and deliberately taking a bit I knew was too small for the two mounting nubs on the plow, drilled two holes in the nose at the right height to accept the plow. Checked the holes for proper spacing and drilled bigger and bigger holes until I got a nice fit for the plow. Because the plow will have to be potentially removed to remove the shell, I wanted a nice friction fit for the plow assembly without using adhesives.

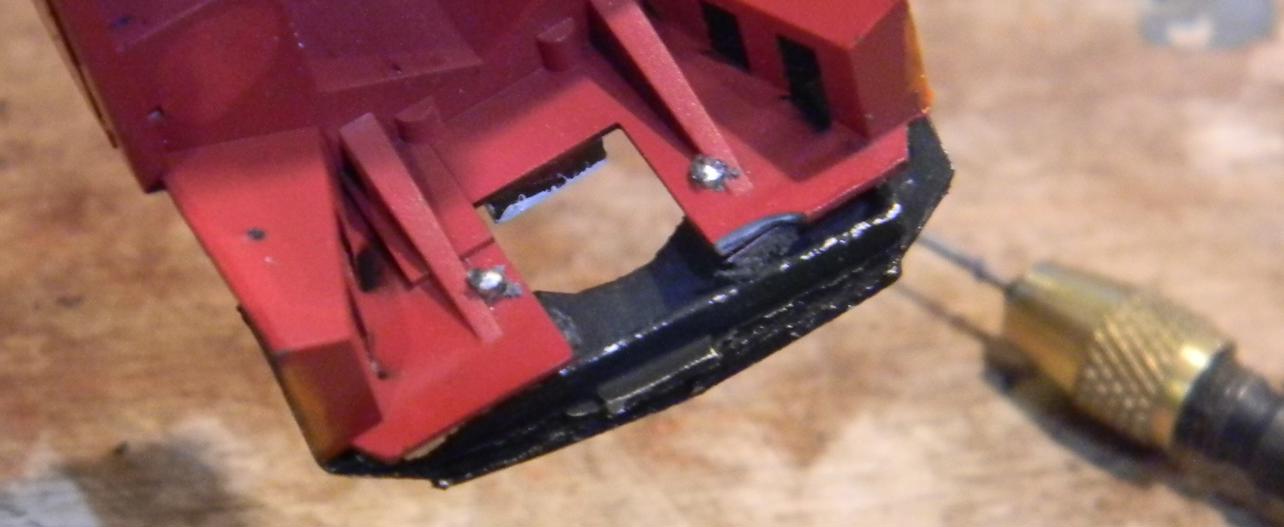
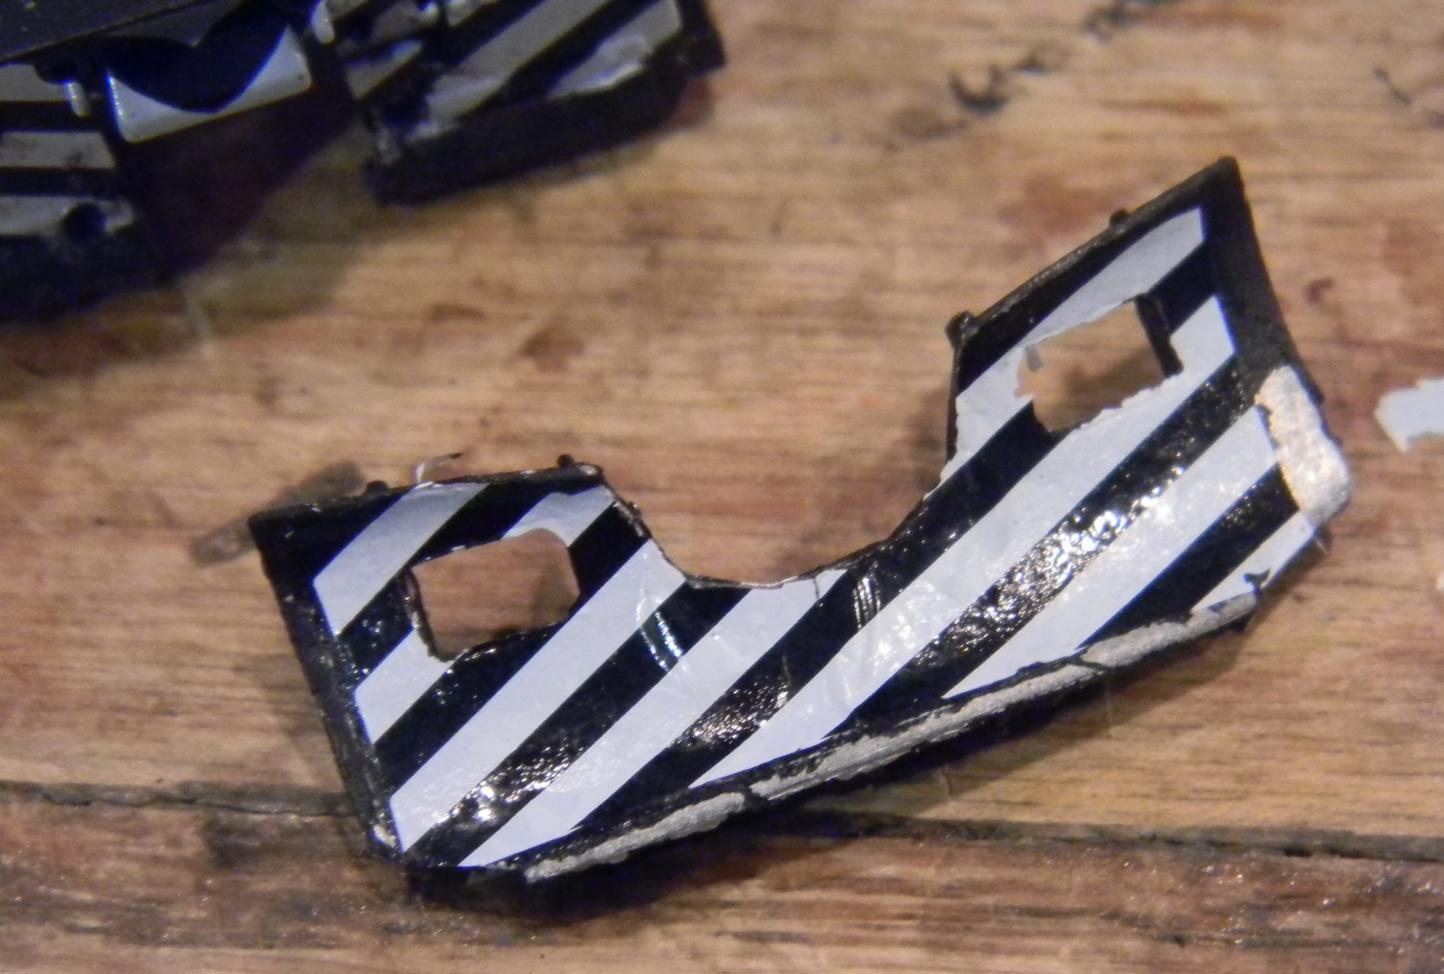
Added the plow decal, and in the morning, cut out the holes for the MU hoses and trimmed it to fit the profile of the plow. I'll finish paint the plow when it's on the locomotive and then weather it with the rest of the body.
Speaking of MU hoses, this unit has nubs simulating a locomotive without hoses, so I used the nub location as the area to mount the hoses. Ground down the nubs and got the pin vise back out to drill holes to accept the Cal Scale MU hose units (2 front and 2 rear).
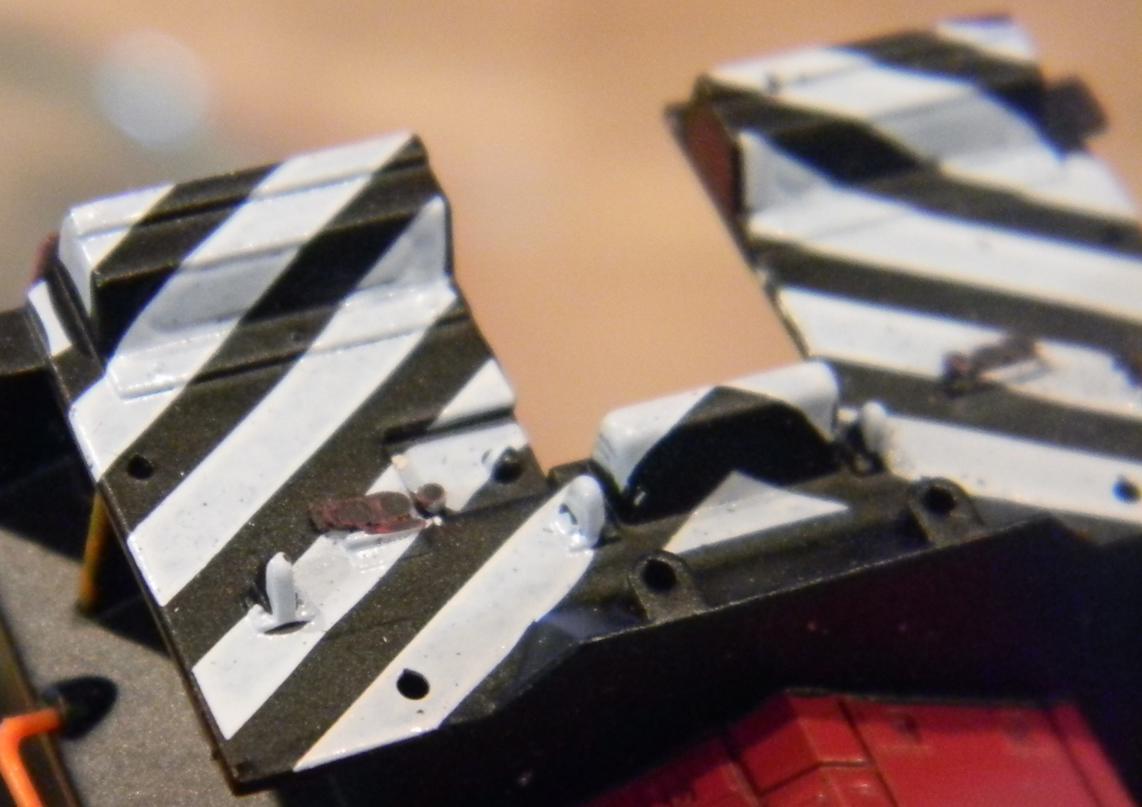
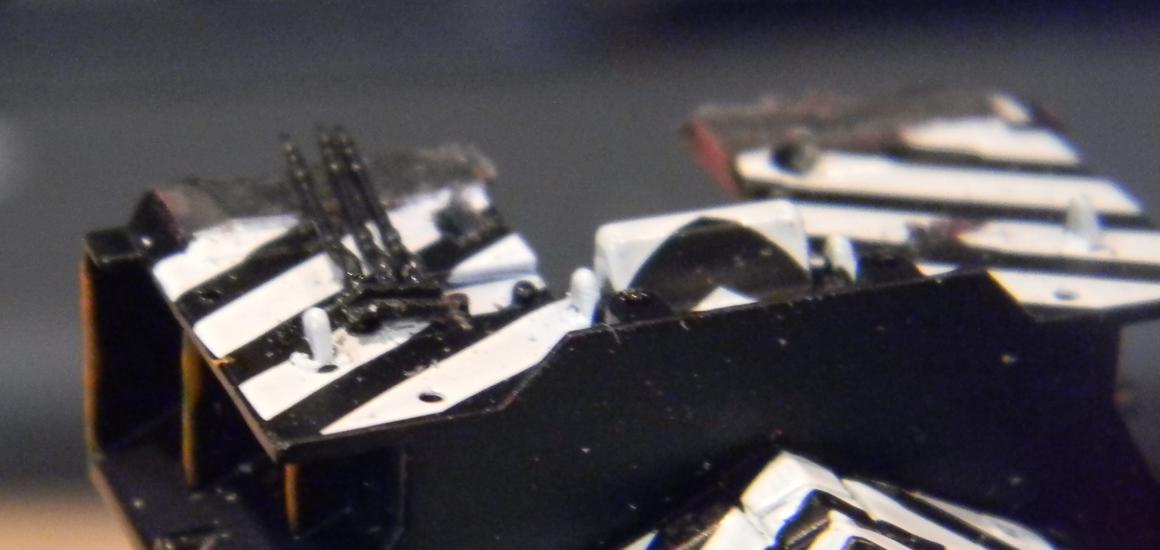
And now, all the detail work is finished. Weathering remains. I'm going to weather the cab first and get it back mounted to the rest of the shell and mask off the windows so Dullcote doesn't fog them up.
And down the stretch we come. Detail work that we'll discuss here, and then weathering. By the end of the weekend, this lumbering behemoth will be running with my Apollo train.
Speaking of details, while decals were setting up I decided to add some LV flavor to the steps and handrails, which for the Cornell Red scheme are orange from the bottom of the handrail up to the first stanchion on each corner. The edges of each step should also be orange.
I figure this is an early 2000's Athearn product, probably the last group they made that weren't DCC-ready. Another quirk with the old design are the coupler pockets and mounting nub. The coupler and mounting nub need to be applied from the top, and the shell goes over them after they are in place. Today's Athearn products allow for the coupler to be slid in after the shell is on and a screw mounts the coupler in the pocket from below. The result for this unit is that it has a gap in the front fascia, and NO PLOW. My prototype has a plow, and it's actually tiger striped white and black like the front nose of the locomotive. My decal sheet has a plow decal, so I decided that that ought to go on as well prior to weathering most of it out.
I'd bought a PL-256 plow (Details West) from Midwest a few months ago before deciding they offered a better model for my Reading SD-45. I was going to sell the first plow but held on to it, so this is the perfect opportunity to use it, even though it also might not be the prototypical plow. Painted it black with a brush.
All of the Details West plow mount to a flat face on the nose of the locomotive. This Athearn unit had front steps at the bottom of the nose, so those had to be removed. Fired up the cutting wheel on my Dremel and got most of those steps off, and followed it up with a sanding disk attachment to get it close to flat.
I then got my pin vise out, and deliberately taking a bit I knew was too small for the two mounting nubs on the plow, drilled two holes in the nose at the right height to accept the plow. Checked the holes for proper spacing and drilled bigger and bigger holes until I got a nice fit for the plow. Because the plow will have to be potentially removed to remove the shell, I wanted a nice friction fit for the plow assembly without using adhesives.
Added the plow decal, and in the morning, cut out the holes for the MU hoses and trimmed it to fit the profile of the plow. I'll finish paint the plow when it's on the locomotive and then weather it with the rest of the body.
Speaking of MU hoses, this unit has nubs simulating a locomotive without hoses, so I used the nub location as the area to mount the hoses. Ground down the nubs and got the pin vise back out to drill holes to accept the Cal Scale MU hose units (2 front and 2 rear).
And now, all the detail work is finished. Weathering remains. I'm going to weather the cab first and get it back mounted to the rest of the shell and mask off the windows so Dullcote doesn't fog them up.
Check out my "Rainbows in the Gorge" website: http://morristhemoosetm.wixsite.com/rainbows


