Posts: 607
Threads: 12
Joined: Jun 2022
Posts: 5,161
Threads: 100
Joined: Dec 2008
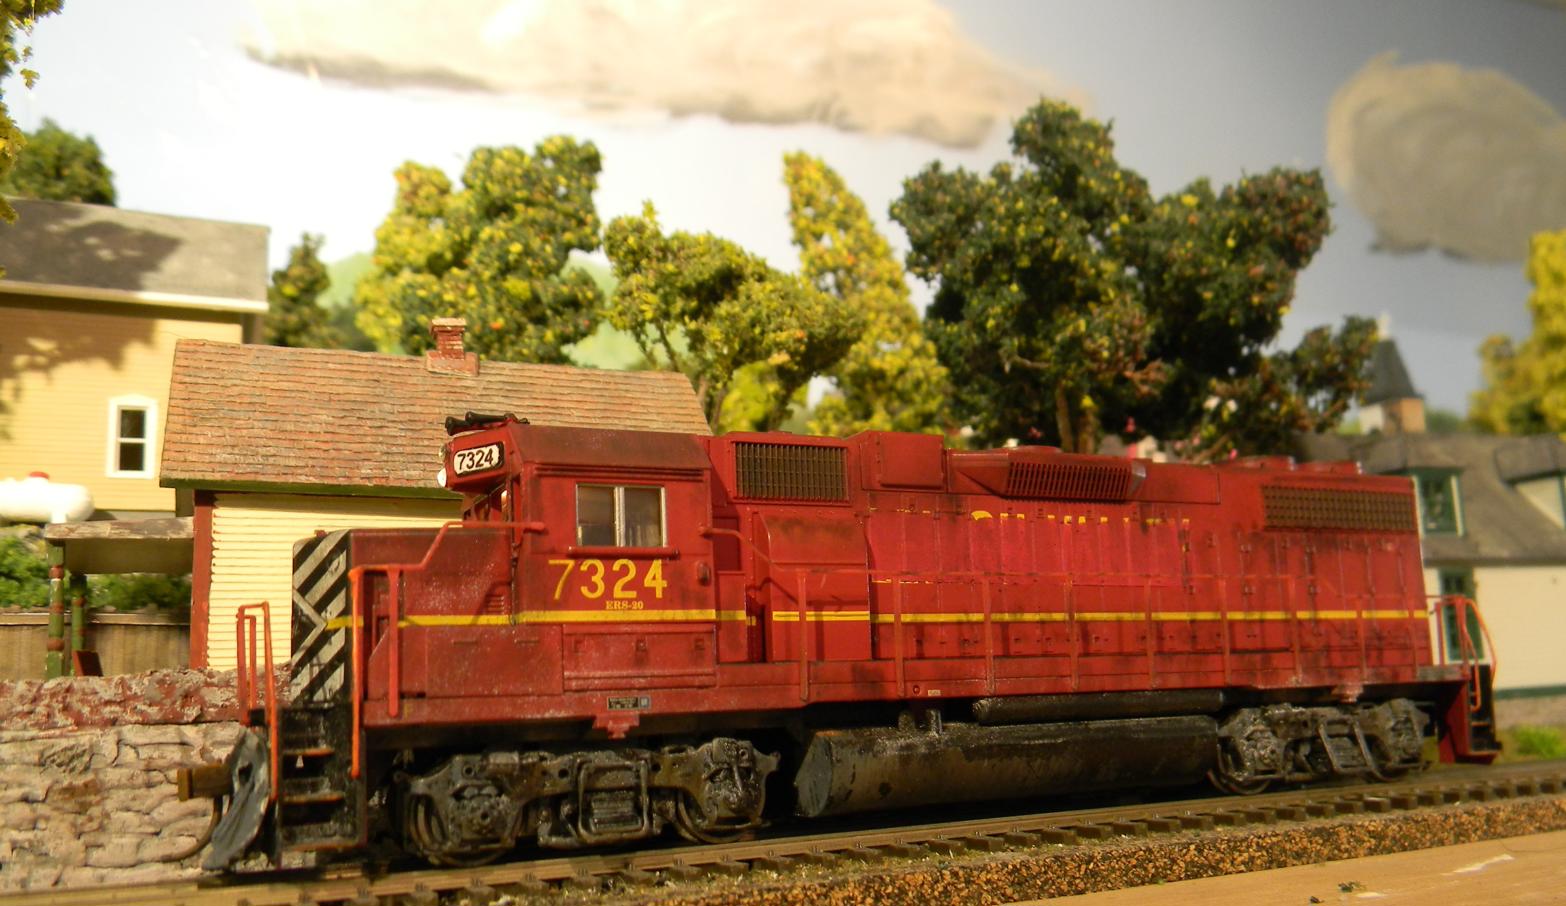
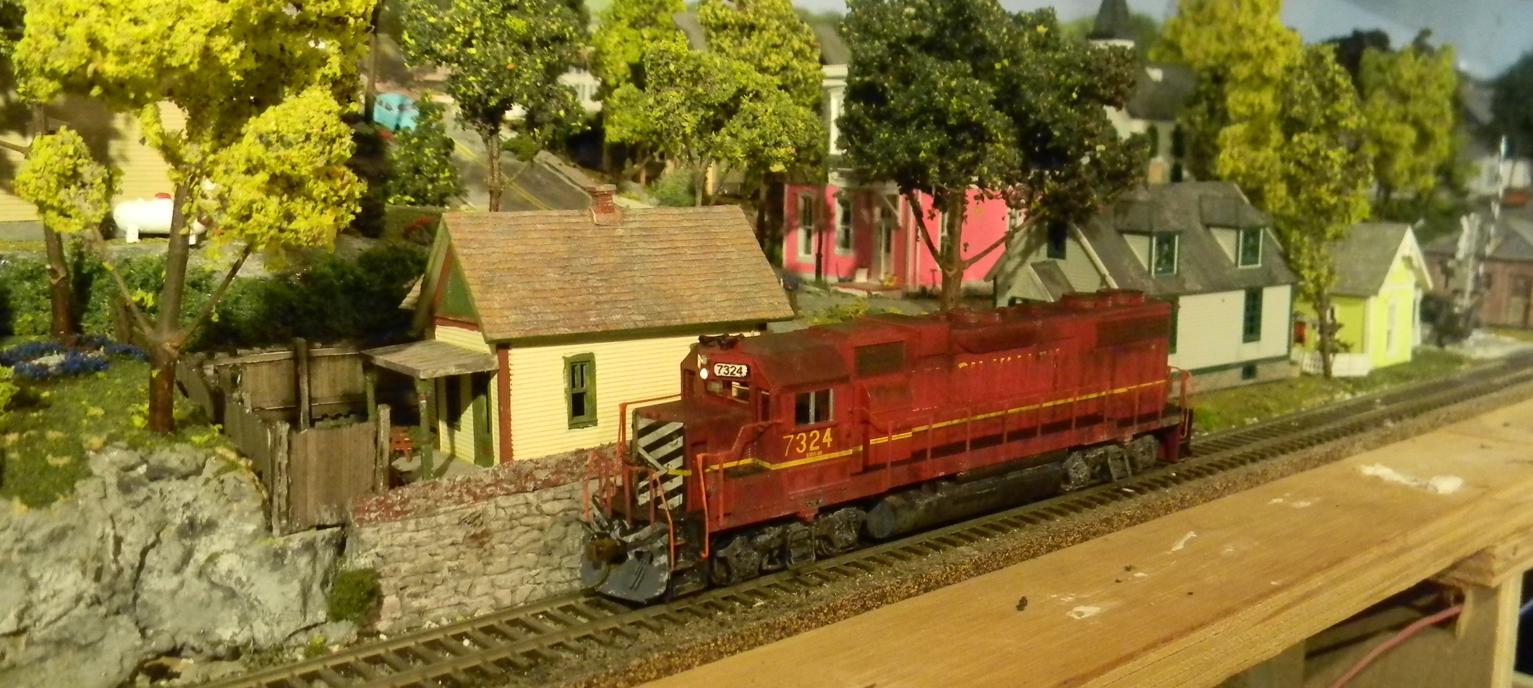
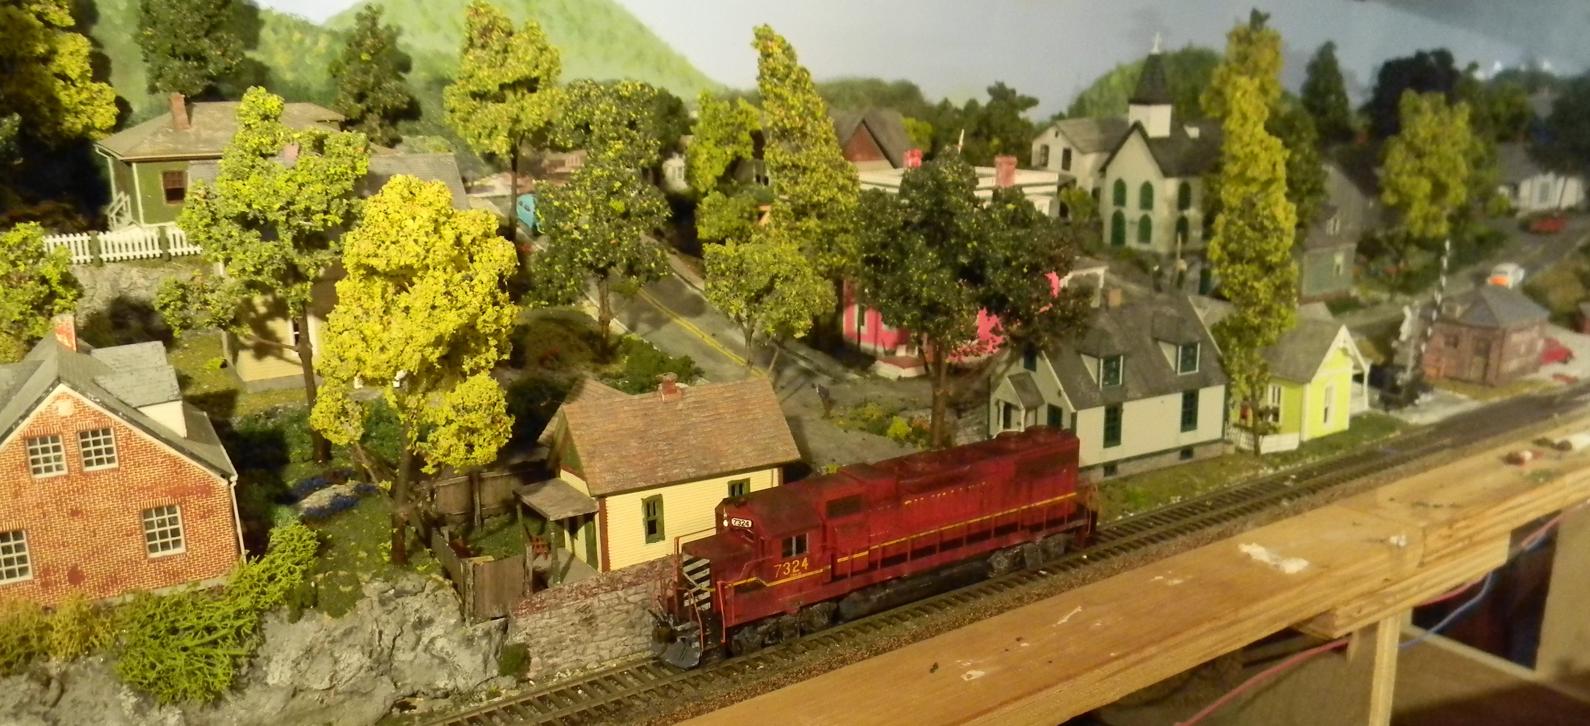
Very well done Todd  ---you have a very special addition to your collection and one to be proud of. 
Posts: 607
Threads: 12
Joined: Jun 2022
Thanks a bunch! It was fun working on it and sharing bits and pieces of the journey. It's back to our regularly scheduled program after a brief hiatus. I'm hoping to do some ballasting this afternoon at Mud Run.
Posts: 9,747
Threads: 234
Joined: Dec 2008
Todd, Great job, and a great job explaining what you were doing, and excellent pictures to document the process. It looks great on the rails.
Charlie
Posts: 607
Threads: 12
Joined: Jun 2022
Thanks for watching along the way and catching me when I slipped up, Charlie! It was nice starting a project and only working and documenting it until it was finished and working - and it was nice to work on functionality and aesthetic changes at the same time. Hey, when the shell's off, that's the time to address everything!
Posts: 607
Threads: 12
Joined: Jun 2022
I've been frustrated with my lack of understanding of DCC consisting and the link to lighting controls while operating in consist mode. I'd want a headlight on a specific locomotive to come on (or go out) while it was in consist with others, and I wasn't having much luck cracking the code. A lot of pictures without front headlights as a result....
So, I think I found a simple solution (for the time being), and that's programming CV22, which for most of my decoders, I believe, has a default value of 0. I believe that "0" means that the consist lighting CVs (where lighting is controlled over the consist's identifier) for the individual decoders take precedence, and it seems like those vary between decoder manufacturers. However, if CV22 has a value of "1", the throttle can activate the locomotive's base address lighting (through Function F0).
For example, I'm currently running locomotives 3614 and 7604 in consist #126. If I've already programmed 7604 with a CV22=1 (prior to establishing the consist), while running consist 126, I can dial up "7604" on my throttle and turn the directional lighting on (or off) for that individual locomotive. Until I get a better handle on consist lighting options, I'm going to attempt to set CV22 to "1" for my fleet.
Both CV21 (F1 through F8) and CV22 (for F0, F9, F10, F11, and F12) give the option to control function calls through the base address of the locomotive. Don't know if anyone else has had this issue, but I wanted to share what I've discovered.
Posts: 607
Threads: 12
Joined: Jun 2022
Sometimes I can't help myself.
Put a bid in on a GP40-2 last week. The Reading's last new locomotive buys were GP40-2's and GP39-2's that proudly sported the Reading's last paint scheme - all green with yellow chevrons on the front and back. Here's a link to a 2020 article on the most recent Athearn build of these: Reading's Five EMD GP40-2s - Model Railroad News The 5 GP40-2's were bought for coal duty, usually in 3-unit consists. Once they were delivered to Conrail (the only GP40-2's in the day 1 roster), the 5 units migrated away from the Reading area, were patched out and eventually painted blue.
I have a GP39-2 version in Delaware and Hudson patches, but I'd love to have a big green unit for my Conrail consists. So, I won it.
Just like the GP38 conversion that preceded this one, it's an Athearn DC (non-DCC ready) unit (not like the version in the article above), which means it'll soon be time to modify another one. I've already bought a snowplow for it, but I don't plan to patch this one - I think it'll stay in Reading Lines diamonds for now. I don't have a DCC decoder for it yet, but I'll start shopping for one.
Posts: 2,095
Threads: 40
Joined: Dec 2008
The frustrations you have understanding DCC have to far less than mine. Currently if it doesn't have a plug I don't know how to do. Therefore I will following your progress and ask questions.
Posts: 607
Threads: 12
Joined: Jun 2022
Well, Tom, the GP40 is exactly the same manufacturer, vintage and design as the GP38 that I turned into a DCC unit last year. If there were areas that I didn't address well in that build, let me know and I'll try to focus in on those with this loco. I don't plan to take many pictures since I'll be doing exactly what I did with the LV unit above, but that can change if you need some additional information. Here's the beast out of the box:

The snowplow is coming tomorrow, but no rush on that. After disassembly I'll be working on the innards, connecting to the wheels, motor, adding LEDs.
The 5 Reading GP40-2's were the only Reading locos ever to get their road number placed on the top of the hood. Wondering if Conrail ever patched that - none of the post 1976 shots showed the roofs.
Once I get the unit working on DCC I'll be doing some moderate weathering.
Posts: 607
Threads: 12
Joined: Jun 2022
Turns out I was mostly right. I think this one's a little later vintage than the GP38, but same basic Athearn design with the central bus bar supplying + voltage to the components and a tie to the frame for the negative. Instead of the plastic lugs at the bottom of the motor pressing into the holes in the frame, this one has 4 screws - same concept though. The coupler pockets are "inverts", the securing screw is applied from the top down into a threaded hole in the metal frame, which means you must be able to pull the body off to change the couplers out (hence the gaps in the front and rear face to drop the frame out. Makes adding a snowplow a bit problematic. I think I'm going to be really careful and make the plow holes quite tight so I can take the plow on and off as needed. The GP38 had a coupler pocket built in which enabled me to shoehorn and wiggle the coupler body into place between the gap above the plow.
Got everything apart today and built similar light boxes for the front and rear LEDs. I'm about out of those and will have to buy some soon (note to self). Added a little more space in the dynamic brake radiator area to put the decoder (another Digitrax DH126D). I also wired up the motor and I'm about to measure for and solder up the light connections. Might not be until tomorrow night that I can put the motor back in and do and checkout after connecting to the wheels.
Posts: 607
Threads: 12
Joined: Jun 2022
Checkout was great - aside from the non-functional LED I decided to use for the front headlight. Turns out I'm all out of working LEDs - placed an order earlier this morning. This project will have to sit for the time being. I'm glad I did the checkout before putting Humpty Dumpty back together.
Posts: 607
Threads: 12
Joined: Jun 2022
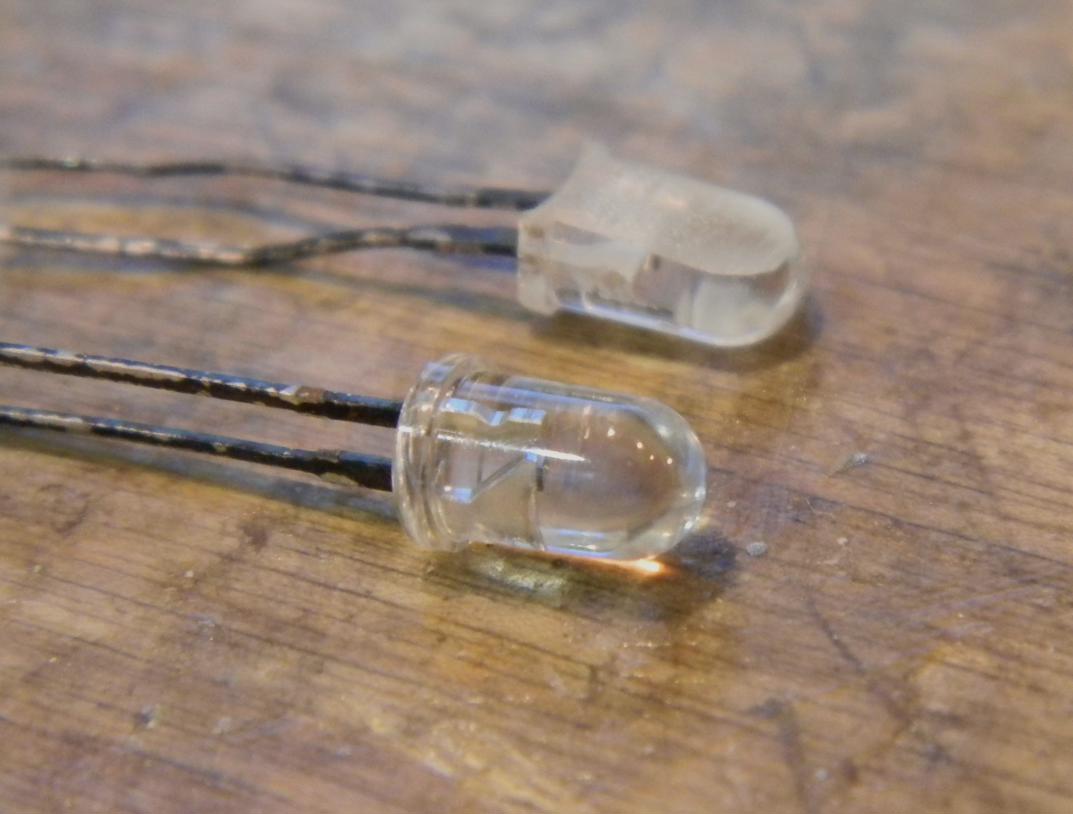
I talked about a defective LED in my last post. One of the things that made me want to use that particular LED was that instead of being a cylinder, it was flat on two sides, which made it nice to slide up over my piece of styrene over the glass module in the cab for the front light. I found a couple more standard clear LED "grain of wheat" cylindrical bulbs today, but was thinking it sure would be nice if two sides were flat. Got to thinking, and by taking it over to the bench grinder at work with a pair of pliers, I carefully made flats on two sides of the bulb (avoiding the LED components). Wha la! Gonna get the soldering iron out and install it tonight. Hope the 2nd try is better than the first.
Posts: 607
Threads: 12
Joined: Jun 2022
Back in business with the delivery of some new LEDs. Chassis is now fully functional and I've just finished adding a plow - same process used as with the former Athearn LV GP39-2 above. It's now time to weather. As with the GP39-2, this unit didn't spend a whole lot of time working for the Reading before being turned over to Conrail, so aside from some rusting along edges of panels and road dust on the lower half, I don't plan to make this unit look too decrepit - I'd imaging that these would have been some of the newest power on the Conrail roster in August of 1976.
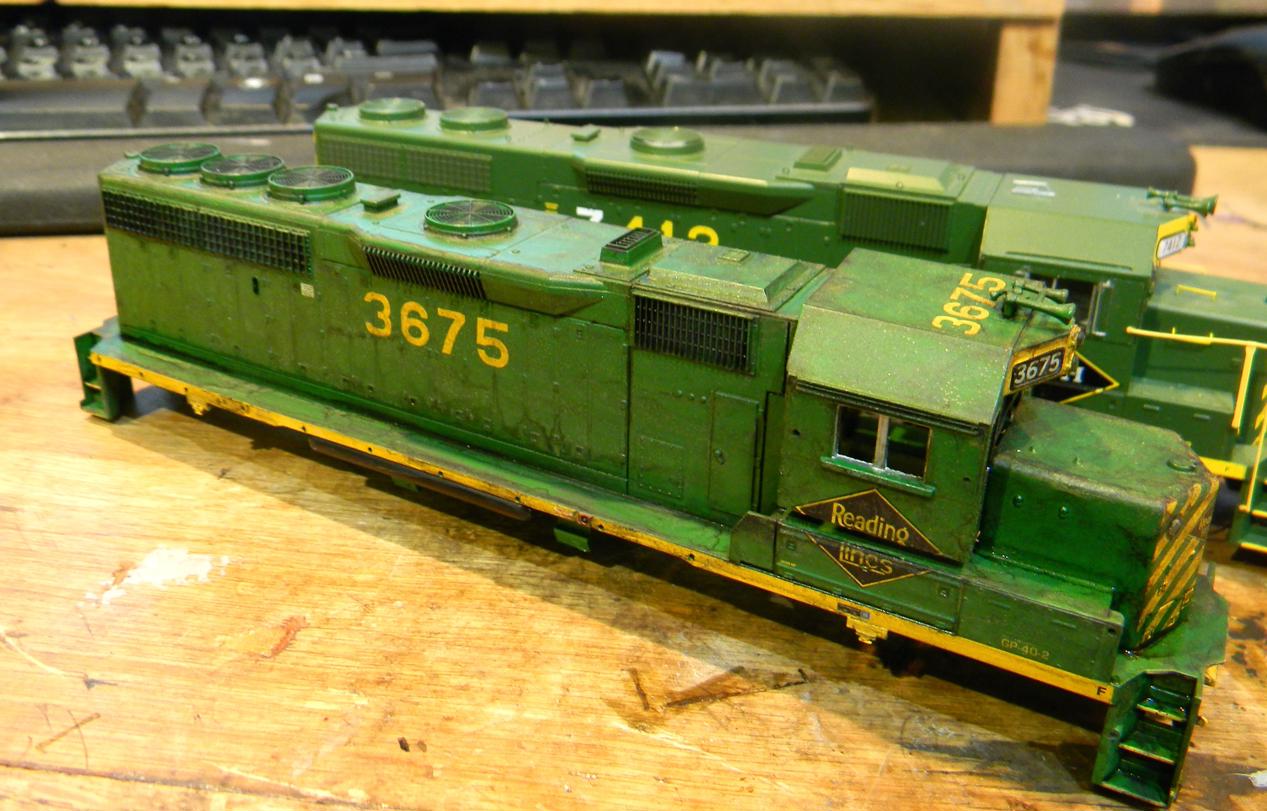
I do have a problem, though. The green on the body is wrong. It's a little too bright and a little too light. It's probably a good Burlington and Northern green, or an MKT green, but not a Reading green. I provided a picture of my recent GP39-2 unit for the Delaware and Hudson (former Reading), and that's more appropriate.

A lot of times you need to de-emphasize the delivered paint scheme to make the locomotive look faded by sun, but in this case, I need to darken the whole thing. After I add soot in the louvers and fan covers via black paint, I was going to make up a black wash (alcohol and some black acrylic paint). However, I remembered that many years ago I'd purchased some RIT fabric dyes to attempt to dye polyfil (didn't work). Thought I'd give the stuff a try. Made a wash out of it and lathered up each side of the locomotive (waiting for each side the dry before moving on to the next). First coat was not enough. Second was getting better. Third and we're getting there. Each layer seems to add a little more tooth for the dye to grab. With the alcohol as the thinning agent, I didn't have to wait long between coats. Here's a shot as the third coat is drying. I'm pretty happy with it, and I don't have to put up with something I don't think is prototypical. Thes layers will also help to accept the PanPastels I'll be getting out in a few minutes.
Posts: 607
Threads: 12
Joined: Jun 2022
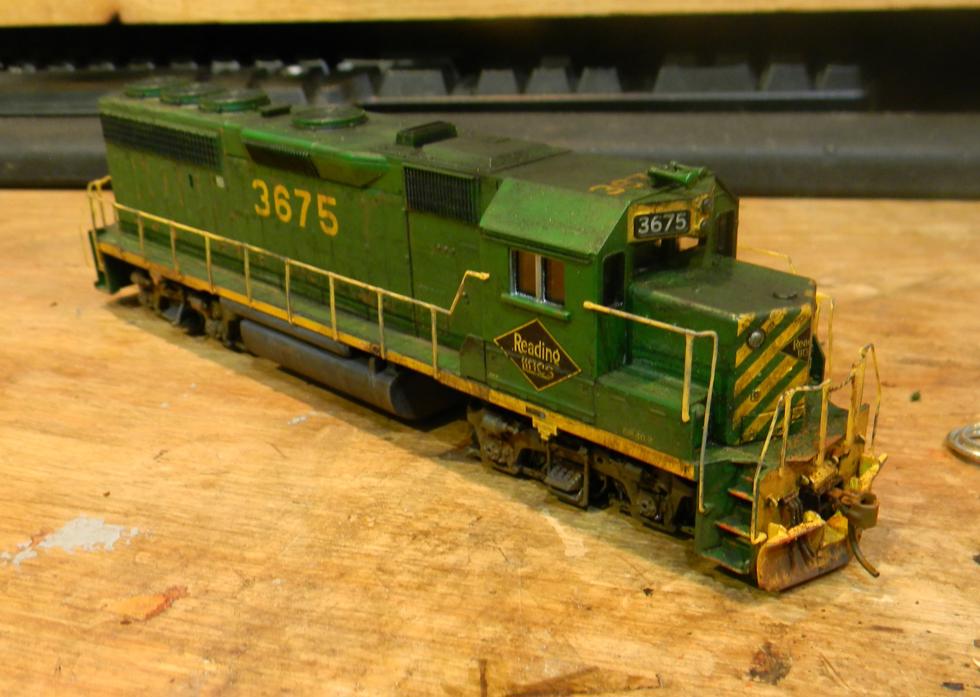
And here's the assembled and weathered beast which will soon be operating with one of my Conrail consists. Certainly a change from the one I pulled out of the Athearn box a couple of weeks ago.
Posts: 219
Threads: 15
Joined: Nov 2015
Excellent work!
————————————————————————————
Modeling the East Broad Top as it was between 1937-1942
~Amanda
|


 ---you have a very special addition to your collection and one to be proud of.