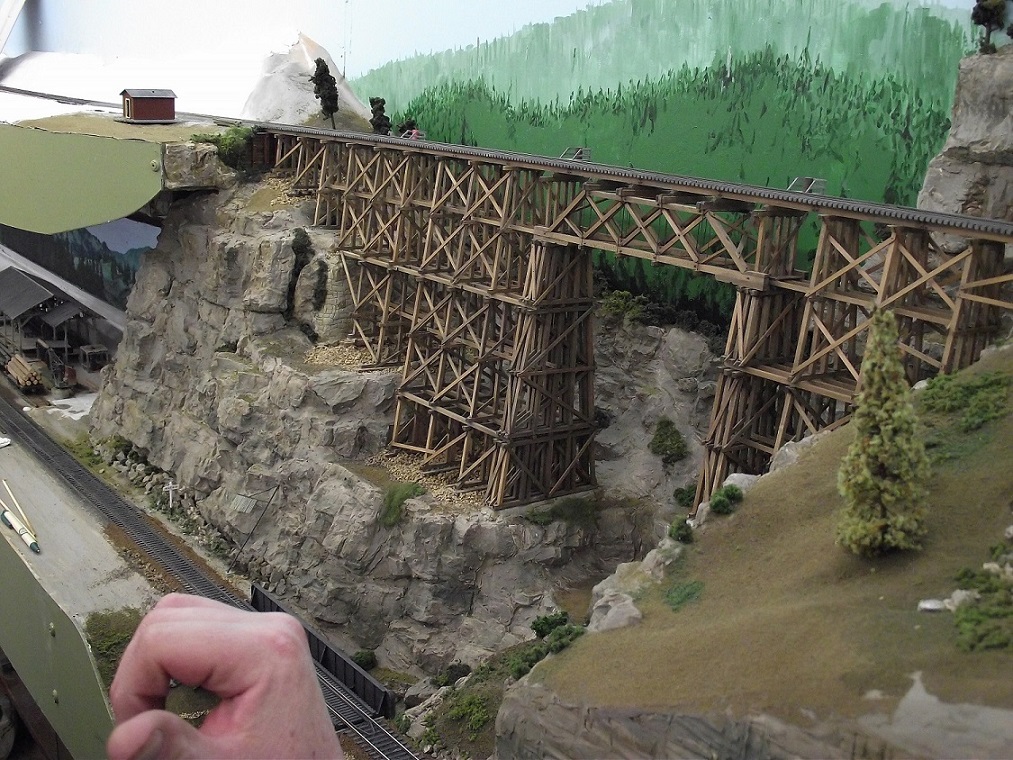
Trestle restoration
#1
Some may have remembered my Hemsley diorama restoration project that I did awhile back. That diorama was part of another modeller's layout who had passed away. 
Now I have been given another part of that layout, his centerpiece trestle:
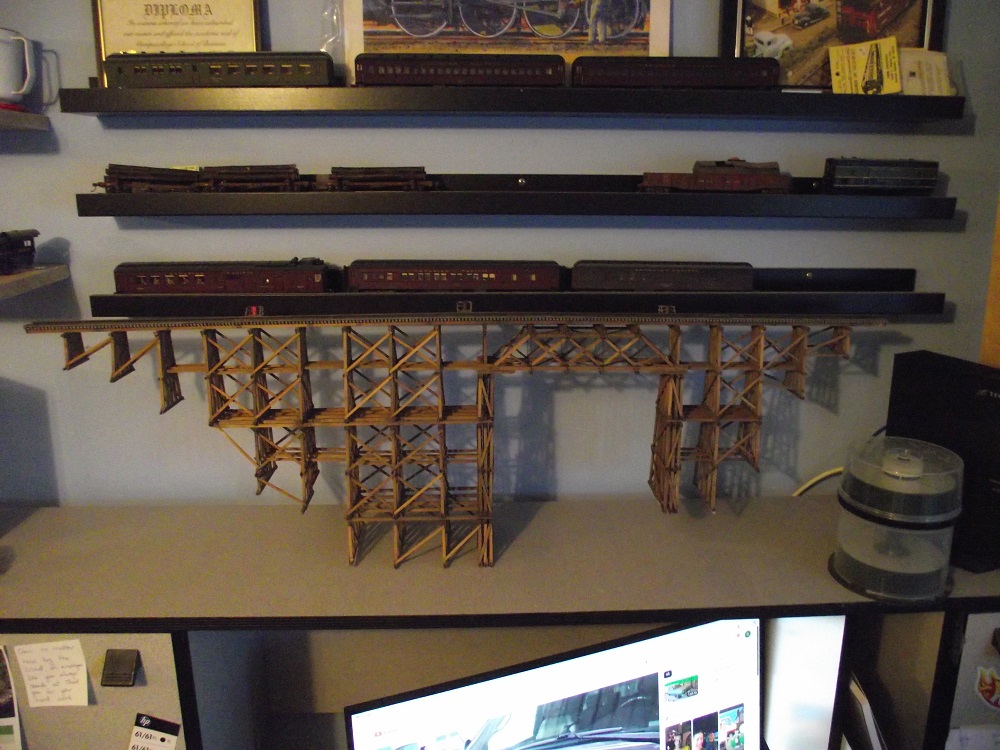
     

It was removed from his layout pretty much intact but was in storage for a couple years. a number of glue joints have come undone so I'll have to do some repairs. The larger job is to make a base/cradle for it to rest in. 
I don't have the room on my layout to install it and it would almost be a crime to cut it down to make it fit.
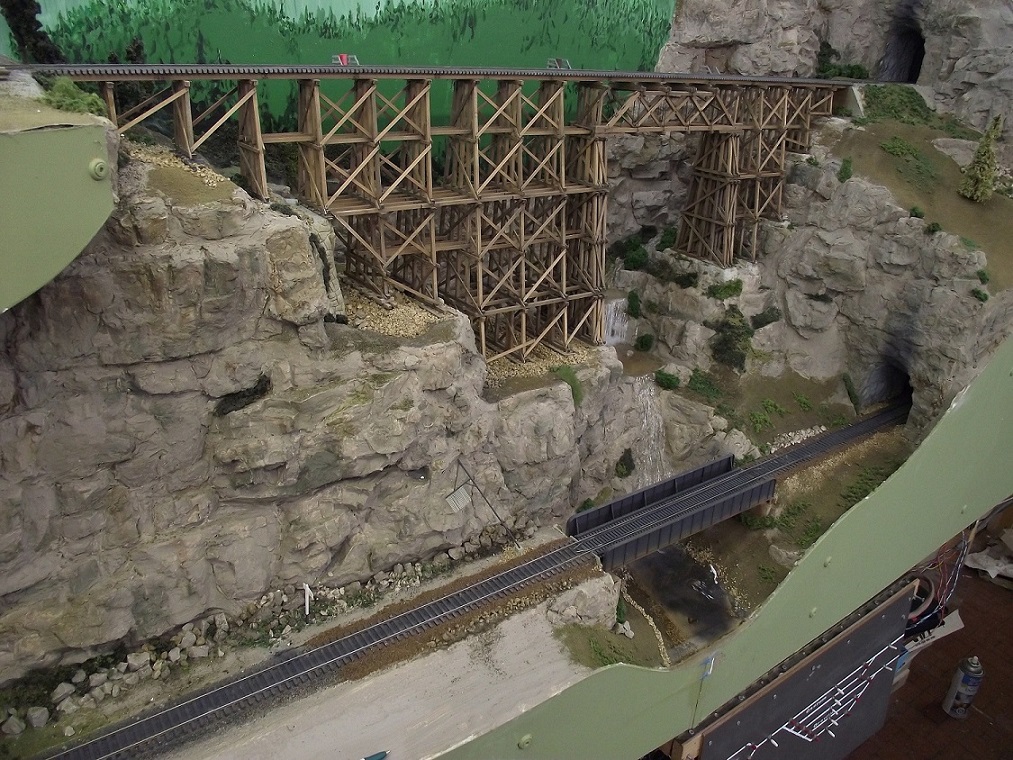
This is what it looked like on the orgininal builder's layout:


Reply
#2
Hi Glen
       I was gifted a wooden trestle when I started my last layout here. I worked it into the layout. My friend bult it but didn't have a use for it on his pike so I got the "discard" and I take many photos on that trestle. That one is a very nice trestle. It is sure worth gluing the loose joints. Perhaps you could make a diorama module that looks like the original setting that you could take outside for photos of rolling stock.     
Charlie
Reply
#3
That is definitely a centerpiece. Going to be interesting to see what you do with it.
Tom
Silence is golden but Duct tape is silver
Ridley Keystone & Mountain Railroad
My Rail Images Gallery
Reply
#4
nice trestle good score built one similar many moons ago also ended giving it away when we moved to the western slope.
 by the way what glue did you use my favoret for wood is tight bond. 
Jim
Reply
#5
My plan for now is to build a 'cradle' or base that will support all the trestle bents, and possibly scenic it. Then I can do the glue repairs once it's properly stabilized. I usually end up using eileen's tacky glue for craftsman wood projects but tight bond might be a better choice because if the trestle's size.
Reply
#6
I think that trestle is tailor made for a modular layout. Not sure if there's a club locally, but that might be a good use for it. Build a shipping case for the finished diorama and go to a few shows with it - I'd bet people would really enjoy seeing that. Maybe finish it and donate it to a club? Something that massive would be hard to incorporate into an existing layout, and rather than break it up and use sections, I think you (and the former owner) would probably rather see it restored to its former glory. Awsome piece, though!
Check out my "Rainbows in the Gorge" website: http://morristhemoosetm.wixsite.com/rainbows
Reply
#7
Thanks I've started to build the base for it:
   

I started with making a rough scale drawing of the trestle and the bents.


Then I went to work and cut some 1/2" birch plywood to make the surrounding frame and the bent supports.


The bottom and the sides were screwed together with some 1X1 squaring up the sides. I needed to do some very slight trimming of the rails on the bridge but it's now a slight 'friction fit in the stand.


and then I added the plywood risers that will support the bents. These will also be the scenery formers when I scenic the diorama. I'll probably do something similar to the original scene, but replace the river with a road .
Reply
#8
I tweaked the base's design a bit. I wanted a creek to run under it so I had the make and allowance for that. I also noticed that the ends:
   

Of the base are higher than the trestle itself. If this does eventually get incorporated into, say a free-mo module, I need to make it as easy as possible.


So I added another 1/2" piece of plywood to the bottom to lift the trestle up just a bit to accommodate both of these 'wants'.


So this lifts the ends of the trestle so the ties are above the framework.


and I was able to cut a creekbed into the plywood below.
Reply
#9
Just a quick update. I started to test fit the plywood risers for the trestle bents:
   

I have found that about half of the risers were slightly short. I'm gluing popsicle sticks to the tops of the risers as shims to square everything up. After the glue dries I'll trim the sticks flush with the risers. My plan is to glue the risers in with wood glue, I'm not sure if I would need to use screws or nails.
Reply
#10
That quick bent design already has one very important purpose, Glen. You never ever have to worry about someone knocking over the trestle and initiating complete destruction! I'm sure your friend is looking down with a great big smile on his face - you've breathed new life into something he was probably quite proud of.
Check out my "Rainbows in the Gorge" website: http://morristhemoosetm.wixsite.com/rainbows
Reply
#11
Thanks.
I completed the base structure this week.
   

It's a hefty construction but I wanted something durable. I'm starting to lean toward incorporating this into a free-mo module. The local club is currently making a free-mo layout and I'd like to ask them what it would take to adapt this.


And here is the trestle in the base. I'm going to have to nip about 1/16 off the upper stringers on both sides so it will settle into the base's ends without being pinched but other than that and a tiny bit of shimming, it fits well.
Not I can start repairing the popped glue joints on the trestle itself.


I made this fixture that will hold the trestle by the stringers on one end and the howe truss on the other. this allows the parts that have become unglued to 'droop' apart so I can apply glue to set it back up.


When the trestle is suspended I can see that it is coming apart between the first and second 'stories' Since this model was built prototypically, The lower bents are three cross braces high with joists forming the foundation for the next 'story' that are two cross braces high. The attachments of the second story bents to the joists are coming apart.
My plan is to place a small drop of carpenter's glue on the failed joints while the trestle is suspended, then place in back down on a flat surface to let the glue set up.    
I hope this is making sense, I don't know all the terminology of trestle engineering.
Reply
#12
The way you are planning on reglueing this is genius work. That is really clever and well thought out. It should work great. Using the carpenters glue will give you time to work and will set up clear. You might need a little weathering on the glue but other than that it should be fine. I am looking forward to the module you will have.  The local module club has a trestle section that is level with the modules with the trestle over a deep ravine. It looks great. 
Charlie
Reply
#13
Outstanding! Yeah, one thing about carpenter's glue that eludes a lot of people is that pressure and time build solid joints. Having the weight of the structure force the glue to adhere to both sides of the joint is key.
Check out my "Rainbows in the Gorge" website: http://morristhemoosetm.wixsite.com/rainbows
Reply
#14
Thanks guys. I repaired the joints today, using the plan I had before. I did find more loose joints and were fairly difficult to reach but a couple weeks ago I found this:
   

It has a long 20-gauge metal tip that was just the ticket to get into the tight spaces and deliver a small drop of glue. as a bonus, it has a wire in the cap that cleans out the tip as you go.


after applying the glue, I set the trestle back on the desktop, with a steel weight over the repairs section. It seems as though we had the same train of thought. I'll let it set up overnight and see how it turned out.
Reply
#15
After setting up overnight the bridge is now solid. I trimmed the stingers under the rack just a bit and now it fits perfectly between the ends of the base. 
   

I'm now contacting the person in charge of the Free-mo project to see what it would take to make this into a free-mo module. I'm thinking either I can adapt this base on the ends to free-mo standards, or I (or someone else) would have to build a whole new base
Reply


Forum Jump:


Users browsing this thread: 2 Guest(s)