Posts: 9,734
Threads: 233
Joined: Dec 2008
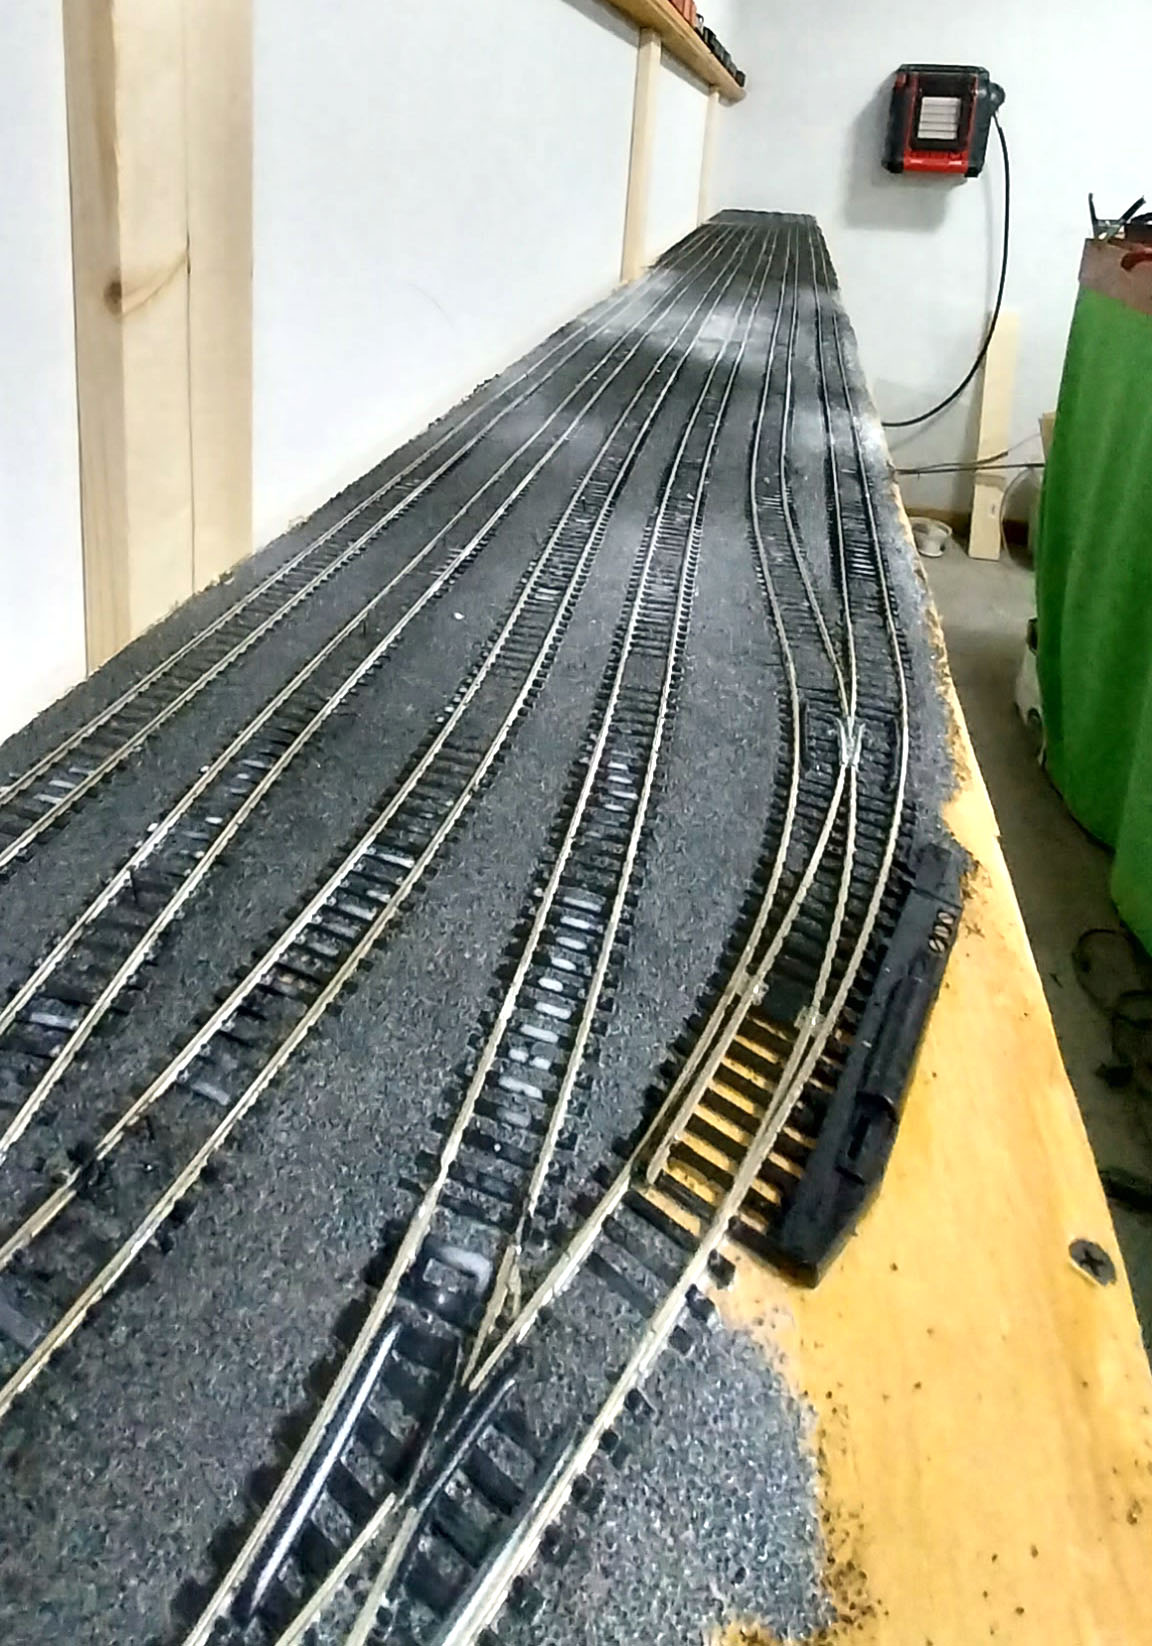
I decided to go with the cinder ballast. I straightend out the track somewhat and added ballast and applied a liberal amount of glue. I use a 50/50 mix of
Elmer's Glue All and water with a little bit of Awesome soap and about an oz of alcohol to 50 oz of the glue mix.
I spread the ballast, then a gentle mist of window cleaner to wet it then add the glue from a bottle like peroxide comes in dripping until everything is soaked good.
When it is dry I will remove all of the track nails.
Charlie
Posts: 9,734
Threads: 233
Joined: Dec 2008
The ballast has set well on the first section and I removed all the nails that held the track in place. I am laying out the north end yard now. Progress is slow but I have a system now so tacking it in place isn't too bad.
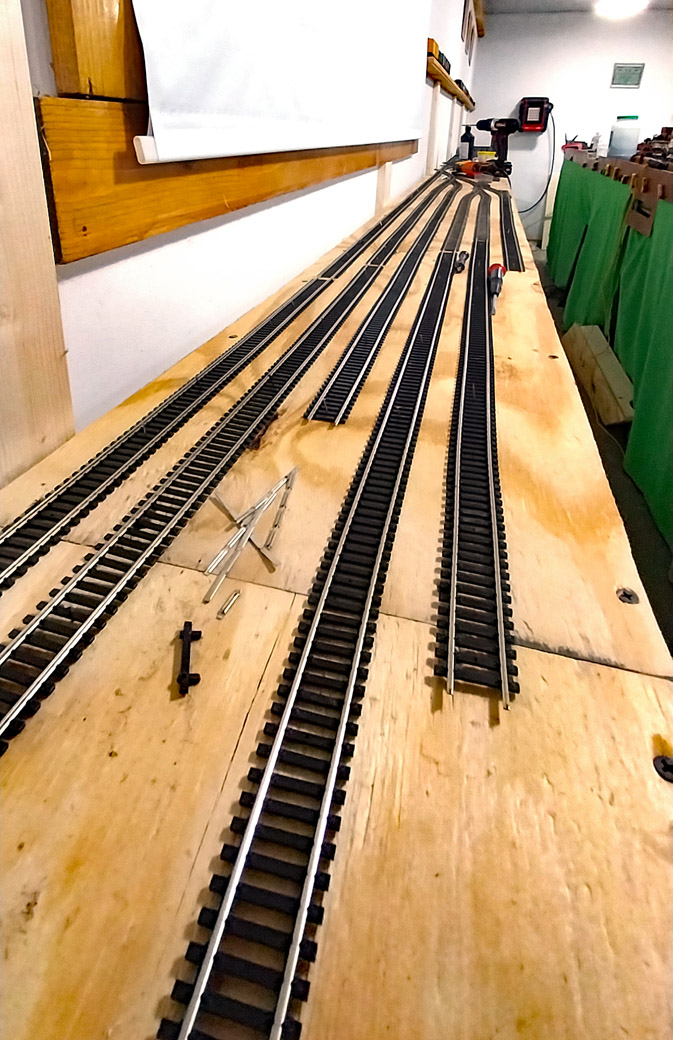
About 2/5 of this yard tacked down.
Charlie
Posts: 2,093
Threads: 40
Joined: Dec 2008
Looking good!
How do you ballast around the moving parts of the switches?
Posts: 9,734
Threads: 233
Joined: Dec 2008
(03-24-2023, 07:34 AM)tompm Wrote: Looking good!
How do you ballast around the moving parts of the switches?
Tom, I haven't done the switches here yet but when I do it will be mostly outside the rails. Under the points I just apply enough ballast to cover the base and I apply the wet glue to the outside and let it weep under. You have to be careful the glue and ballast doesn't get under the throw bar. Wayne uses a little oil on the points to keep the glue from sticking which would also work under the throw.
Charlie
Posts: 2,415
Threads: 63
Joined: Dec 2008
I looked at some turnouts up here and the ballast at the switch throw rods seemed not to be higher than the bottom of the sleepers. It might take a strip of coarse sandpaper to replicate this.
David
Moderato ma non troppo
Perth & Exeter Railway Company
Esquesing & Chinguacousy Radial Railway
In model railroading, there are between six and two hundred ways of performing a given task.
Most modellers can get two of them to work.
Posts: 9,734
Threads: 233
Joined: Dec 2008
(03-24-2023, 07:05 PM)BR60103 Wrote: I looked at some turnouts up here and the ballast at the switch throw rods seemed not to be higher than the bottom of the sleepers. It might take a strip of coarse sandpaper to replicate this.
I never ballasted the ties under the switch points so we would have room for snow when it fell. It made clearing the switches a lot easier. Not a problem on the Wilderson division but that was why I didn't do it with the prototype. Even a piece of ballast in the points will keep them from closing so you had to be careful. I think some flat black paint will look OK, too late to put anything under.
Charlie
Posts: 3,731
Threads: 44
Joined: Dec 2008
"I think some flat black paint will look OK"

Mike
Sent from my pocket calculator using two tin cans and a string
Posts: 9,734
Threads: 233
Joined: Dec 2008
Yesterday I ballasted the north east yard. It is done all but the ladder track to return to the main yard track. tonight I laid out the 36 inch radius curve at the north end that will round the corner to the yard along the north wall. It will be a stub end with the main yard track crossing over to the main layout at the end of the curve. I ballasted the curve and applied the glue so If I have time tomorrow I will work on the ladder tracks on both yards.
Charlie
Posts: 9,734
Threads: 233
Joined: Dec 2008
I have been working on the yards but have forgotten to take photos. Most of the track is down and ballastedans yesterday and today I worked on the wiring.
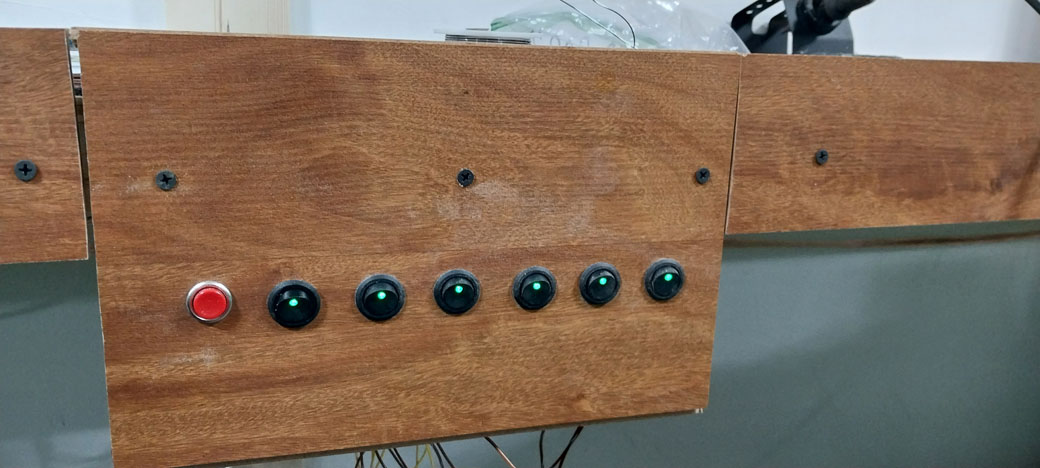
There are 3 power districts protected by Voltscooter breakers. That gives me a total of 9 districts on the entire layout. There are 3 different yards in the addition each has 6 tracks. Each track can be turned off so locomotives can be stored without a massive power draw. There is a switch panel for each yard which has 6 rocker switches for the track and a master reset switch for the circuit breaker.
I used 12 gauge audio wire from the power supply to the yards with each yard having its own 12 gauge wire pair.
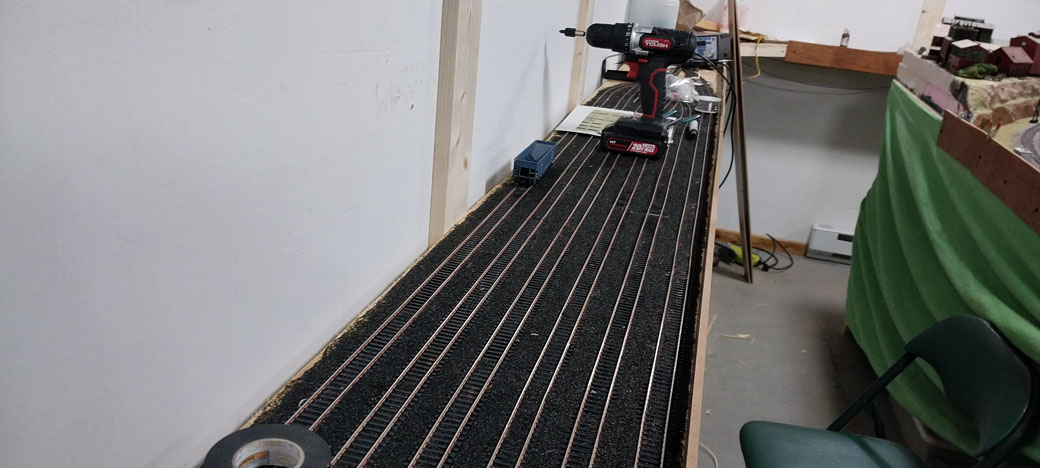
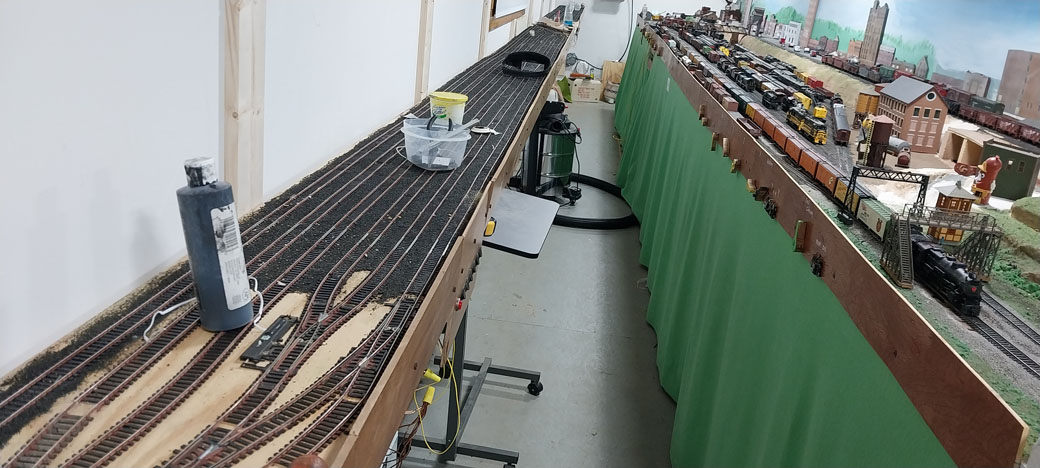
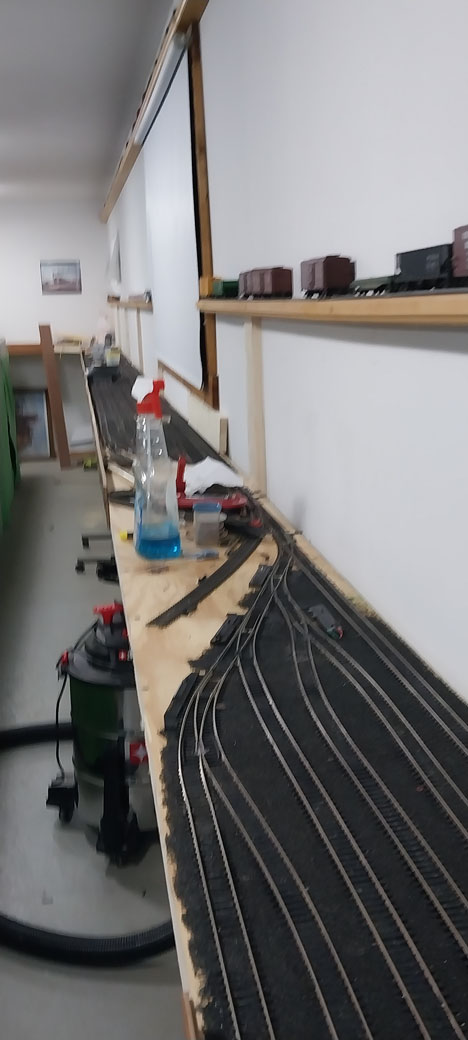
Tomorrow I hope to get stuff put away so I can finish up the fascia. I think I managed to bet the yard tracks in phase with the main layout too. More to come.
Charlie
Posts: 2,093
Threads: 40
Joined: Dec 2008
You are making great progress. Looking good!
Posts: 9,734
Threads: 233
Joined: Dec 2008
I finally remembered to take some photos.
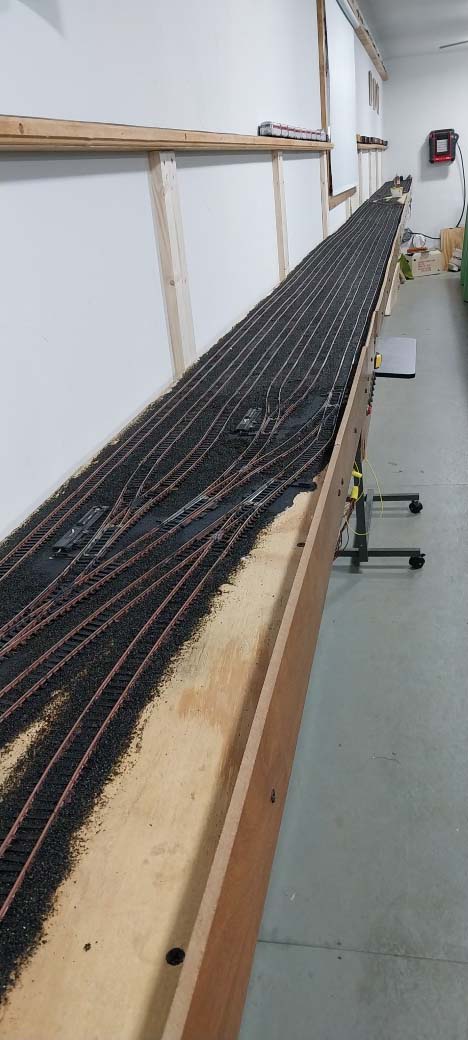
Yesterday I installed a couple sidings with team tracks and painted around the switches where i did not want ballast interfering with their operation. I still have some little items I want to touch up and I am on the way to Home Depot for some boards to fill the gap at the rear of the yards.
I noticed I have a slight bow in the shelf under the window but that will straighten out with the board that will fill the gap (and a little persuasion)( I can't remember ever typing that word, thank goodness for spell check

.
I will have to do some traveling for appropriate photos to have backdrops made. I prefer my own vs common ready made. I may even print some myself, I have had good luck with background buildings.
I still need to figure a fast way to install the bridges, and the one on the north end has to be made as well as installing the 3 switches needed to get to the bridge on the main section of the layout.
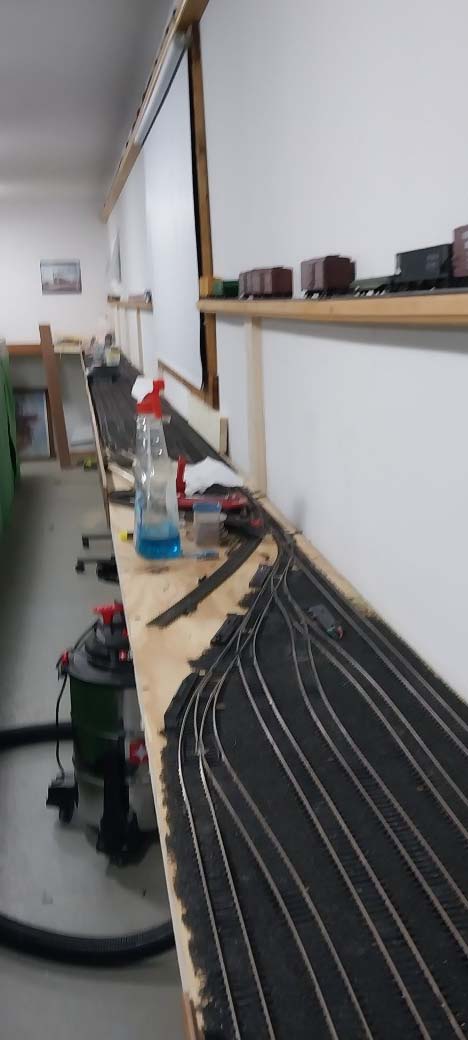
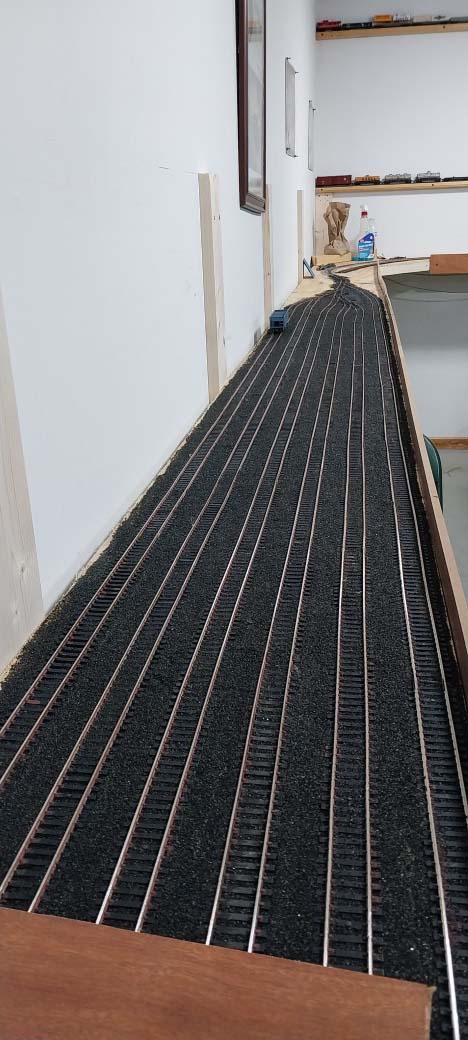

To be continued................
Charlie
Posts: 9,734
Threads: 233
Joined: Dec 2008
Posts: 2,093
Threads: 40
Joined: Dec 2008
Nice collection you got there!
Posts: 219
Threads: 15
Joined: Nov 2015
That’s a nice collection of cars and locomotives for sure. Especially love the Pennsy centipedes!
————————————————————————————
Modeling the East Broad Top as it was between 1937-1942
~Amanda
Posts: 212
Threads: 5
Joined: Aug 2014
yes some new locos and stock are badly needed ....
thanks for sharing .


 .
.