Posts: 4,553
Threads: 100
Joined: Dec 2008
This is as good a time as any for me to "revive" my old Tru-Scale crane, and create a boom car, and a fuel and water car...(crane tender), to go with it.
The crane was originally backdated to steam in 1959, using the Ron Christison article, "Powering the Tru-Scale Crane", in the September 1959 Model Railroader. I was 15 at the time, and wasn't quite as skilled a modeler as I would have wished. Needless to say, the crane sat in a box all these years, and now has a chance to be seen again.
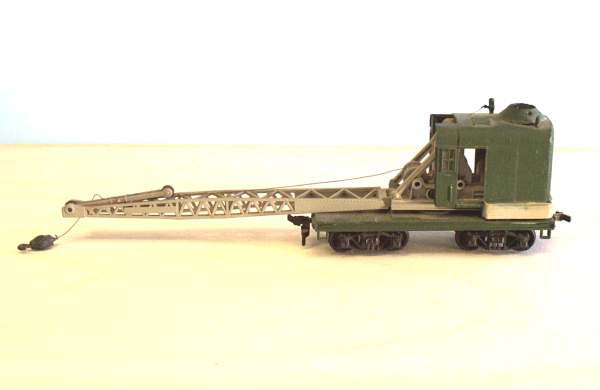
The first two pics are of the crane:
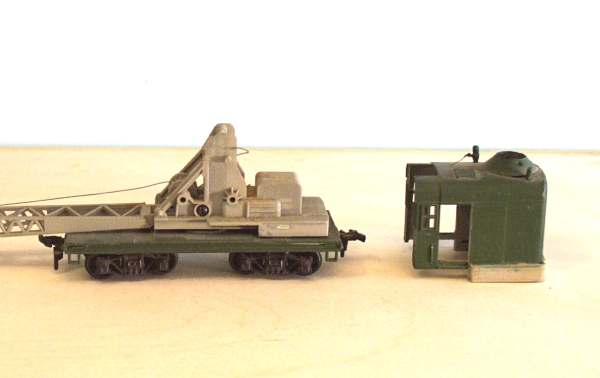
The boom car and crane tender are based on a pair of underframes from Model Diecasting "Old Time Boxcar" kits that were bashed into narrow gauge cars. I have several of these frames in the junk box.
We always learn far more from our own mistakes, than we will ever learn from another's advice.
The greatest place to live life, is on the sharp leading edge of a learning curve.
Lead me not into temptation.....I can find it myself!
Posts: 3,683
Threads: 118
Joined: Jan 2009
Cool project. I'm interested in seeing how this goes. Keep us posted!
Three Foot Rule In Effect At All Times
Posts: 4,553
Threads: 100
Joined: Dec 2008
Walthers had a release of this crane, in an all plastic version that could be modified in much the same way. I'll try to make this as much a tutorial, as a bash challenge.
We always learn far more from our own mistakes, than we will ever learn from another's advice.
The greatest place to live life, is on the sharp leading edge of a learning curve.
Lead me not into temptation.....I can find it myself!
Posts: 4,553
Threads: 100
Joined: Dec 2008
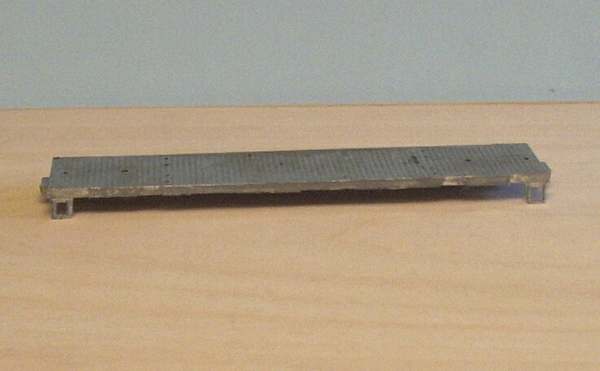
Here is one of the MDC "floors", with the wood deck in place: The gaps will be filled with new planks. The waterbase contact cement, expanded the 1/32" thick scribed sheet. When it dried out, it "unexpanded", leaving the gaps.......live and learn.
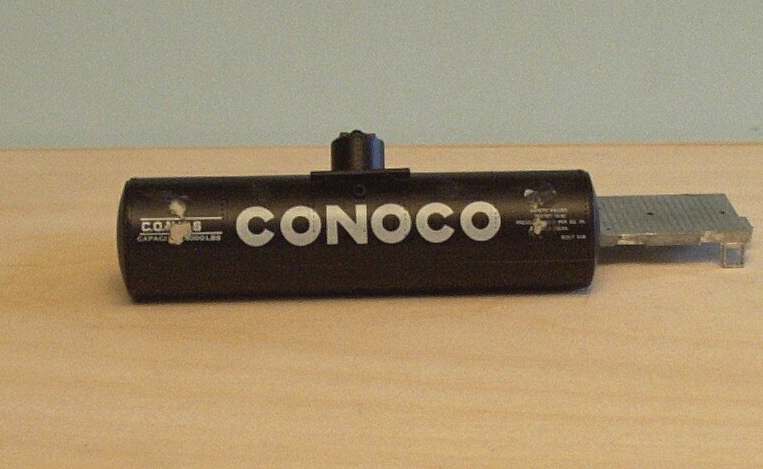
And this is the MDC "Old Time Tank Car" body, that will become the water tank:
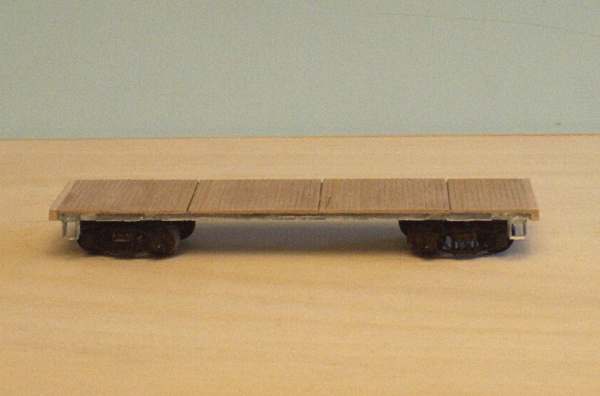
Rooting around in the "junk box", I found the remains of two "Chattanooga Choo Choo" tenders, I'll use the ends of these for the fuel oil tank.
We always learn far more from our own mistakes, than we will ever learn from another's advice.
The greatest place to live life, is on the sharp leading edge of a learning curve.
Lead me not into temptation.....I can find it myself!
Posts: 4,553
Threads: 100
Joined: Dec 2008
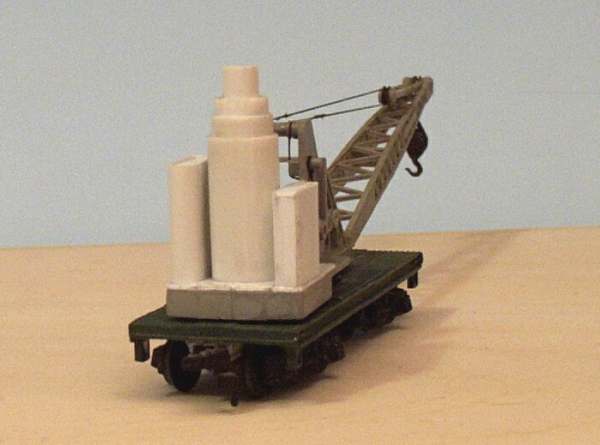
I'll start with the crane. this first pic shows the interior detail from behind. The boiler. to the right,the extension of the water tank, and to the left the fuel oil tank.
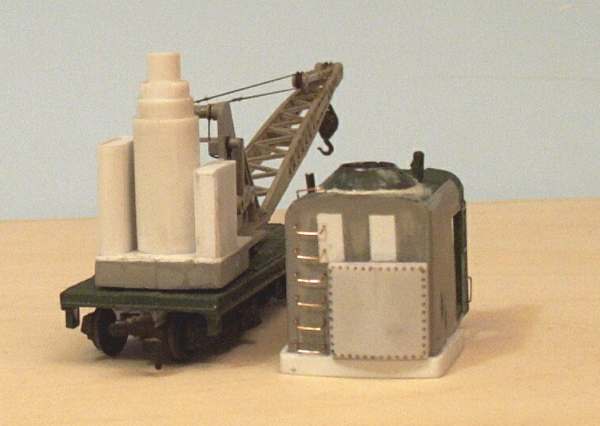
In this pic some of the original crane interior that's left after removing the unwanted items, with the cab removed.
and in this shot, the back end of the cab, with the rest of the water tank, on the right side.
We always learn far more from our own mistakes, than we will ever learn from another's advice.
The greatest place to live life, is on the sharp leading edge of a learning curve.
Lead me not into temptation.....I can find it myself!
Posts: 4,553
Threads: 100
Joined: Dec 2008
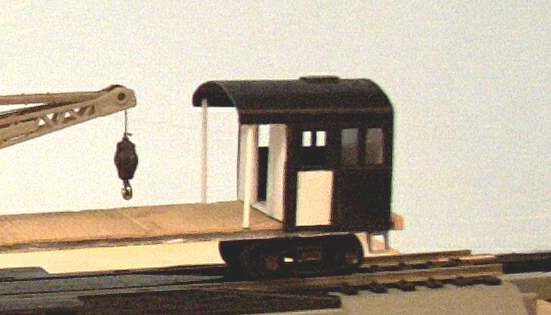
Here is the boom flat. A previously "discarded" loco cab, serves as an onboard storage area for "crane hardware", and tools.
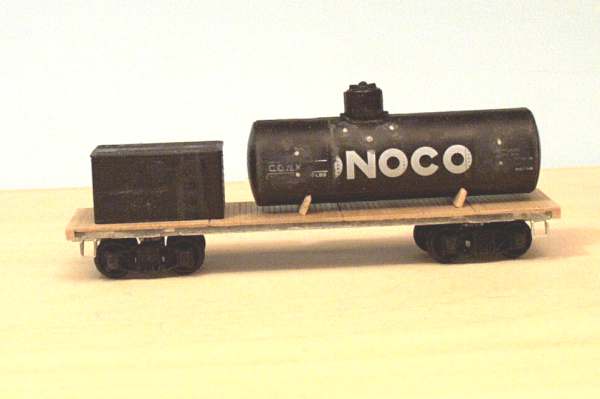
I believe the cab is from one of the "Chattanooga ChooChoo's".
This shot is of the "tender" with the fuel oil tank, and the water tank that is the MDC "old Time" tank shortened.
We always learn far more from our own mistakes, than we will ever learn from another's advice.
The greatest place to live life, is on the sharp leading edge of a learning curve.
Lead me not into temptation.....I can find it myself!
Posts: 4,553
Threads: 100
Joined: Dec 2008
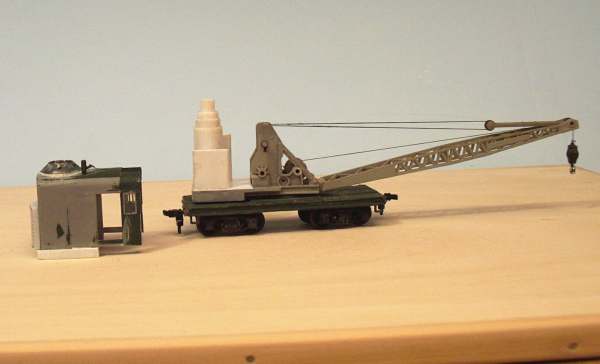
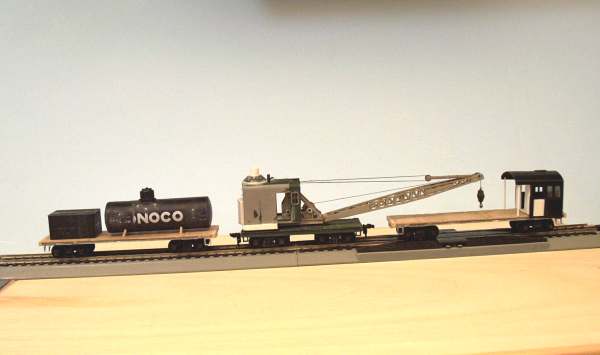
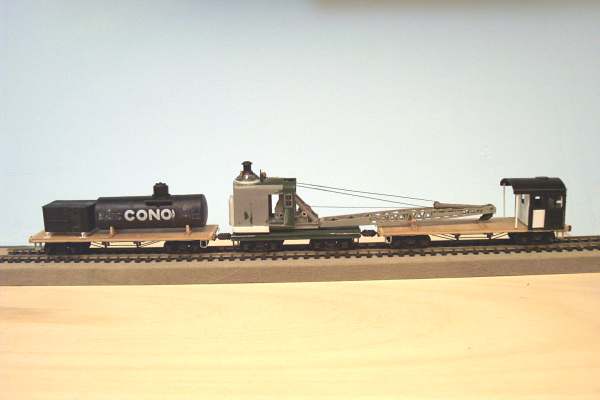
This shot is the "tender', crane, and boom flat:
We always learn far more from our own mistakes, than we will ever learn from another's advice.
The greatest place to live life, is on the sharp leading edge of a learning curve.
Lead me not into temptation.....I can find it myself!
Posts: 4,161
Threads: 174
Joined: Dec 2008
Wow Pete, you're moving right along on this one! 
Ralph
Posts: 3,683
Threads: 118
Joined: Jan 2009
Yep, it is looking terrific already. Great idea for a project.
Three Foot Rule In Effect At All Times
Posts: 4,553
Threads: 100
Joined: Dec 2008
We always learn far more from our own mistakes, than we will ever learn from another's advice.
The greatest place to live life, is on the sharp leading edge of a learning curve.
Lead me not into temptation.....I can find it myself!
Posts: 5,859
Threads: 175
Joined: Dec 2008
This is looking really good, Pete, and I have to thank you for reminding me that I have one of those cranes to build, too.  I picked it up a couple of months ago, unbuilt and still in the original Train Miniature plastic box. For four bucks, I couldn't not buy it. 
Wayne
Posts: 4,553
Threads: 100
Joined: Dec 2008
Train Miniature? OK so this crane has been Silver Streak, Tru-Scale, Train Miniature, and Walthers !!. Guess it's been around the block, so to speak.
We always learn far more from our own mistakes, than we will ever learn from another's advice.
The greatest place to live life, is on the sharp leading edge of a learning curve.
Lead me not into temptation.....I can find it myself!
Posts: 4,553
Threads: 100
Joined: Dec 2008
Progress update, and some pics:
On the "tender", the tank (fuel, and water) supports are built, not yet fixed to the flat. Details have been added to the crane, and the boom rest is built and attached.
Truss rods are fitted to both flats, couplers, trucks, and end beam details, have been added.
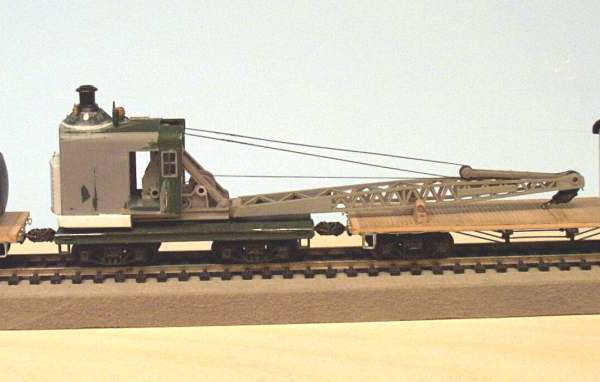
in this shot you can make out the boom rest. there is also a shelf unit in the "enclosure".
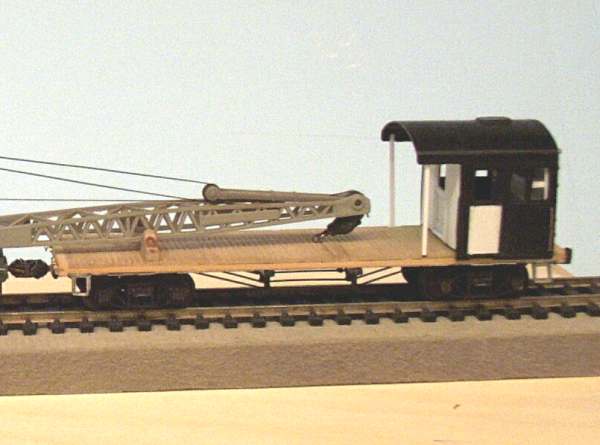
On the crane, I rebuilt the stack, added a safety valve (roof top), scrounged a generator from the spare parts bin, to provide 24v to run electric pumps on the tender for fuel oil and water transfer to the crane, finished the roof vent hatch, and added (opposite side, and out of sight) the conduit, and patch box for the 24v, and a fill pipe for the fuel oil. I also added a fill hatch on the external part of the water tank
I'm seriously thinking of building a new hook with a single sheave block to replace the original....it will mean re-rigging the crane's lift cable. I have to decide just how much underbody detail I will add to the crane, and the flats. I also need doors on the crane.
We always learn far more from our own mistakes, than we will ever learn from another's advice.
The greatest place to live life, is on the sharp leading edge of a learning curve.
Lead me not into temptation.....I can find it myself!
Posts: 6,198
Threads: 1,126
Joined: Nov 2008
Posts: 4,553
Threads: 100
Joined: Dec 2008
Pumps! Two 15" dia., 30" long, 24VDC powered centrifugal pumps. It really helps when you have a shipyard available to design, cast, machine, and test, things you can't immediately buy on the open market.
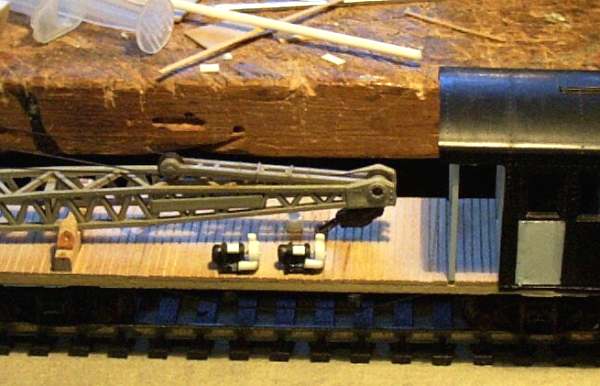
I started with a pair of the MDC, type K brake cylinders, which became the "motor part, and added the "pump", built up from Evergreen styrene tube/rod/strip.
Next up?, figuring out exactly what the water, and fuel oil plumbing should look like.
I'm thinking the fuel oil should have a nozzle, with a switch lever (as in gas pump nozzles) to control the pump. Water can be controlled with a switch, right at the water pump ( a little overflow here isn't a serious thing ).
The fun, is figuring out what detail, where it will go, and what it is used for. 
We always learn far more from our own mistakes, than we will ever learn from another's advice.
The greatest place to live life, is on the sharp leading edge of a learning curve.
Lead me not into temptation.....I can find it myself!
|


 I picked it up a couple of months ago, unbuilt and still in the original Train Miniature plastic box. For four bucks, I couldn't not buy it.