Posts: 2,724
Threads: 160
Joined: Dec 2008
Today's job was to build the fireman's tools and add the whistle cord. The cord is just a simple piece of string glued to the roof of the cab with CA. It can be seen here next to the engineer's head.
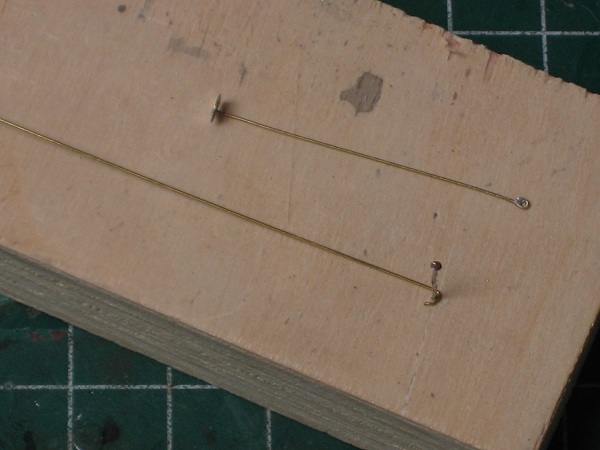
I can't say the same for the tools.
I made them from some thin brass sheet stock and some .016 brass wire. I wrapped the end of the wire around a pin and soldered the loop closed to form the handle. The one on top is ready for paint, the rake end is brass sheet cut to shape and soldered in place.

My other car is a locomotive, ARHS restoration crew
Posts: 2,724
Threads: 160
Joined: Dec 2008
I next painted and weathered the tools and glued them in place. One in the tenders tool rack, the other, stuck in the coal load. I held a piece of paper up behind each one so that they show up better in the shots.
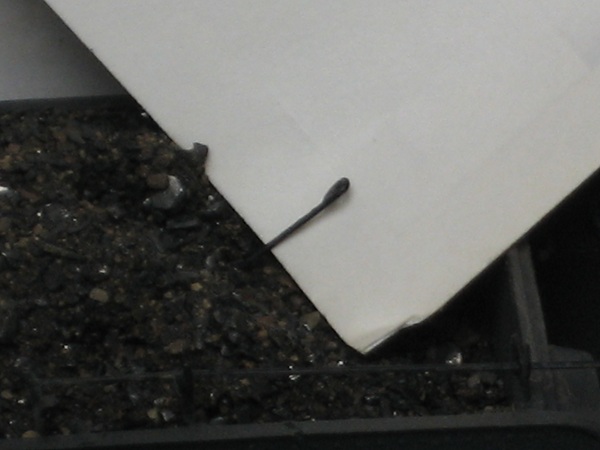
The rake was placed in the rack on the tender. A little CA holds it in place.
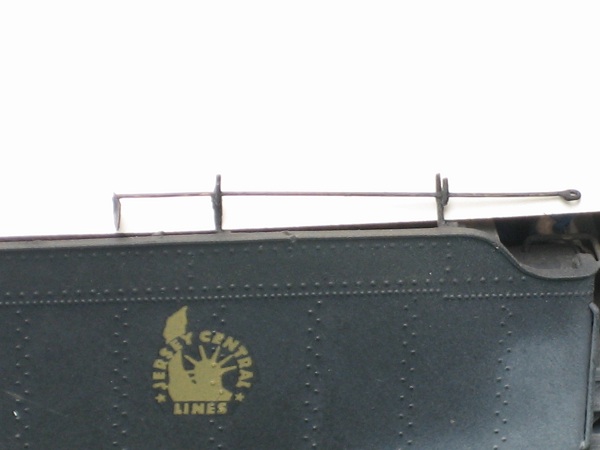
The other tool is just a handle shoved into the coal pile and fastened down with some white glue.
My other car is a locomotive, ARHS restoration crew
Posts: 1,992
Threads: 81
Joined: Dec 2008
Holy Mackerel! You win already, my friend. I remember when i first saw that camel back at the Fallen Flag Prototype meet, and it was a winner then. Now, i think you've blown away the competition. I haven't seen a more detailed engine on this site! Its enought to make me be happy that i run Electrics and MUs!
I really ought finish up that C32-8 i had with me that day, its at least got some good super detailing.
Modeling New Jersey Under the Wire 1978-1979.
![[Image: logosmall.png]](http://i543.photobucket.com/albums/gg445/CAB_IV/Model%20Trains%202013/logosmall.png)
Posts: 3,683
Threads: 118
Joined: Jan 2009
Oh yeah, e-paw has gone over the top with this one! Great execution of a very nice project. The detail work is right on!
Three Foot Rule In Effect At All Times
Posts: 1,817
Threads: 27
Joined: Dec 2009
Yeah, it's all over!
My little Scale Test Car couldn't stand up to that "Widow Maker!" It's GORgeous!
Besides, who knows, I might not get the decals in time to finish up anyway!
I think you've got the top step, there, E-Paw! 
biL
Lehigh Susquehanna & Western
"America will never be destroyed from the outside. If we falter and lose our freedoms, it will be because we destroyed ourselves." ~~Abraham Lincoln
Posts: 2,724
Threads: 160
Joined: Dec 2008
I added some more of the finishing touches to the K-1 this afternoon.I wanted to add one of those classic railroad oilcans to the model.While I was at the LHS the other day I couldn't find any that I liked, so, Lets scratch one from brass. It was a very simple job I just soldered a brass wire into a hallow brass tube for the body of the can.

I sanded the solder blob to a cone shape, drilled 2 holes in the side, and glued in a handle bent from the same wire as the spout.
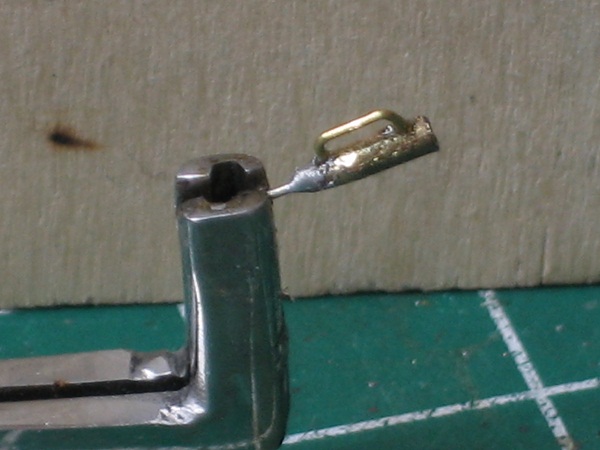
So there it is, not to hard at all. Off to the paint shop it gos.
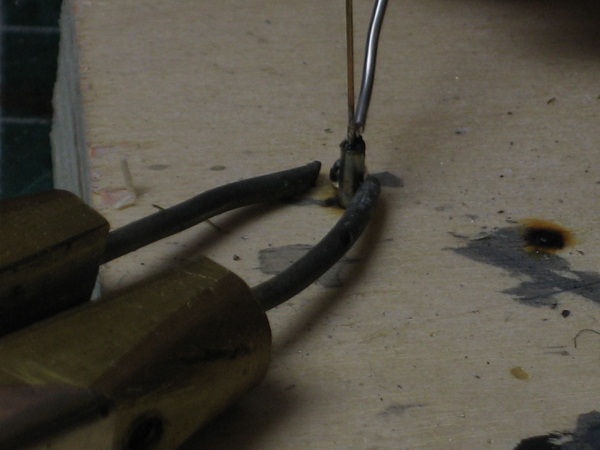
Just for a sense of scale the spout and handle is .016 wire.
My other car is a locomotive, ARHS restoration crew
Posts: 2,724
Threads: 160
Joined: Dec 2008
After the paint dried a little CA was used to hold the oilcan down on the cistern.
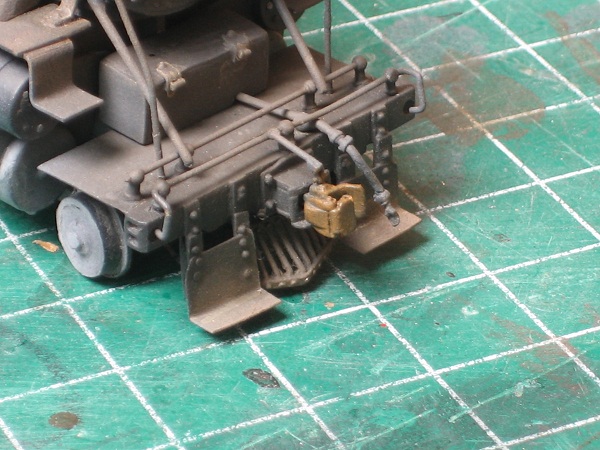
As someone pointed out earlier I forgot to rust up the couplers, so that was finished up also.
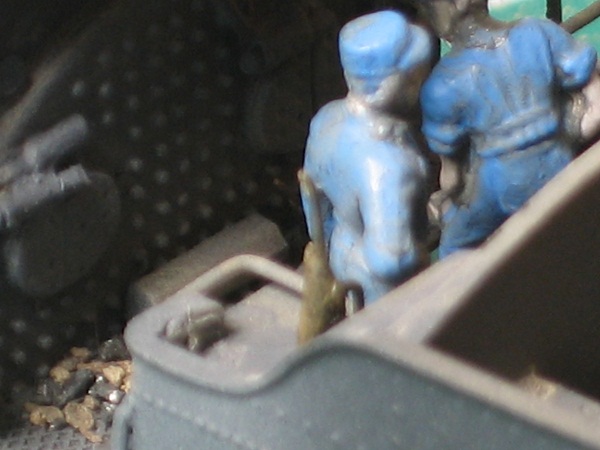
My other car is a locomotive, ARHS restoration crew
Posts: 2,724
Threads: 160
Joined: Dec 2008
now It's on to the headlight. I ordered some small 12v lamps from the LHS, but they will not be in until the end of January, so I will have to make a stopgap solution for now. I painted the inside of the lamp white to act as a reflector.if you look closely you can see that I cut open the back of the lamp and drilled a hole in the smoke box front for the wire to pass through.
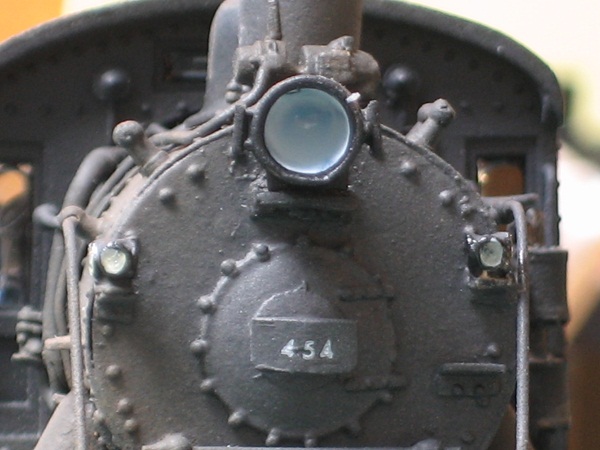
I used some glue for clear plastic to form a lense for the lamp, when I get the new bulbs this can be easily removed and the bulbs installed.
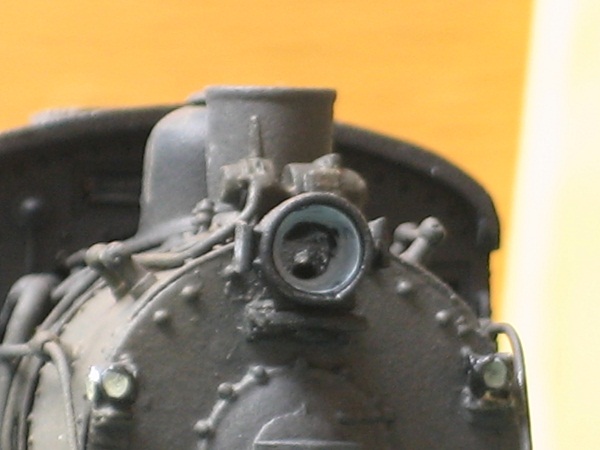
The glue will be clear when it dries.
My other car is a locomotive, ARHS restoration crew
Posts: 3,683
Threads: 118
Joined: Jan 2009
You're definitely in the "above and beyond" group on this one, e-paw. The detail work is inspiring, good to see how you are doing these itty bitty things, so I can apply the knowledge to my details.
This diesel guy is sure lovin' that Camelback! 
Posts: 1,817
Threads: 27
Joined: Dec 2009
E-Paw ... I'm interested in your soldering technique.
Twice now (at least) in a close-up of a soldering operation, it appears that there are two "probes" contacting the item being soldered.
Is that a resistance soldering set-up? Can you tell us more about that?
biL
Lehigh Susquehanna & Western
"America will never be destroyed from the outside. If we falter and lose our freedoms, it will be because we destroyed ourselves." ~~Abraham Lincoln
Posts: 2,724
Threads: 160
Joined: Dec 2008
Yes Bil, That's my Triton resistance rig. It is an amazing tool.You do have to be careful with it, It can be overkill for some jobs. I mostly keep it on the low setting, but from time to time I use the high setting, Like when I need to solder 1/4 20 nuts to things.. " I actually did that with it."
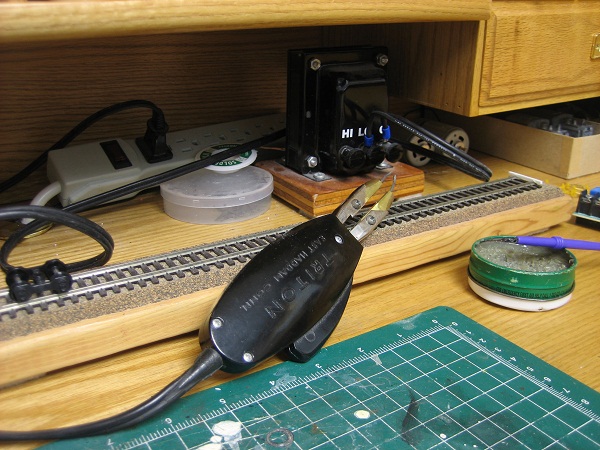
I also have a cheap-o Radio Shack 30 Watt iron that has a ton of miles on it. For tinning wire, soldering thin brass wire and building turnouts I am more comfortable with the Iron. For soldering heavy brass stock the mini arc welder is the way to go. The prongs on the resistance rig Are also great to use as a clamp to hold your work together as you solder.
My other car is a locomotive, ARHS restoration crew
Posts: 1,817
Threads: 27
Joined: Dec 2009
I may have to look into getting a rig like that. I have a couple of soldering jobs that I have attempted to do several times with an iron and once with a tiny torch, but each time I've only succeeded in adding another joint to the list of those which need to be re-soldered. I stopped fooling around with then before I had to consider the repair a "scratch building in brass" project, rather than just a "simple" repair job.
Where did you get that unit?
biL
Lehigh Susquehanna & Western
"America will never be destroyed from the outside. If we falter and lose our freedoms, it will be because we destroyed ourselves." ~~Abraham Lincoln
Posts: 1,992
Threads: 81
Joined: Dec 2008
I've considered buy a resistance soldering set for constructing my catenary, but i seem to be getting by well with the iron. You think it would be worth investing in?
Awesome Progress
Modeling New Jersey Under the Wire 1978-1979.
![[Image: logosmall.png]](http://i543.photobucket.com/albums/gg445/CAB_IV/Model%20Trains%202013/logosmall.png)
Posts: 2,724
Threads: 160
Joined: Dec 2008
GEC if the iron works for you than use it. The heat builds up rapidly with the resistance rig when used on small parts. The amount of heat tends to run away before you realise it and the solder runs off before the parts can cool off. Sometimes an iron will give you more control.
Bil I got it from Micro-Mark. They go on sale from time to time so if you don't need it right away, hold off and you could end up with a sizeable discount on the price. I believe I got mine for %40 off.
My other car is a locomotive, ARHS restoration crew
Posts: 2,724
Threads: 160
Joined: Dec 2008
At this this time I'm going to call this one finished. It's kind of what I would consider one of those milestone projects, I glad to have finally finished it. After years of just sitting around I can now look at a finished product  .
I shot a short video of the K-1 with a coal train heading west out of Saylors junction.
<!-- m --><a class="postlink" href="http://s840.photobucket.com/albums/zz328/gronku2/?action=view¤t=20101218175343.mp4">http://s840.photobucket.com/albums/zz32 ... 175343.mp4</a><!-- m -->
My other car is a locomotive, ARHS restoration crew
|
 I can't say the same for the tools.


![[Image: logosmall.png]](http://i543.photobucket.com/albums/gg445/CAB_IV/Model%20Trains%202013/logosmall.png)


 .
.