Posts: 12,037
Threads: 579
Joined: Nov 2008
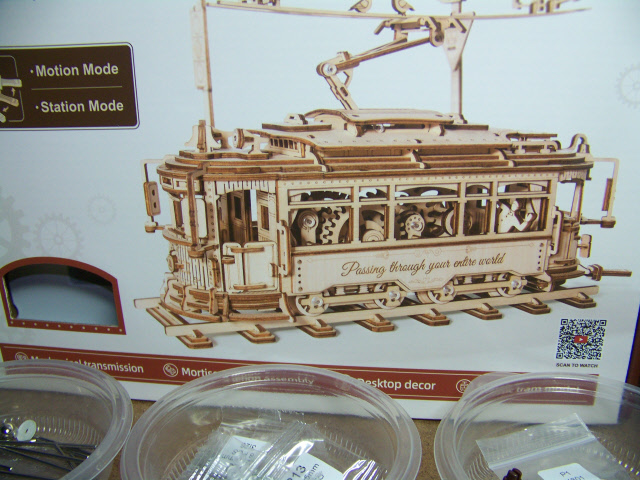
Well, here we are again, these are really interesting, challenging and fun, and I know I'm hooked. I may have to see a shrink to shed my addiction. So, I have one more of these wooden "puzzles", (or really, models). This one is a trolley car that has a spring-wound drive motor. It also has tracks, and a catenary system with overhead (wooden) wires for use as a static display. I already have the steam engine on a floating shelf I built next to my rolling stock display case, and so that's my plan, to build another shelf for the trolley.
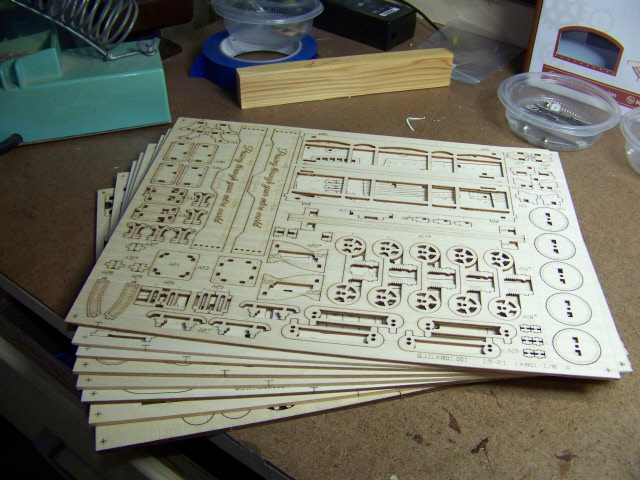
This one has some 370 parts, but will take more time because of the drive engine and the fact that parts used aren't in sequence. In some kits, you use parts from sheet A before you go to sheet B, but this one starts off with parts from sheet H, then E, then G, and so on, mainly because each sheet is a different thickness plus assembly starts off with the gear train. Learning from the steam loco built, I will double and triple check the gears as they are installed. One loose gear or broken shaft negates all efforts to run this thing.
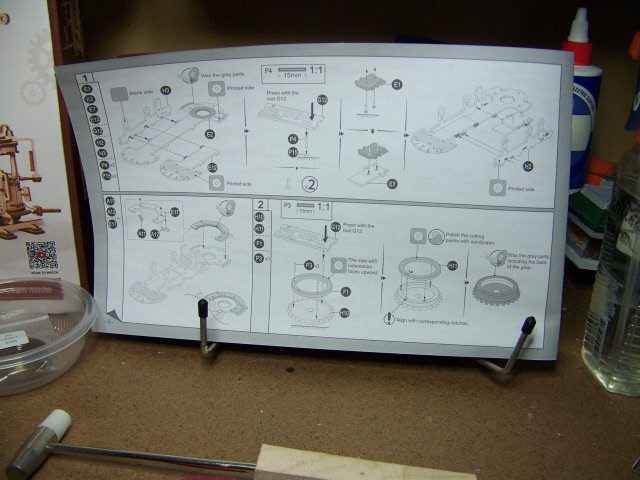
Anyway, this is what I'm trying to build, and the instructions are in a book rather than a large sheet. There are only 10 steps to building this, but.... I counted over 170 sub-steps, so I'm thinking 20 or 25 hours to build just as long as there are no real issues.
The objective:
The instructions:
The parts:
Don (ezdays) Day
Board administrator and
founder of the CANYON STATE RAILROAD
Posts: 6,670
Threads: 1,136
Joined: Nov 2008
Wow!!!!
Now it's getting close to home.... "Train stuff"!!!!!
This should look great!!!
Posts: 10,798
Threads: 248
Joined: Dec 2008
Don, you are doing wonderful. I don't know how you keep going but I am proud to know you.
I will follow this one too.
Charlie
Posts: 12,037
Threads: 579
Joined: Nov 2008
Thanks guys. Charlie, I do it because it's a great distraction. While I'm working on these models, nothing else matters and I forget about any personal or world issues for a while. Besides, I really like the challenge, if you don't follow the plan exactly, you will screw up somewhere else along the line.
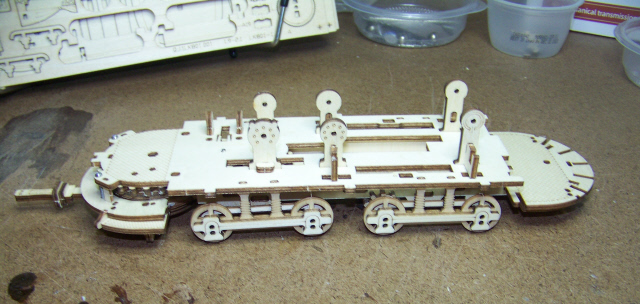
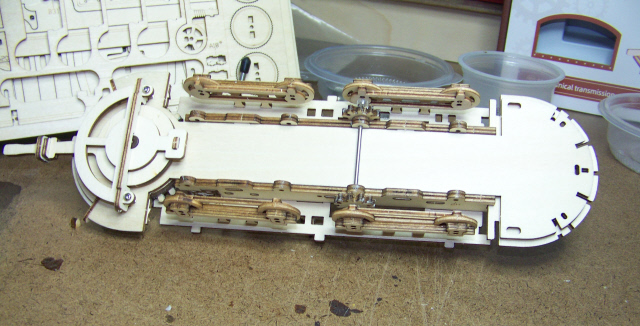
That being said, I now have about four hours into this and have completed the first two steps (actually there were 24 sub-steps). The spring motor, first few gears and brake are installed and hidden, so if I didn't get them right, see my above statement. To be sure, so far the gears do turn, so I'm on to step 3. One thing that takes so long is that all the gears need to be waxed to lubricate them, you can see that on the main gear in step 1.
Step 1:

Step 2, top and bottom:
Don (ezdays) Day
Board administrator and
founder of the CANYON STATE RAILROAD
Posts: 12,037
Threads: 579
Joined: Nov 2008
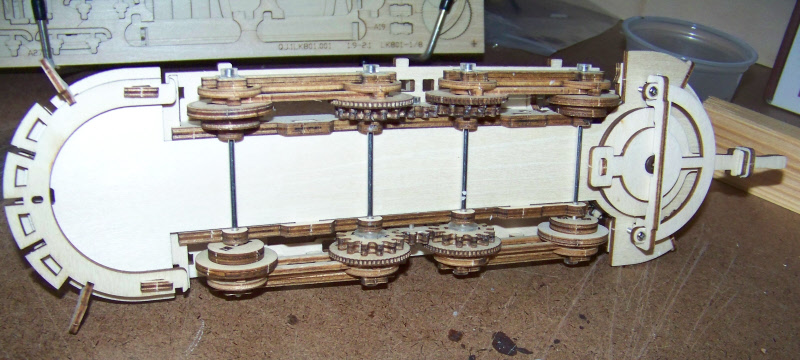
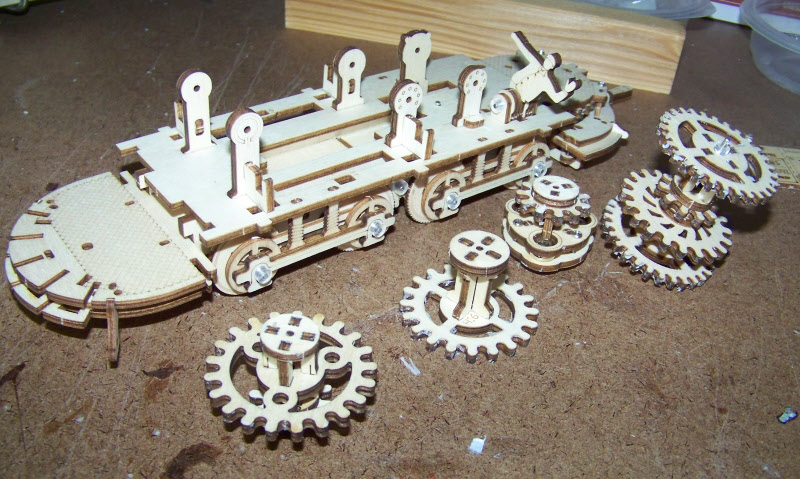
I am approaching a giant step in the build process, step 3 finished the wheels, so now the drive motor gears and the wheel gears need to be connected. I just spent about 2 1/2 hours building the gears to do just that. It took that amount of time because all the gears needed to be waxed. The kit included two sticks of wax and I wondered why, now I know.
Step 3 wheels, the inside four and driven, the outside four are free wheeling:
Step 4 gears, this should be all the gears necessary for running this trolley, the conductor is actually the run/stop switch:
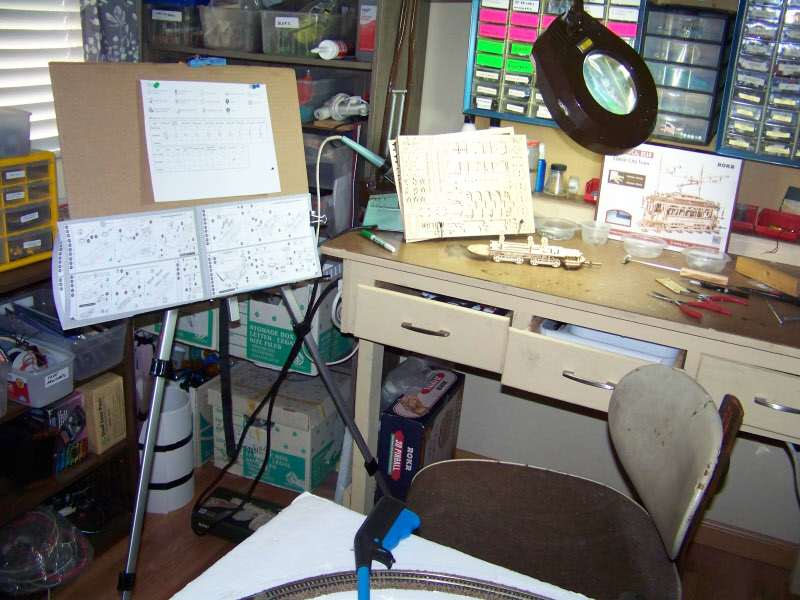
In case anyone is interested, this is my work area. The easel holds the instruction book and a sheet showing all the mechanical parts by designation, all the part sheets are in order, A-H. Everything is arranged so that I can use the mag lamp to see the assembly instructions then swing it over to do the assembly. I would be lost without that lamp.
Don (ezdays) Day
Board administrator and
founder of the CANYON STATE RAILROAD
Posts: 12,037
Threads: 579
Joined: Nov 2008
I have reached a milestone, if we count steps, I'm 50% finished. If we count time (almost 10 hours), I'm close to 50% done.
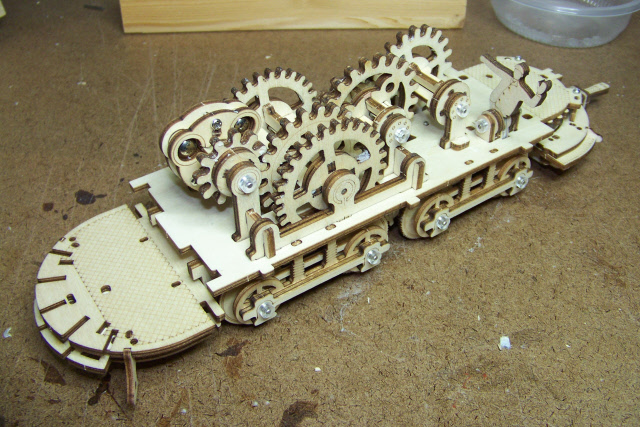
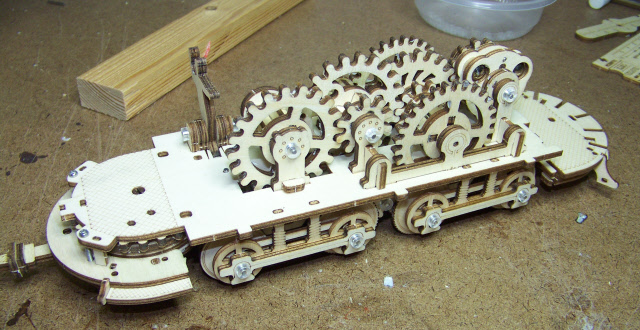
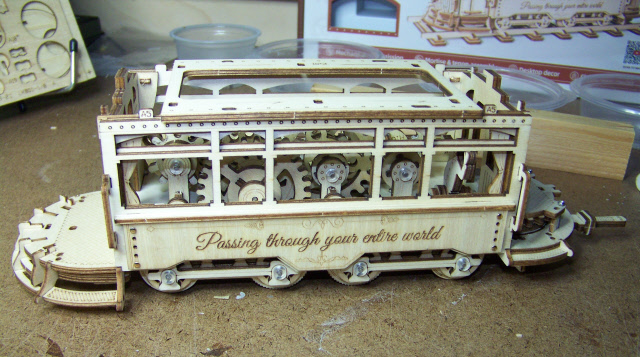
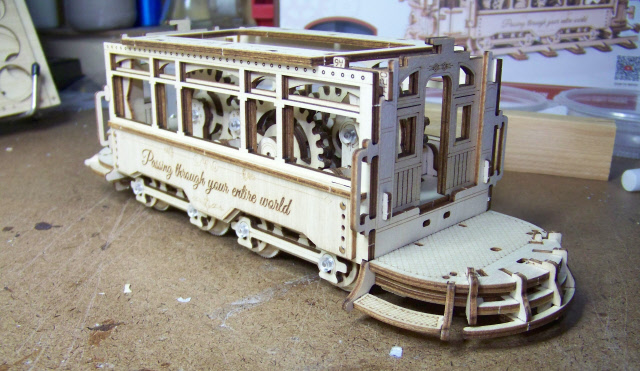
Step 4 finished off the drive train gears and ends in a test to see if it'll actually run. Well, it didn't seem to at first, but after determining that nothing was wrong, I find that it moves, just not steady and not without an occasional nudge. After spending a good hour on it, I put what I took off back on and declared it operational. Note the one gear at the end that has weights to use as a regulator. There are also and excessive number of gears, but then that adds to the charm of this trolley. Fortunately, I will only run it as a demo and relegate it to being a static display. Step 5 starts to add the enclosure walls and roof.
Step 4, gear train install:
Step 5, adding walls and partial roof:
Don (ezdays) Day
Board administrator and
founder of the CANYON STATE RAILROAD
Posts: 12,037
Threads: 579
Joined: Nov 2008
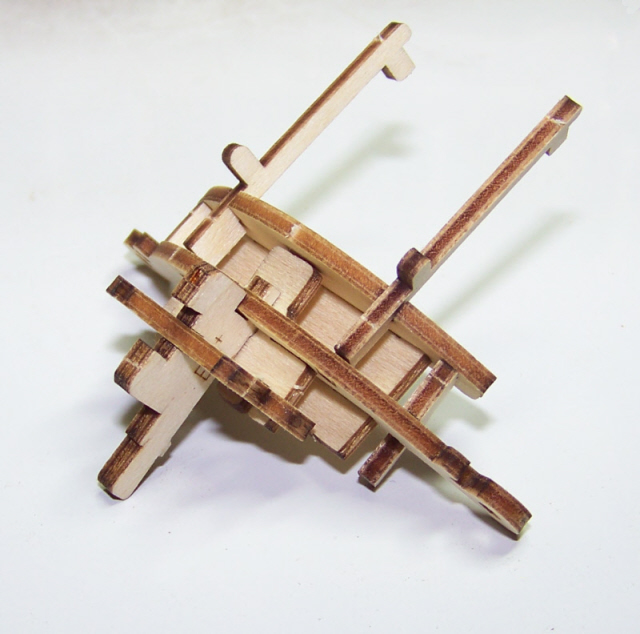
Just in case you were wondering why some steps take so long, here's one sub-ass'y from step 6. It consists of 10 parts, all but one were on the same plywood sheet. I have exactly 32 minutes assembly time for this one assembly. It apparently will wind up supporting the nose of the trolley car. I'm not complaining, otherwise I wouldn't be doing these models, to be sure, the more complex ones are really more fun to put together...
Don (ezdays) Day
Board administrator and
founder of the CANYON STATE RAILROAD
Posts: 12,037
Threads: 579
Joined: Nov 2008
It looks like I'm making progress. Step 7 is complete and only three more to go. I now have just about 14 hours into this project so I might come in under the 20 or so I estimated.
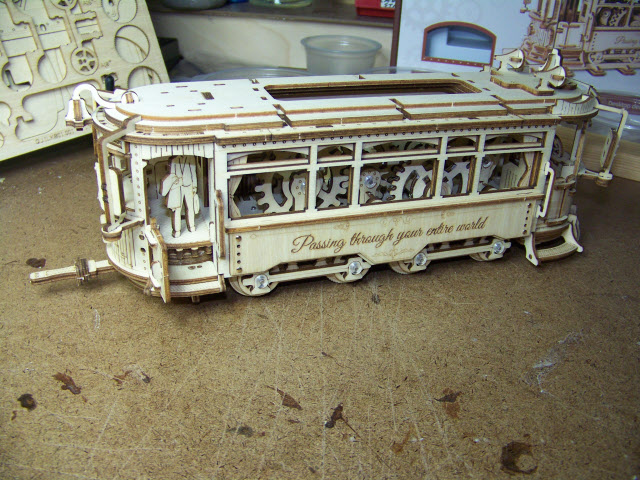
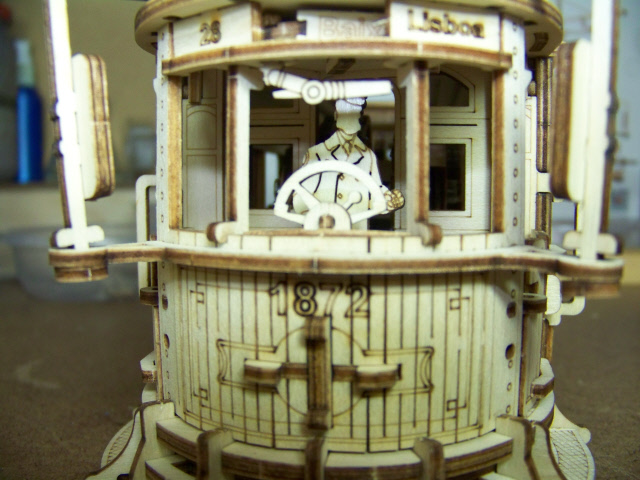
Here are two shots of the people on this trolley. First we have a passenger that is about to get off. He just realized that the trolley is still under construction and is not going anywhere for a while.  The second one is of the driver who, in spite of what it looks like, does not have his hands on the wheel. No need to, for again, this trolley isn't moving yet, so I assume that he's in training and just getting the feel of the latest and greatest in trolley technology. There is a third person, the conductor who is constantly looking out the window. He appears in steps 4 and 5 photos. That's about all that will fit on this trolley since the passenger compartment is full of gears and has no seats. 
Don (ezdays) Day
Board administrator and
founder of the CANYON STATE RAILROAD
Posts: 12,037
Threads: 579
Joined: Nov 2008
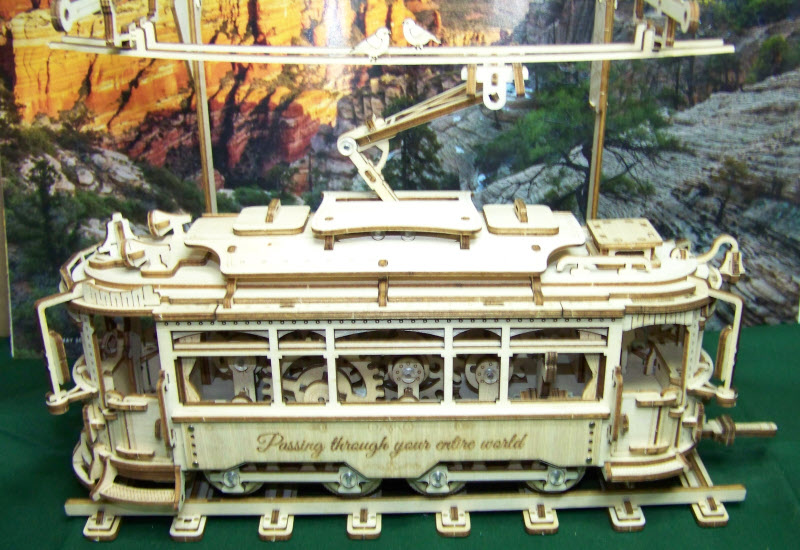
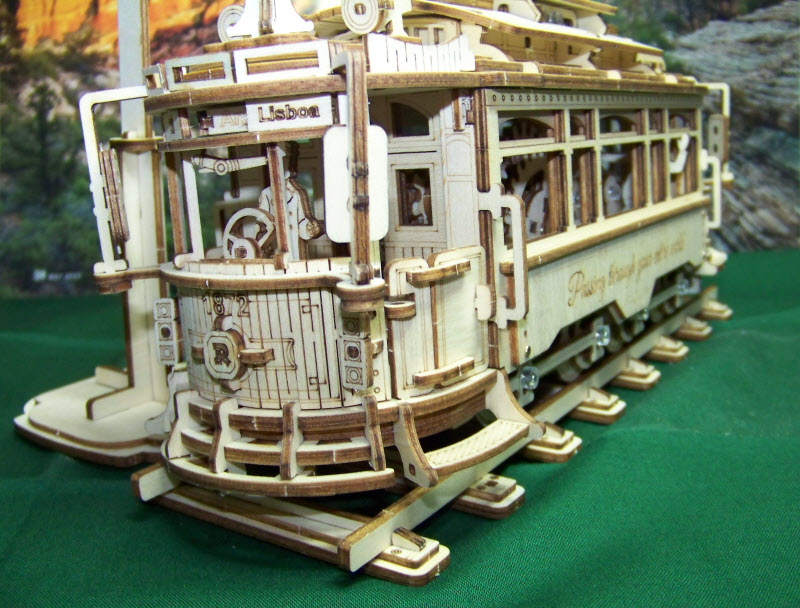
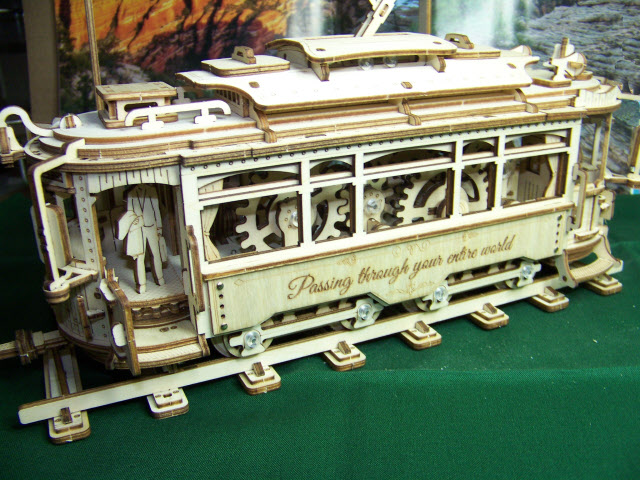
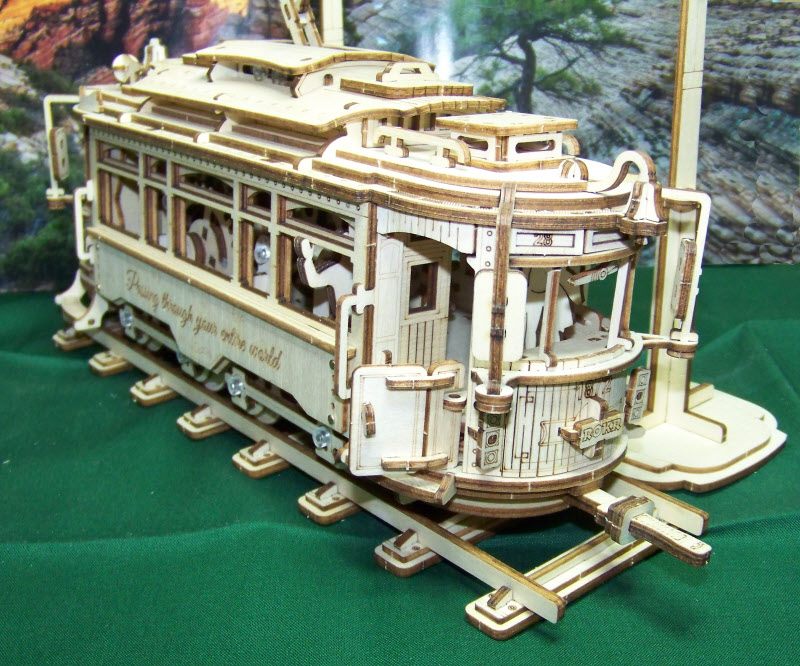
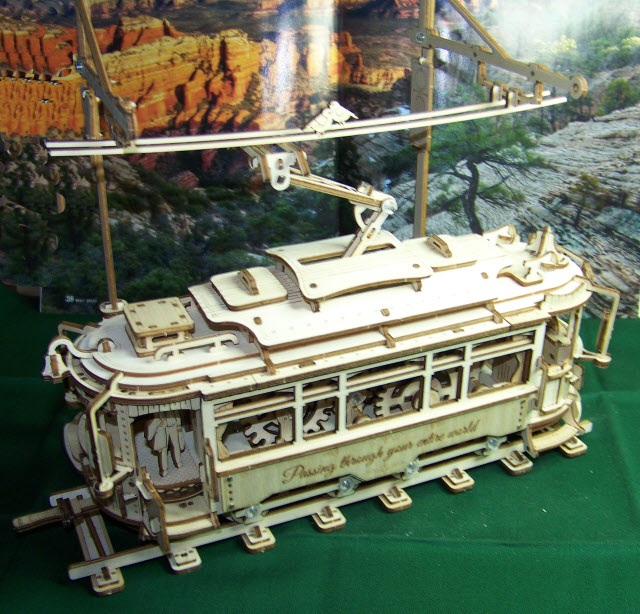
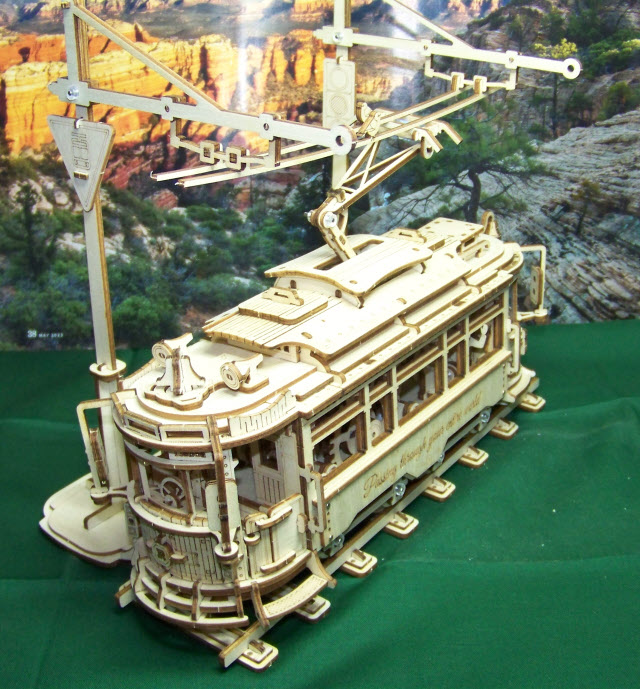
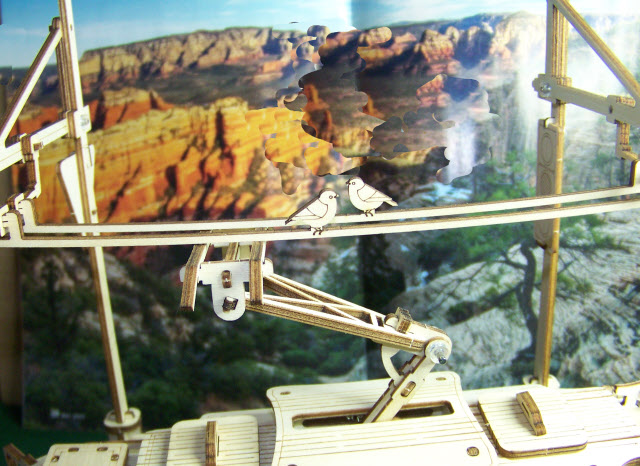
TA-DAAAA, it's as finished as it's going to get. I'm under my estimate, a bit over 18 hours to get it to look like the photo on the box. Lots of parts left over, but they are spares. I did break a few and yes, there were enough spares to cover that.They say I can contact the company and they'll send me replacement parts at no charge which is a good reason for them to provide spares. After everything is in place, I wound the spring up and she ran like she's suppose to. One problem is the conductor is suppose to be the brakeman just that he's suppose to move a lever that will engage a gear and he doesn't move far enough to do that. Doesn't matter, I'm impressed that they got everything else on this model correct. Not a drop of glue needed on any of the parts, and did I mention, it runs???? One thing that makes me wonder, the side writing and all instructions are in English, but the destination boards are in Spanish. This was manufactured in China, so that shouldn't surprise me at all.
Here are a few shots of the finished model, I'm building a floating shelf next to the wooden steam loco, I'll take photos of that when I get that done. In case you're interested in knowing, the backdrop photo is of the red rocks here in Sedona.
Don (ezdays) Day
Board administrator and
founder of the CANYON STATE RAILROAD
Posts: 2,586
Threads: 52
Joined: Dec 2008
Posts: 10,798
Threads: 248
Joined: Dec 2008
That is a very good job Don and the model is very impressive.
Charlie
Posts: 1,127
Threads: 86
Joined: Nov 2010
Don,
  awesome work.
For the protoptype of your tram: https://www.youtube.com/watch?v=llksKzMXc4k
They told me this is in real a rollercoaster which is camouflaged as streetcar.
Lutz
Posts: 12,037
Threads: 579
Joined: Nov 2008
Thank you all, it was fun and now I have another model to display. That area is getting a bit crowded, I may have to build a cabinet to house them all.
Lutz, that looks like a fun ride. Some of those buildings are so close together that it almost seems like going through tunnels.
Don (ezdays) Day
Board administrator and
founder of the CANYON STATE RAILROAD
Posts: 3,755
Threads: 44
Joined: Dec 2008
Mike
Sent from my pocket calculator using two tin cans and a string
Posts: 295
Threads: 18
Joined: Nov 2015
That one seems like it was almost too quick! Looks great, nonetheless!
————————————————————————————
Modeling the East Broad Top as it was between 1937-1942
~Amanda
|


 The second one is of the driver who, in spite of what it looks like, does not have his hands on the wheel. No need to, for again, this trolley isn't moving yet, so I assume that he's in training and just getting the feel of the latest and greatest in trolley technology. There is a third person, the conductor who is constantly looking out the window. He appears in steps 4 and 5 photos. That's about all that will fit on this trolley since the passenger compartment is full of gears and has no seats.
 awesome work.